Hey all!
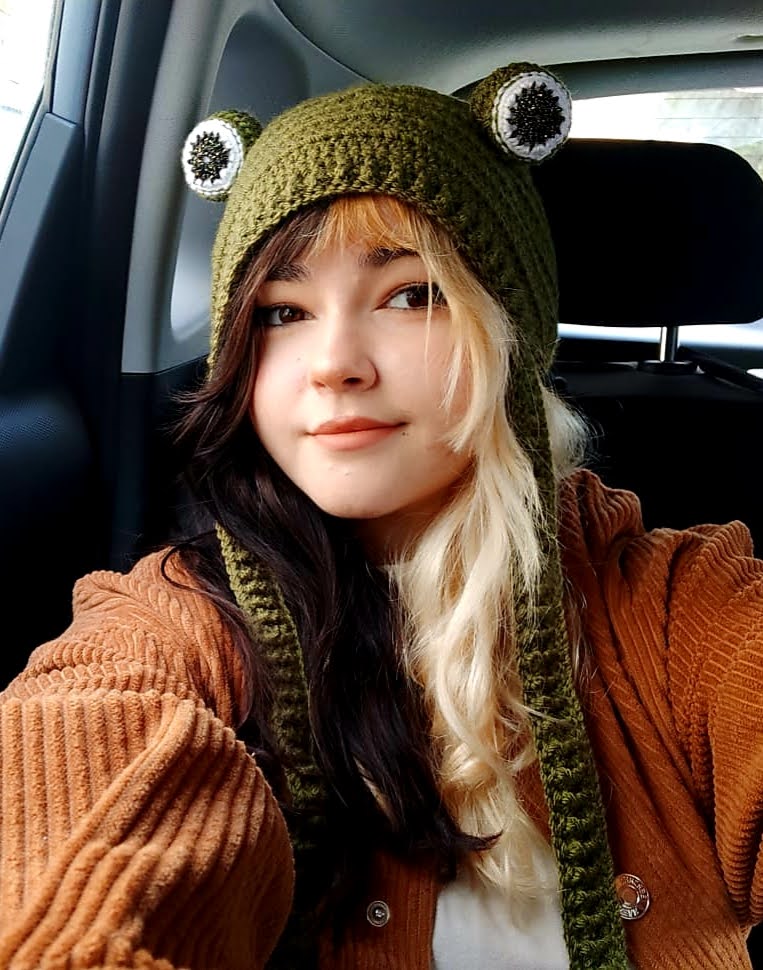
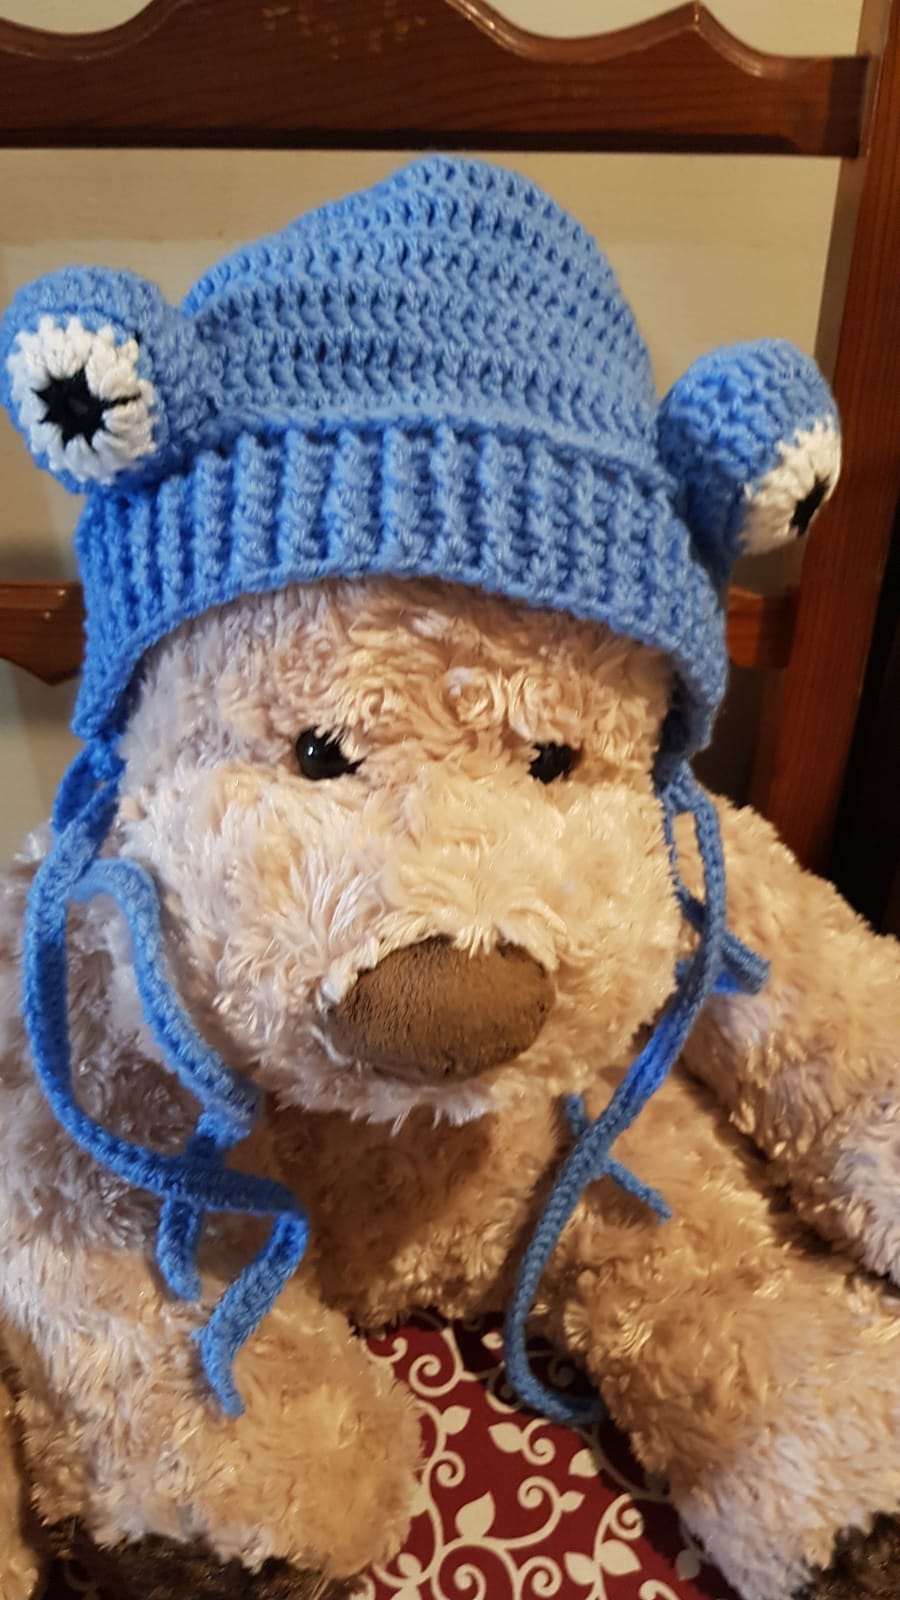
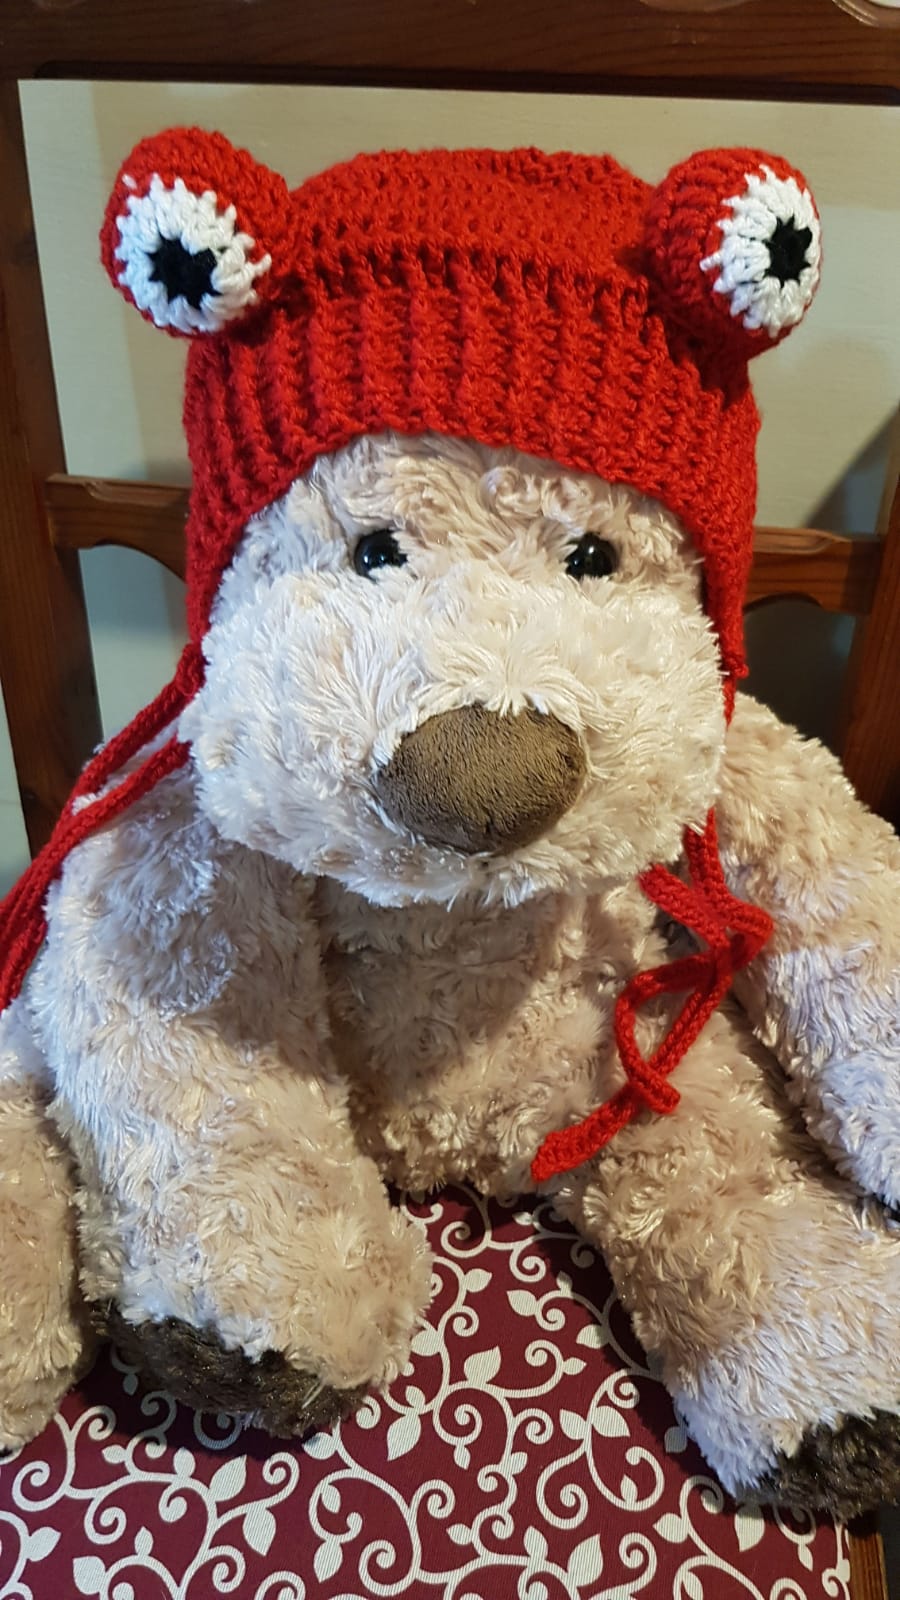
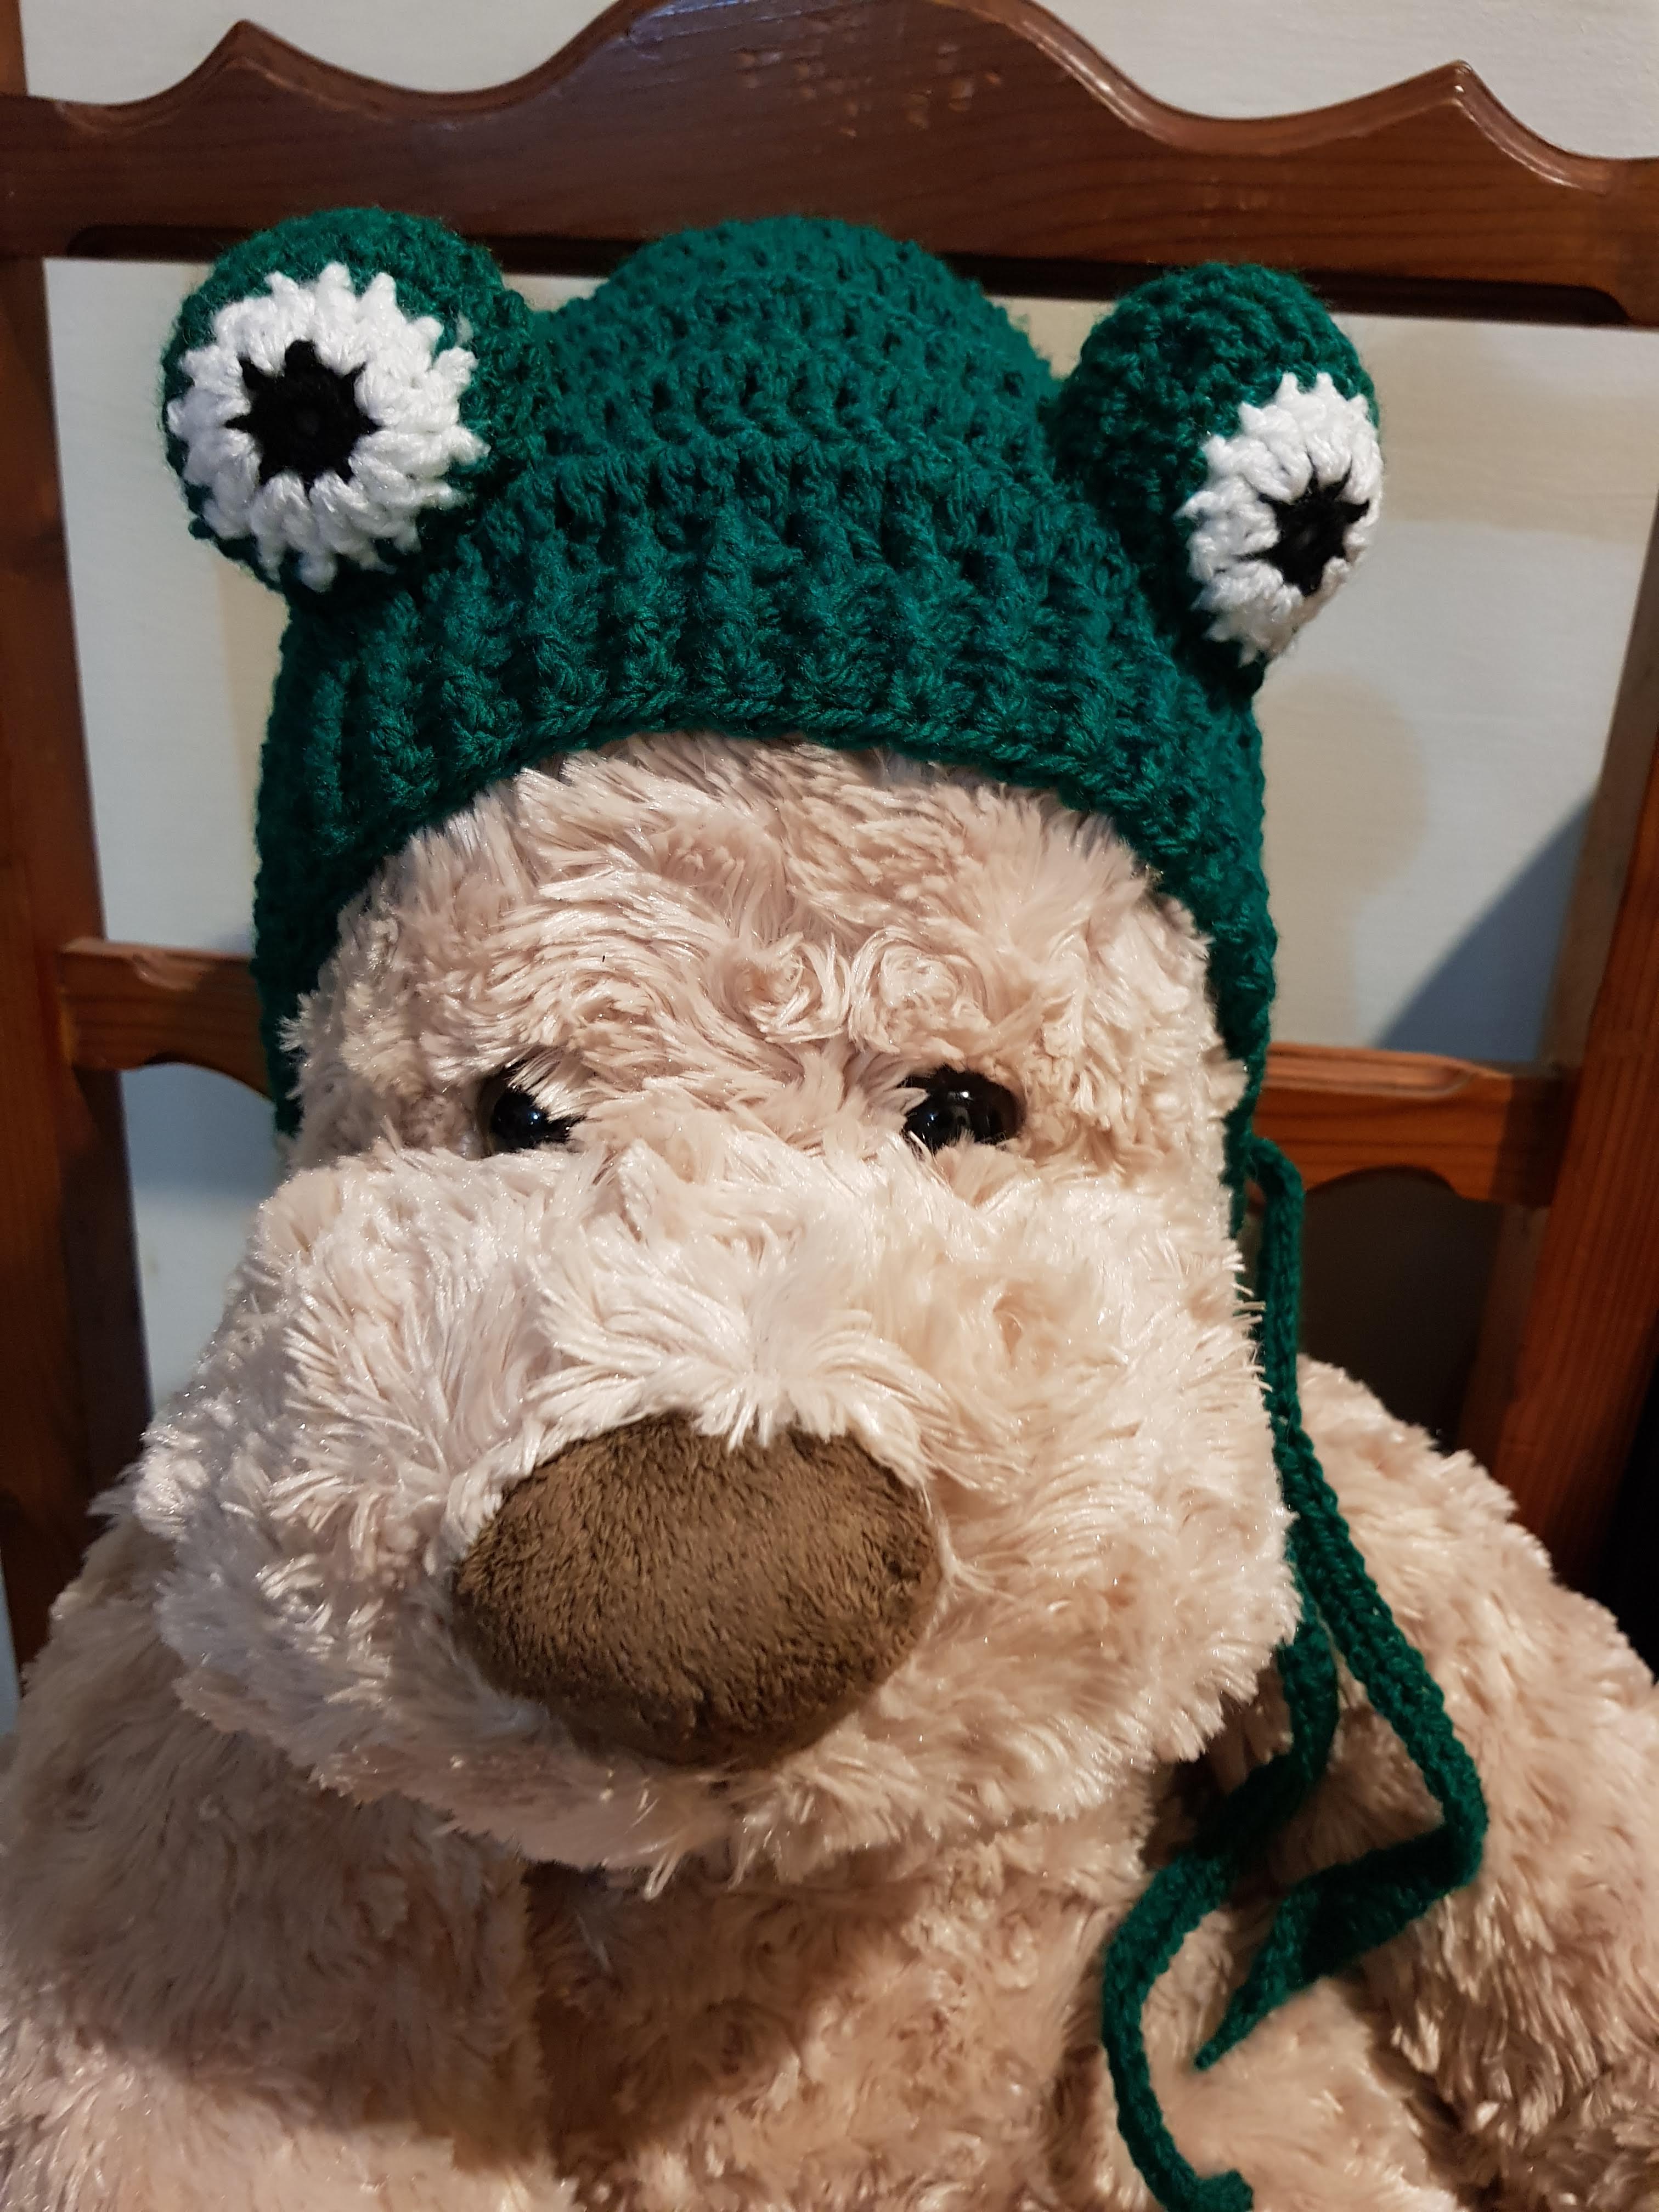
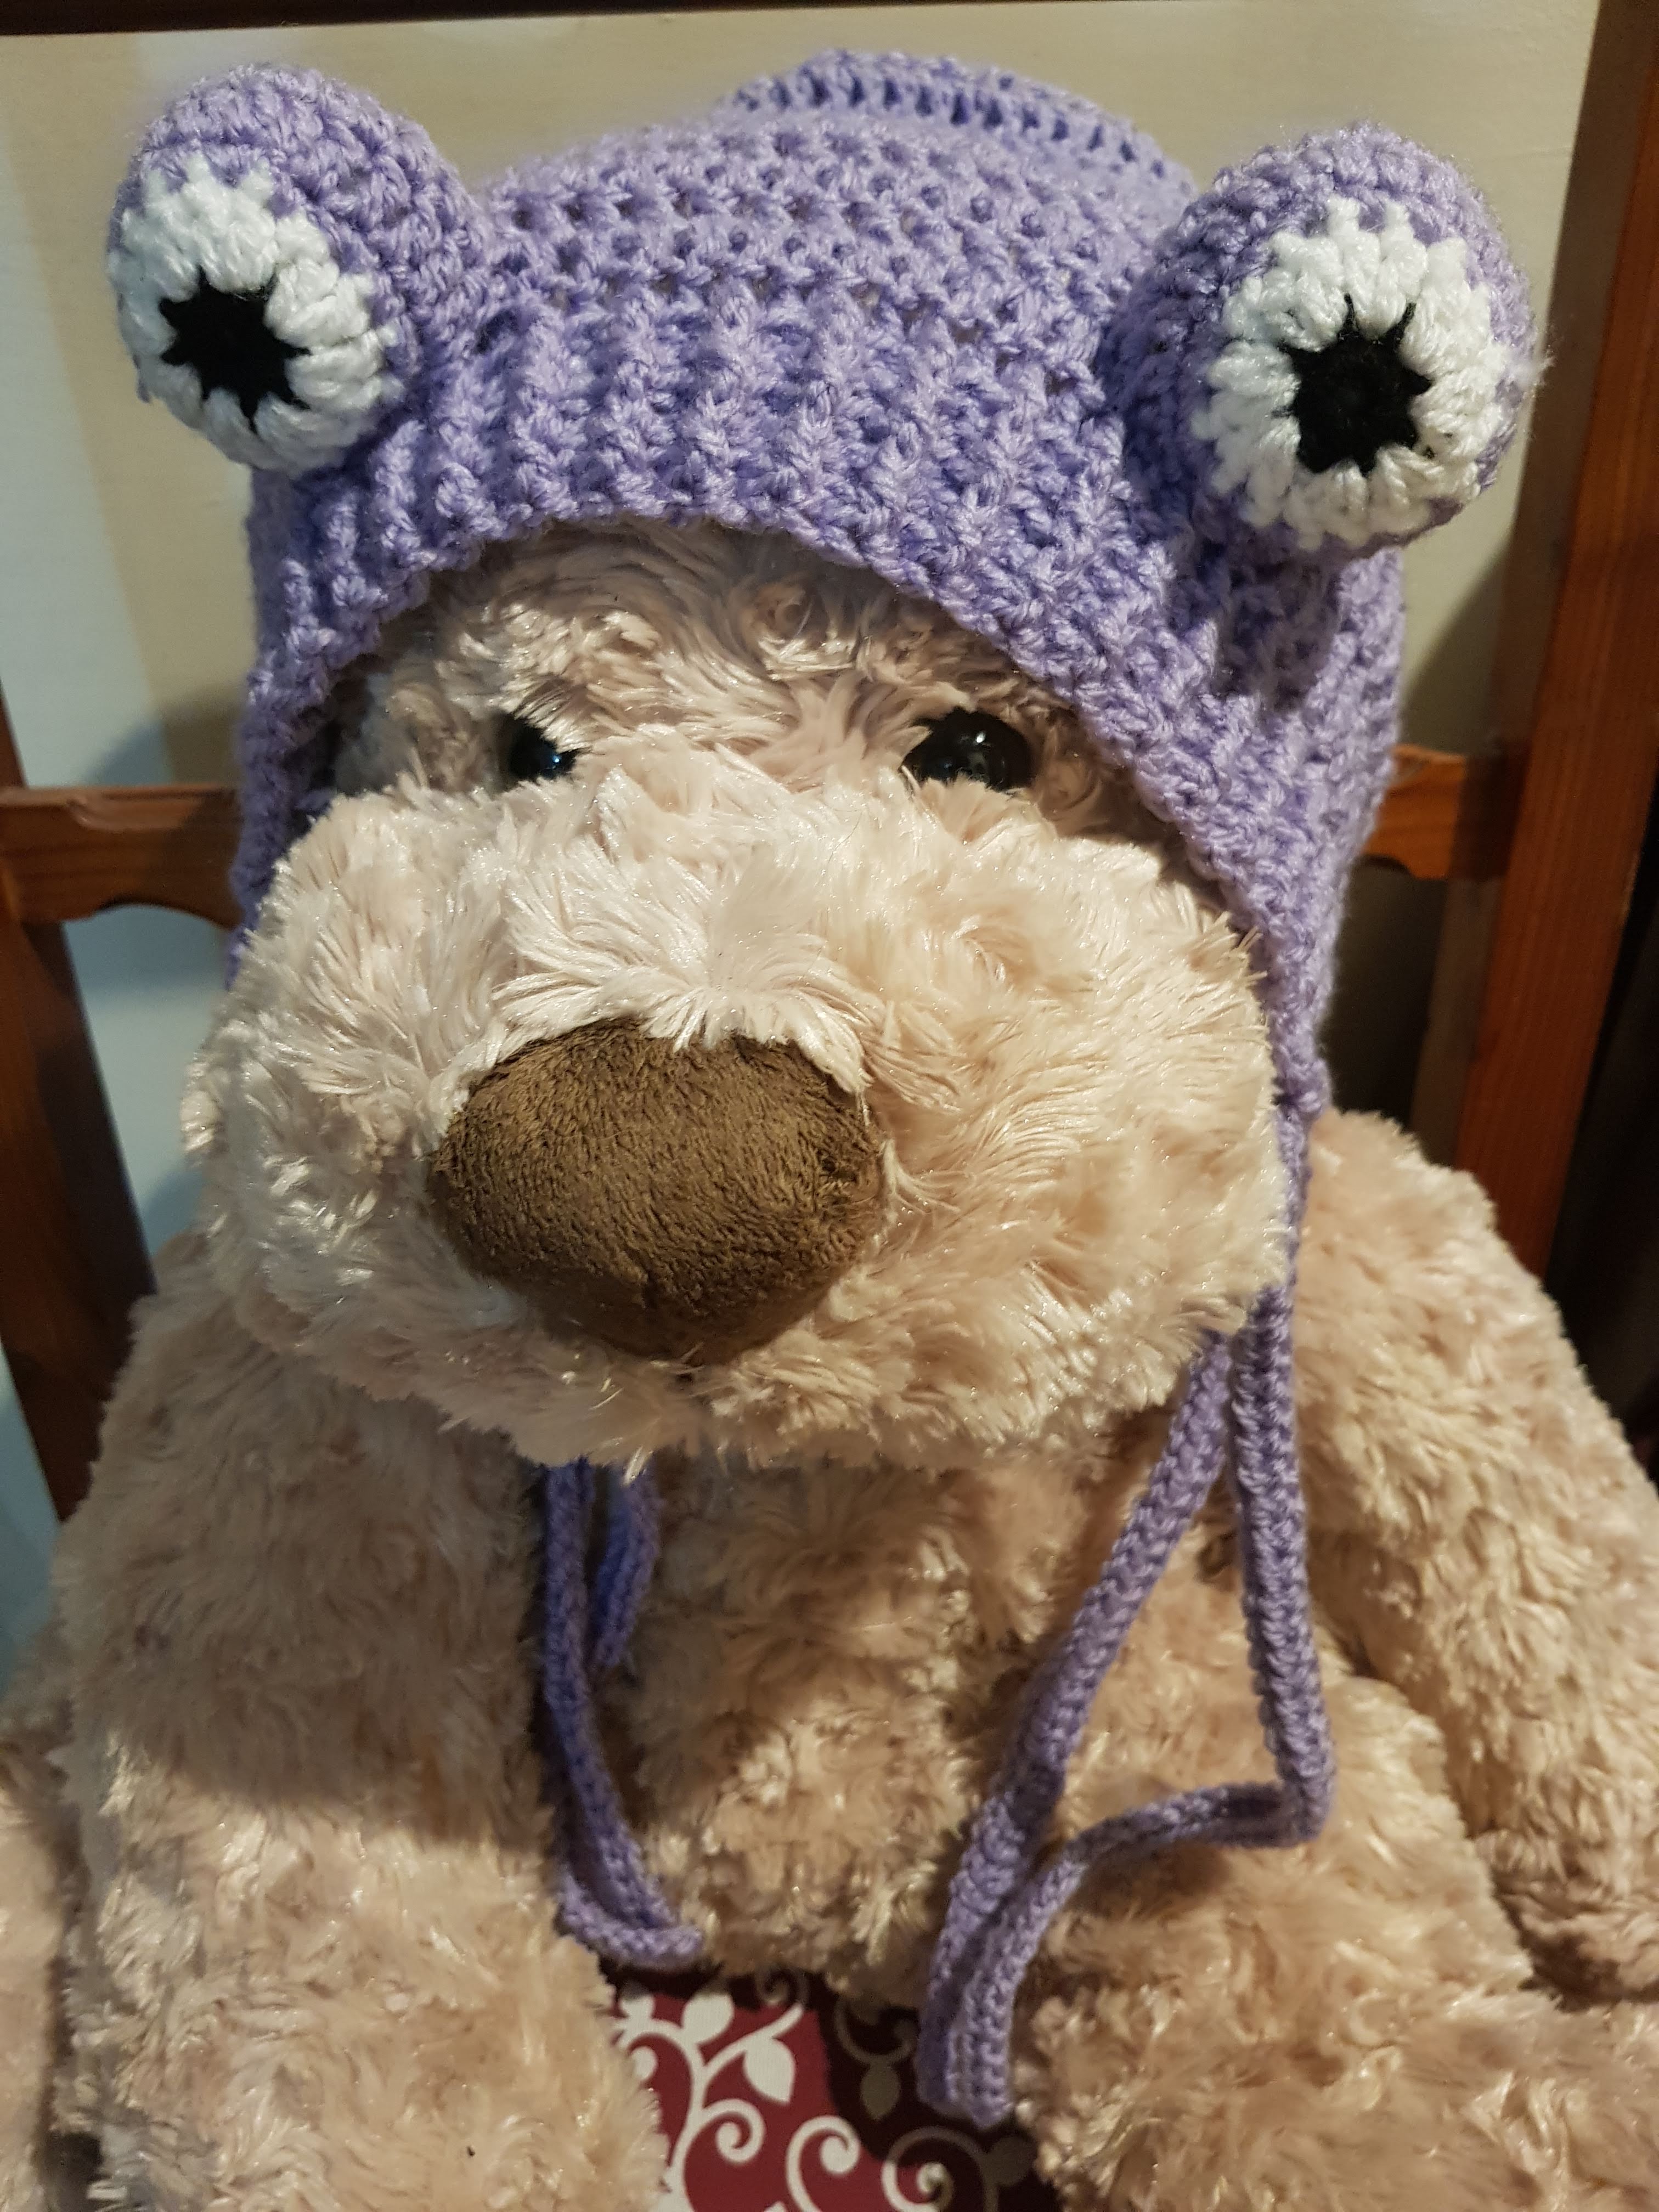
This hat is such a hit that I’ve made a whole bunch more in different colours! What colour will you wear ? I call dibs on the red one – ha ha ha!
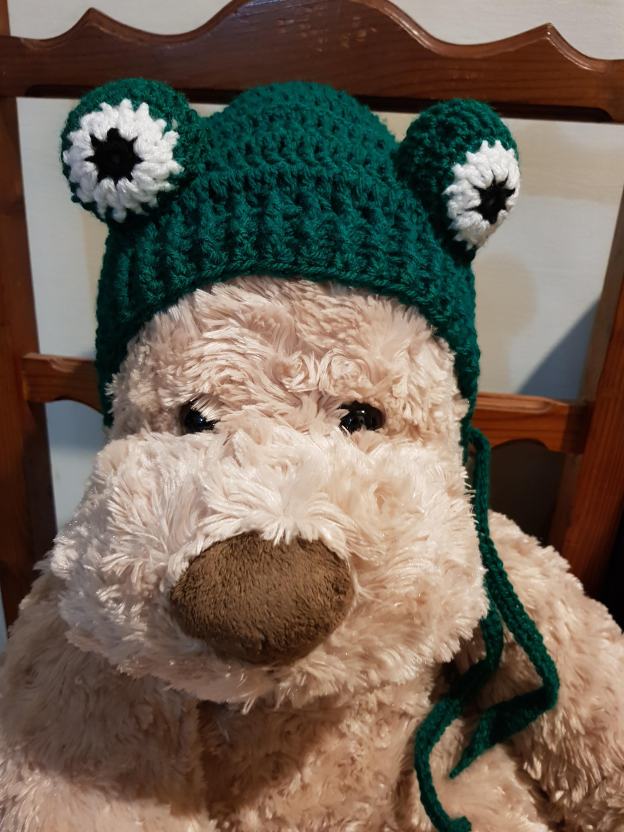
I would like to give a shout-out to my model, Ms Halle “Bearry” – she has been most cooperative and professional! Don’t you think she rocks these bonnets?
Here is the pattern if you want to make your own. I found the pattern for a bonnet here:https://katarynaj0.wixsite.com/lovelyloops/single-post/2017/07/31/Horatio-Cool-Bonnet
The eyes & straps patterns are my own and here they are (using US Terms). I used DK yarn and a size 4mm hook.
Terms:
CH – Chain
SC – Single Crochet
DC – Double Crochet
HDC – Half Double Crochet
SC2TOG – Single Crochet 2 together
DC2TOG – Double Crochet 2 Together
SS – Slip Stitch
THE EYES
Round 1: Using black yarn, in a magic loop, and make 8 HDC . Join with SS. and cast off. (8 HDC)
Round 2: Join white yarn into any DC made on Round 2 and make 2 DC into each DC from previous round all the way round and join to first DC with SS. (16 DC). Cast off.
Round 3: Using yarn in the colour you made your bonnet, join yarn into any DC with CH. 2SC into same stitch, SC into next stitch. *2SC into next DC, SC into next DC* all the way round and join with SS. (24 SC)
Round 4-5 : CH 2, DC in each SC from last round, join with SS.
Round 6: CH 1, * SC2TOG, SC * all the way round and join with SS (16 stitches)
At this point, stuff the eye with stuffing (it could be fiberfill, cotton or yarn bits). I don’t like to firmly pack mine as I like the eyes to be a bit squidgy – but it’s entirely up to you how you decide to do yours.
Round 7: CH 1, DC2TOG all the way round and join with SS (8 stitches)
Round 8: CH 1, DC2TOG all the way round and join with SS (4 stitches)
At this point, if you see that there is still a bit of a gap that needs closing , just thread the tail into a needle and sew the hole closed.
You will need to make 2 of these and then stitch them onto the bonnet.
THE STRAPS
For the straps, I simply made 101 CH, and then from 2nd CH stitch from hook, made HDC in each CH till the end. Cast off and sew in the ends. I made 2 of these and simply threaded them into each corner of the border of the bonnet and tied a simple knot 🙂 You could, of course, use a different method.
Have a great time making these hats – and why not share a selfie modelling your creation!