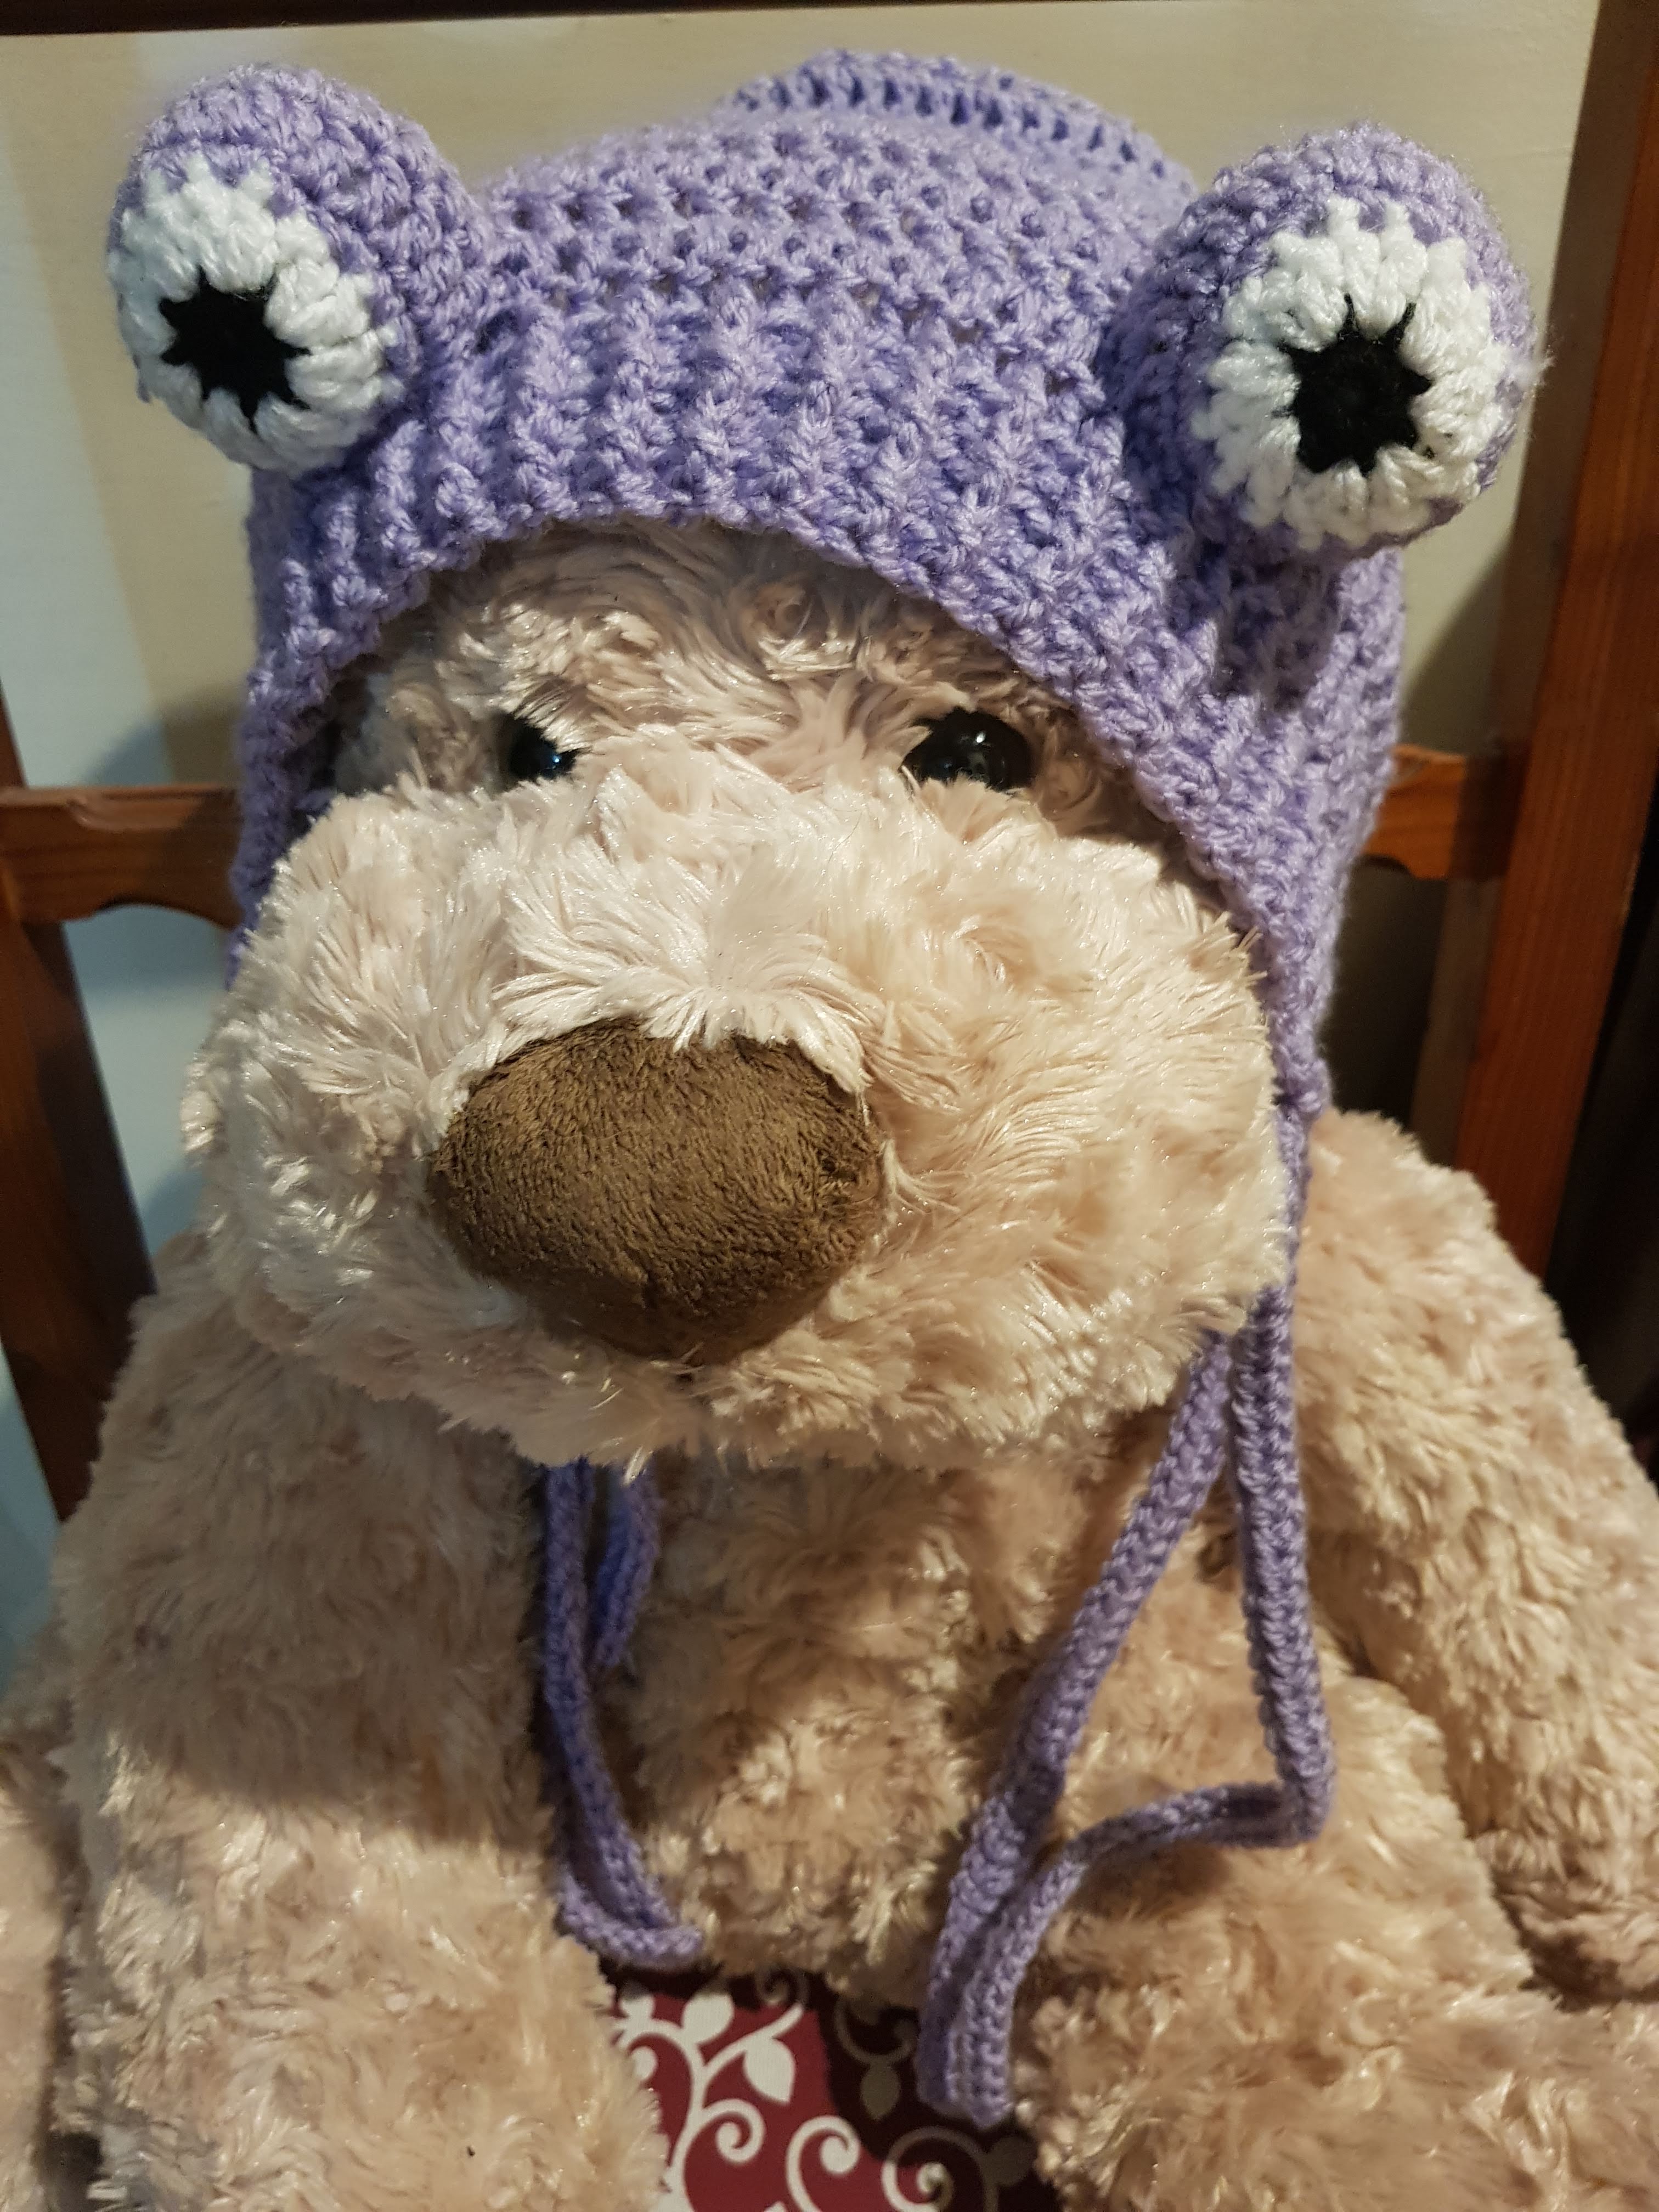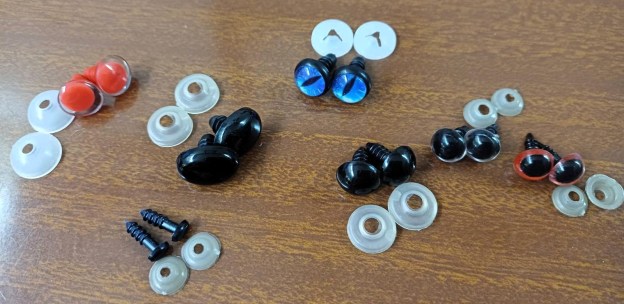
I use safety eyes in a lot of my amigurumi, and over the years I’ve ended up with quite a collection – different sizes, shapes and colours, some plain black and others a little more realistic.
They’re only a small part of an amigurumi, but they can completely change its face. Even moving the eyes by one stitch can make a surprising difference.
And then, of course, there comes the scary part – when you have to commit and put the washers on. Once that’s done, changing your mind isn’t quite so easy.
So I thought I’d share a few things I’ve learned from using them – as well as something I discovered while I was actually writing this post.
Choosing and positioning the eyes
I don’t really have a rule for which size eye to use. I normally try a couple and see which looks right.
Before putting the washers on, I insert both eyes and move them around until I’m happy with the position. Sometimes it’s only a matter of moving them one stitch closer together, or a row higher or lower, but it can completely change the expression.
I also prefer to have some stuffing in the head at this stage. The final shape can make quite a difference to how the eyes sit.
Something else I do quite often is take a photo before committing. I don’t know why, but sometimes I don’t notice that something is slightly off until I see it in a photograph. It’s a useful little trick when you’ve been staring at the same face for too long.
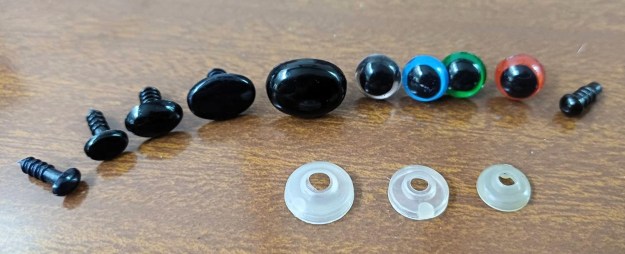
Some of the safety eyes I’ve collected over time, together with the cupped plastic washers I use.
Different eyes give very different results
Plain black eyes are probably the ones I use most often, but there are lots of other options.
I have round and oval ones in different sizes, coloured ones, and some with an iris around the black centre. The brown ones, for example, can give a much more realistic-looking eye.
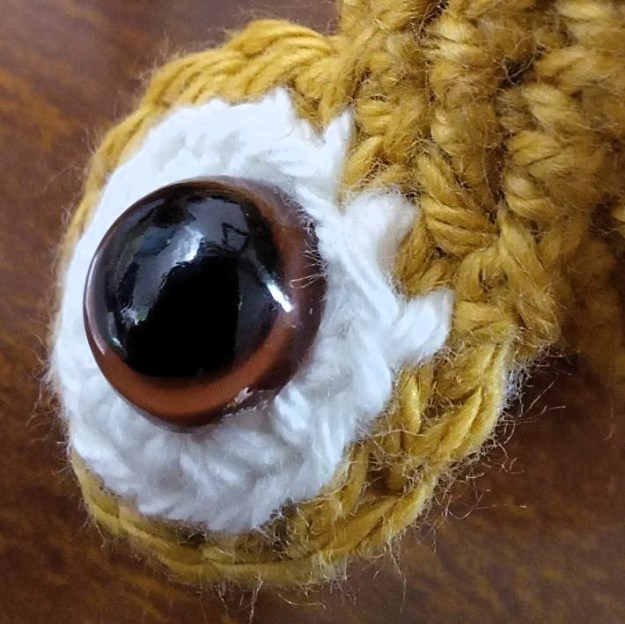
The brown iris gives a very different look from a plain black safety eye.
Some safety eyes also have a clear or transparent area around the black centre. I like these because you can change the effect yourself by putting a piece of felt behind the transparent part. It means you can experiment with colour without needing a different pair of eyes every time. A little piece of blue, green, brown or whatever suits the character will show through the clear part of the eye.
Felt can also become part of the eye itself. On my penguin, I used white felt that was deliberately larger than the safety eye. Instead of being hidden behind it, the felt shows all the way around and gives the eye a white border, which helps it stand out against the black crochet.
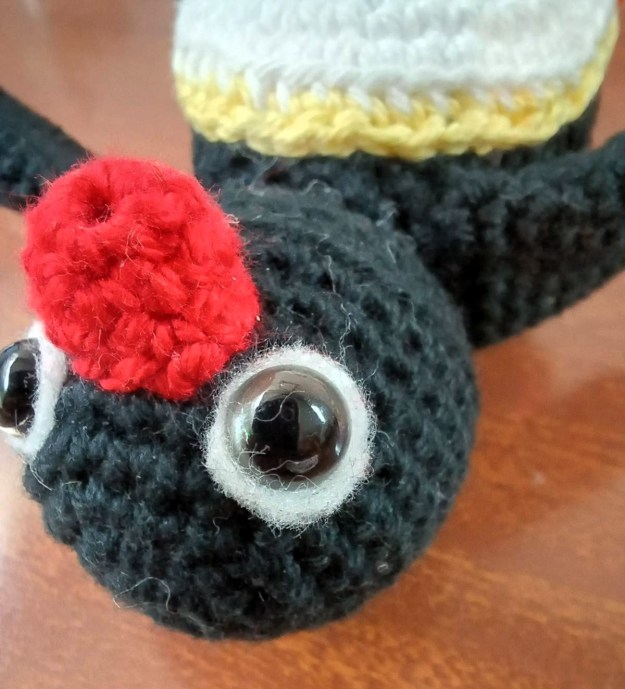
Here I’ve deliberately left the white felt showing around the safety eye.
The felt doesn’t have to be a perfect circle either. You can change the shape, make it oval or slightly pointed, and play around until you get the expression you want.
Just do all that playing around before the washer goes on!
And then there’s the washer…
This is something I’ve wondered about for quite a while. Most of my safety eyes come from China in larger packs. The washers I’ve always received with them are the little translucent cupped ones you can see in the photograph above. There are no instructions.
Which leaves one rather obvious question:
Which way round is the washer supposed to go?
Look online and you’ll find both answers. Some people put the domed side towards the eye; others put it the other way round.
For a long time, I’ve been fitting mine with the flat side towards the eye and the dome facing away. And then, while writing this post, I decided to have another play with them.
The tool I had almost given up on
Some time ago I bought a tool specifically for attaching safety eyes.
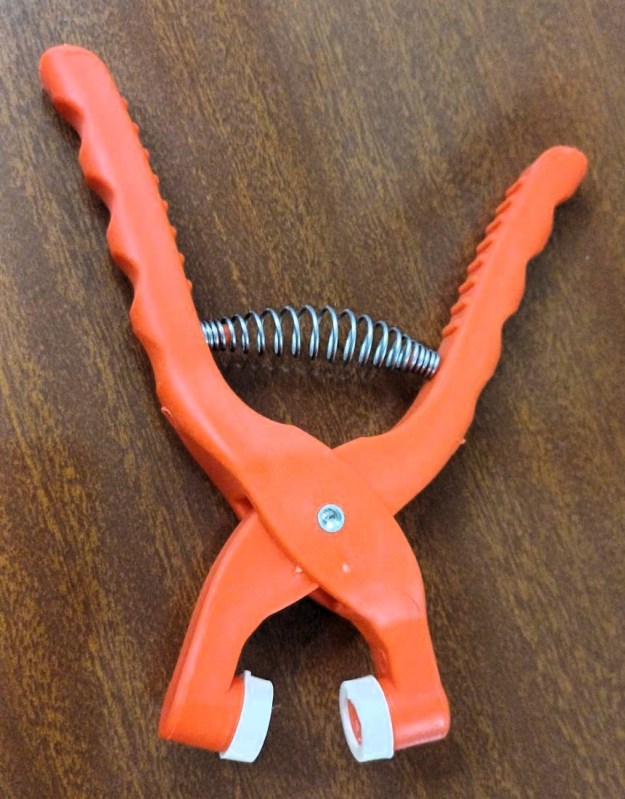
I thought it would save my fingers, particularly when I was attaching washers that needed quite a bit of pressure.
It didn’t quite work out that way. Every time I tried using it, it seemed to break the stem of the safety eye. I have quite a few different sizes of eyes and the stems are all fairly long, so I concluded that the stems were simply too long for the tool.
But while I was working on this article, I decided to experiment again. This time I turned the washer around so that the domed side was facing towards the eye.
And it sort of worked! It’s still not perfect, and you have to be careful when applying pressure as it doesn’t need much to push the washer over the ridges on the stem – the washer actually travelled down the stem instead of the stem simply snapping. So perhaps the problem wasn’t the length of the stem after all – or at least, not entirely.
Does this mean that the domed side is definitely the correct way to fit every cupped safety-eye washer? I don’t know. Mine are unbranded, they don’t come with instructions, and I’m certainly not going to claim I’ve settled a debate that seems to have been going on amongst amigurumi makers for years.
What I have discovered is that with my washers and my tool, putting the domed side towards the eye works much better.
I’m going to keep experimenting with it.
One extra thing I do
Once I’ve got the washer firmly in place, I usually take one extra step.
I carefully use a lighter to soften just the very end of the plastic stem and then flatten the softened tip slightly behind the washer. I’ve been doing this for quite some time. For me, it gives an extra little physical stop behind the washer and a bit more reassurance that it isn’t going to work its way back over the end of the stem. This isn’t something that came from the manufacturer’s instructions – as I said, I don’t actually have manufacturer’s instructions for mine. It’s simply something I do with my own amigurumi.
If you decide to try something similar, obviously be very careful. I only soften the very tip of the stem and keep the heat well away from the yarn and stuffing. Different plastics may also react differently to heat, so it’s not something I’d treat as a necessary part of fitting a safety eye.
Come to think of it, if I start attaching the washer with the domed side towards the eye, softening just the tip of the stem may become much harder, as the washer will be very much in the way. More experimentation needed, for sure!
A note if you’re making for young children
Despite the name, using “safety eyes” doesn’t automatically make a handmade toy suitable for a baby or very young child.
The washer makes the eye difficult to pull from the stem, but it’s still a small plastic component attached through crocheted fabric. Crochet can stretch and, with enough wear or damage, small parts can potentially come loose.
If I’m making something for a baby or very young child, I prefer to embroider or crochet the eyes instead.
Take your time with the eyes
If there’s one thing I’ve learned, it’s not to rush this part.
I’ll try different sizes, move the eyes around, add some stuffing, look at the face from different angles and sometimes take a photo before I decide.
I’ve already spent hours crocheting the thing. Another few minutes getting its expression right isn’t going to hurt.
And only when I’m happy do the washers go on.
Because then there’s really no going back… I must confess, I have a number of heads lying around that I’ve had to abandon simply because I didn’t spend enough time getting the eyes right.