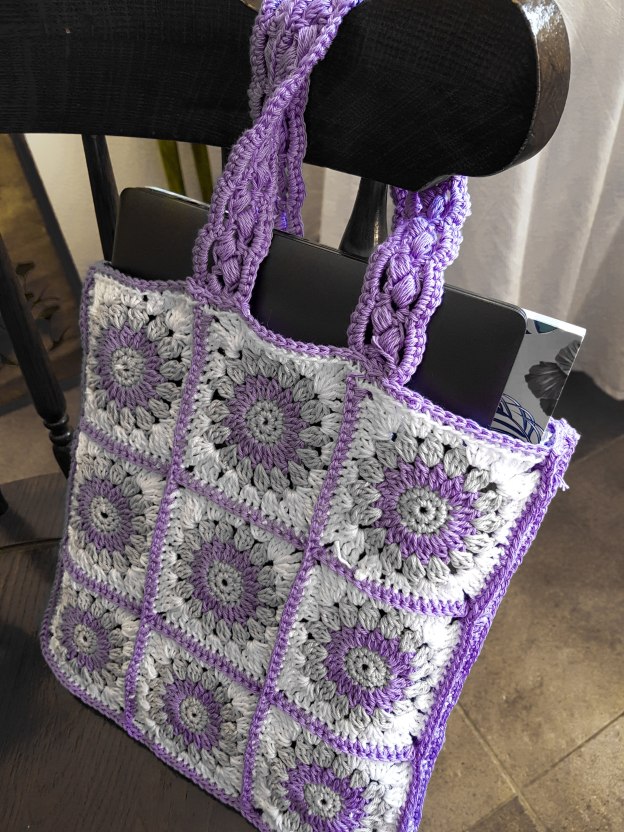
Hey fellow crafters! With the weather getting a little warmer, I thought that a nice spring handbag would be a great project – so here is one I made up. I used mercerised cotton DK in 3 colours and a 3.5mm crochet hook.
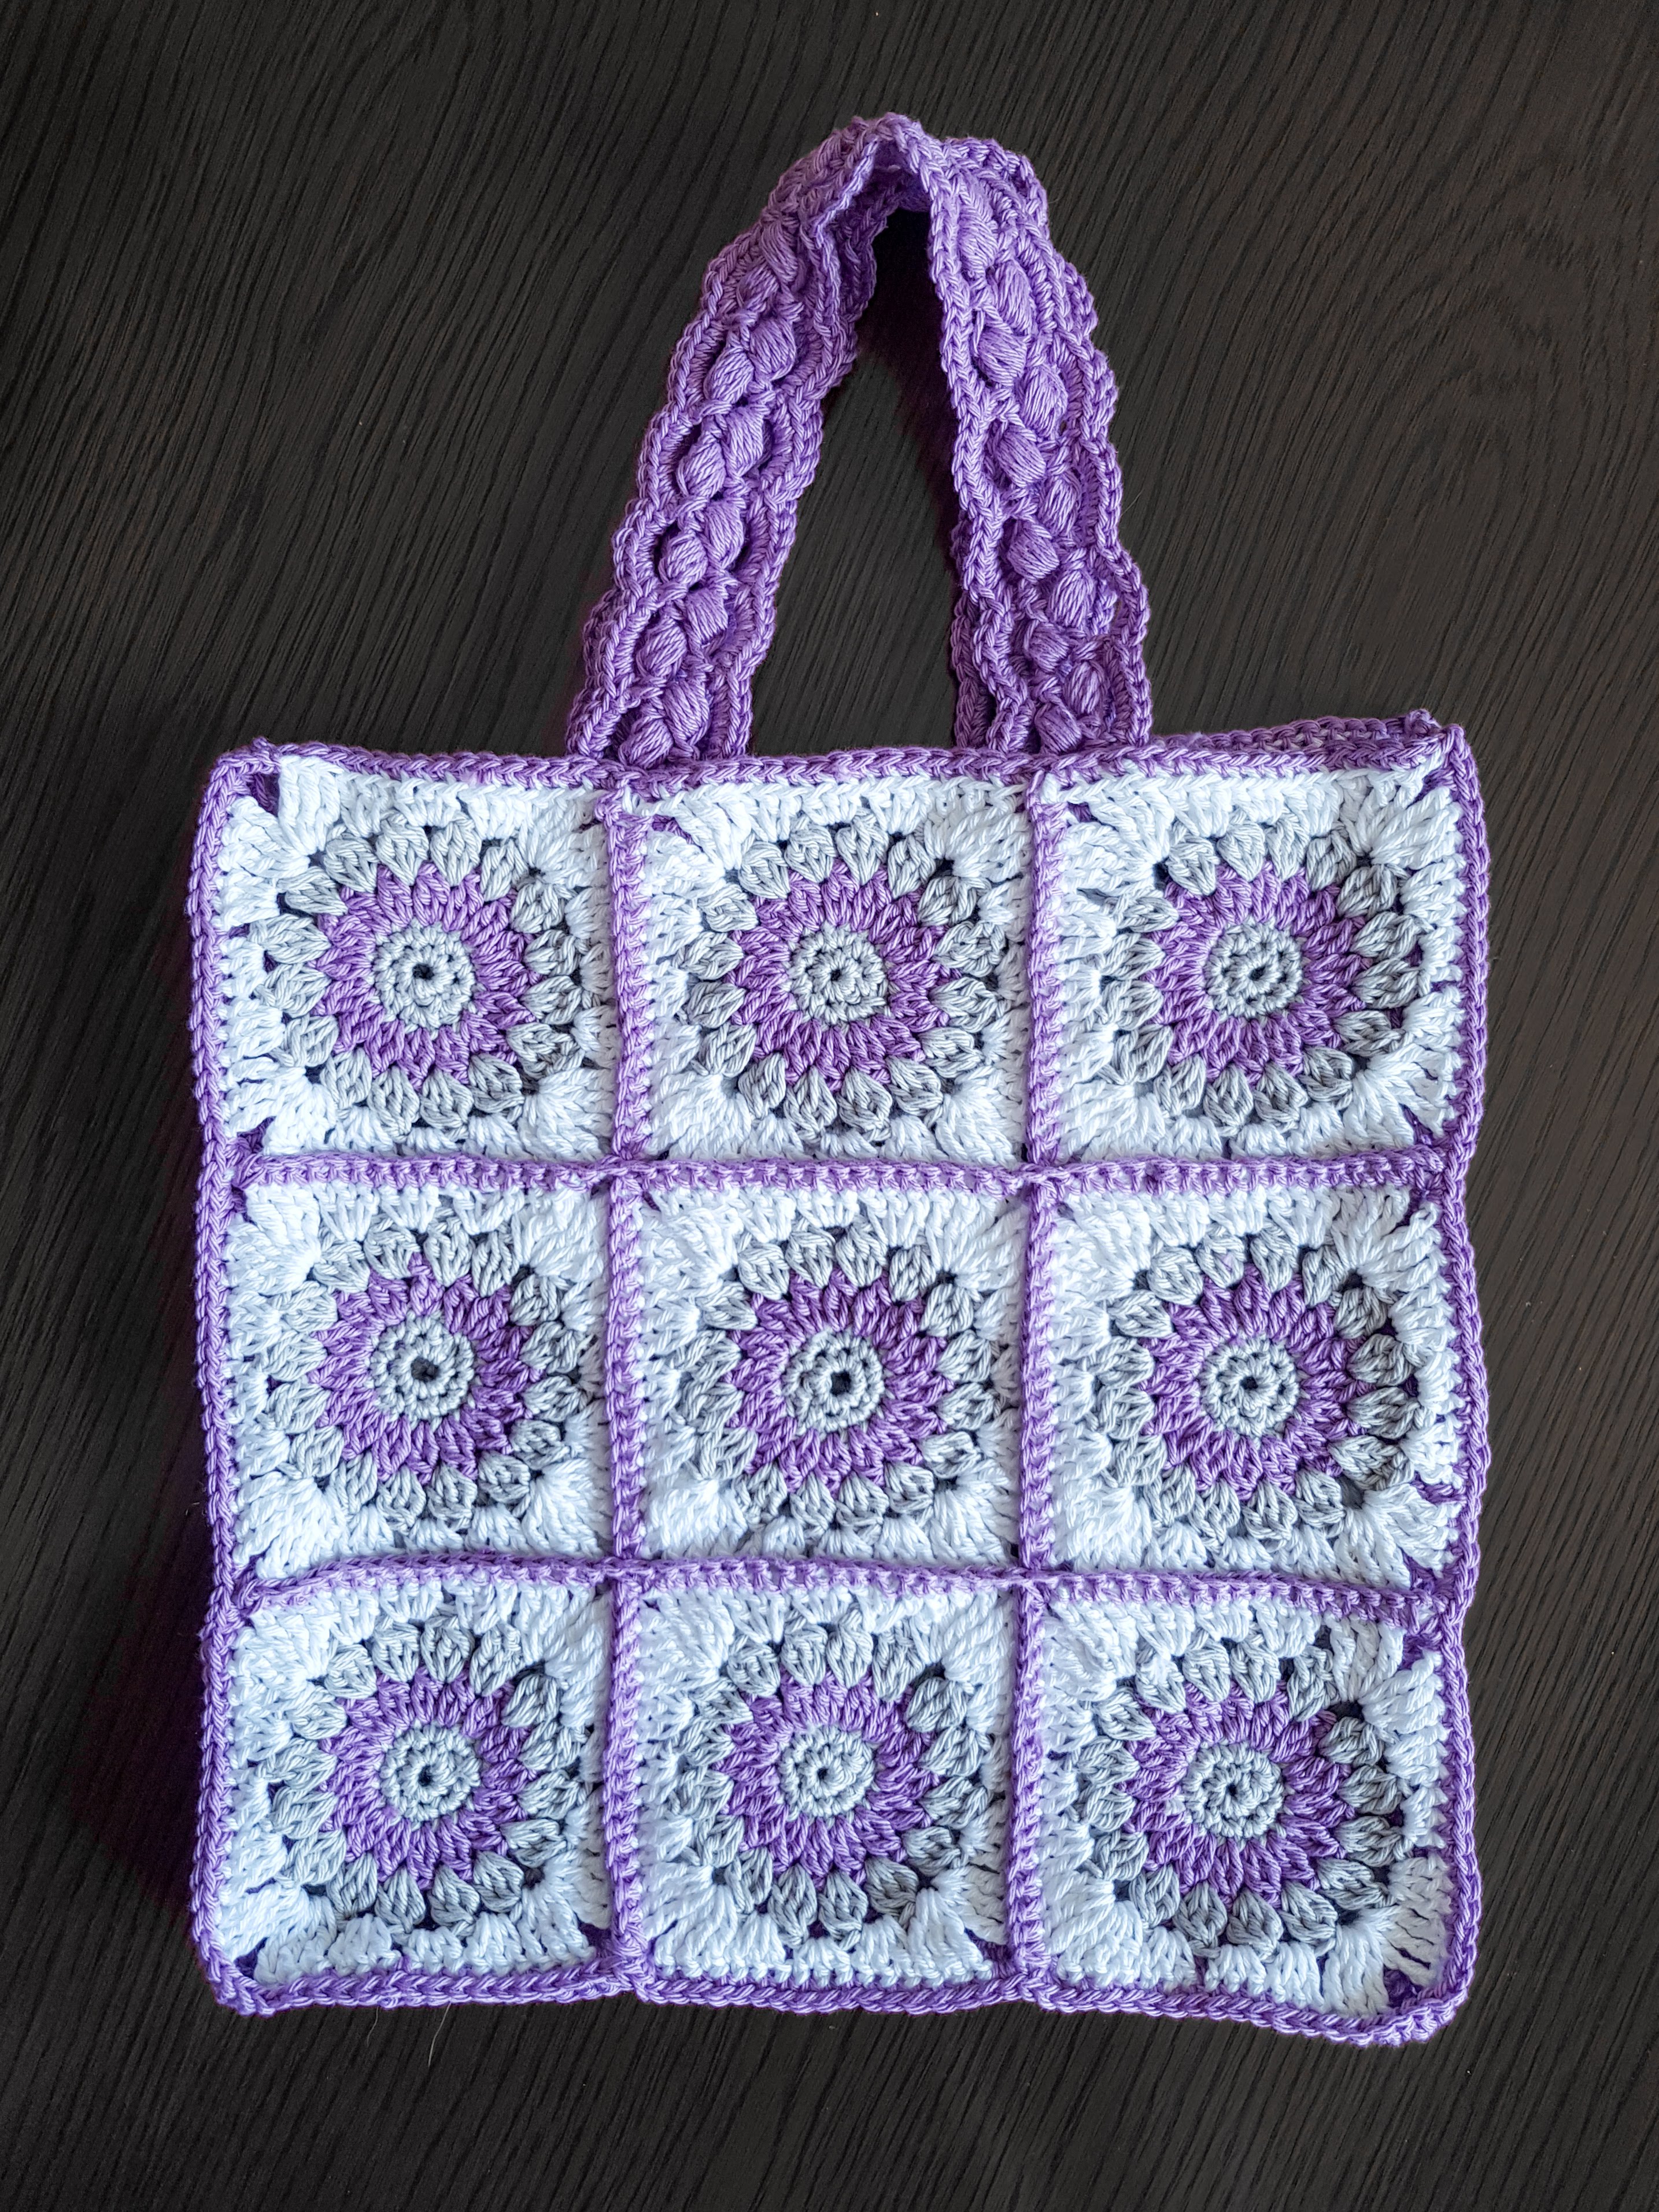
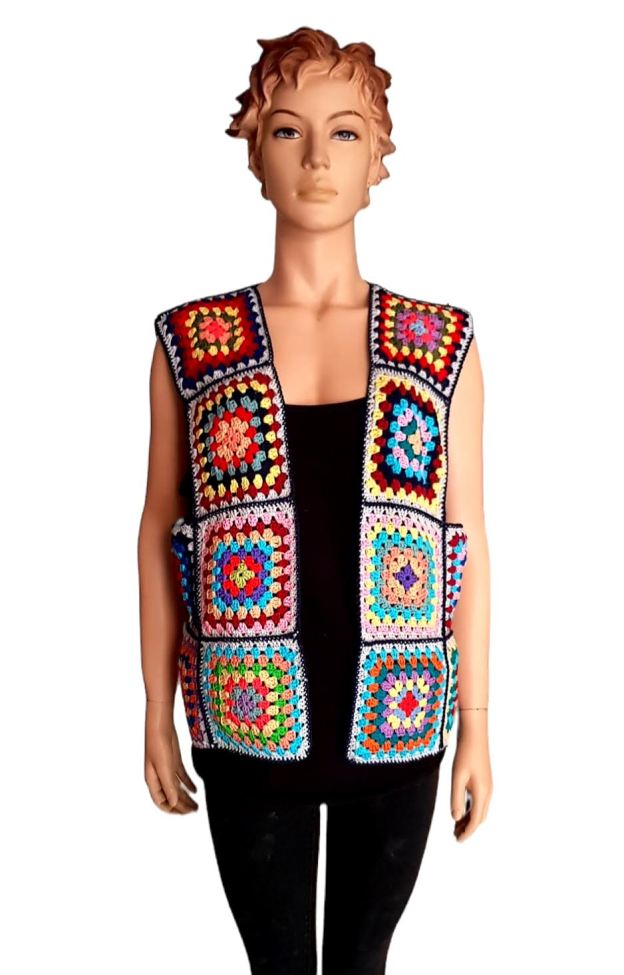
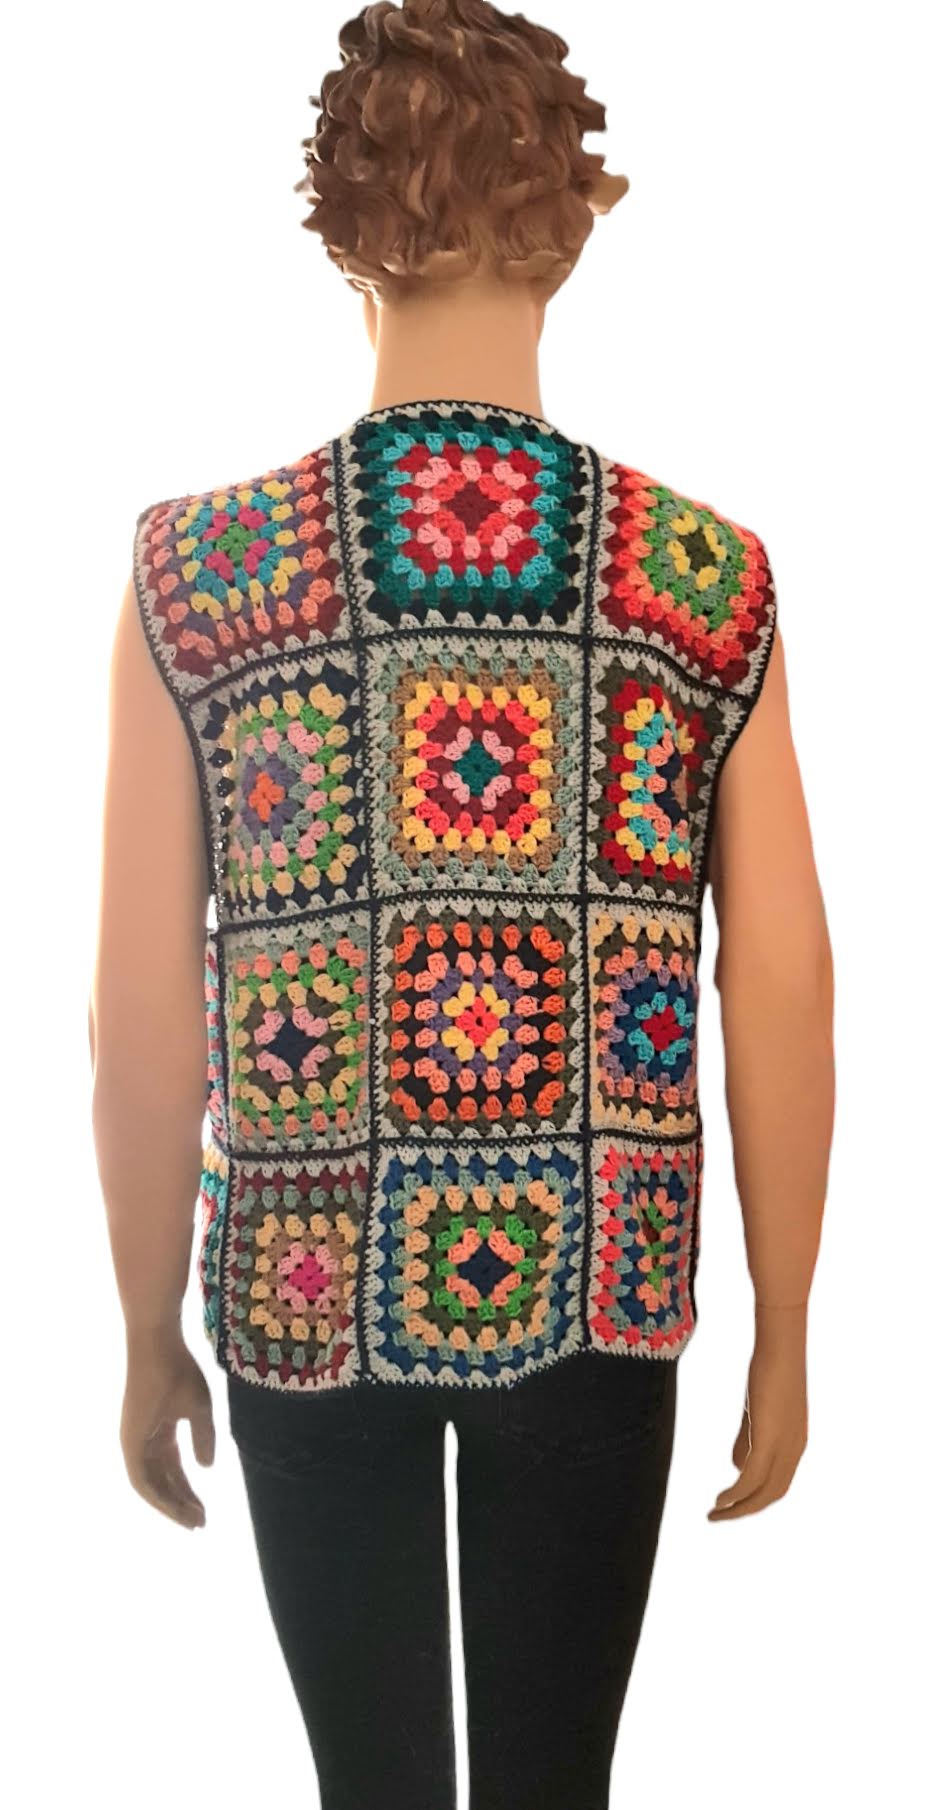
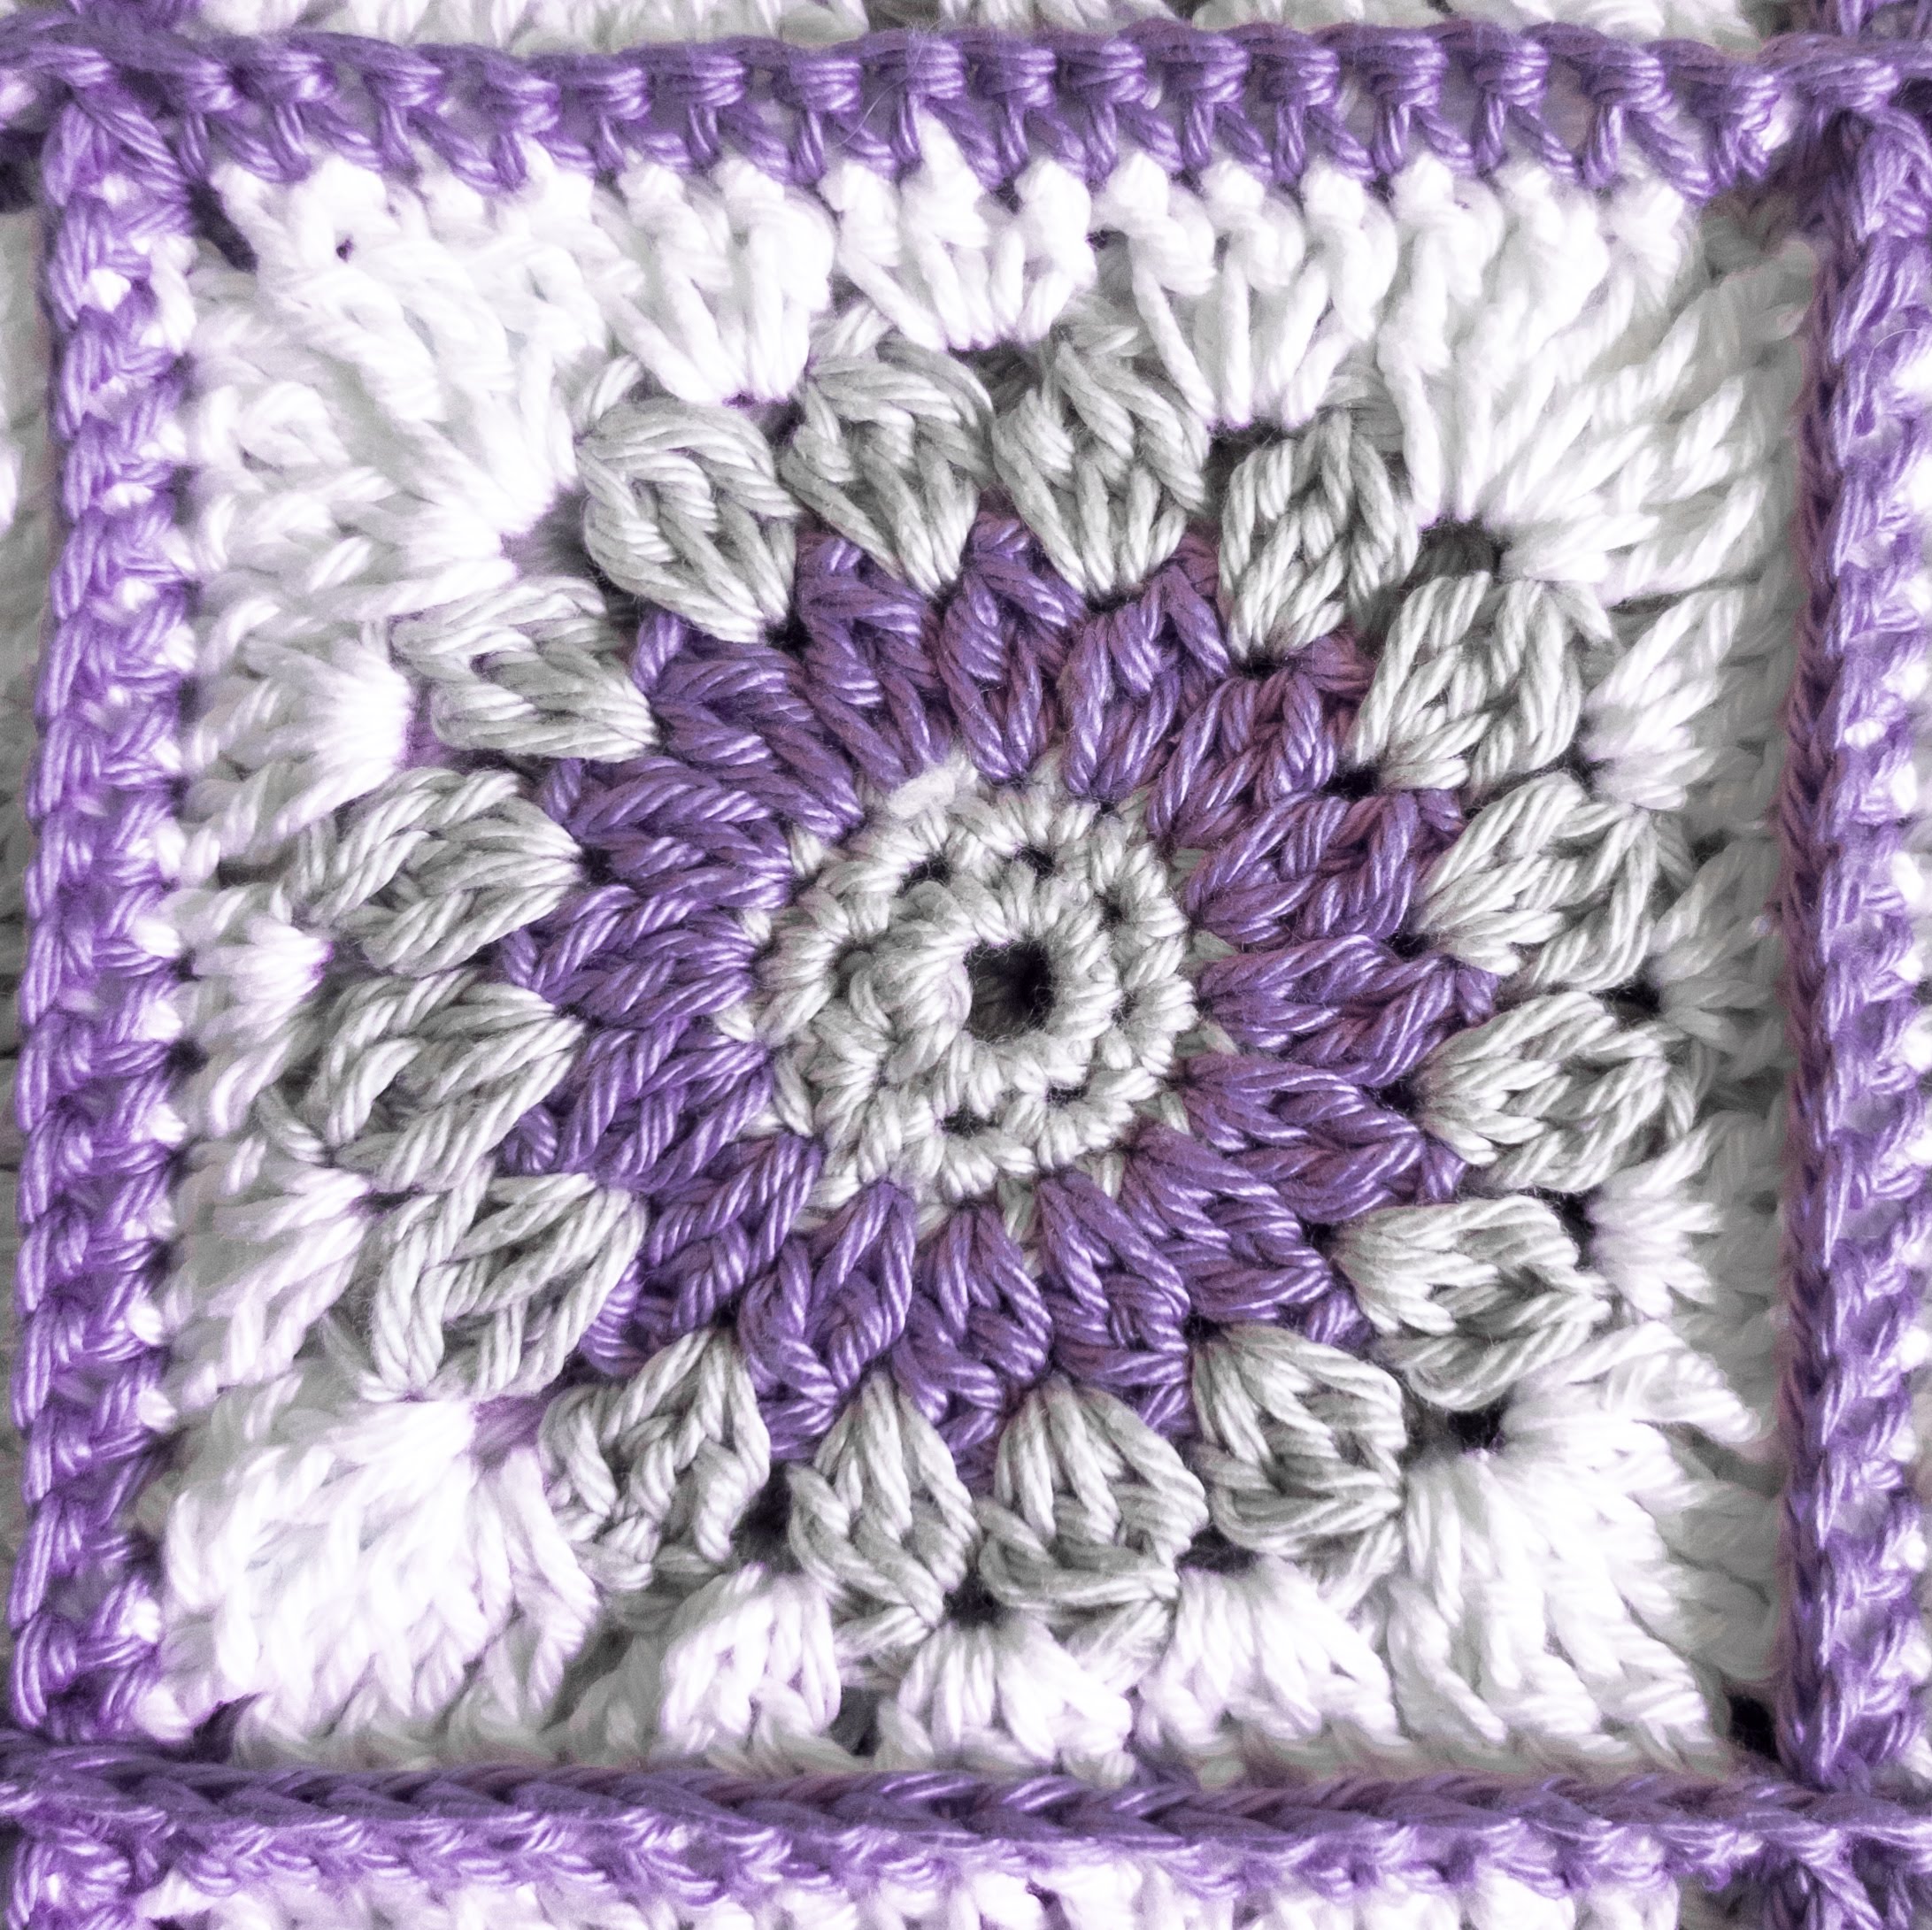
Each side of the bag is made by joining 9 granny squares, and then joined by crocheting single crochet through adjacent aligned squares. Below is the pattern of the granny square seen in this bag.
The granny square pattern
Abbreviations (US terms):
CH – chain
SC – Single Crochet
HDC – Half double crochet
DC – Double Crochet
TC -Triple Crochet
DC2TOG – 2 DC together (for instructions of how to do this please refer to external link)
DC3TOG – 3 DC together also known as cluster stitch (for instructions on how to do this, please refer to this external link)
Round 1 : Using grey yarn, in a magic ring, CH, 8SC, join with slip stitch into the 1st SC to complete the ring. (8 stitches)
Round 2 : CH, 2SC in each SC from Round 1, all the way round. Join with slip stitch into the 1st SC to complete the ring (16 stitches). Cast off.
Round 3 : Using the lilac coloured yarn, join the any SC from Round 2, and CH 2. In the same SC, DC. CH, Repeat (DC2tog in next SC, CH) all the way round . Join with a slip stitch into 2nd chain of the first 2 chains which you started the round with. Cast off. (16 Stitches, 16 spaces)
Round 4 : Using the grey yarn, join in any chain space made in Round 3 and CH 2. In the same chain space, DC2tog, and CH 2. Repeat (DC3tog, CH 2) all the way round in each chain space from round 3. Join with a slip stitch into the 3nd chain of the first 2 chains which you started the round with. Cast off. (16 stitches, 16 spaces)
Round 5 : Using the white yarn, join in any chain space made in Round 4 and CH 3. In the same chain space, 2 DC. 3 HDC in next chain space. 3 DC in next chain space. (3 TC, CH2, 3TC) in next chain space – this forms the first corner of the granny square. Repeat {3DC in next Chain space, 3HDC in next chain space, 3DC in next chain space, (3TC, CH2, 3TC) in next chain space } 3 times. Join with a slip stitch into 2nd chain of the first 2 chains which you started the round with. Cast off.
Joining
Once you have completed all 18 squares, join them by aligning 2 squares next to each other and using SC to join the corresponding stitches . I used the lilac yarn to do this, but you can choose the colour of your choice. Do this to create 2 panels of 9 squares joined together (one for the back and the other for the front of the bag).
To create some depth in the bag, with the external side facing you, join lilac yarn in any corner or panel and DC in each stich all the way around 3 of the sides of the panel and cast off – do this for both front and back panels of the bag. Then, place the front and back panels on top of each other, so that the side where there is no DC rows aligned and with the inside of the panels facing you – i,e. this inside out. Using lilac yarn, join the panels on the 3 sides which you did a row of DC by doing SC through DCs on both panels – i.e the SC would go through the DC on front and back panel. This way, the join which is created will be on the inside of the bag. Do this all the way round the 3 sides. Do not cast off yet! Turn the bag the right way round . Do SC in each stitch on the edge which is the opening of the bag- this will define the opening of the bag nicely.
Handles
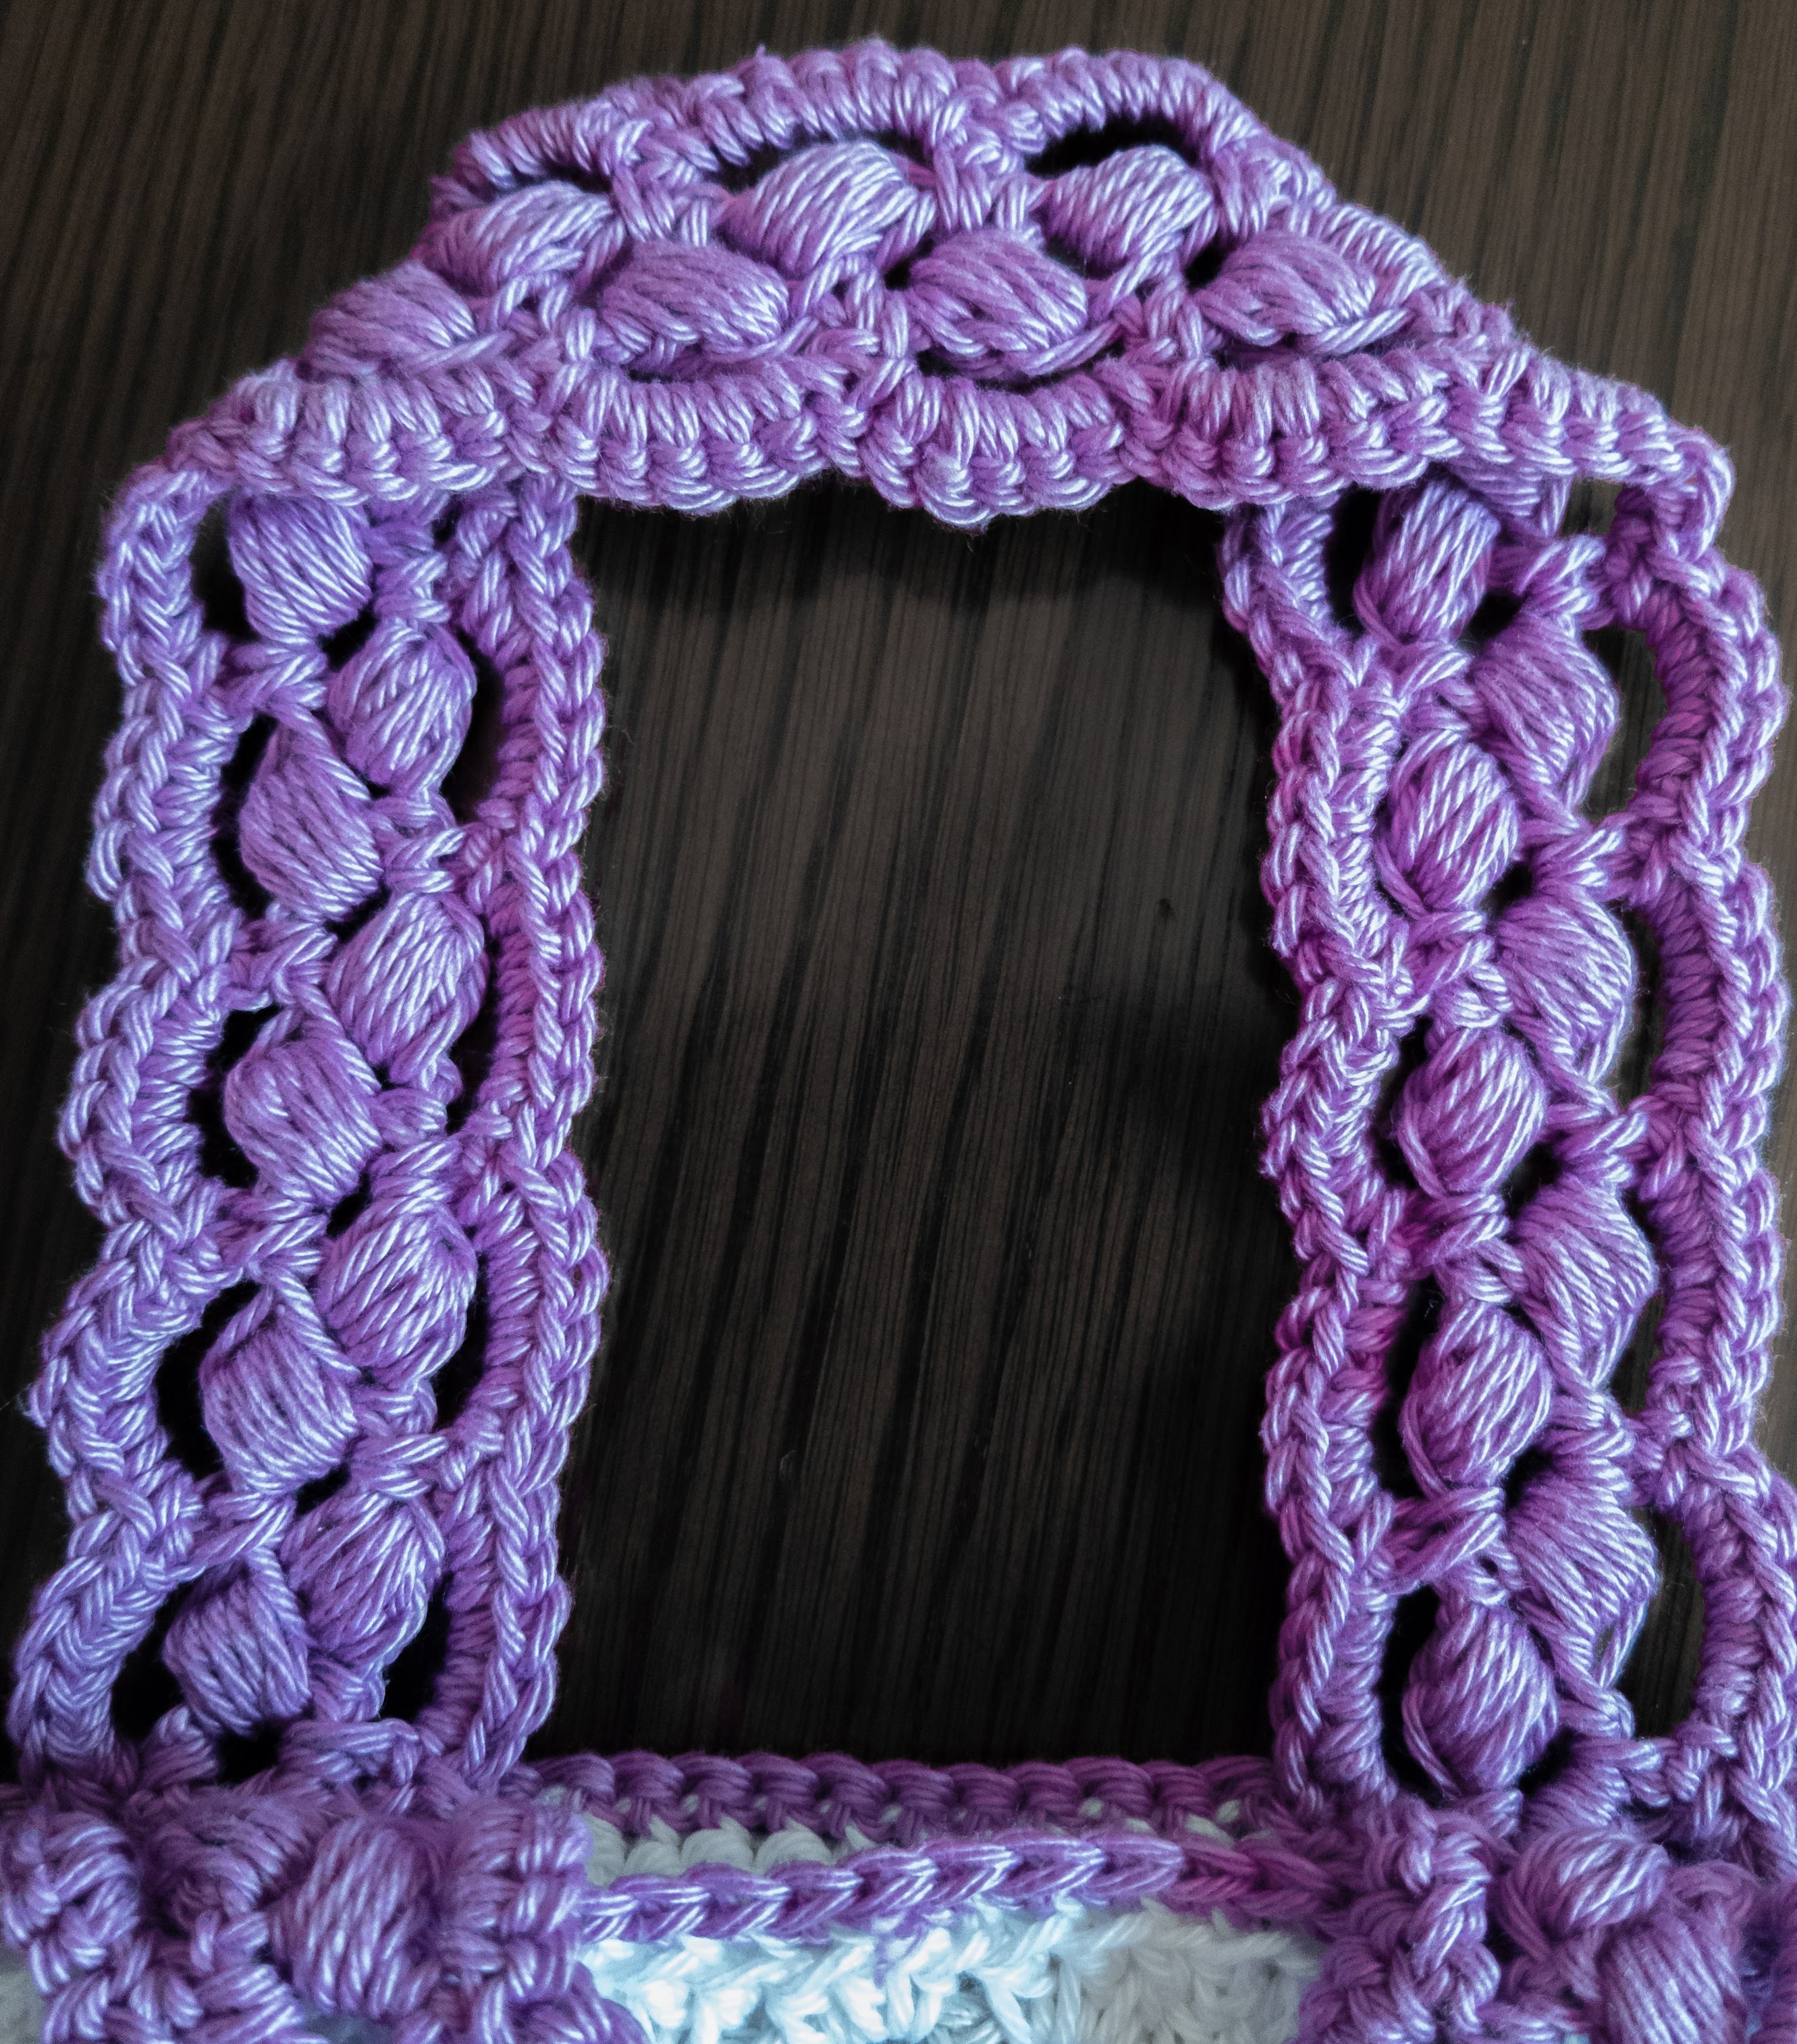
This is always somewhat of a challenge – what handles to make ? I decided to try something different and came across a lace like design – while the pattern is for a much finer yarn, it has worked very well with DK too and I think make ideal fancy handles! Here is the tutorial of how to make them – though the video is not in English, it is very easy to follow.
I am now off to make some more in other colours! Hope this has inspired you to make your own. Please share and Happy crocheting!