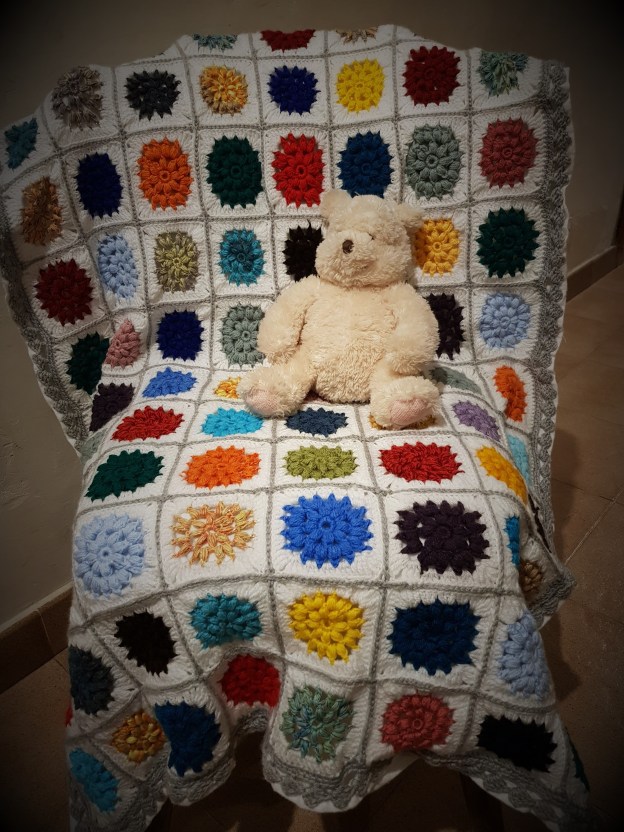
I’ve been rather busy putting this very colourful lapghan together. It’s similar to the Colourful Lined Baby blanket I made some time back. Hope you like it! I’m now working on one in pastel colours. Check back soon for updates!
Christmas is round the corner, and I can’t wait to start decorating!
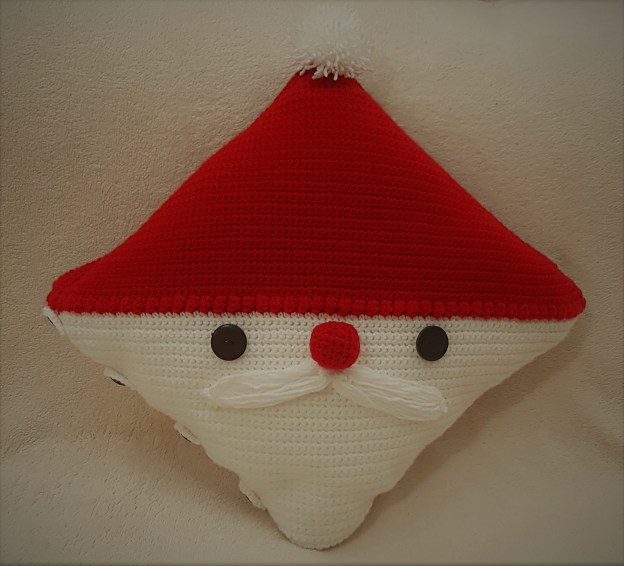
Here’s a Santa cushion cover I made using the Bernat Santa Pillow pattern from Yarnspirations.
Bernat Santa Pillow – Free Pattern →
Instead of using a zipper to close the cushion, I used buttons and crocheted little hoops.
Enjoy! 🎅
I came across this lovely pattern on a blog called Mille Makes and adapted it to make a stylish baby blanket:
Something Pretty – Free Pattern →
I lined it with flannel (that was quite challenging!), as the design has holes and you don’t want little fingers getting caught. This is also a fantastic way to use up any leftover yarn.
What do you think?
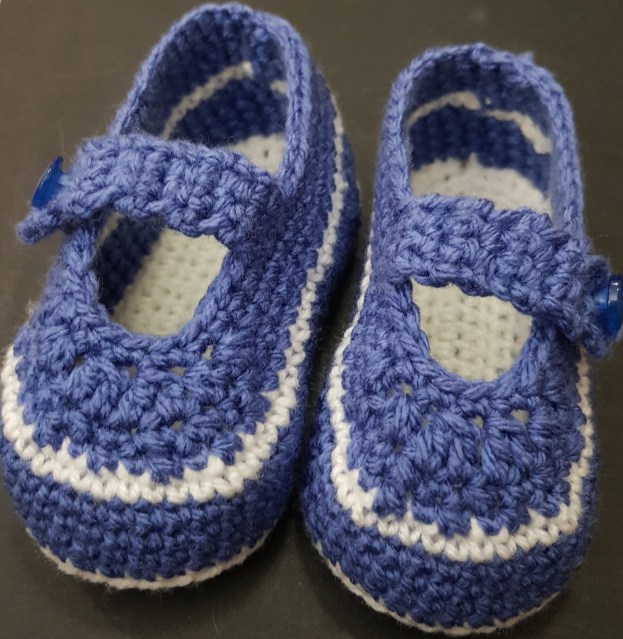
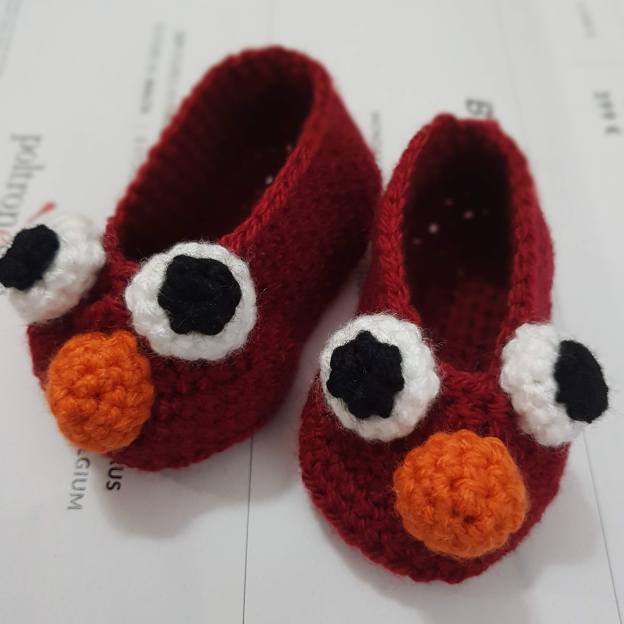
Here are some slippers I made for toddlers. Again, I modified the pattern from my earlier Cute Elmo Baby Booties → post, making them larger and adding the white row detail and straps.
Toddlers love running around barefoot, or with just socks on, so this is a great and stylish way to keep little toes warm.
What do you think?
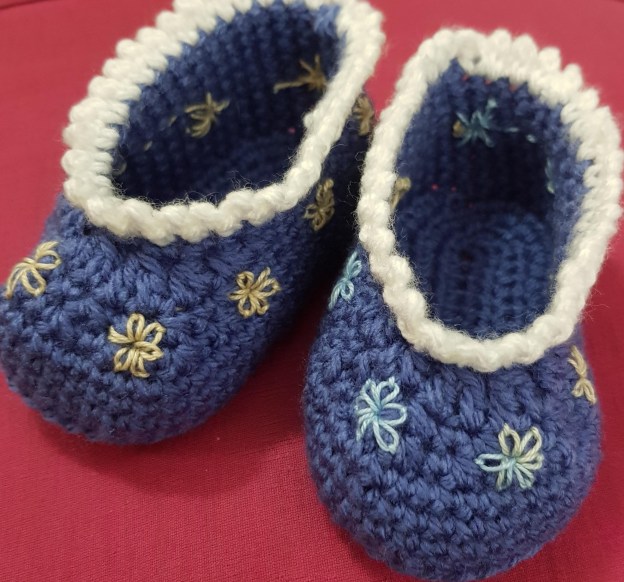
Here are some more booties I made. 😊
I modified the pattern from my earlier Cute Elmo Baby Booties → post and embroidered some little flowers all around to make them pretty.
What do you think?
Baby things are so cute, and these couldn’t be any cuter! What a great way to start baby’s shoe collection — I’m a firm believer that you can never have enough shoes! 😊
I made these using the Elmo Inspired Baby Booties pattern by Olivia Kent of Hopeful Honey.
Elmo Inspired Baby Booties – Free Pattern →
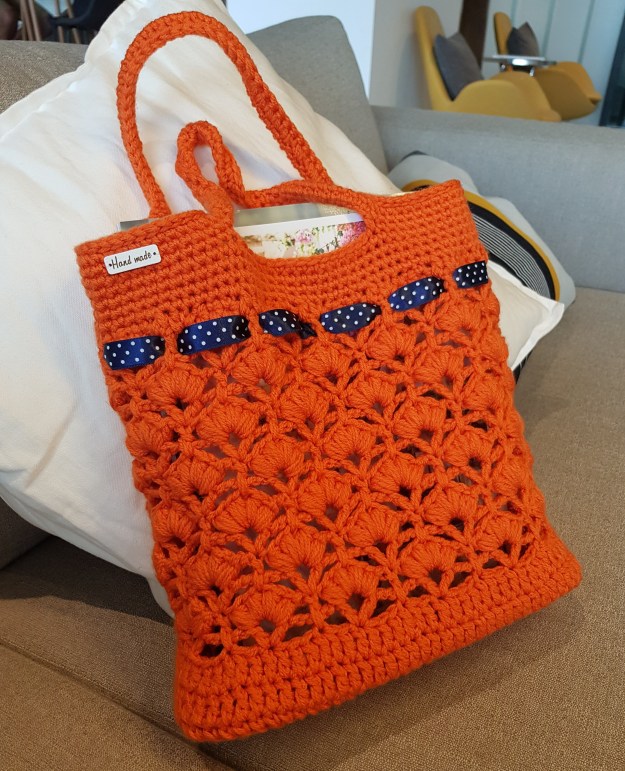
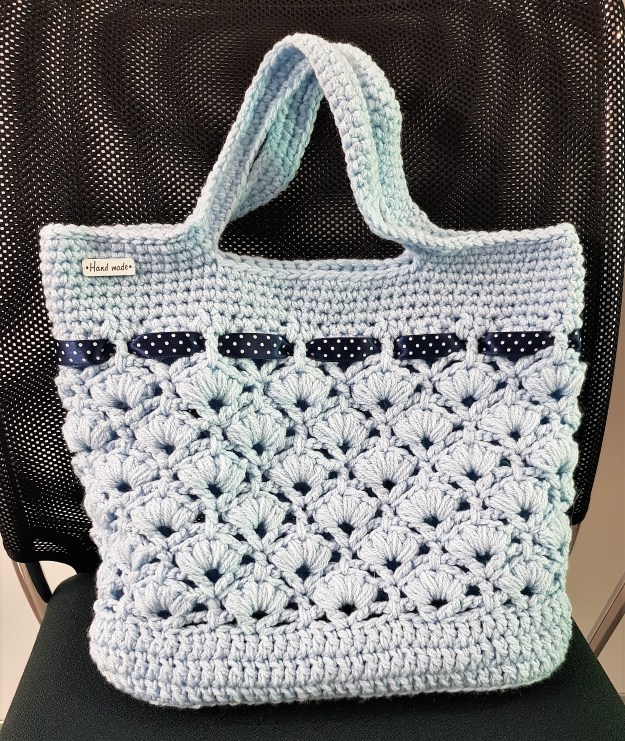
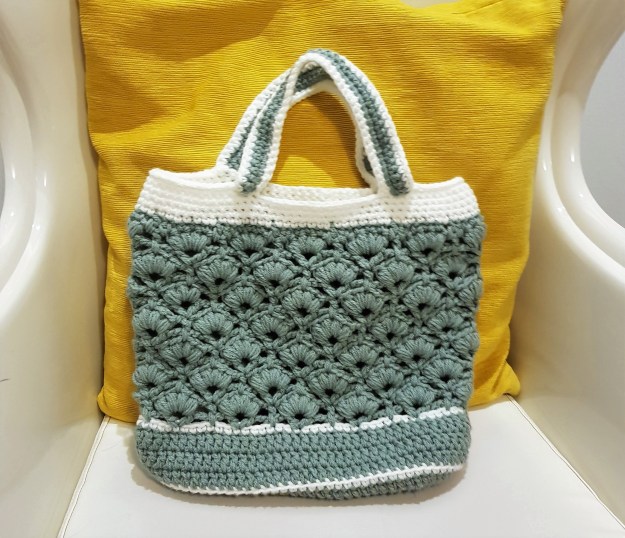
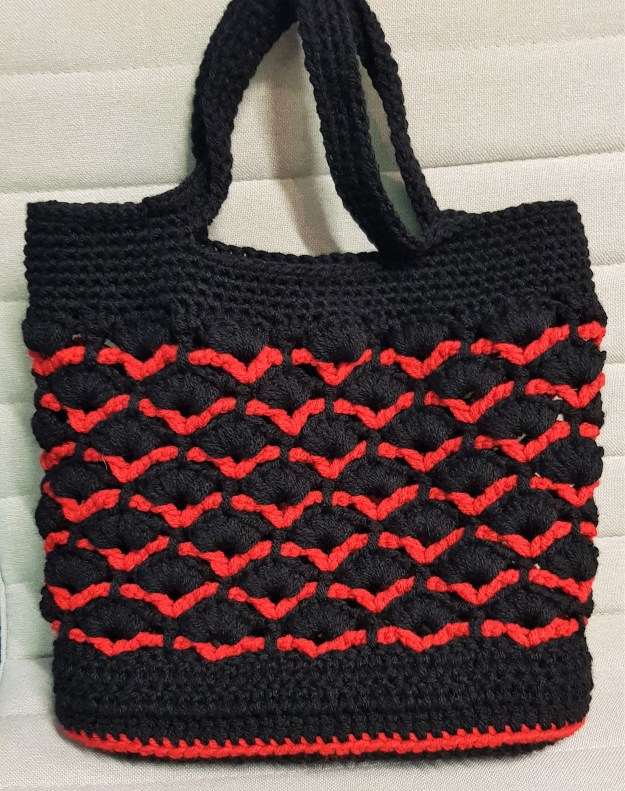
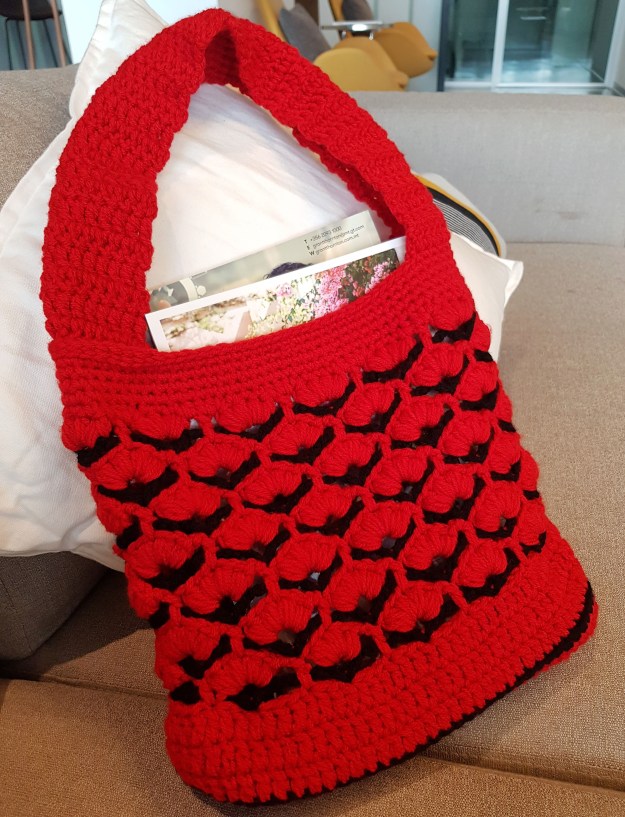
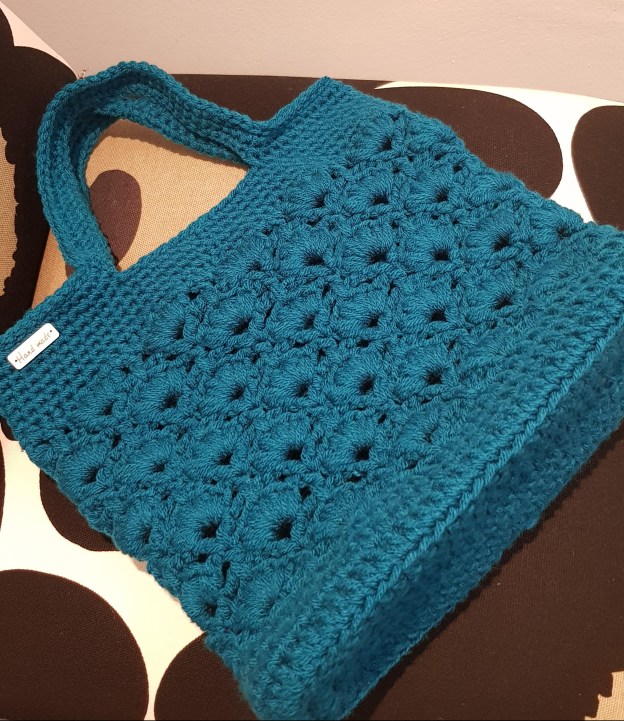
I have fallen in love with this bag — so much so that I ended up making several more, with a few variations. Here they are!
If you’d like to make one yourself, you can find the pattern and my original tips in my Turquoise Sturdy Handbag post →
With ribbon :


2 colours :


With a wide shoulder strap

Did I mention I love bags? Well, I couldn’t help making this one and I am very pleased with how it turned out. I will be making more in different colours…..and maybe even mixing colours up a bit 🙂
The free Daisy Fields Market Tote pattern by Dorianna of The Lavender Chair can be found here:
Daisy Fields Market Tote – Free Pattern →
TIP: While the pattern calls for chunky cotton yarn, you can also crochet this using two strands of DK acrylic and a 6.5mm hook. It will take almost 4 × 50g balls.
TIP 2: I cut out a piece of cardboard in the shape of the base of the bag (from a shoebox I was going to throw away), covered it with a nice fabric, and placed it inside the bag. That way, the base stays flat. It isn’t sewn in, so you can easily remove it before washing the bag.
Do you remember those plastic bag/baskets which had holes and used to be quite popular for carrying grocery shopping?- It’s baskets like the green one shown below that I remember seeing commonly used by housewives doing their grocery shopping at the corner grocer shop. Today, there are very few little grocers left – being replaced by the large supermarkets or chains of mini-marts. Also, few people have baskets like this – often opting for totes or other branded shopping bags which you can buy from the supermarket when checking out.

This bag is inspired by the plastic one above. I have lined it as well so that it stays sturdy, but this is not a requirement. But if you do line it, then it’s perfect for carrying a laptop and notebooks/books. Here is my bag:
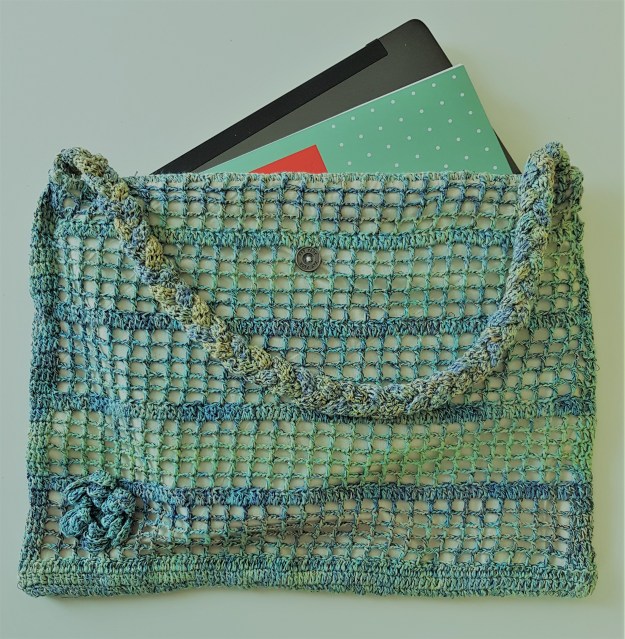
I used Katia’s multicolour cotton yarn (Funny rainbow star) for this using a 3.0mm hook. You will need approximately 100g. The instructions are written using US terms.
Abbreviations:
CH – chain stitch
SlSt -Slip Stitch
SC – single crochet
HDC – half double crochet
DC – double crochet
TR – triple crochet
Bag Body
CH 101
Row 1 – 100 HDC in front loop of each chain starting from the 2nd chain.
Row 2 – 100 HDC in back loop of each chain and SlSt into the 1st HDC made in Row 1.
Row 3 – CH 2, DC in each HDC all the way round , joining with a SlSt into the 2nd chain you started this row with.
Rows 4-5 – Repeat Row 3.
Row 6 – CH 2, DC 4, (CH 3, skip 2 stitches) x 30 times. 10DC, (CH 3, skip 2 stitches) x 30 times, 5 DC, and join with SlSt into 2nd chain you started this Row with.
Rows 7-10 – repeat Row 6.
Row 11 – CH 2, 199 DC all the way round and join with SlSt.
Rows 12-16 – repeat Row 6.
Row 17 – Repeat Row 11.
Rows 18-22 – repeat Row 6.
Row 23 – repeat Row 11.
Rows 24-28 – Repeat Row 6.
Row 29 – Repeat Row 11.
Rows 30-34 – Repeat Row 6.
Row 35-36 – Repeat Row 11. Cast off.
Lining
I took some cream coloured cotton fabric and cut and sewed it into a bag that would fit. Then, I sewed it to the crochet bag at the bottom, and also at intervals – I chose to do so through Rows 11, 17. 23 and 29, making sure as much as possible that there are no creases in the fabric inside bag and it sits straight. Fold the top of the bag over the inner fabric bag and sew along the edge.
To finish this off nicely, using a very small hook (I used a 1.1 mm), 200 SC over the top and into the fabric all the way round the rim of the bag. SlSt to close and cast off.
Button flap
I’ve used a double crochet method to have a nice and sturdy flap. This is how it’s done:
Using the 3.0 mm hook, skip 38 SC from previous step.
Step 1 – 26 SC in back loop of SCs from the Lining Instructions above. Turn.
Step 2 – CH 1, 26 SC through front loop of SC just made + loop which you didn’t use from the previous SC (lining Instructions). Turn.
Repeat Step 2 until the flap measure 6 cm.
Now, we will make the button hole.
Step 3 – CH1, 11 SC (through front loop of previous SC + loop from the row before), CH4, 11SC (through front loop of previous SC + loop from the row before). Turn
Step 4 – CH 1, 11 SC (through front loop of previous SC + loop from the row before), 4 SC in back loop of CHs , 11 SC (through front loop of previous SC + loop from the row before). Turn.
Repeat Step 2 twice. Cast-off.
Find an appropriately sized button and sew it onto the bag, making sure that it lines up with the button hole.
Strap
I decided to make a braided strap. To do this, crochet 3 cords measuring around 70 cm as follows:
In a magic ring, 3CH, 6 DC. Join to 3 CH with SlSt.
Repeat 3 CH, 6 DC, join to 2CH with SlSt – until cord measures around 70 cm.
Once you have made 3 cords, braid them – securing them by sewing together along the way, so make sure they don’t unravel. Then sew each end of the braid to opposite ends on the inside of the opening of the bag.
Flower
Here is how to crochet the flower:
Step 1 – In a magic ring, CH3, 12 DC, and close by joining with SlSt.
Step 2 – Repeat (CH 4, skip 1 DC, SlSt into the next Stitch) all the way round – you should have 6 loops.
Step 3 – Repeat (CH 5, skip 1 DC, SlSt into the same Stitch as in step before this) all the way round.
Step 4 – Repeat (CH 6, skip 1 DC, SlSt into the same Stitch as in step before this) all the way round.
Step 5 – Working in the 4 Ch loops formed in Step 2, Repeat (SlSt into loop, SC, DC, SC, SlSt) in each 4 chain loop. Close by SlSt into first SC.
Step 6 – Working in the 5 Ch loops formed in Step 3, Repeat (SlSt into loop, SC, DC, TR,DC, SC, SlSt) in each 5 chain loop. Close by SlSt into first SC.
Step 7 – Working in the 6 Ch loops formed in Step 4, Repeat (SlSt into loop, SC, DC, 2TR, DC, SC, SlSt) in each 6 chain loop. Close by SlSt into first SC. Cast off.
Sew the flower onto the bag.
This cute bag is really easy to make and, in fact, I have got hooked and made several. I used DK cotton yarn for these – and you will need approximately 50g to make this. The instructions are written using US terms.
Abbreviations:
CH – chain stitch
SlSt -Slip Stitch
SC – single crochet
HDC – half double crochet
DC – double crochet
TR – triple crochet
TR2Tog – 2 TR together
TR3Tog – 3 TR together
Round 1: In a magic ring, CH 1, 18 HDC, join with SlSt to top of 1st HDC
Round 2: CH 1, 2 HDC in each stitch all the way around and join with SlSt to top of 1st HDC. Don’t worry if it looked a little warped – this will straighten out as you go along.
Round 3: CH 1, SC in same stitch, CH 3, *skip next HDC, SC in 2nd HDC from hook, CH 3,* repeat * * around and join with SlSt to top of 1st SC
Round 4: 1 SlSt into 1st CH 3 space, CH 4, 2 TR in same CH 3 space, CH 5, *SC in next CH 3 space, CH 5, 3 TR in next CH 3 space, CH 5,* repeat * * around and join with SlSt to top of CH 4
Round 5: CH 3, TR2Tog (this counts as the first TR3Tog), CH 5, SC in 1st CH 5 space, CH 5, SC in next CH 5 space, *CH 5, TR3Tog, CH 5, SC in next CH 5 space, CH 5, SC in next CH 5 space*, repeat * * around, CH 5, join with SlSt to top of first TR3Tog
Round 6: CH 1, SC in same stitch. * Repeat (CH3 , SC in the next CH 5 space) 3 times. CH 3, SC in top of the next TR3Tog* . Repeat * * all the way around and join with SlSt to top of 1st SC.
Round 7: 1 SlSt around CH 3 space, CH 1, SC in same CH 3 space, CH 5, *SC in next CH 3 space, CH 3, SlSt into SC just made, CH 5,* repeat * * around and join with SlSt to top of 1st SC. CH 5, SlSt to same SC.
Round 8: 2 SlSt around CH 5 space, CH 1, SC in same CH 5 space, CH 5, *SC in next CH 5 space, CH 5,* repeat * * around and join with SlSt to top of 1st SC
Round 9-10: Repeat Round 8
Round 11: 2 SlSt around CH 5 space, CH 1, SC in same CH 5 space, CH 5, *SC in next CH 5 space, CH 3, SlSt to SC just made, CH 5,* repeat * * around and join with SlSt to top of 1st SC, CH 5, SlSt to same SC
Round 12: 2 SlSt around CH 5 space, CH 1, SC in same CH 5 space, CH 5, *SC in next CH 5 space, CH 5,* repeat * * around, join with SlSt to top of 1st SC
Round 13-14: Repeat Round 12
Round 15: Repeat Round 11
Round 16-18: Repeat Round 12
Round 19: Repeat Round 11
Round 20-22: Repeat Round 12
Round 23: Repeat Round 11
Round 24-26: Repeat Round 12
Round 27: Repeat Round 11
Round 28-30: Repeat Round 12
Round 31: 1 SlSt around CH 5 space, CH 1, SC in same CH 5 space, CH 3, *SC in next CH 5 space, CH 3,* repeat * * around, join with SlSt to top of 1st SC
Round 32-33: Repeat Round 31
Round 1: CH 90. Skip nine 3-chain spaces and attach with Slst.
Round 2: SC in next stitch on bag and 90 SC into the chains just made.
Round 3-6: Repeat Round 2.
Repeat (2 SC into 3 CH space, SC into SC) across nice 3-CH spaces, to where you will start the next strap. Repeat from Round 1-6 and fasten off. Weave in any loose threads.