04/05/2019 – Latest update: I have just found out that the designer of this awesome pattern is a very talented Russian lady named Evgenia Tychenko. I am blown over by her talent! If you would like to see more of her wonderful designs then you should visit: https://vk.com/tychenko_crochet .
I came across this most beautiful project on a Russian site (https://www.liveinternet.ru/users/5915568/post413209748/) – and not surprisingly, the pattern was in Russian. So, like all non-Russian speakers, off I went to translate it using Google Translate . Let’s just say that the outcome was not what I hoped for. While Google Translate is an awesome tool, it is not geared towards specialist terms used in crochet – so this was quite a challenge. With lots of searches on pinterest, and other Russian sites, I managed to make some sense of the pattern. The rest was then fine-tuned using trial and error – and boy, did I have to redo large parts or what! Nonetheless, I would say that it was worth it!
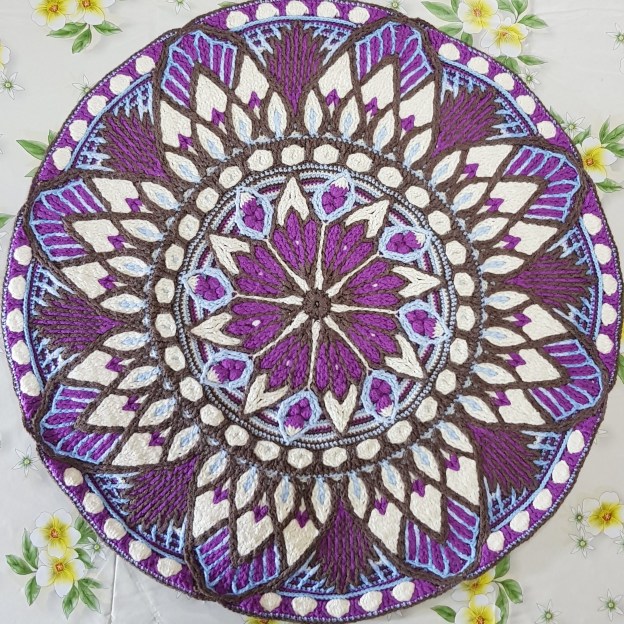
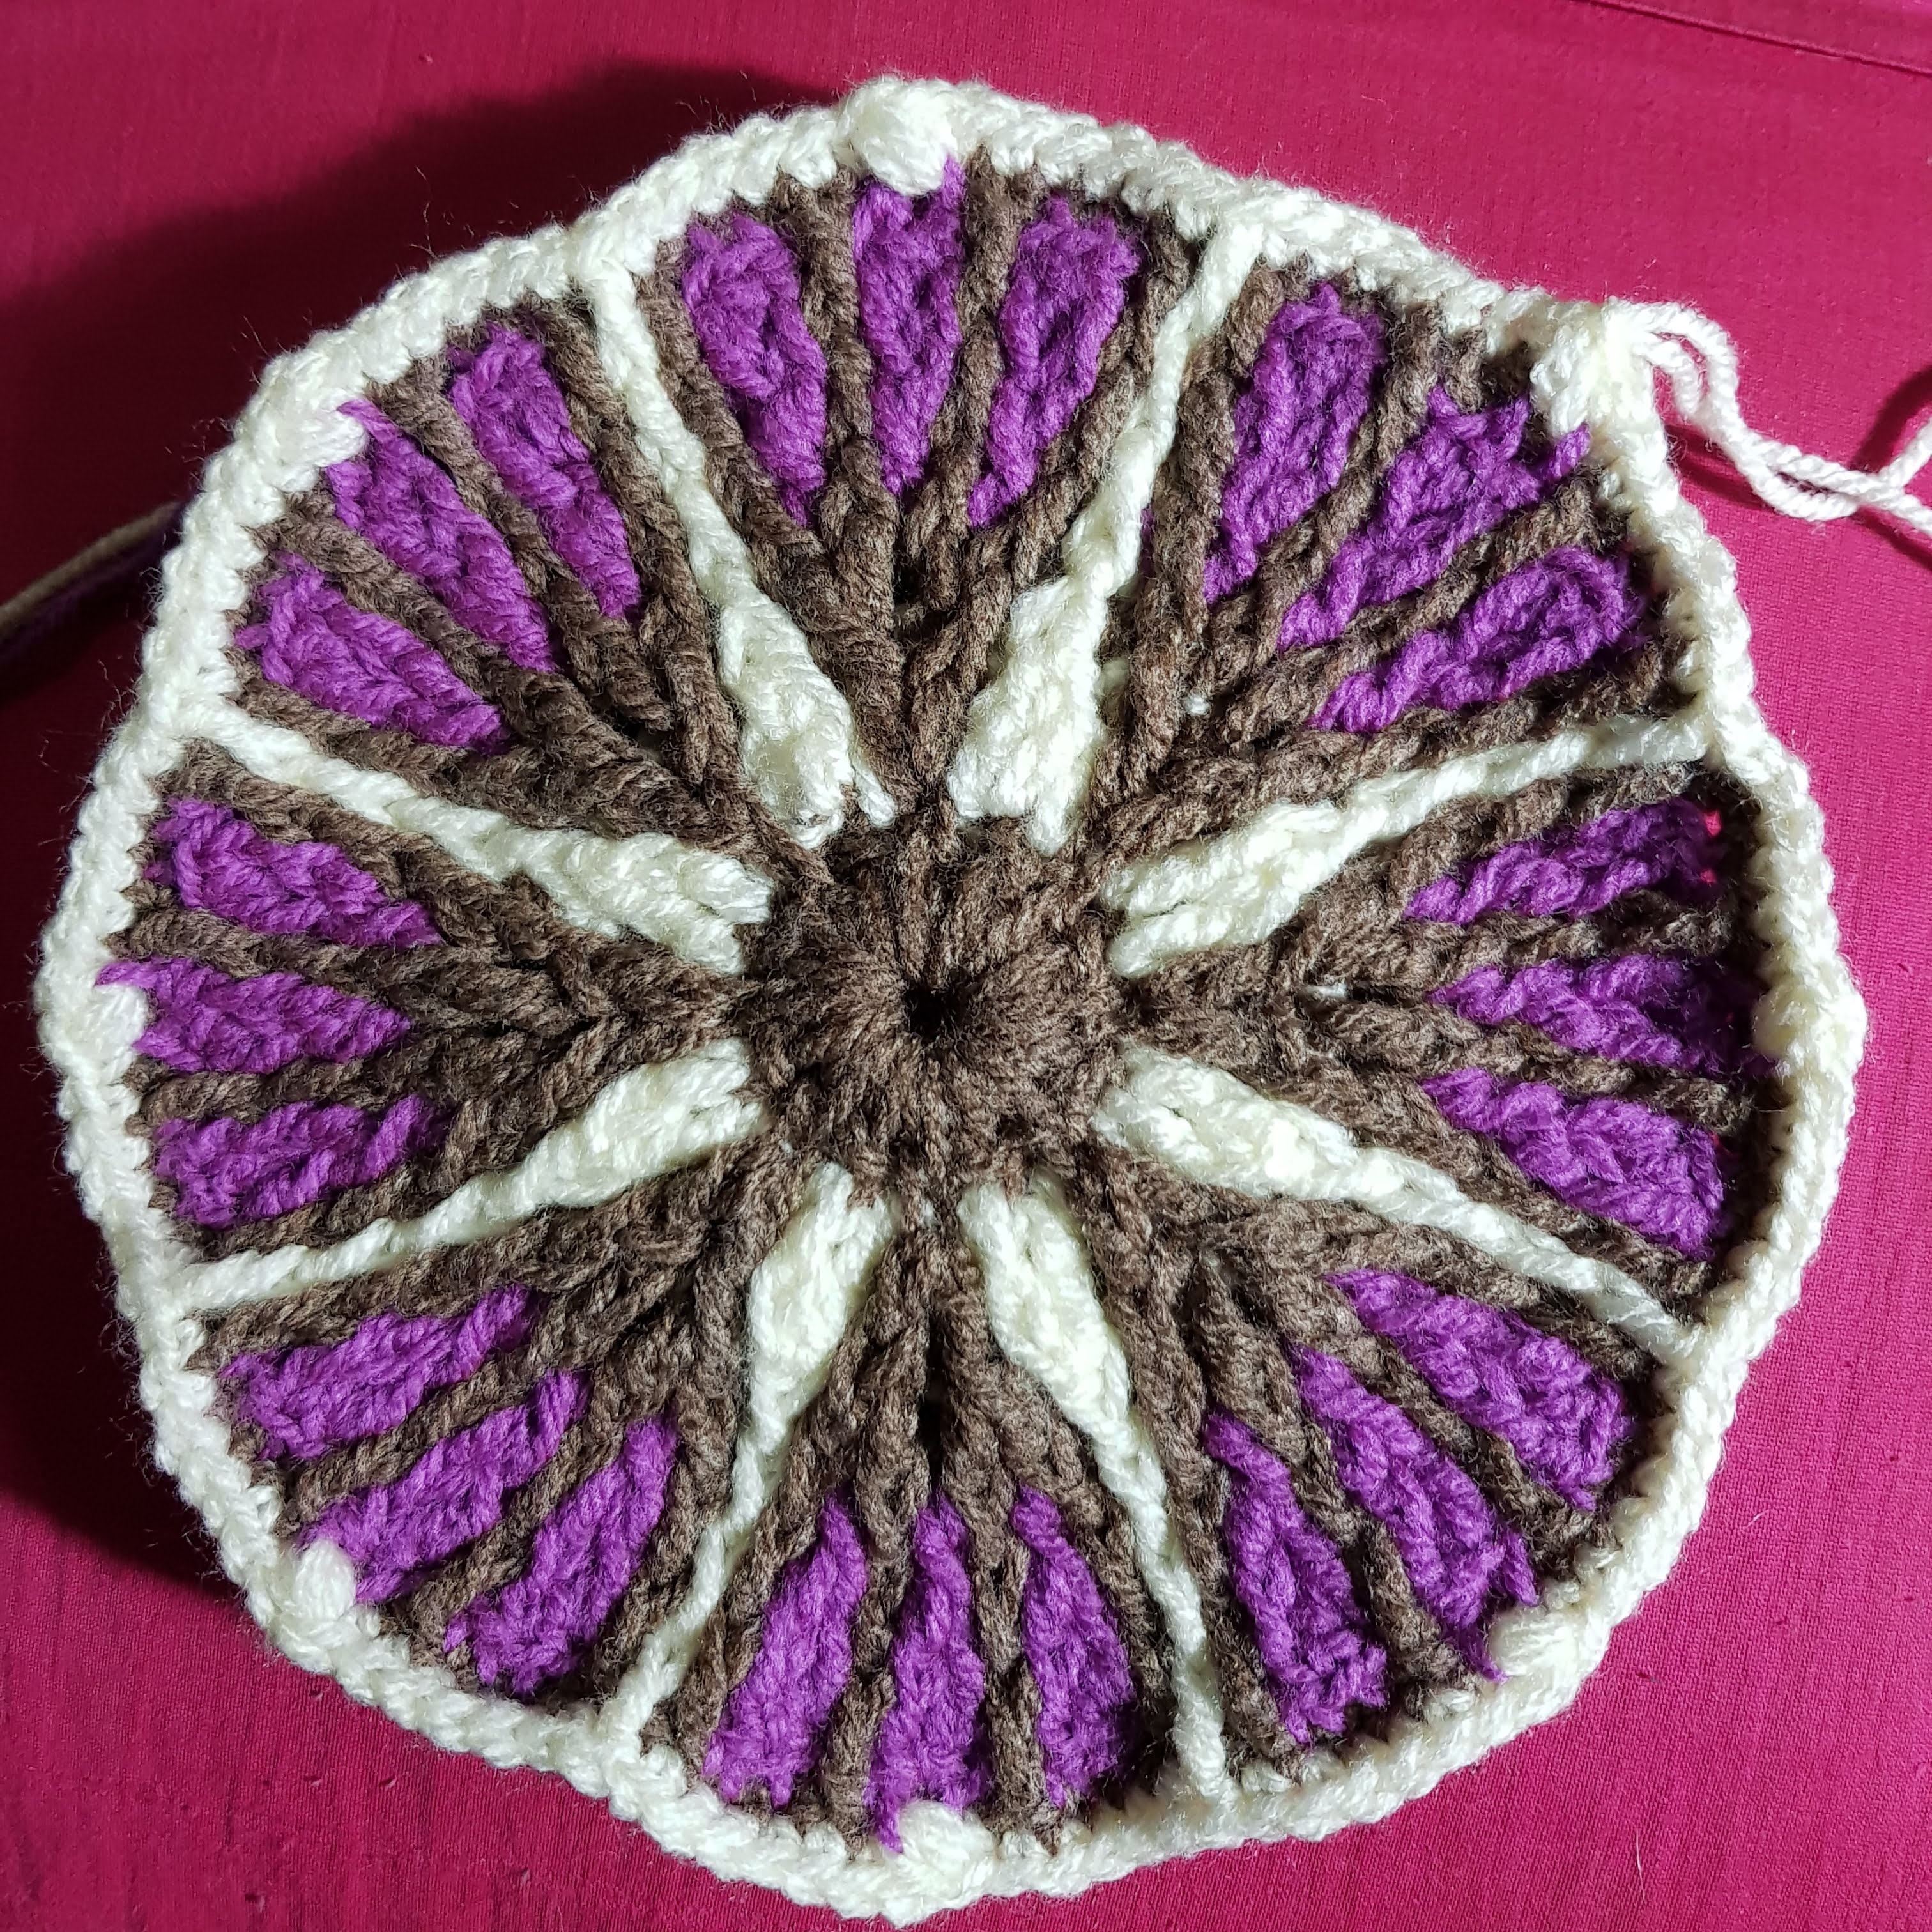
I posted the end result on my facebook page (https://www.facebook.com/manjrisplace) and also in a number of crochet groups – and have been asked by many for the pattern. So, I have now published my translation of the pattern here in parts (Thank you Evgenia for your permission to do so!!). It has taken some time to do as I followed her method by photgraphing the project step by step as I went along, to make the pattern easier to follow. You can use your own colour scheme , but I have used for this instructionsal project brown, white (actually cream), purple and light blue. If you do try this project out, I would love to see some photos!
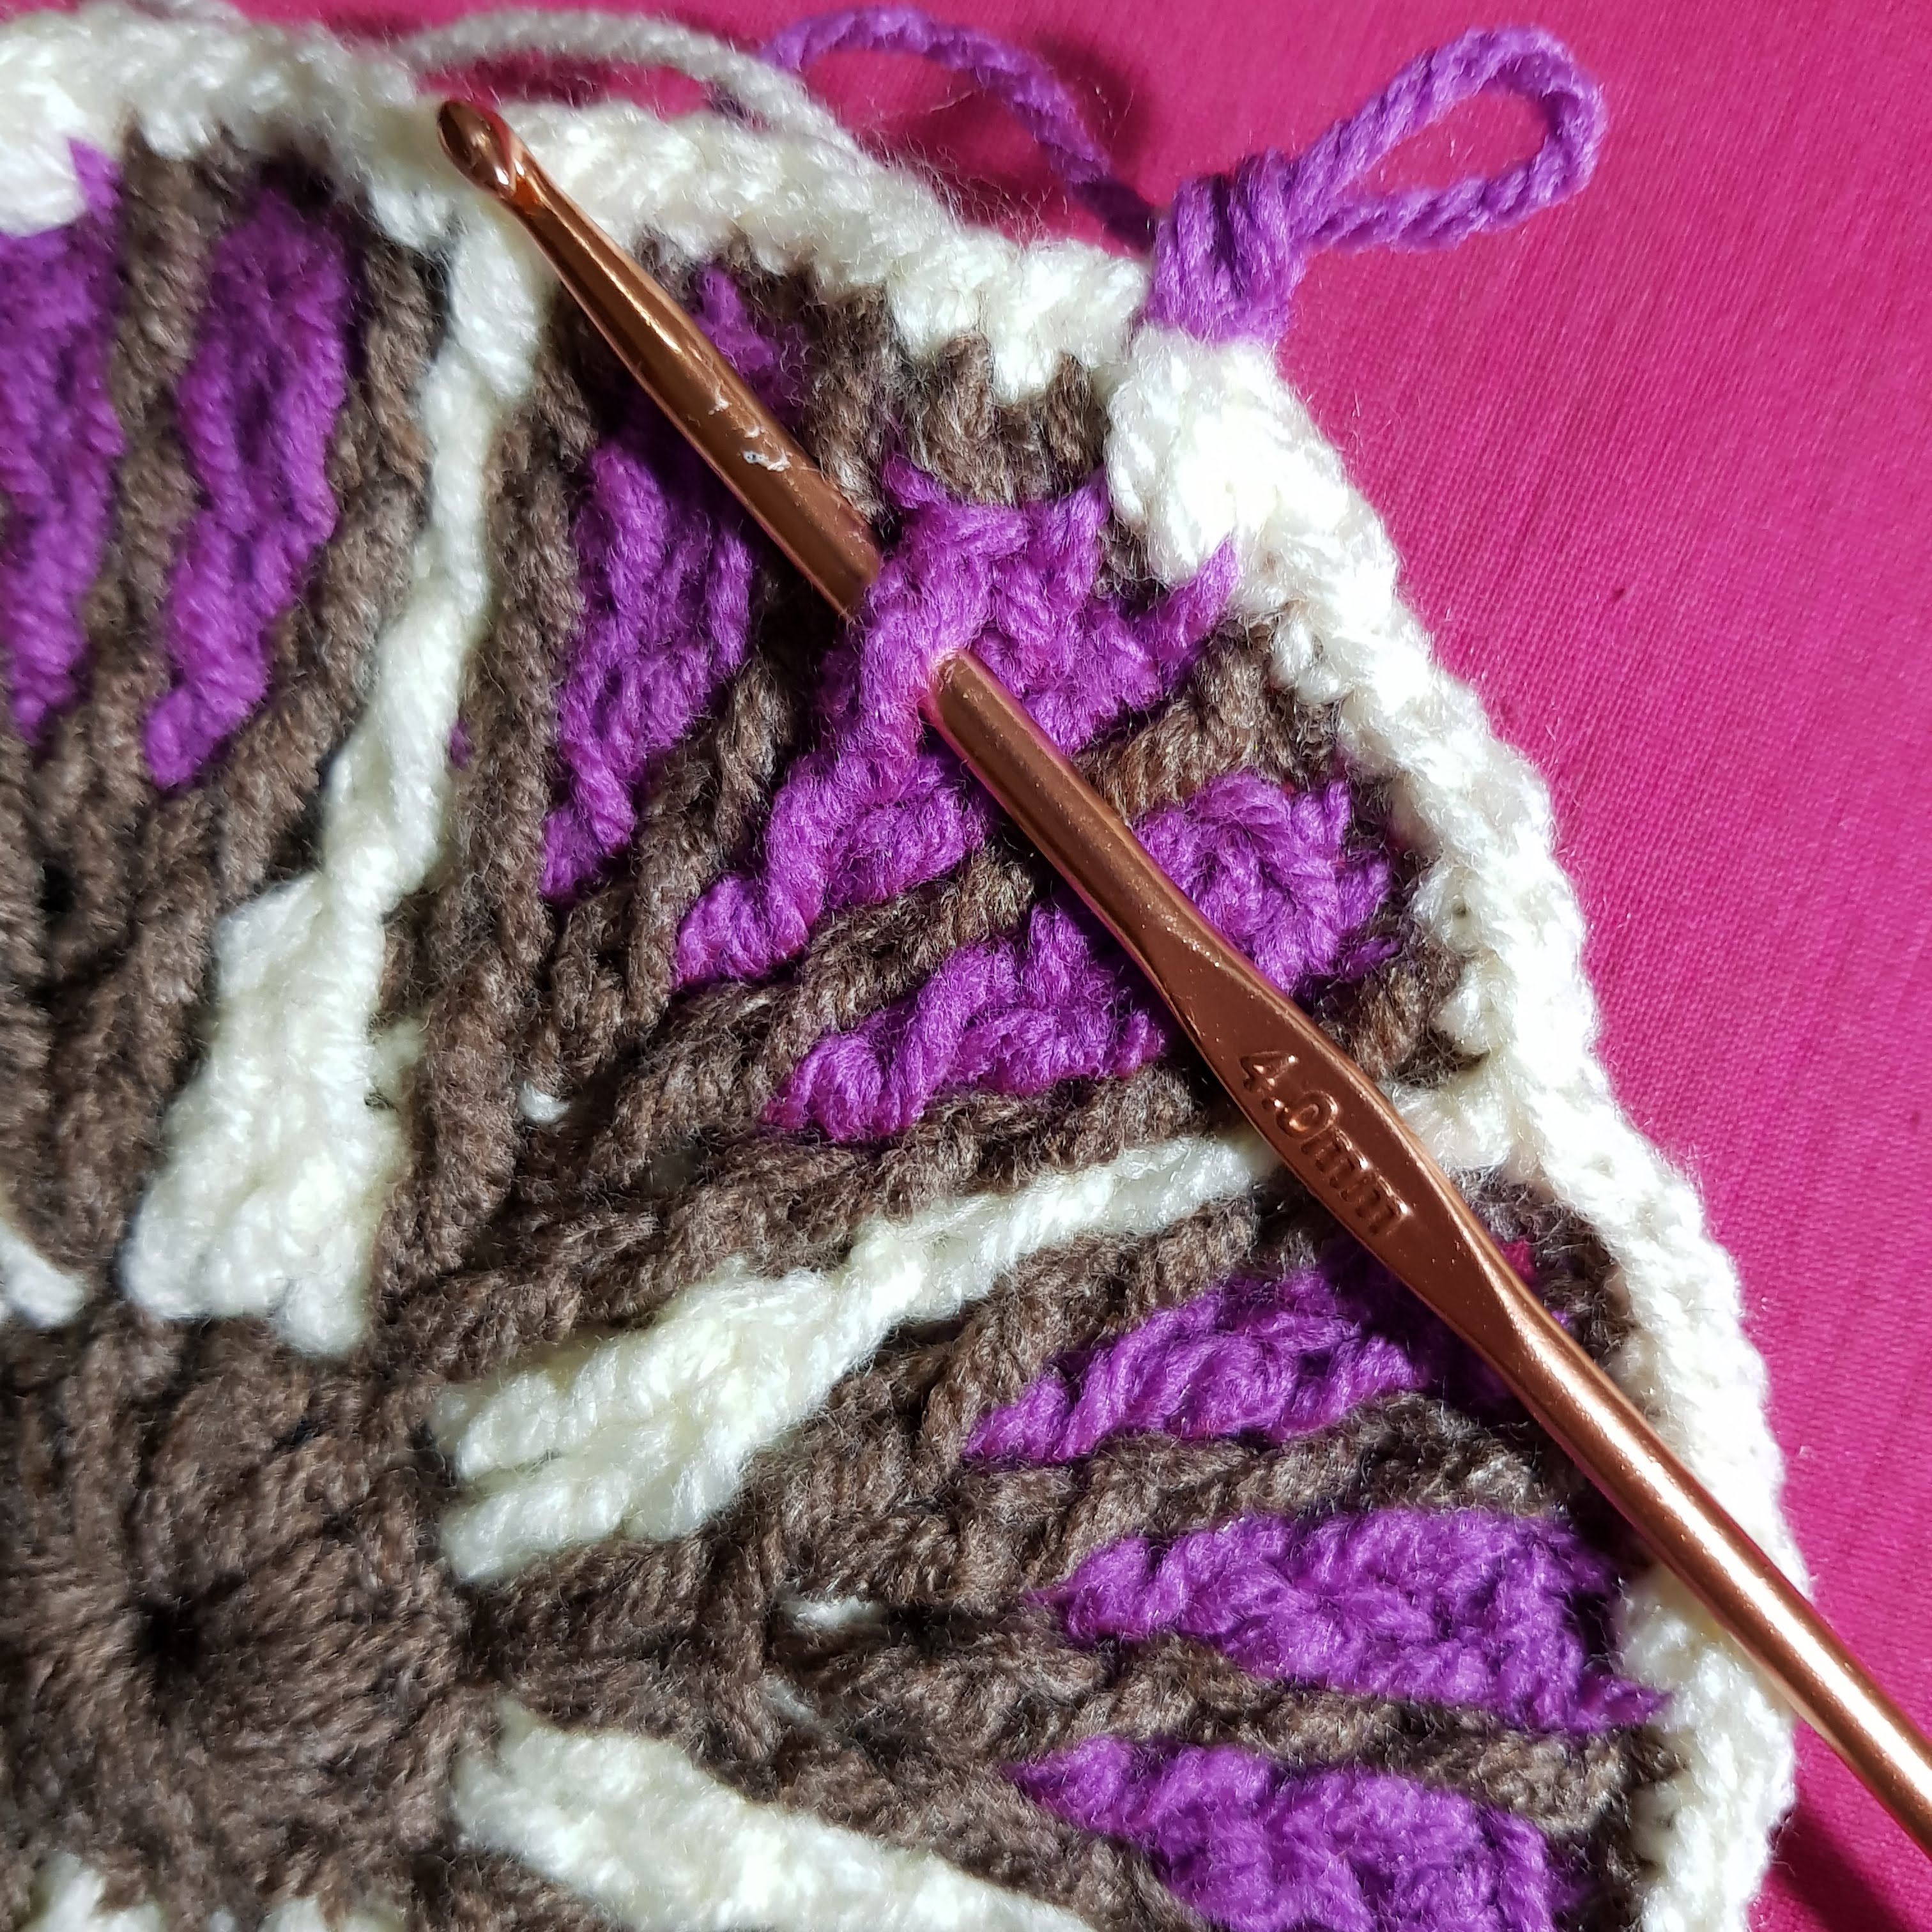
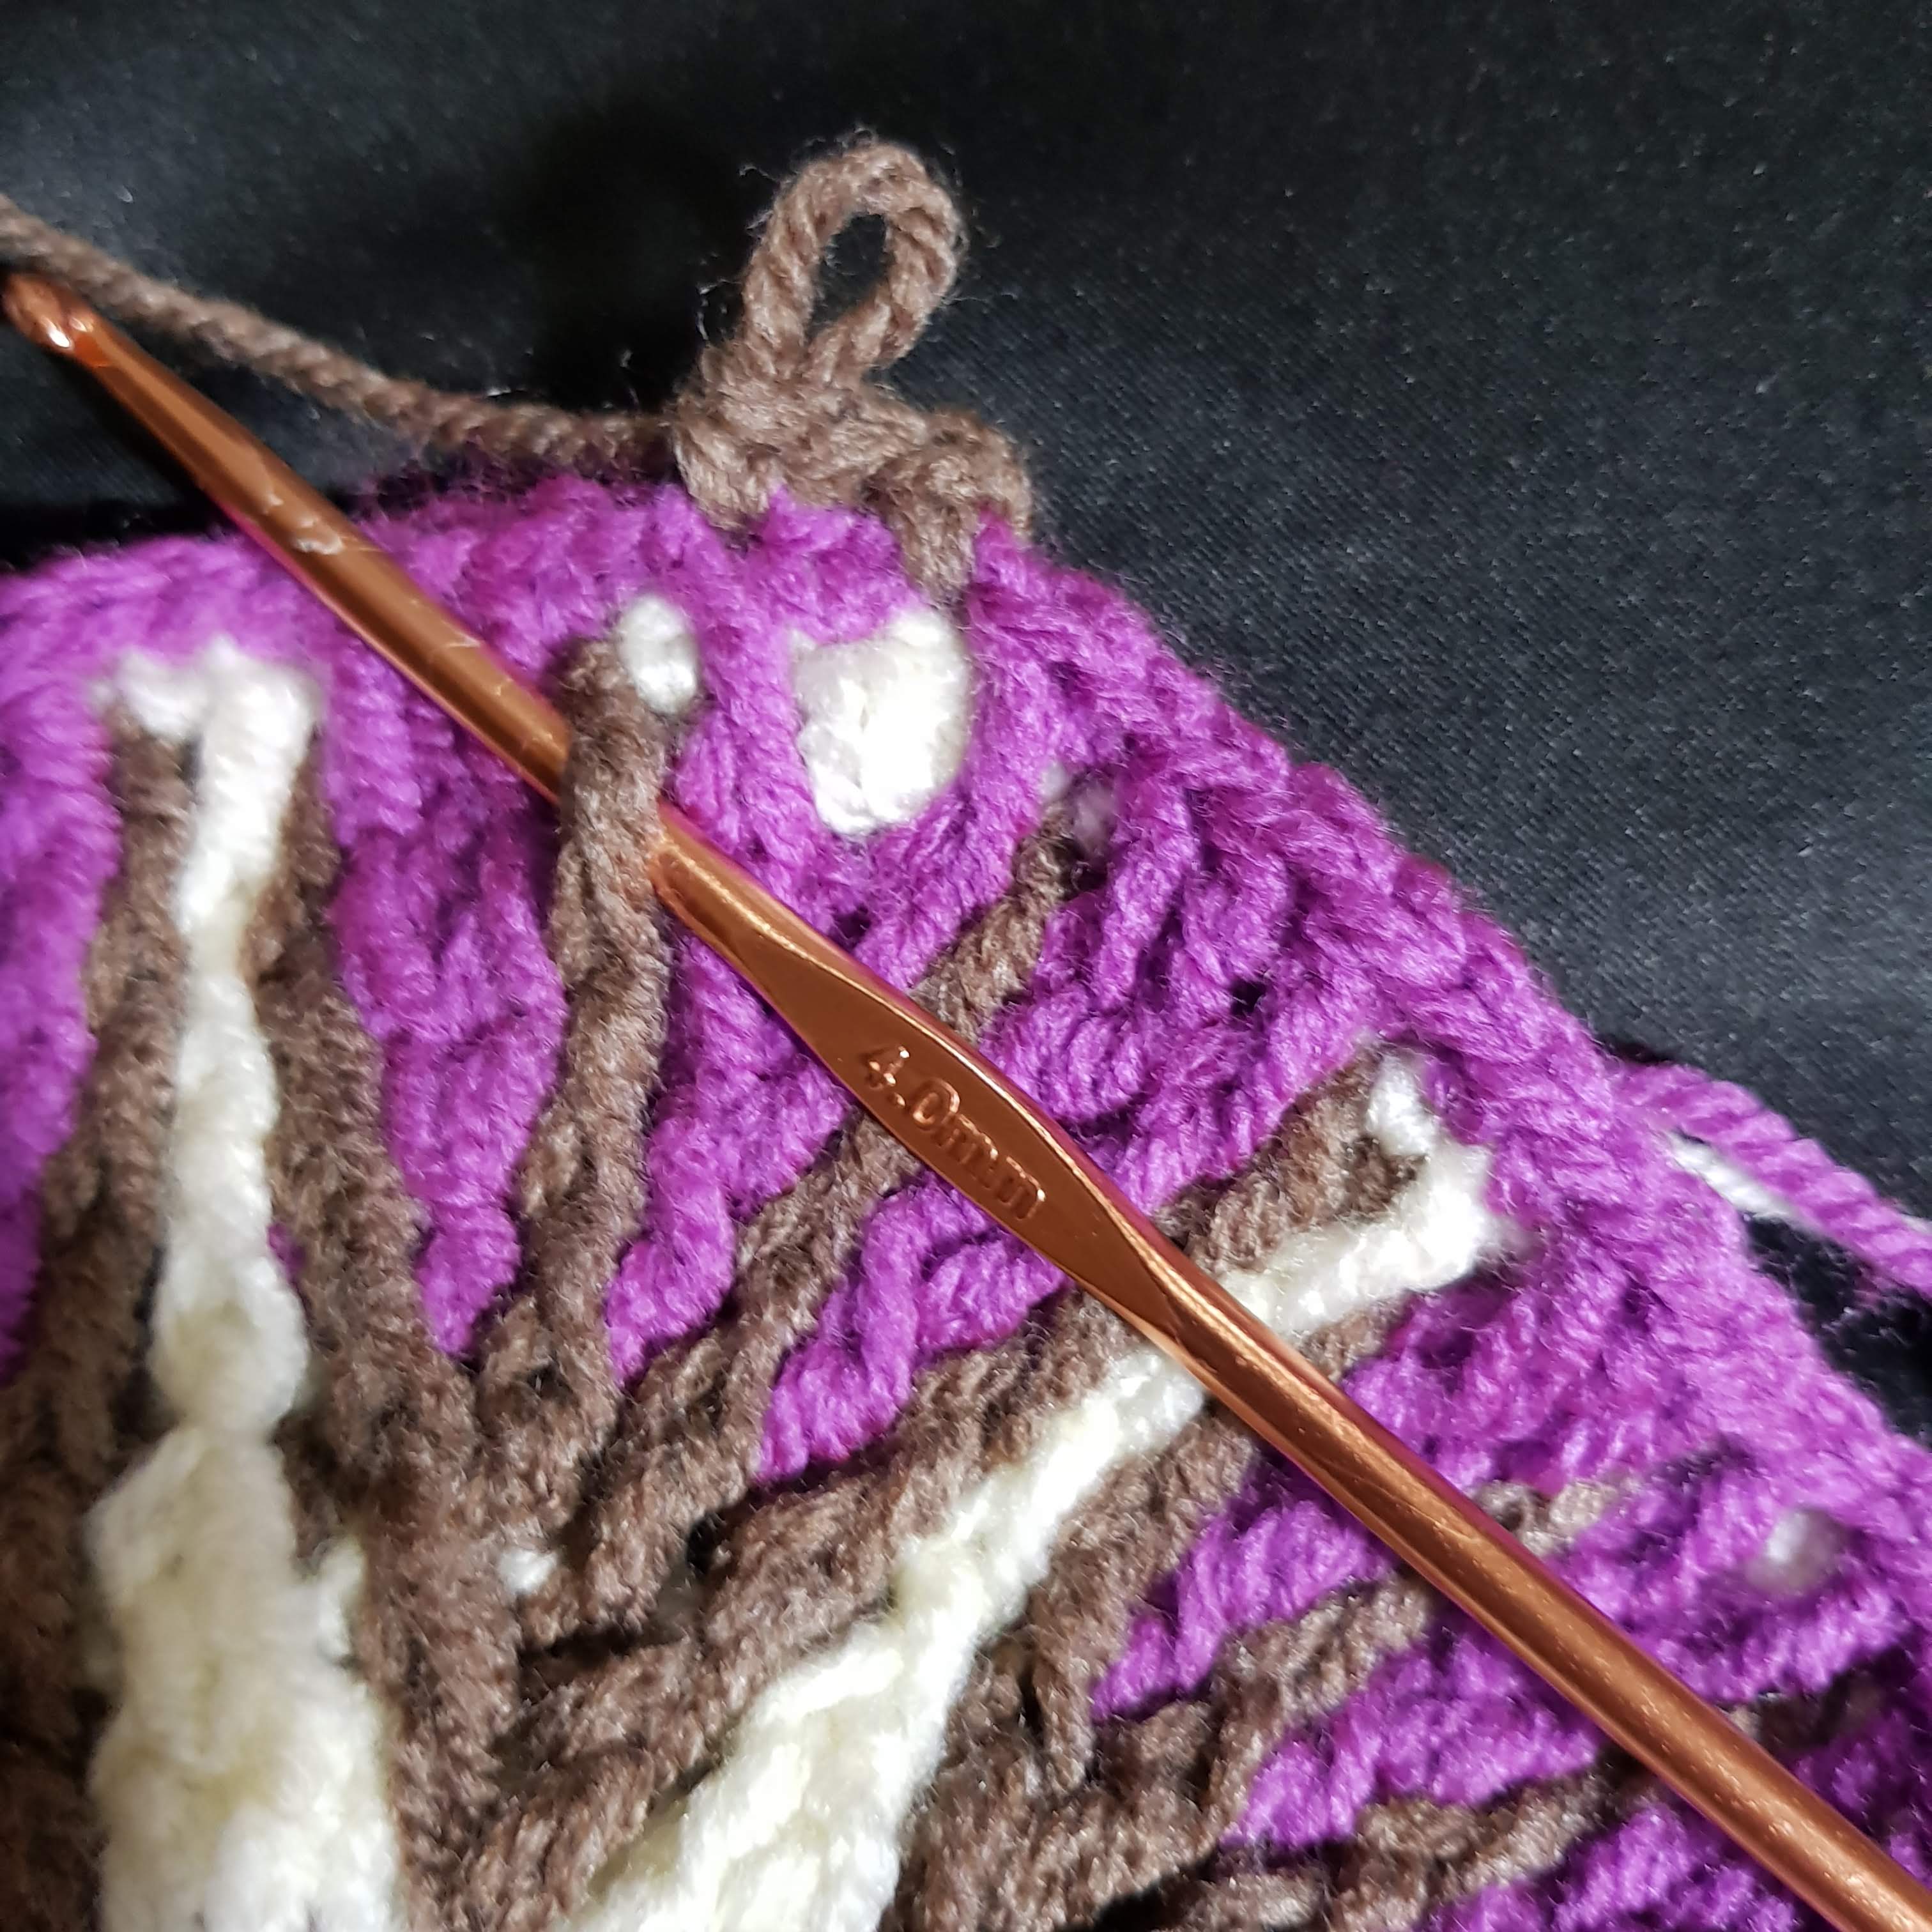
You will need 4 colours of yarn. I used acrylic DK yarn and a size 4mm hook. The end result is a mat which is approximately 75cm in diameter. I dont know exactly how much yarn I used, but I would say around 200-250g of each colour will do the trick.
Instructions – Part 1
Legend:
CH – Chain Stitch
SC – Single Crochet
HDC –Half Double Crochet
DC – Double Crochet
TR – Treble Crochet
PC – Popcorn – 5 DC together in one loop. CH 1.
Cluster stitch – (Yarn over, insert hook into designated stitch, loop through) 3 times – now you will have 7 loops on the hook – yarn over and pull through all the stitches.
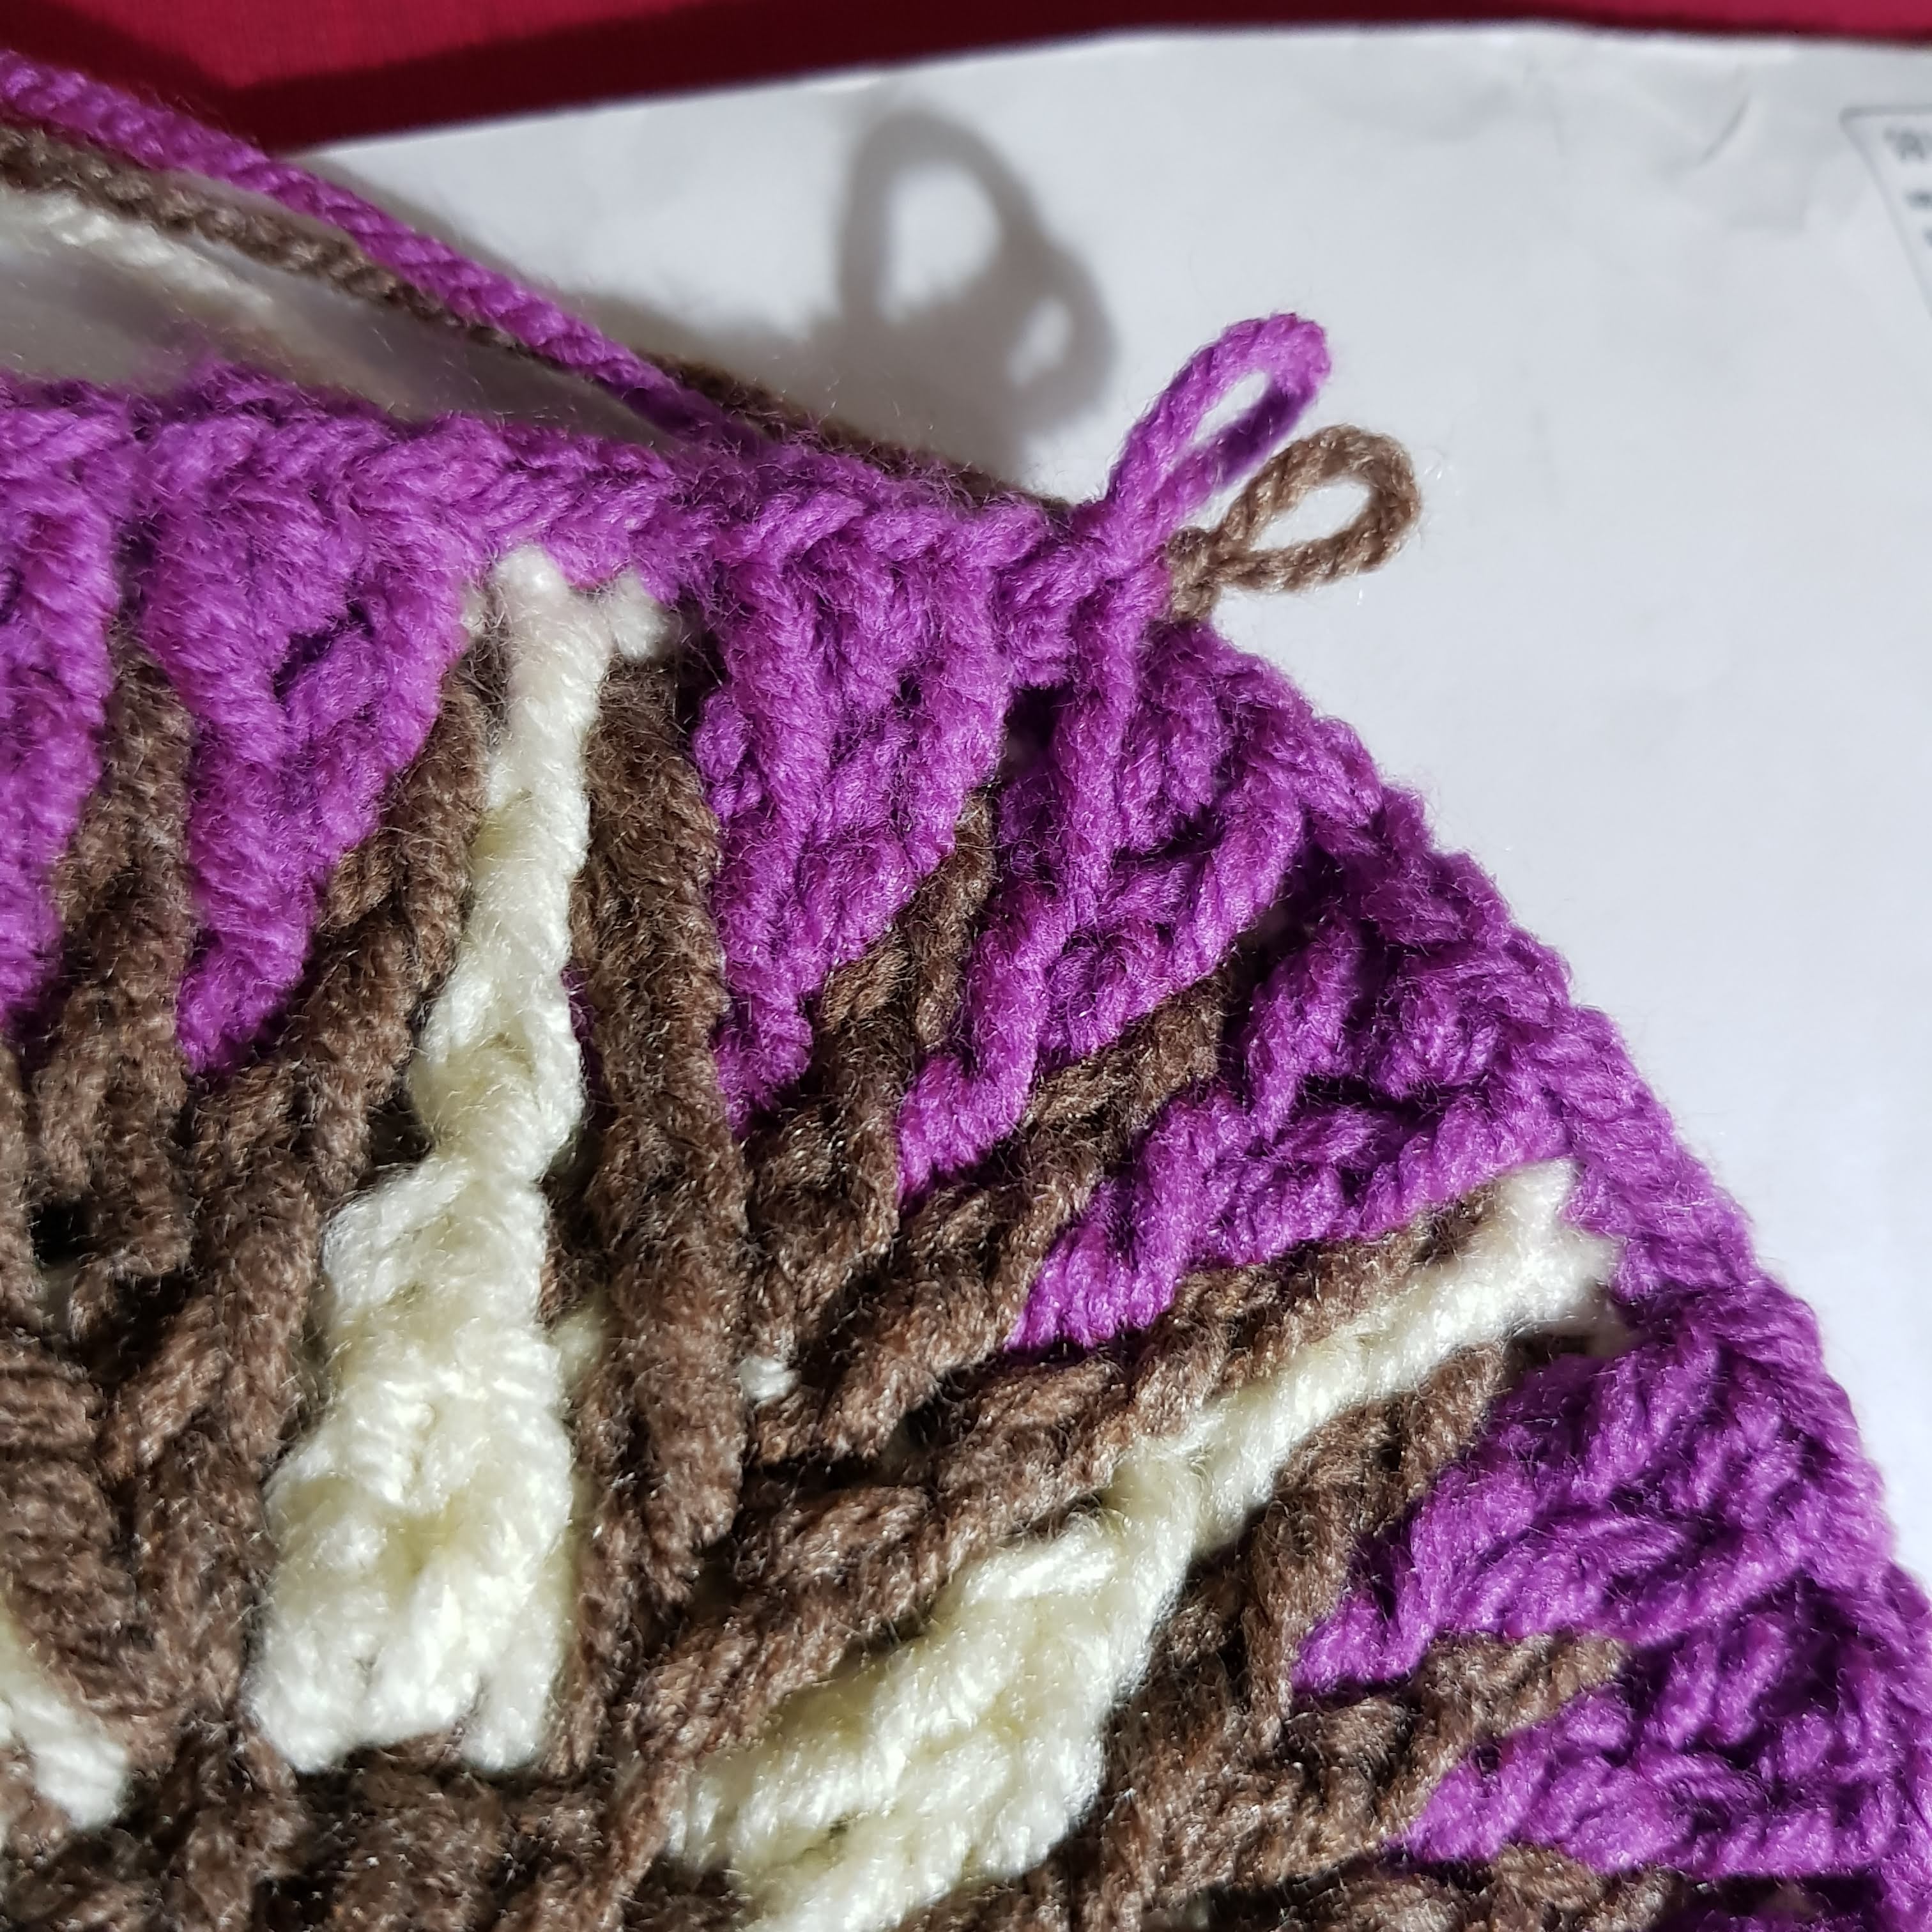
Method to join a new colour:
- Leave the last loop or colour free. Join new colour into 2nd stitch to the right from the free one with a SC.
- Insert hook into the next stitch (next to free loop of previous colour) and pull yarn through. Insert hook into free loop of previous colour. YO and pull through all 3 stitches. SC all the way round.
When you get to the start of the row, insert hook into the same loop as in step 1 and make an SC
Pattern
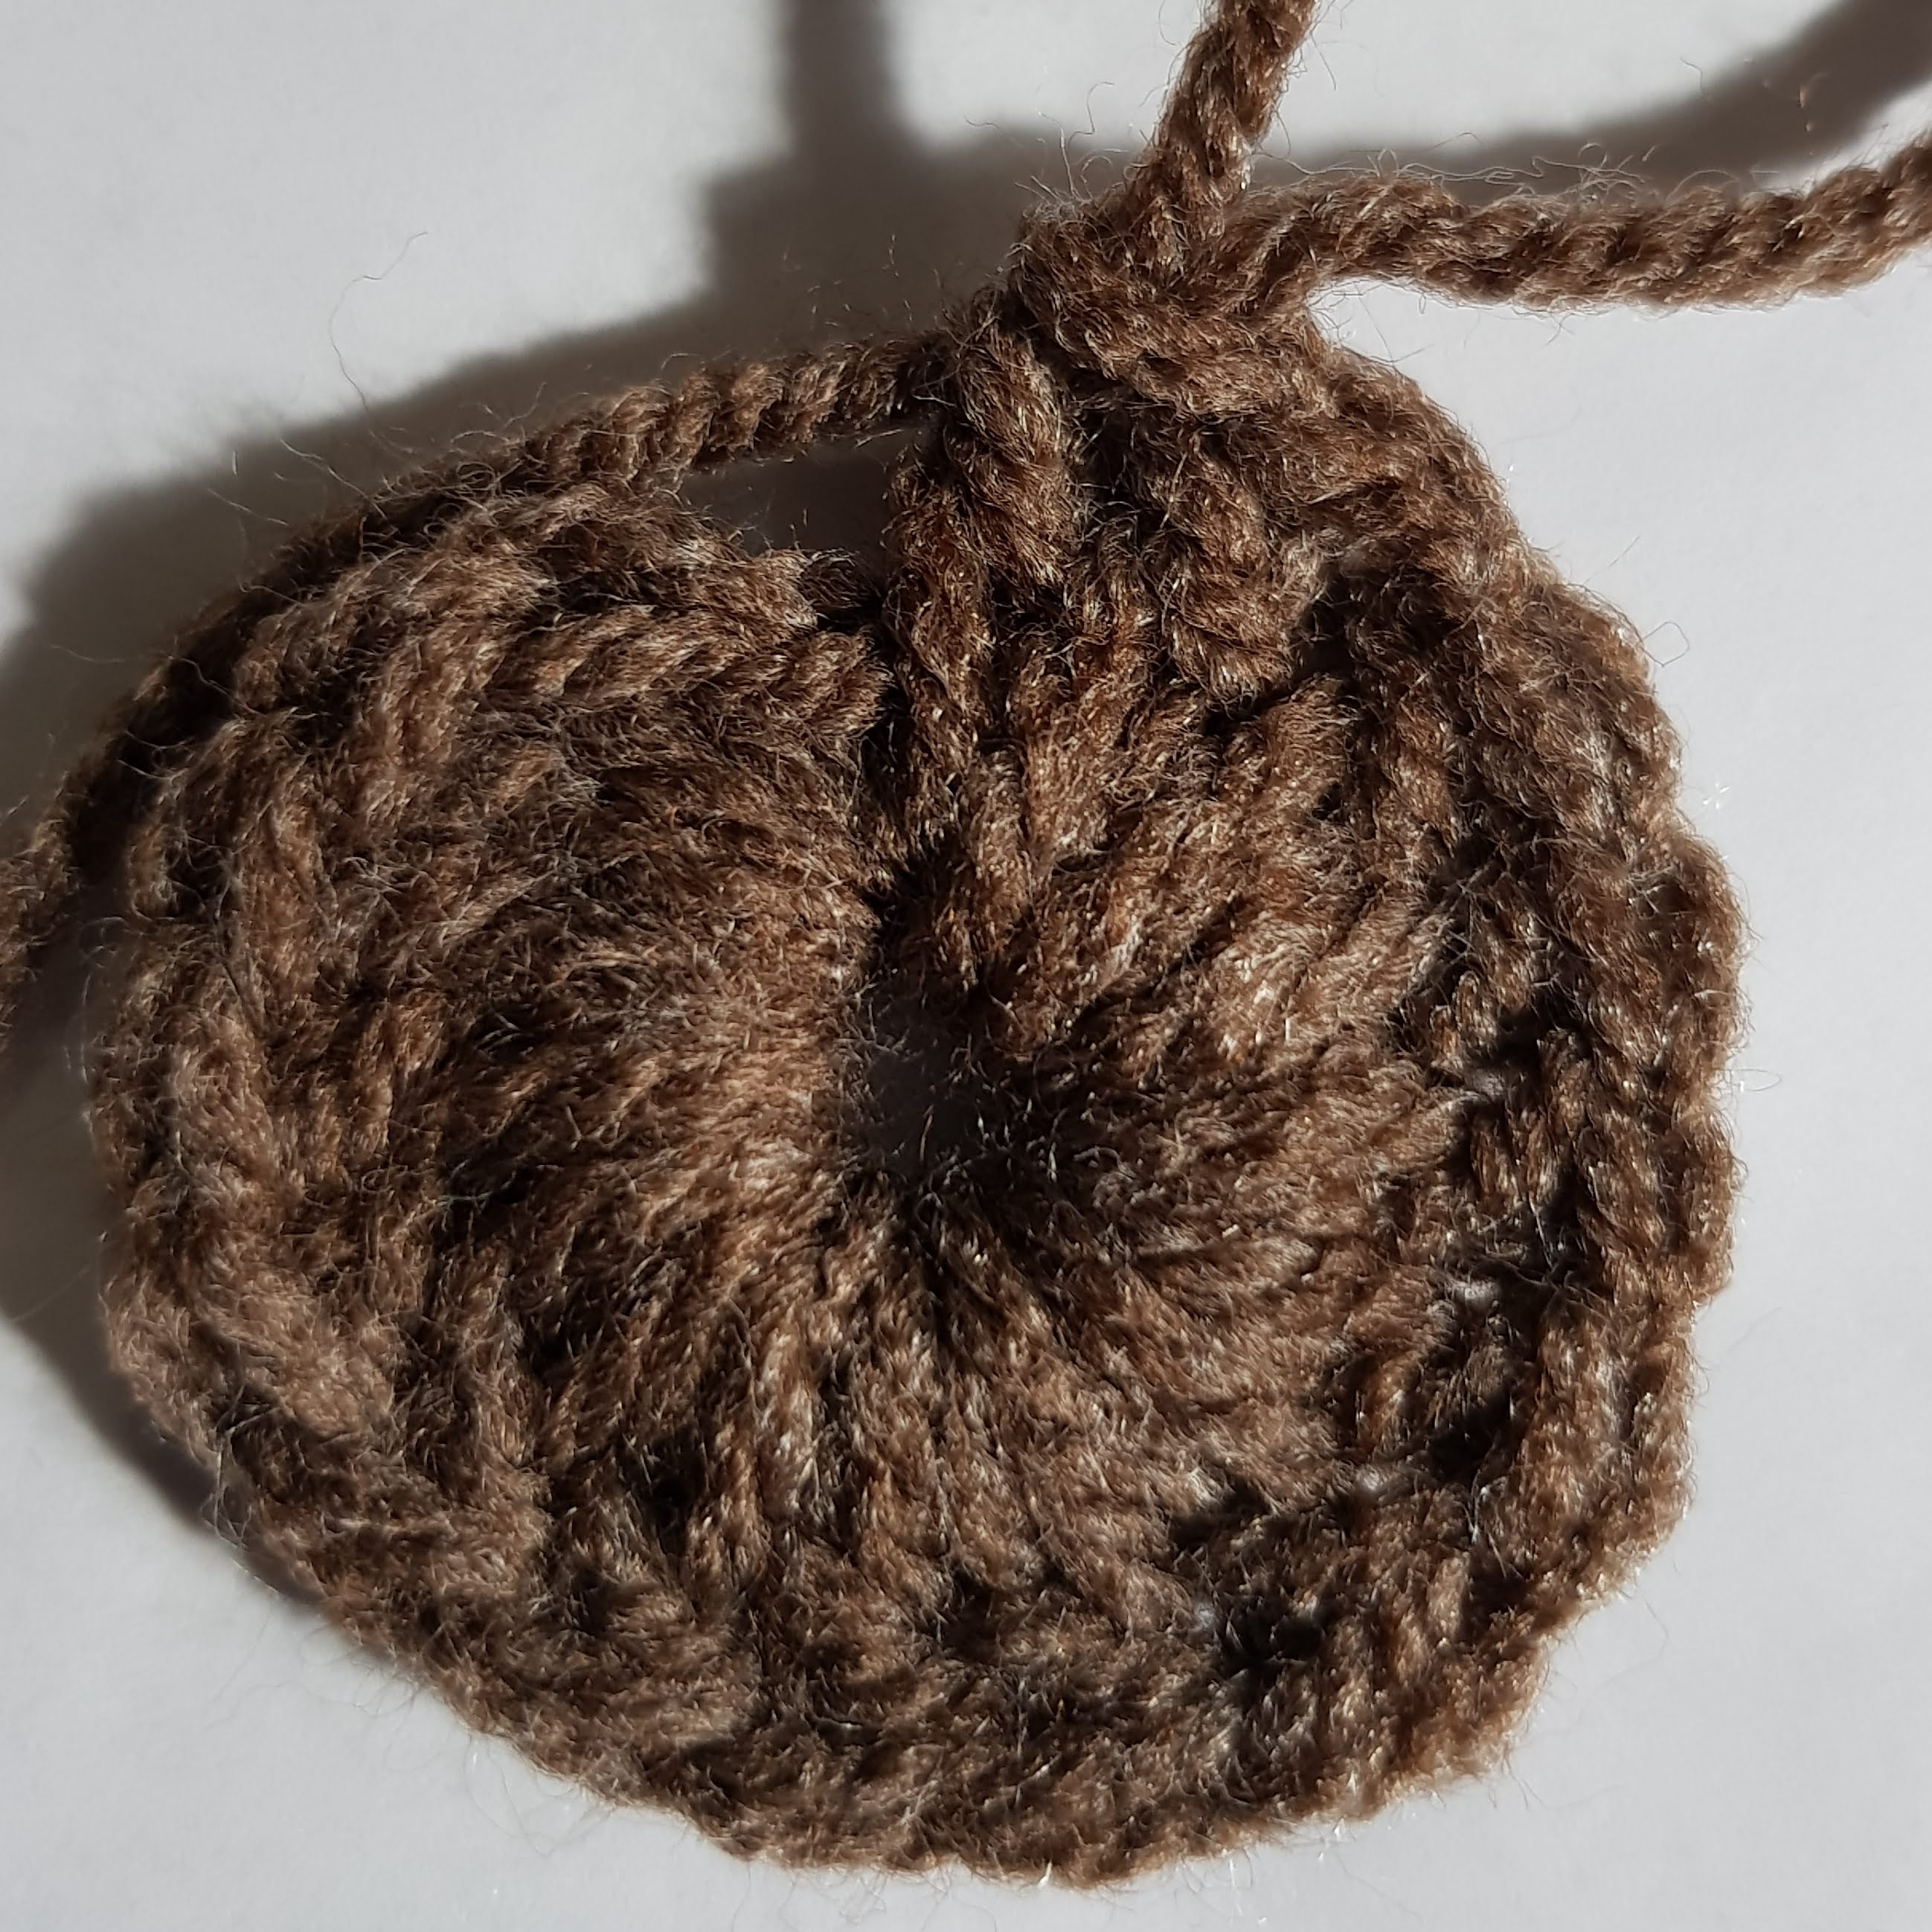
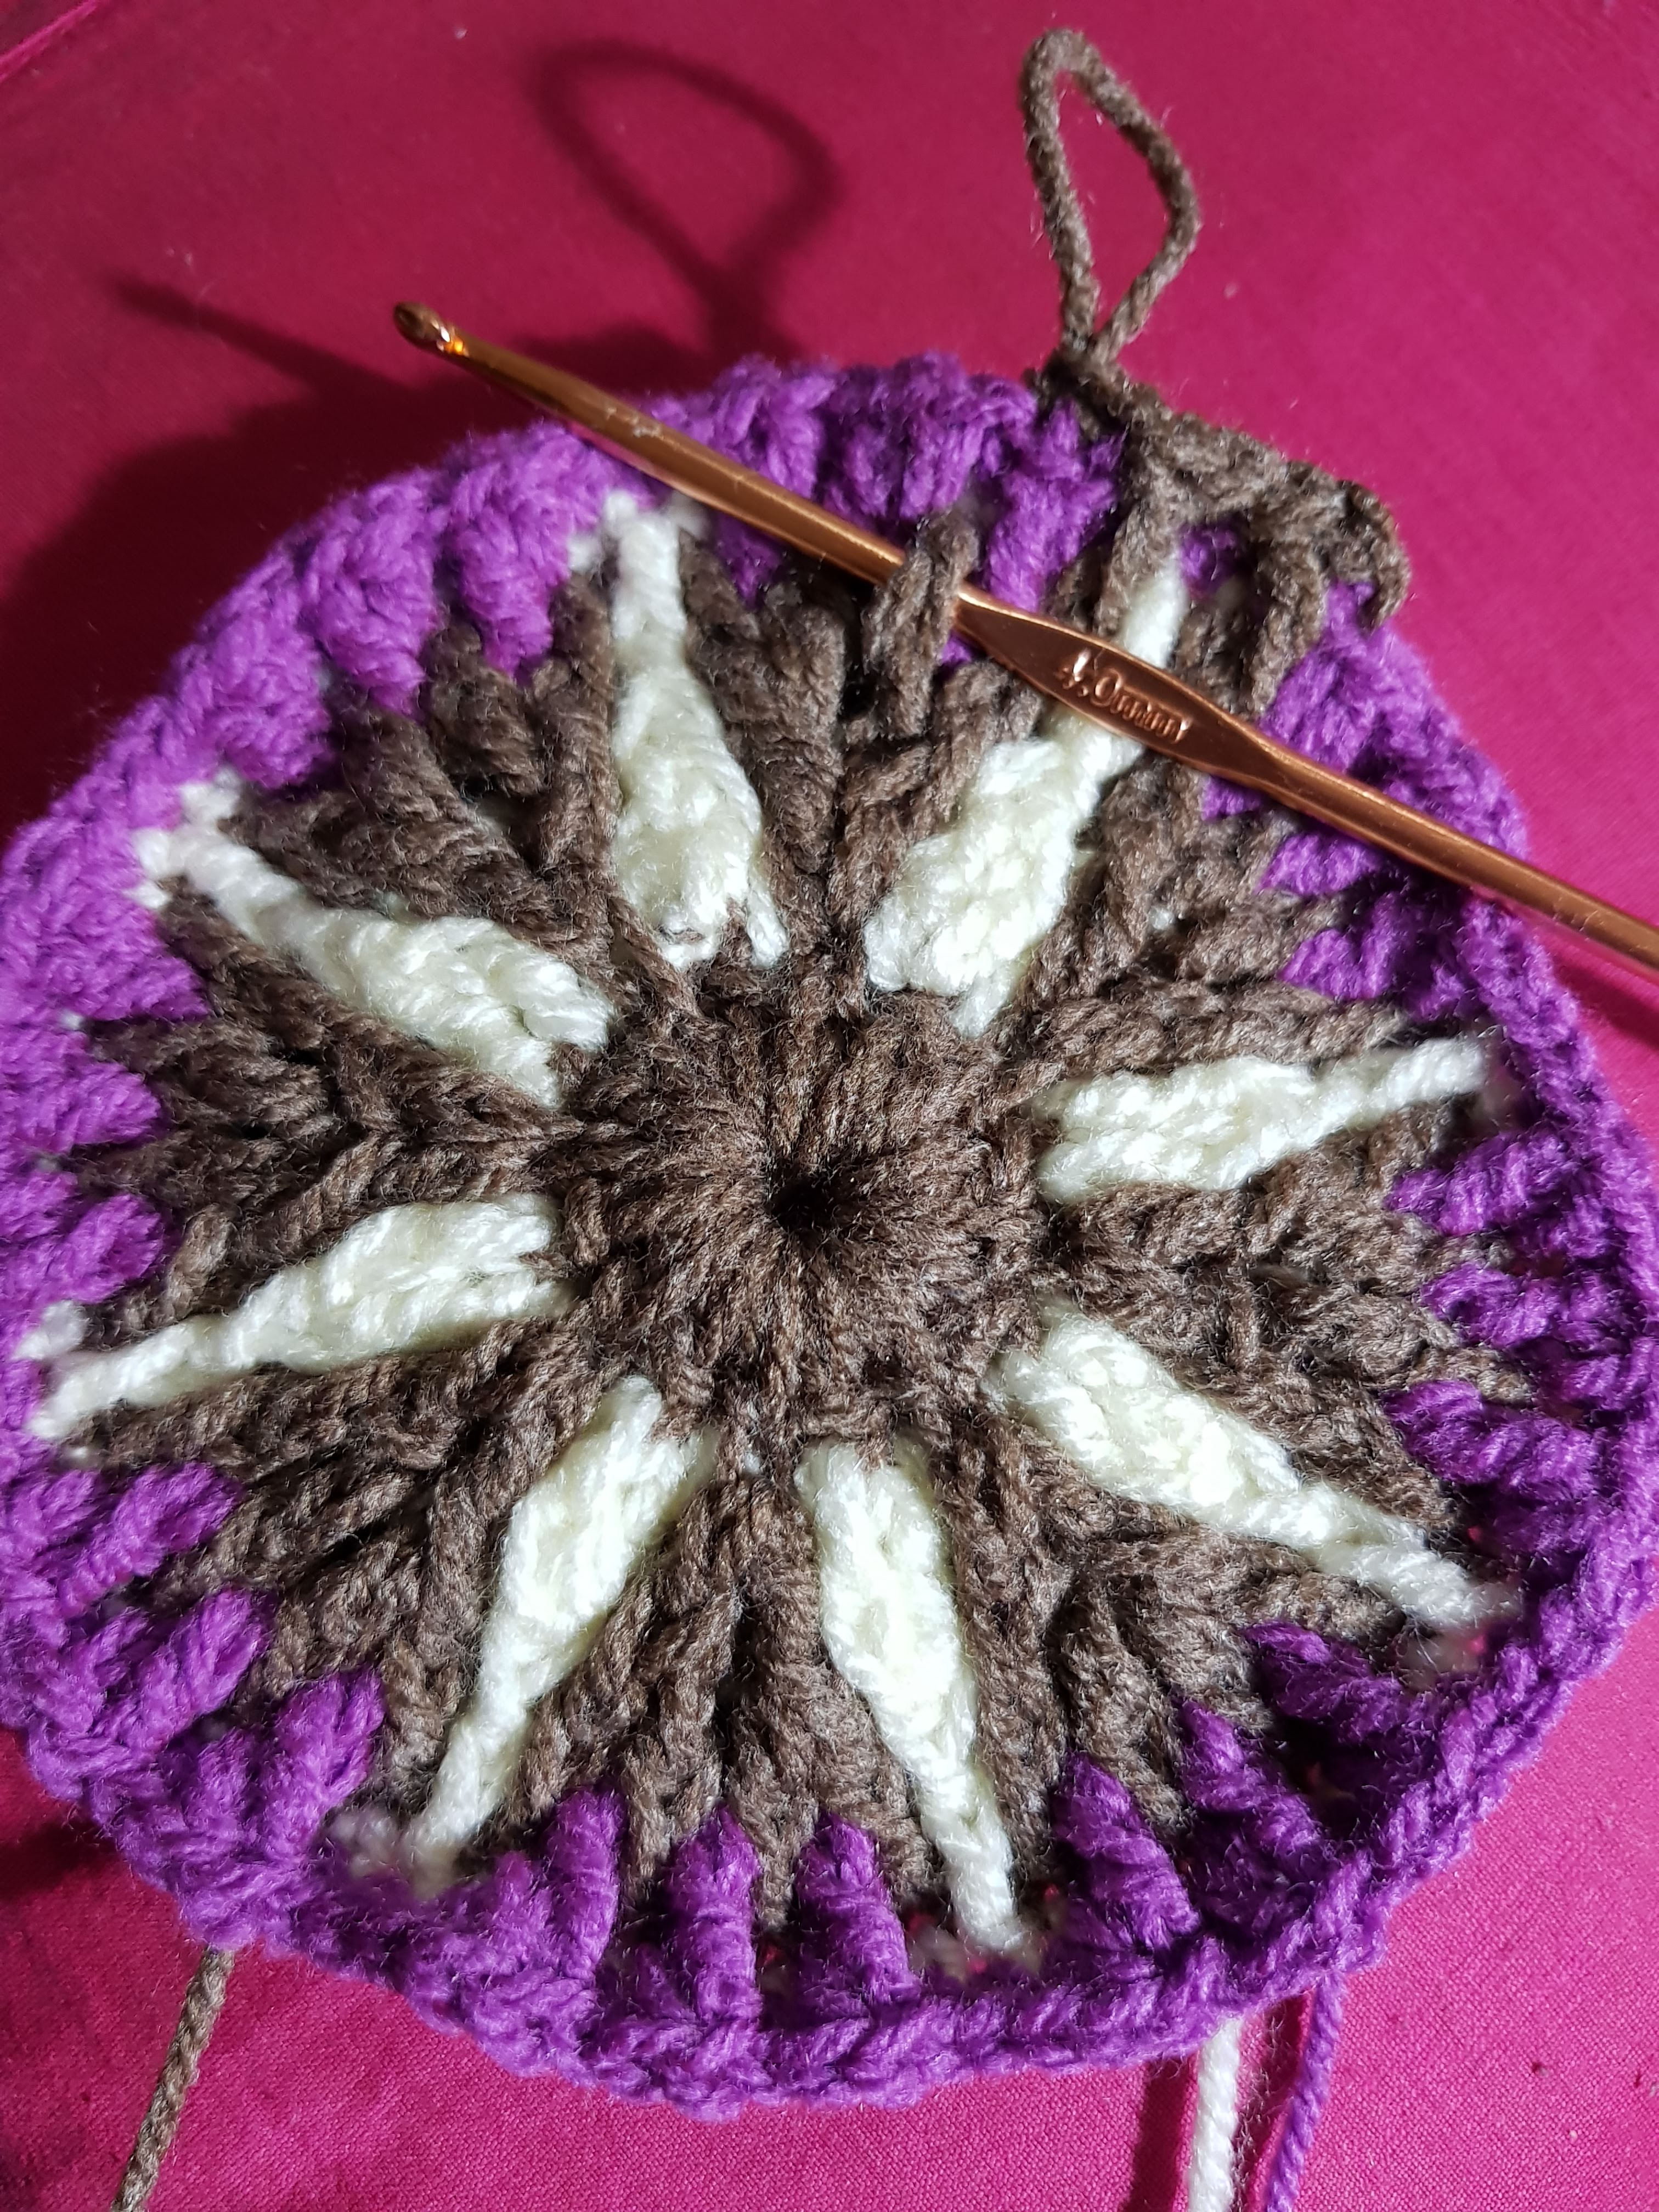
Step 1 – Brown Yarn
- CH 5. Close into ring
- 10 SC into the ring.
- 16 DC into ring over SC
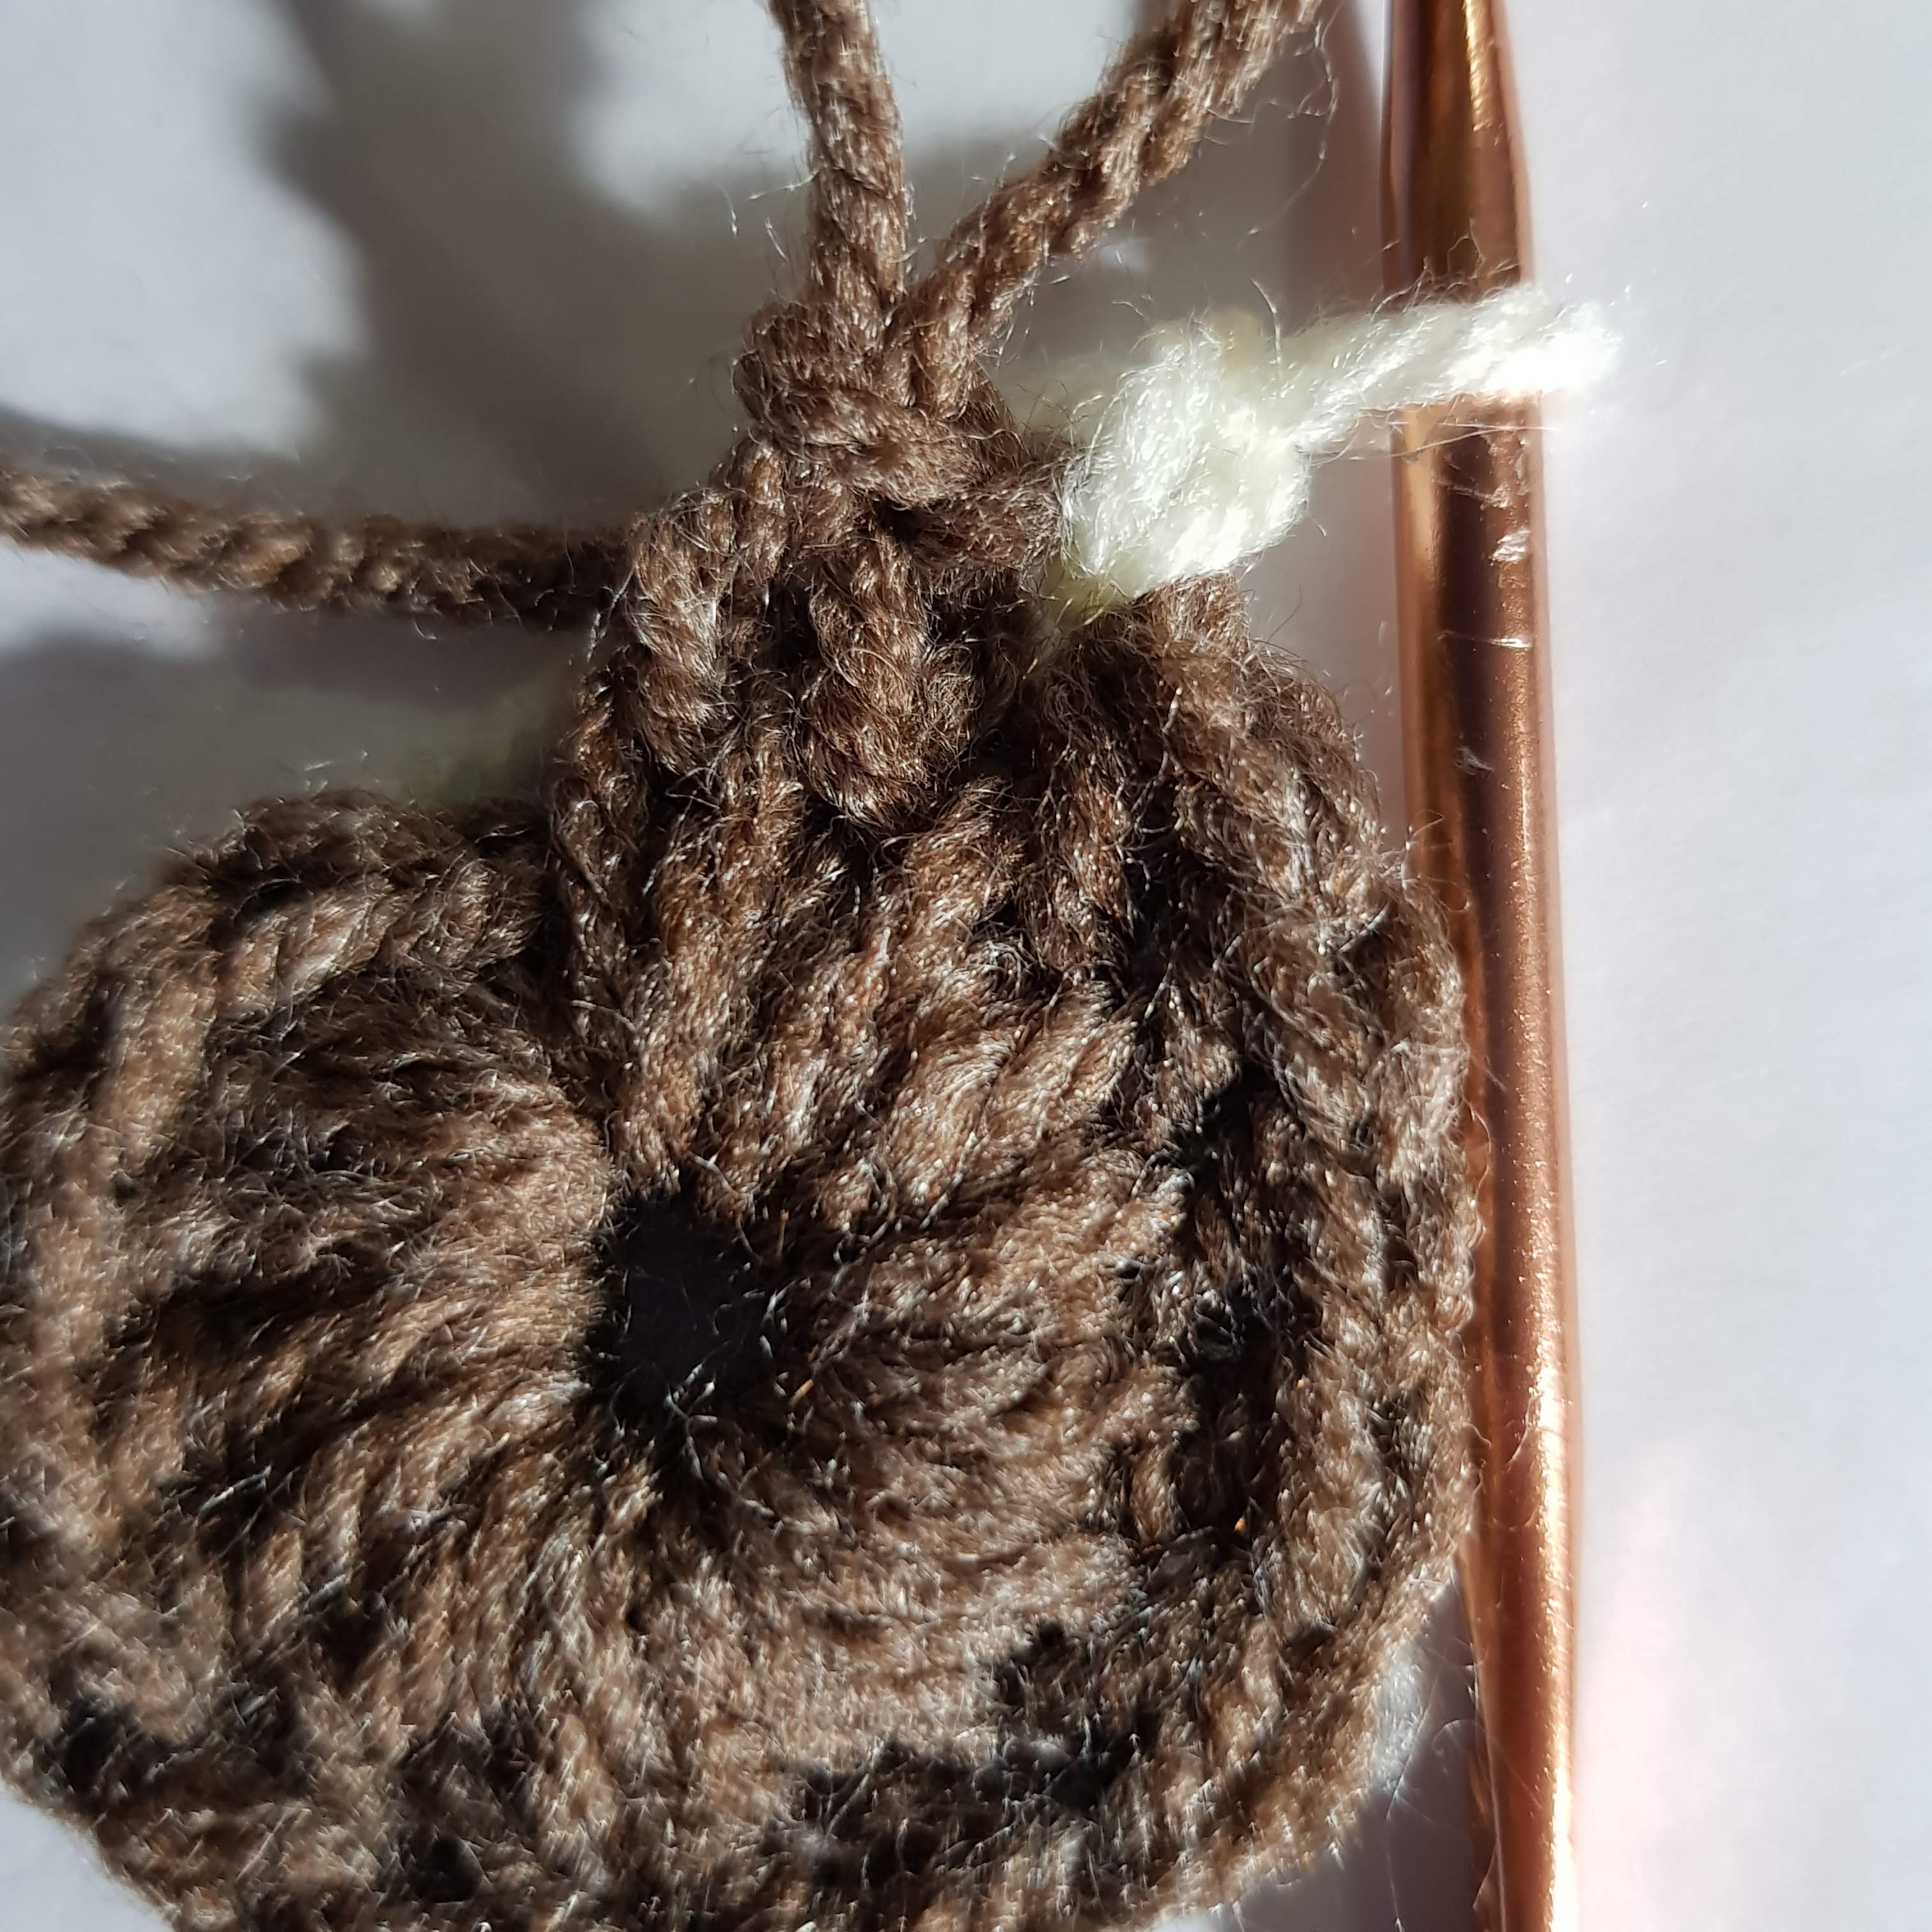
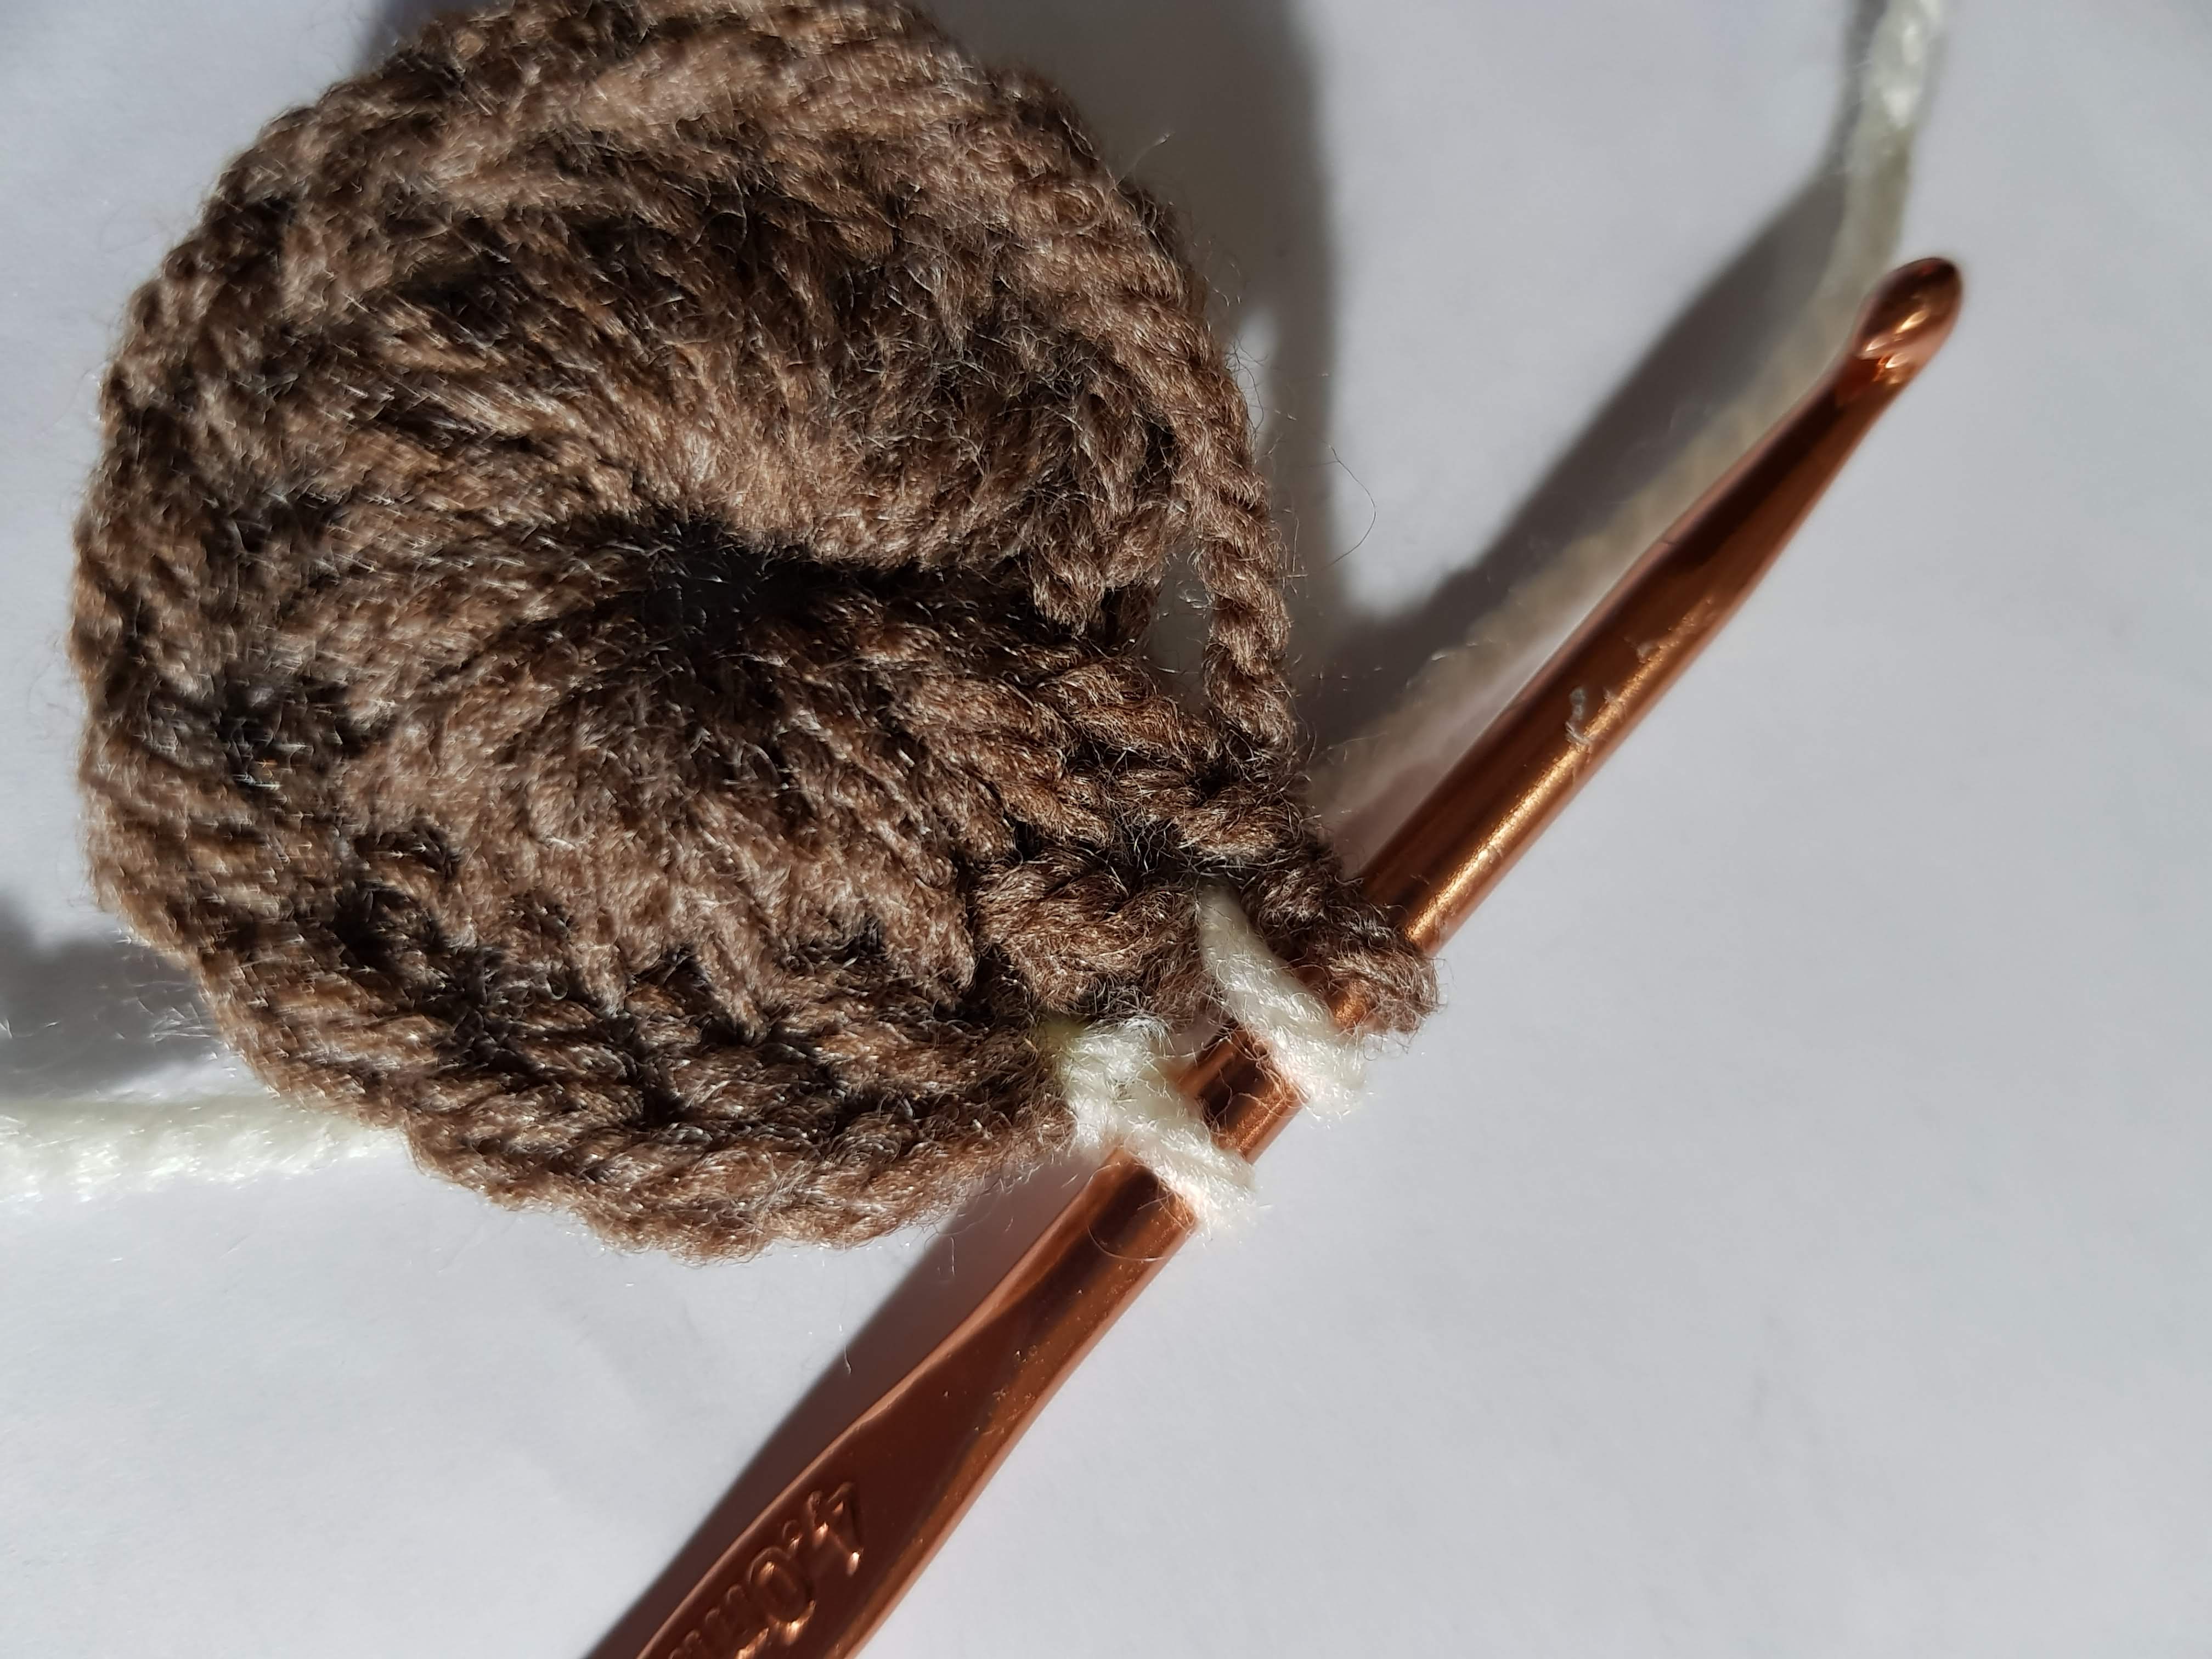
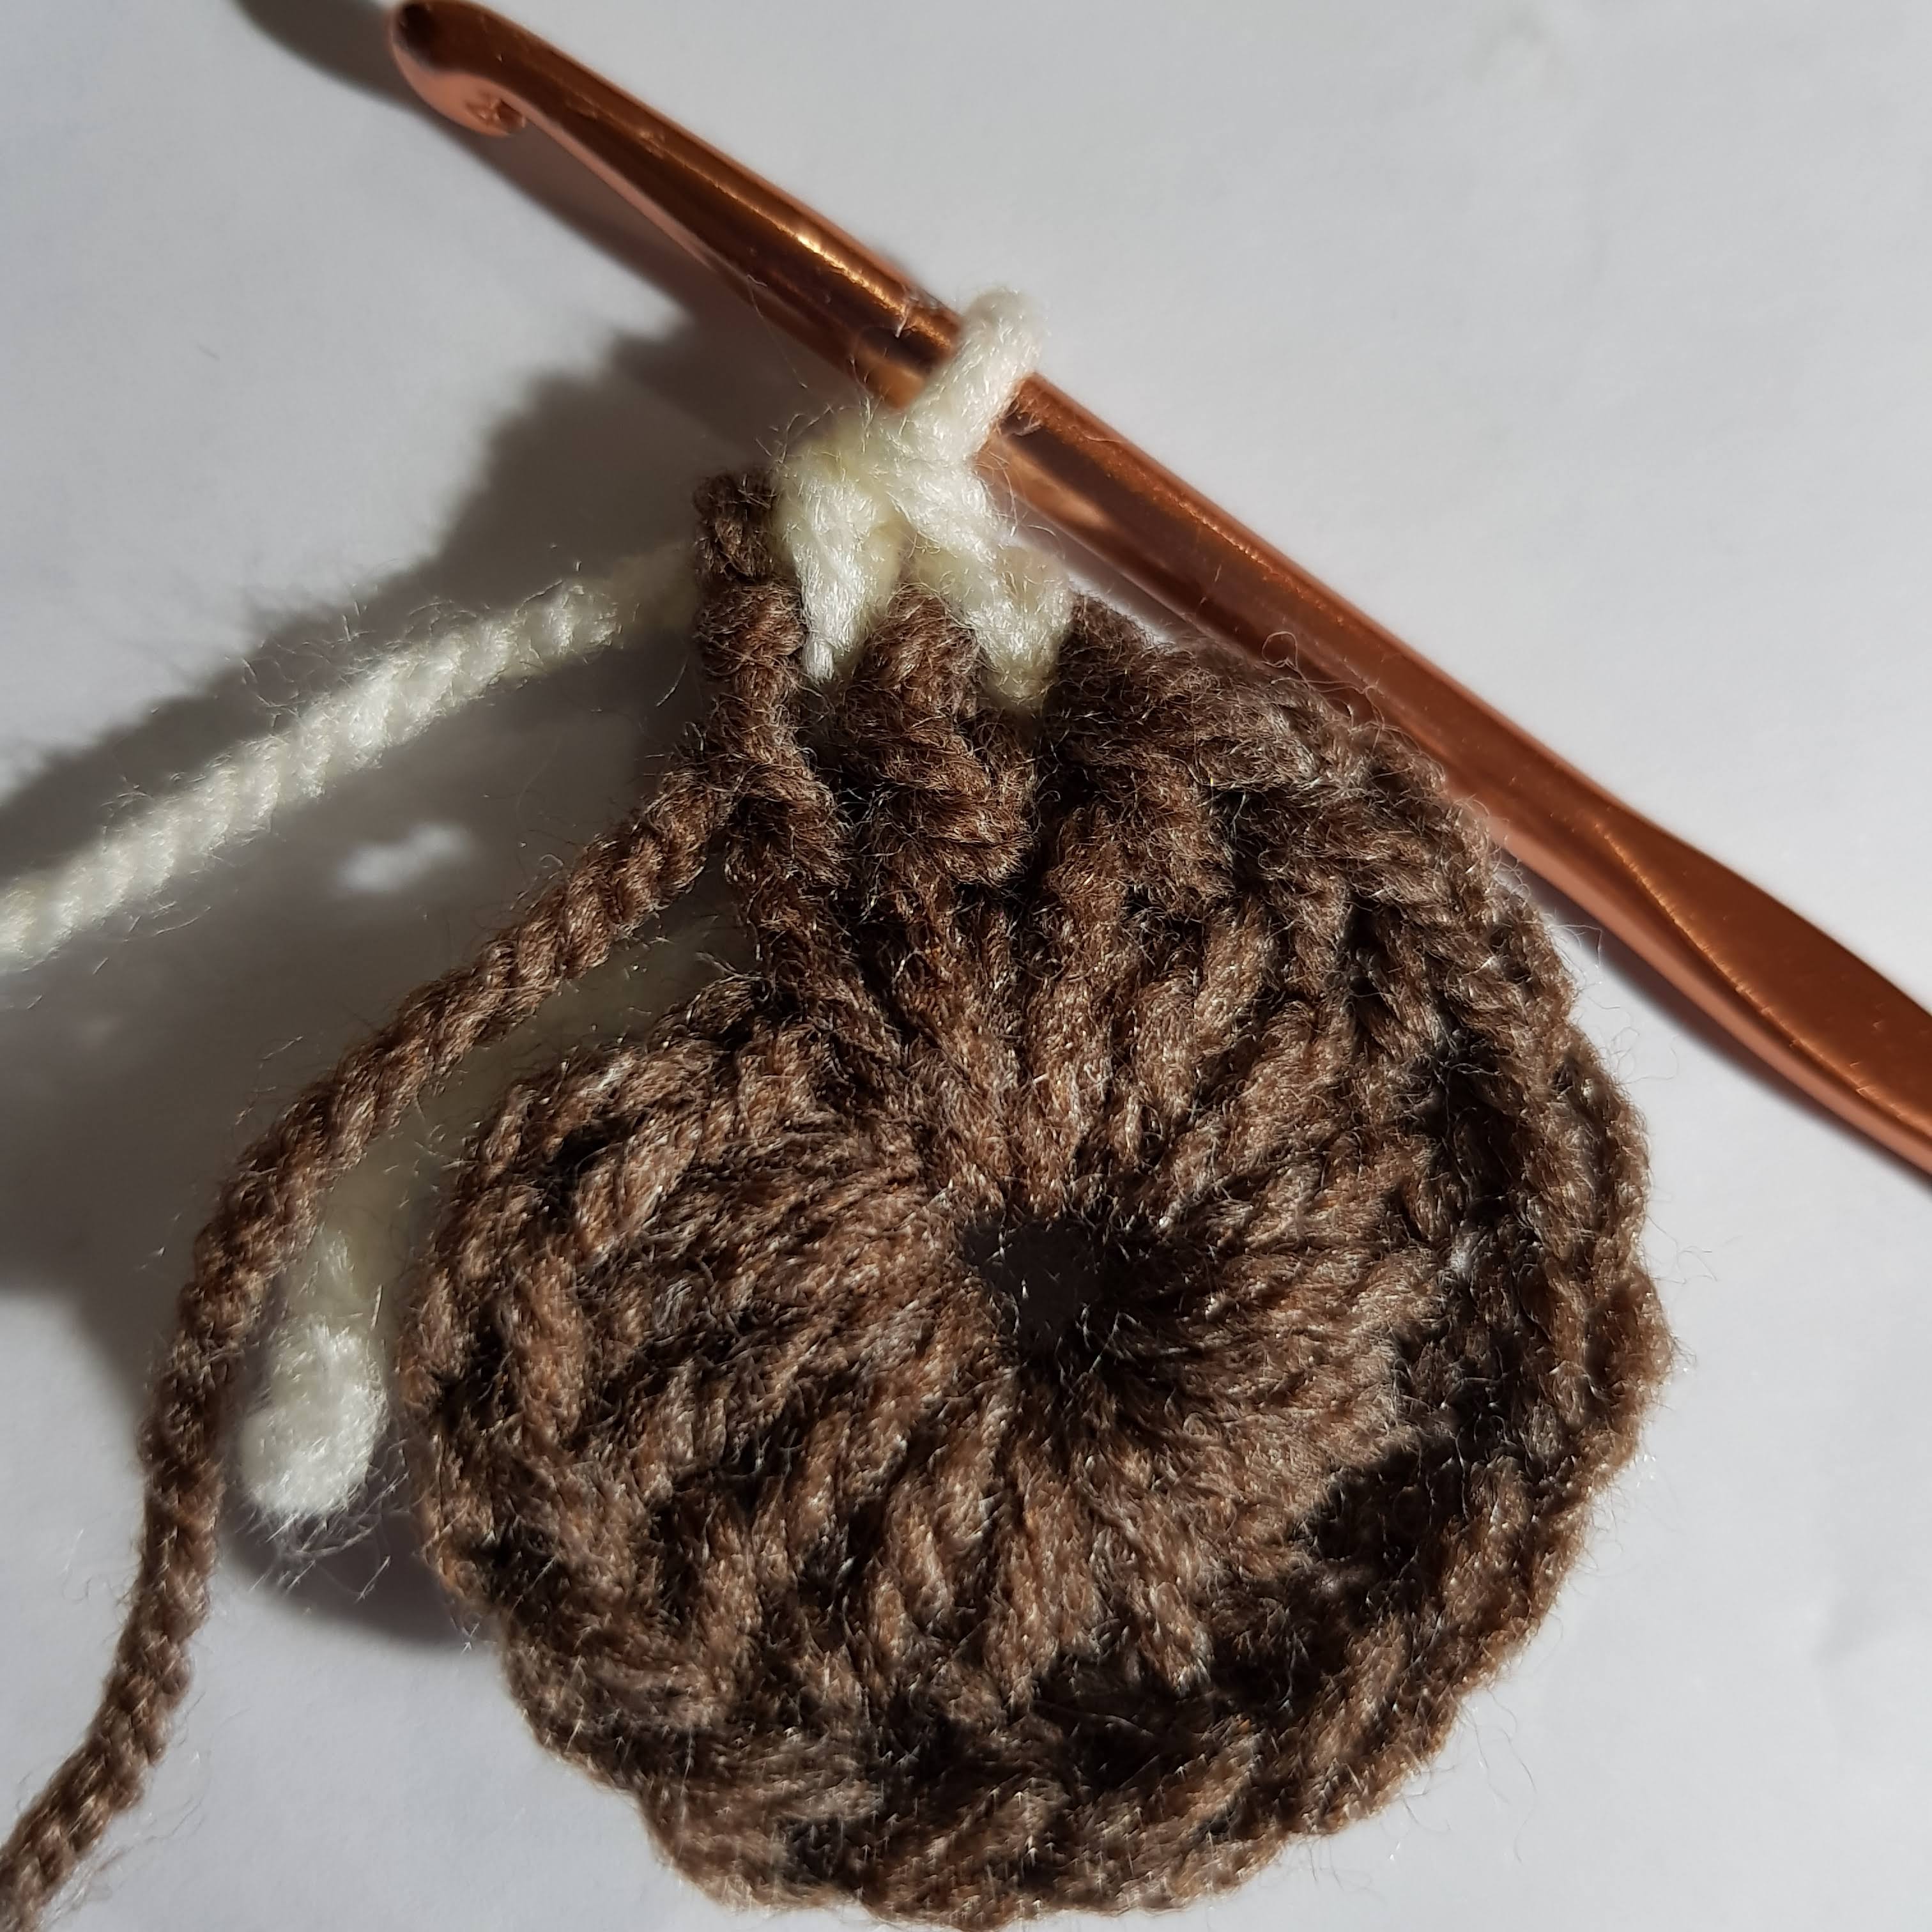
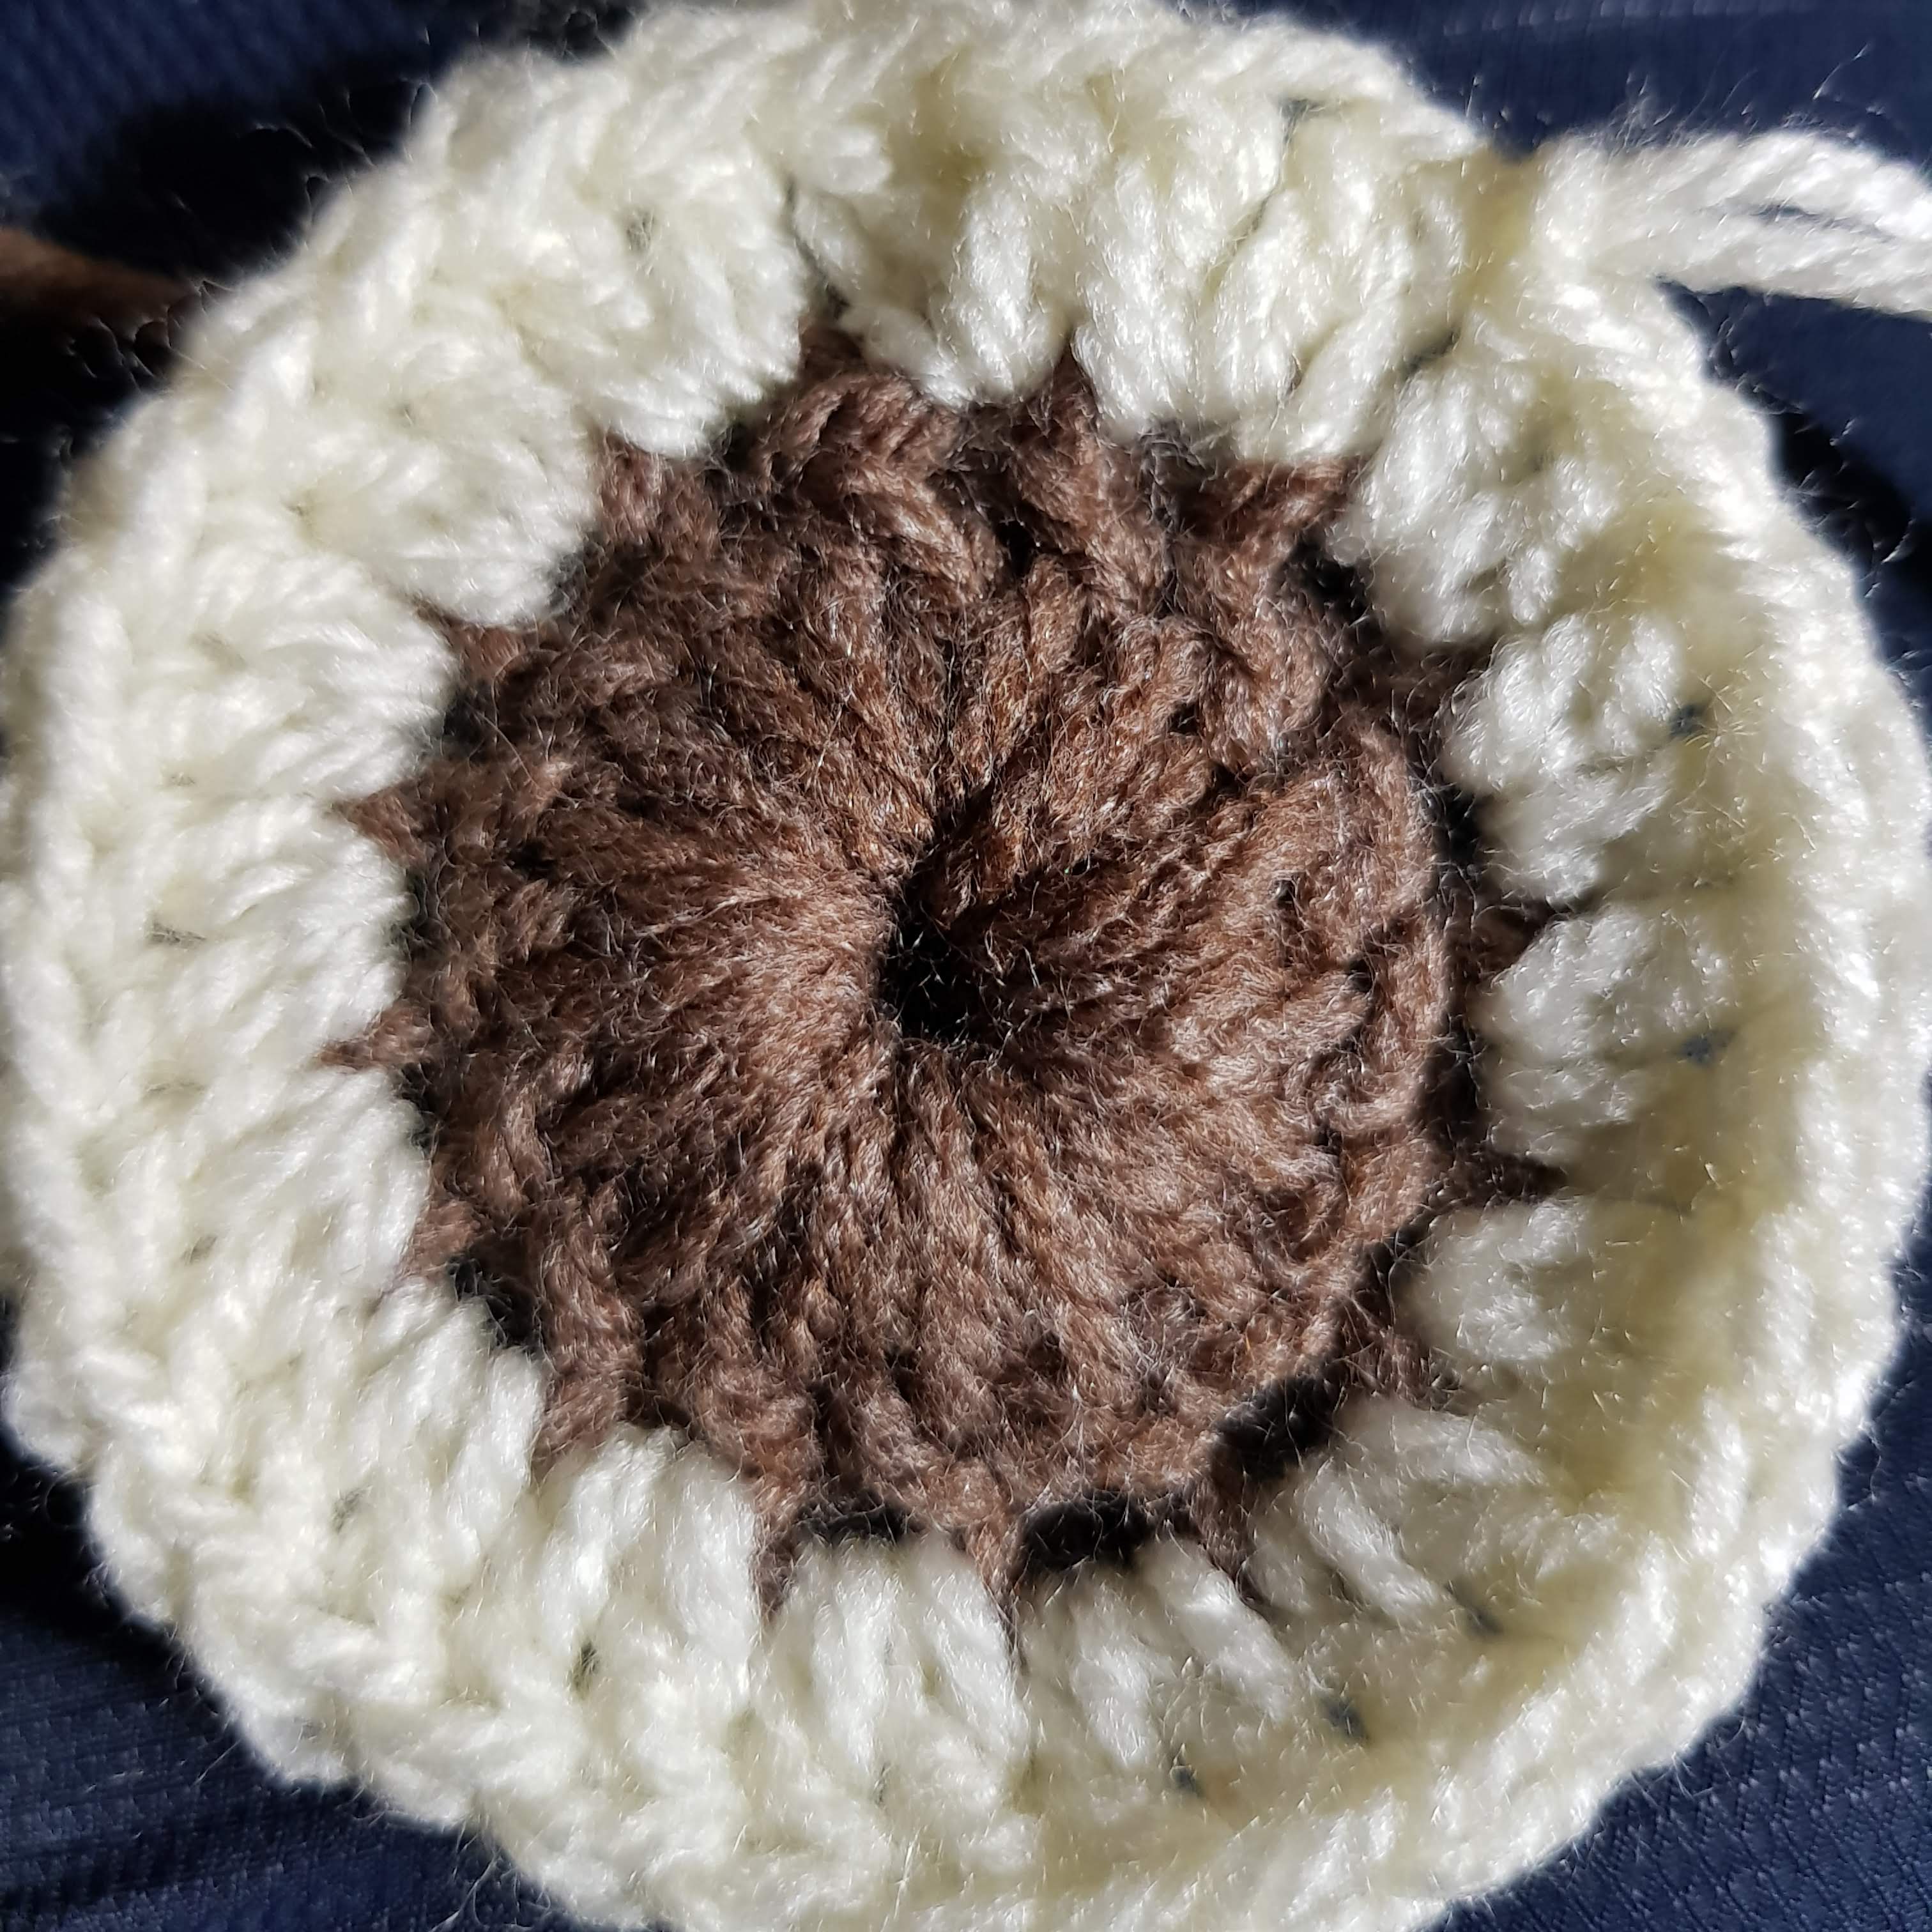
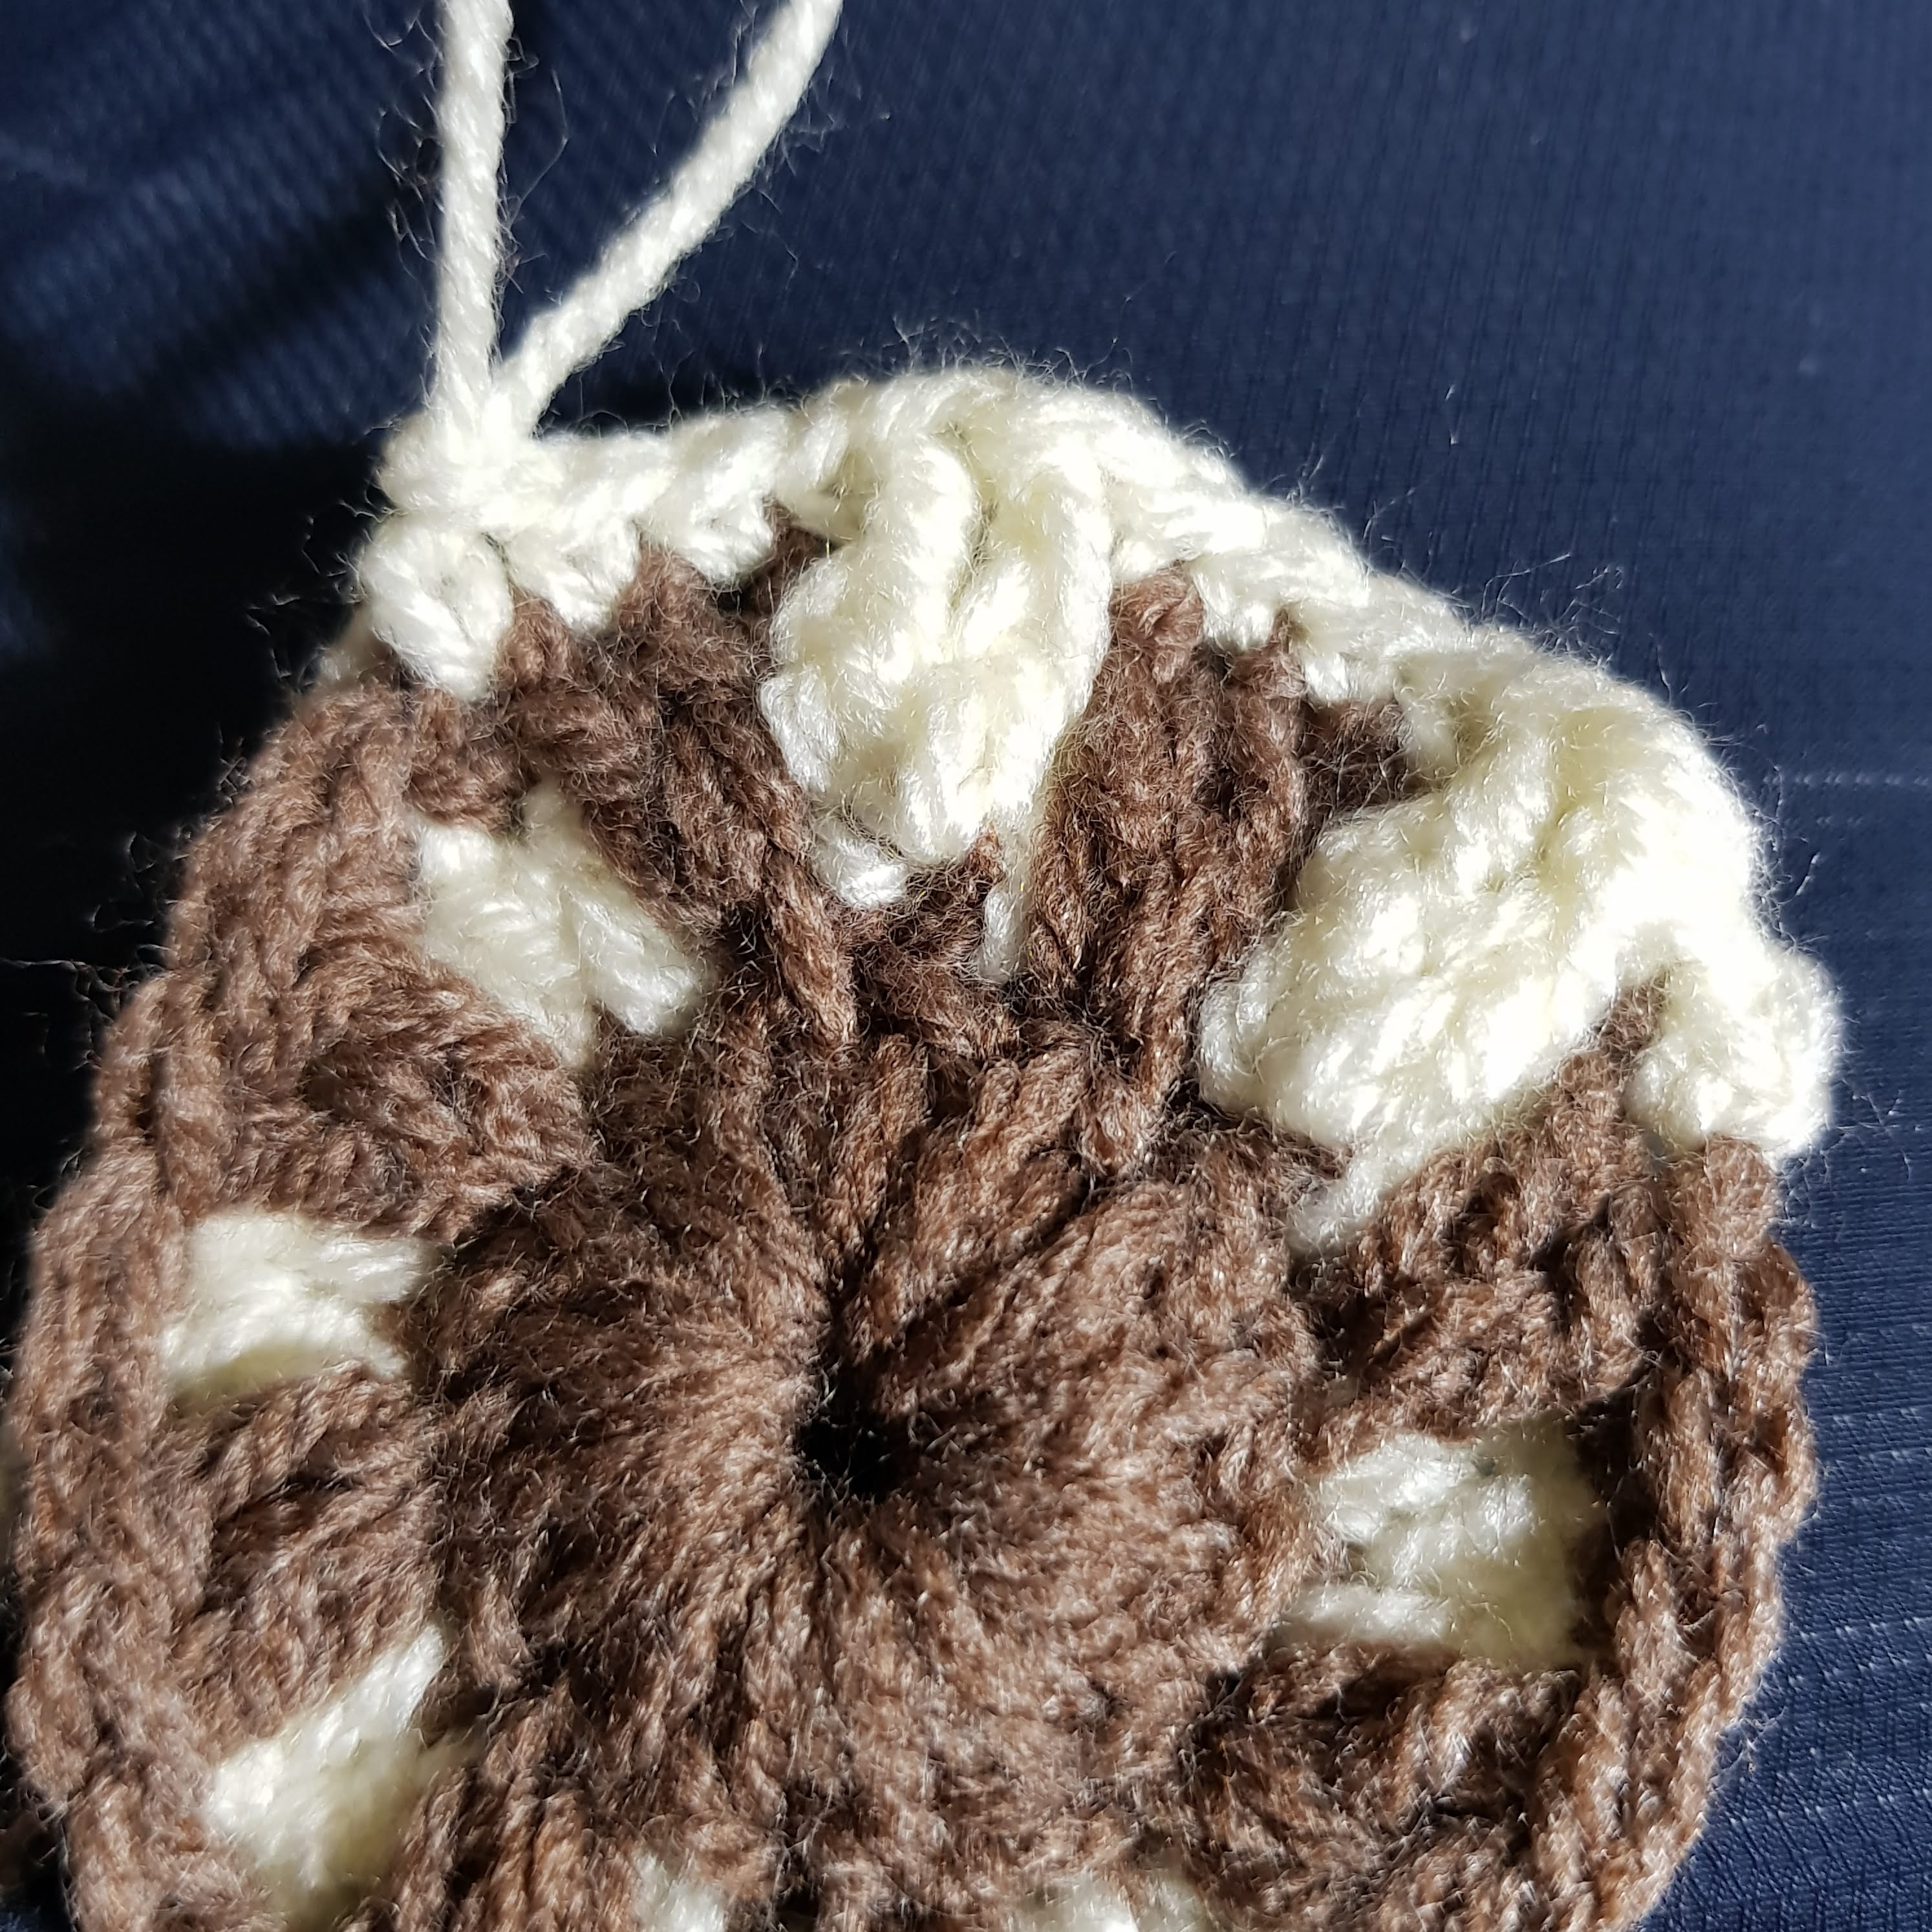
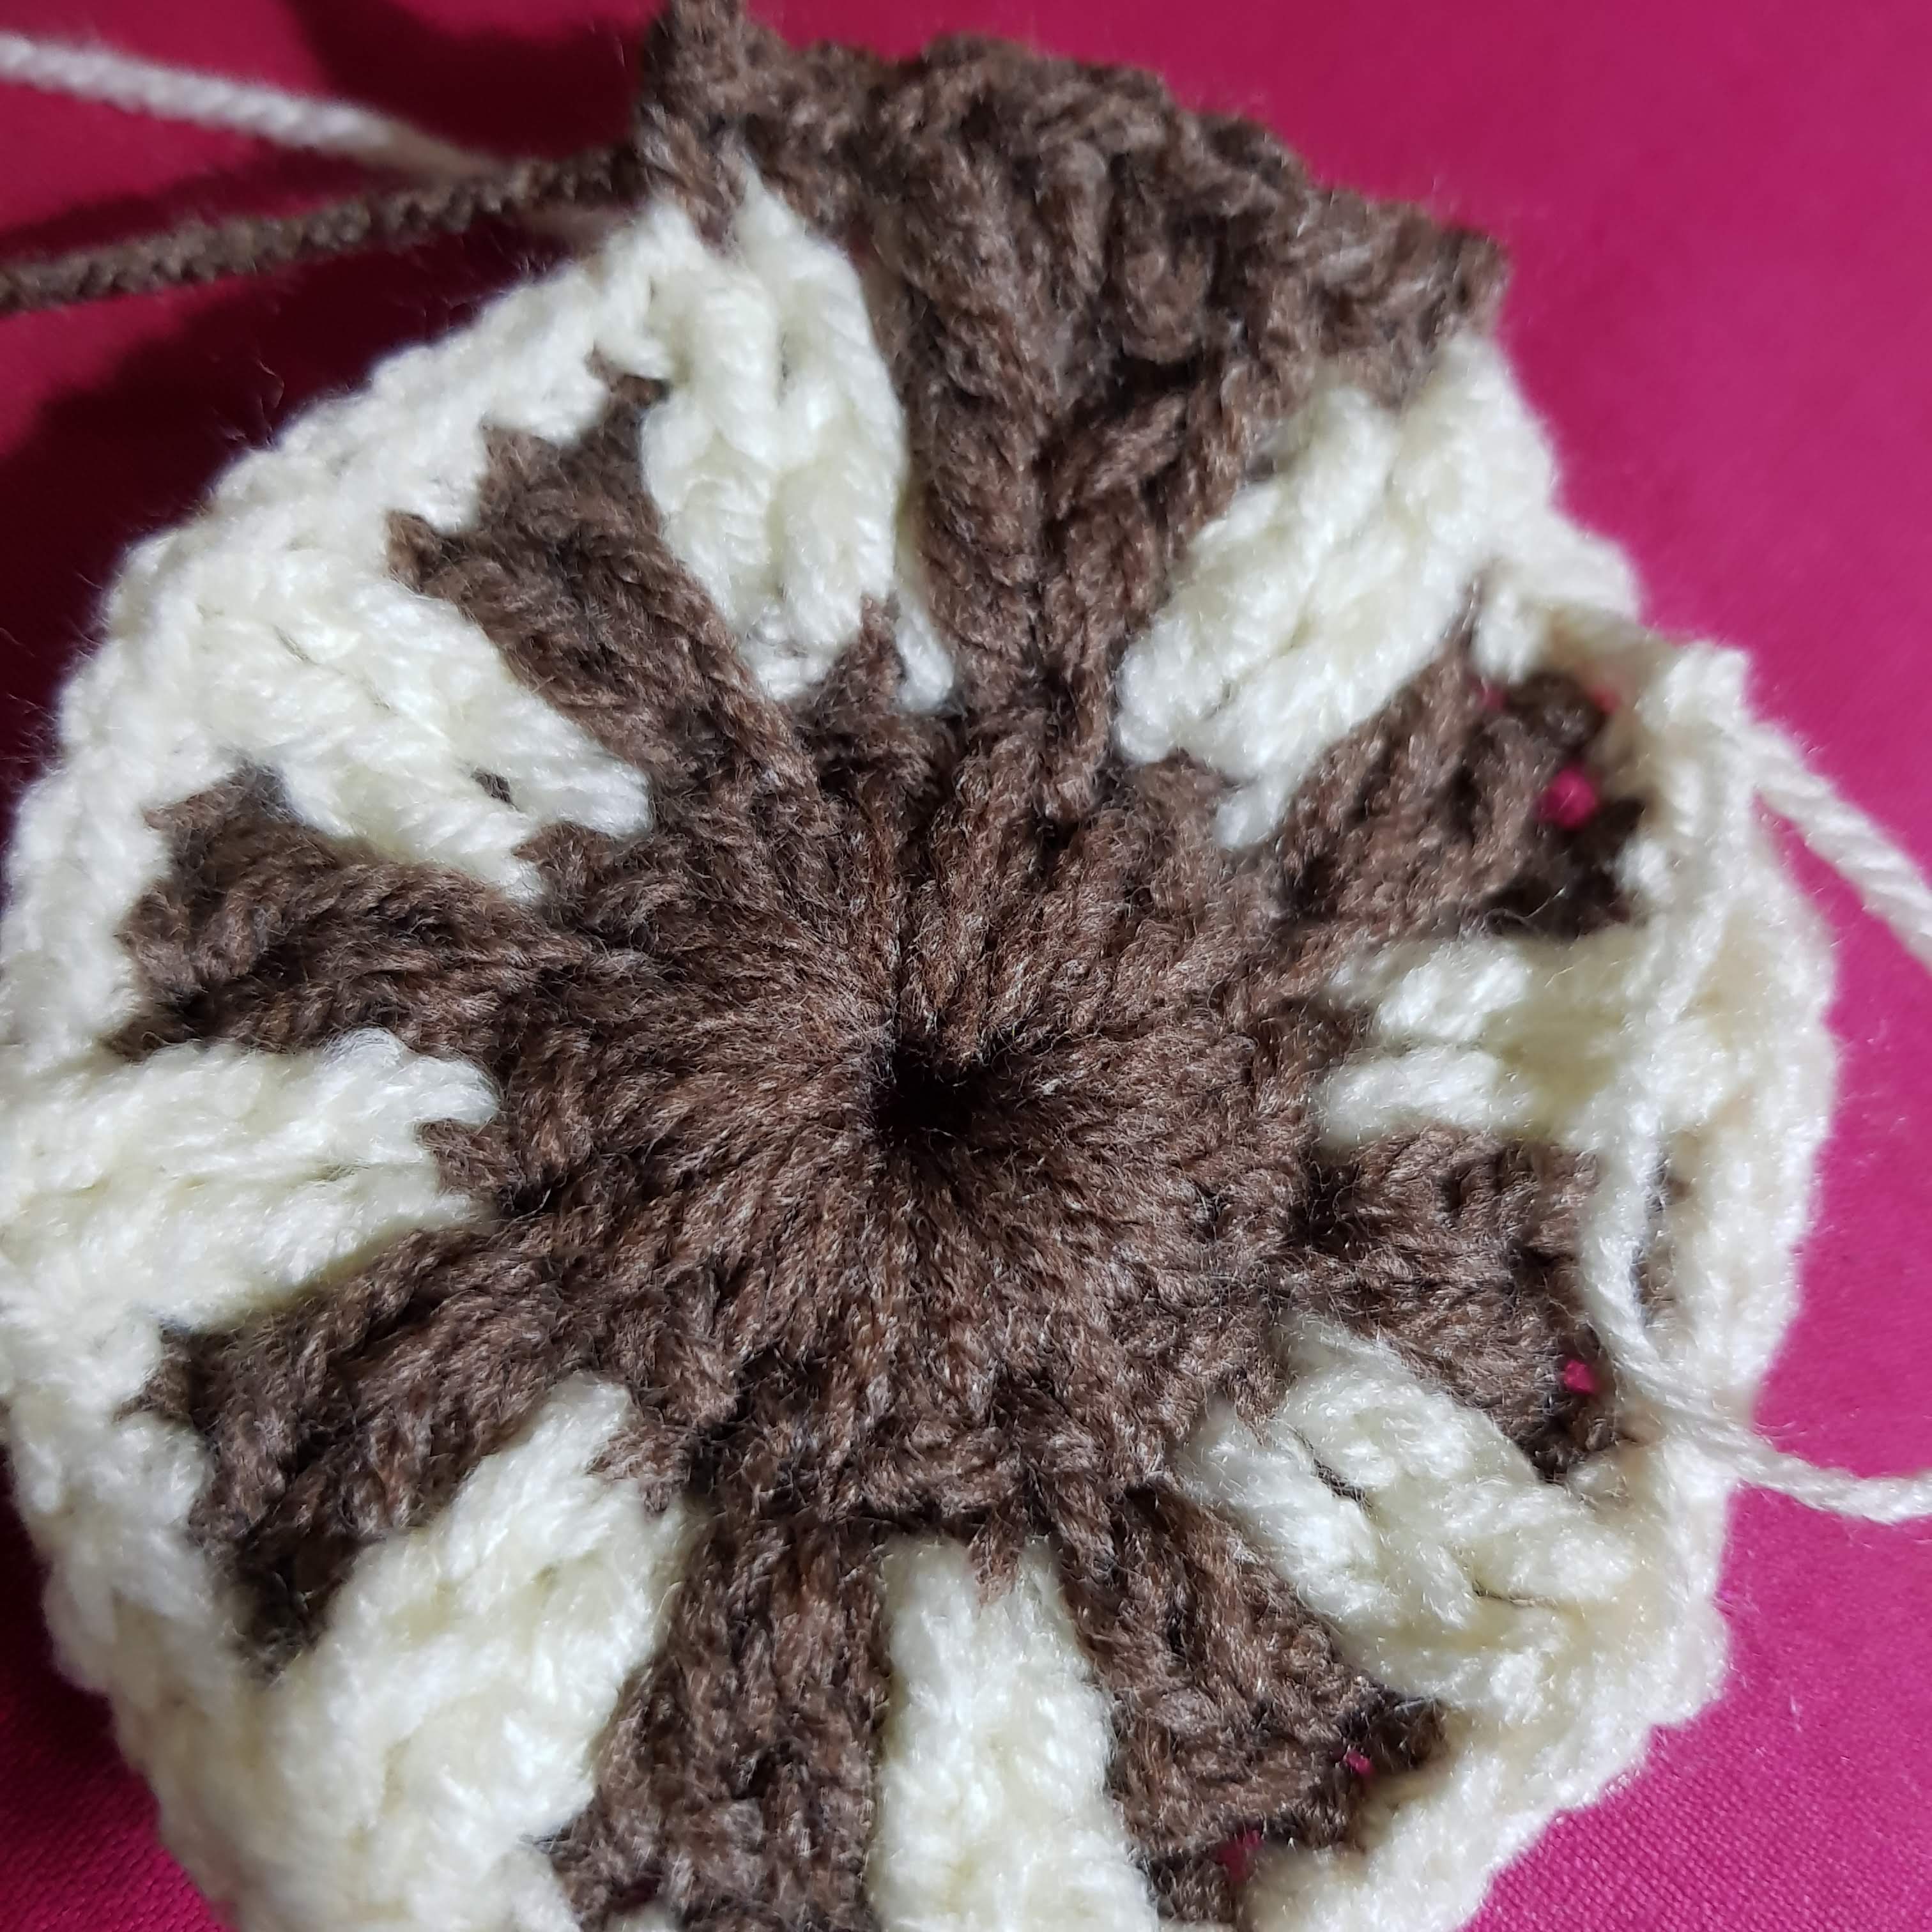
Step 2 – White Yarn
- 2 DC in back loop of each DC from previous step, all the way round and close by slip stitch into first DC
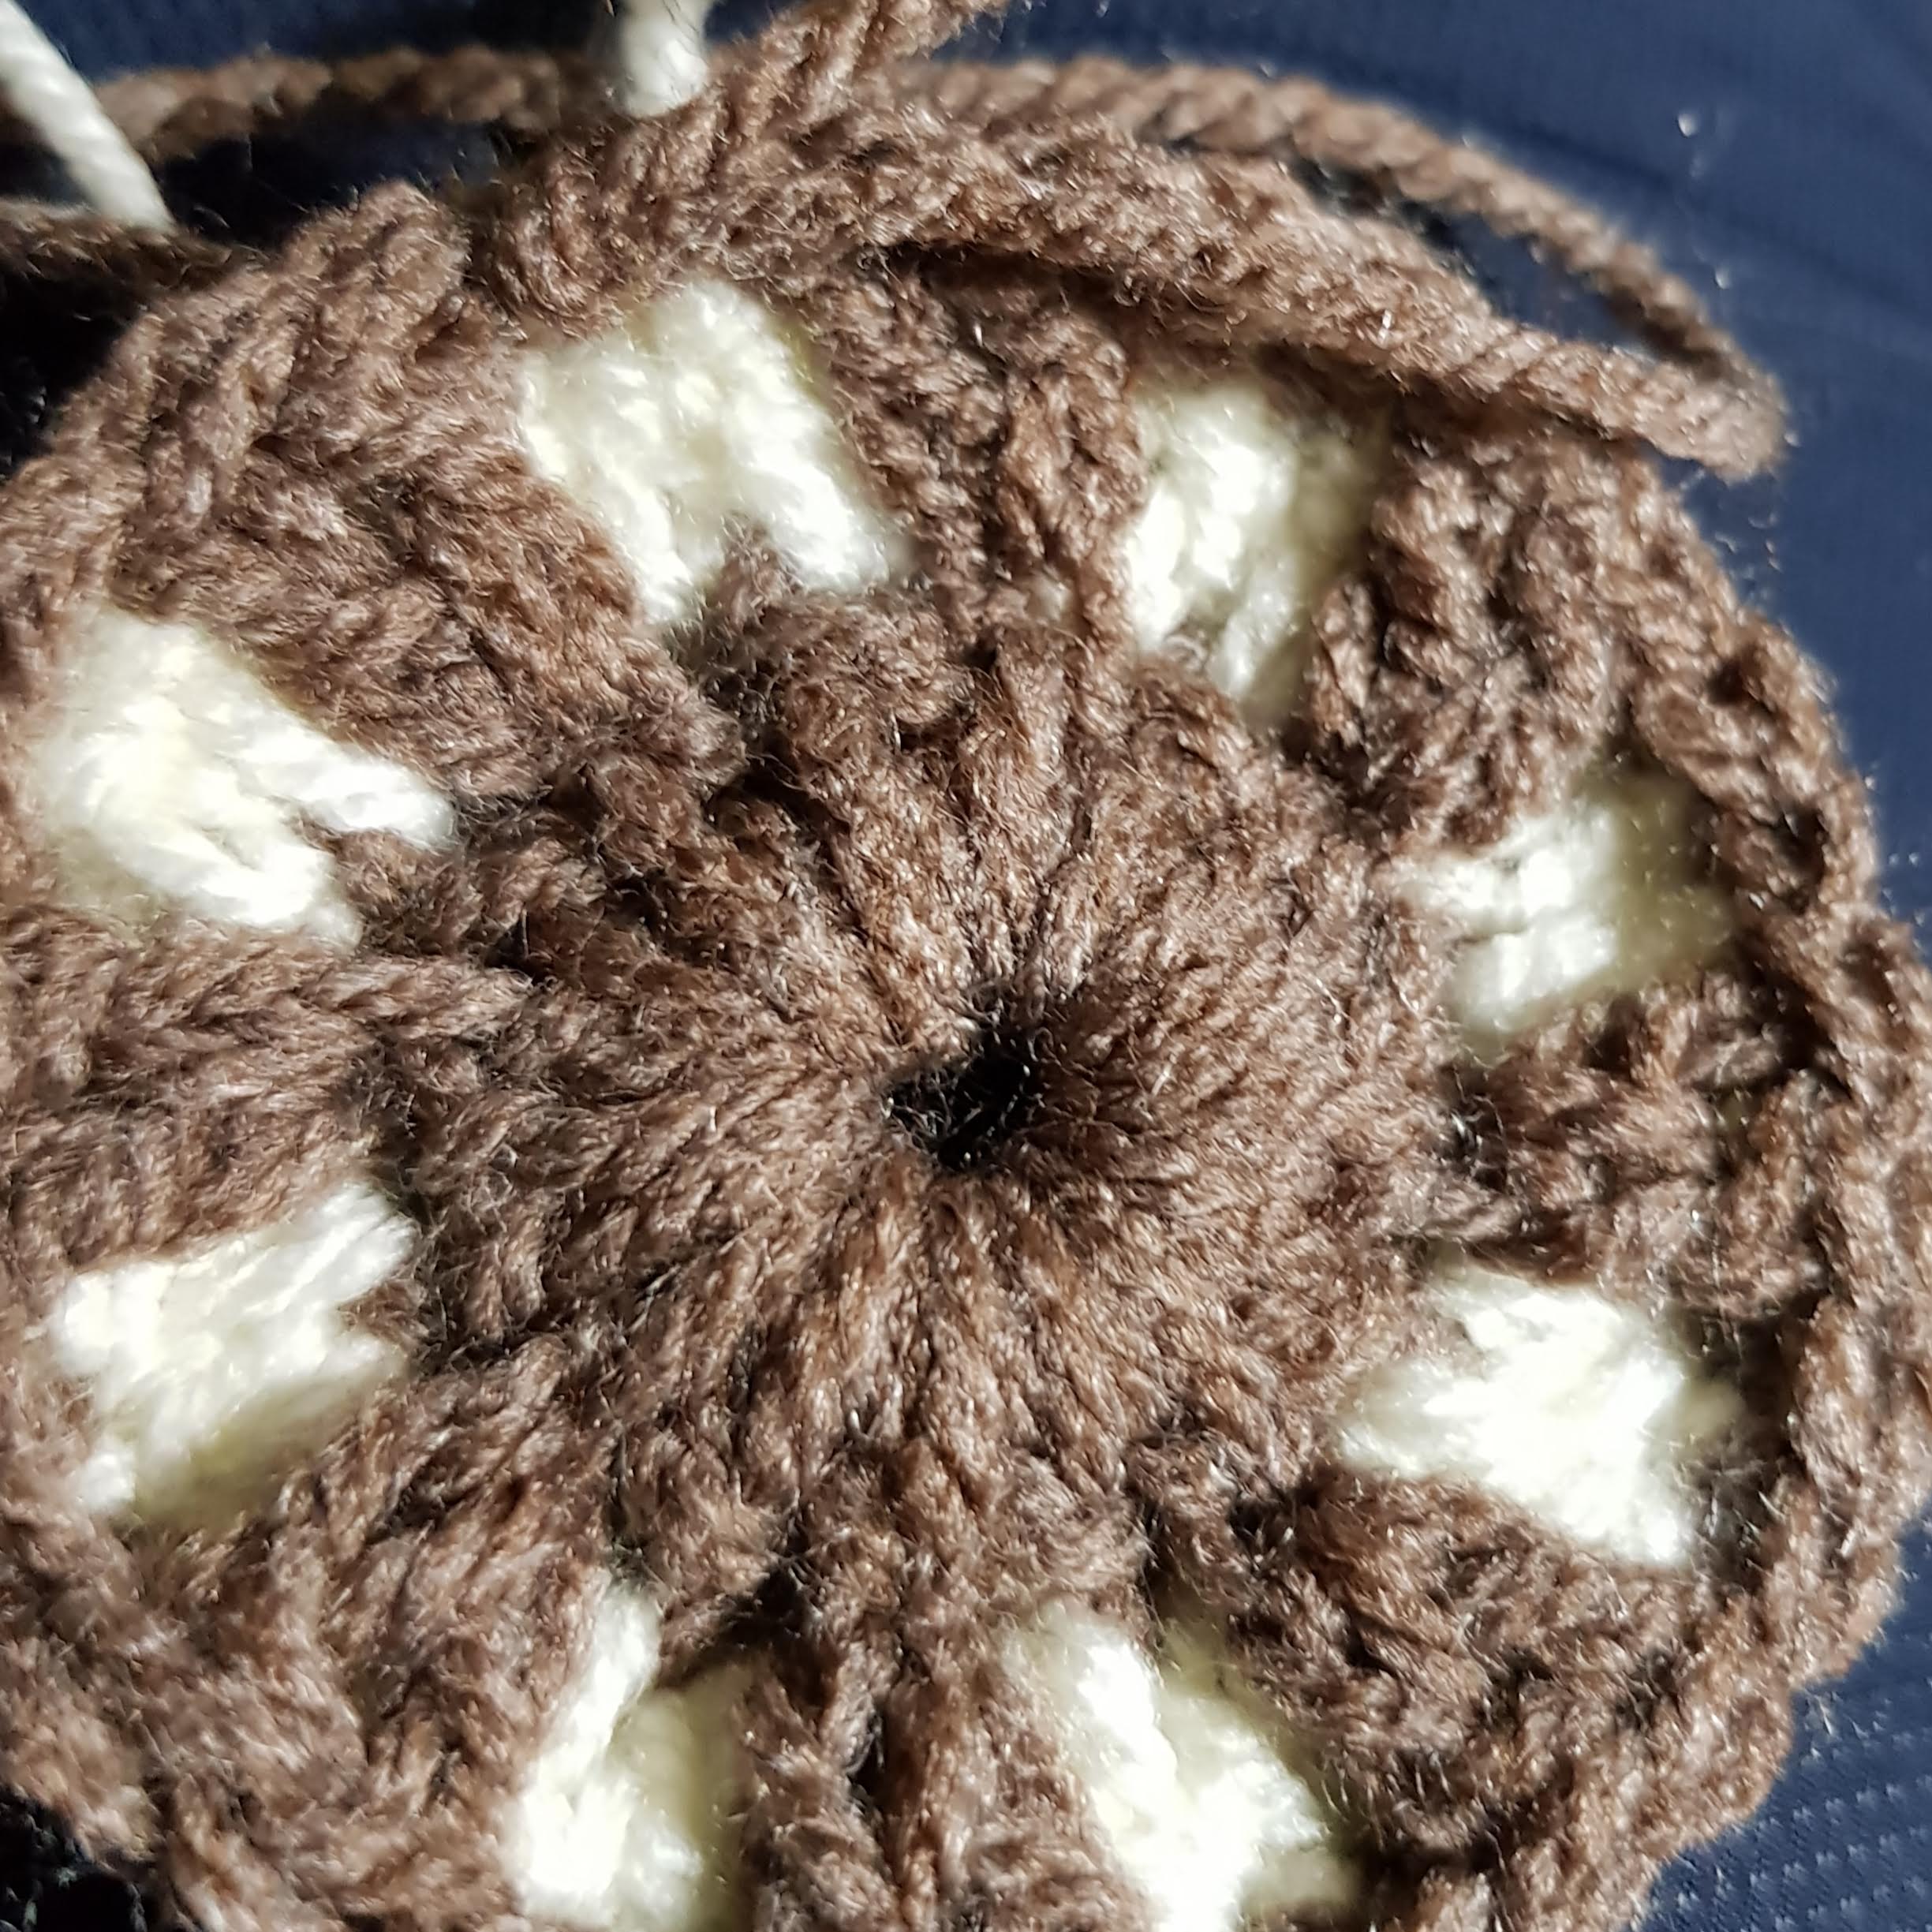
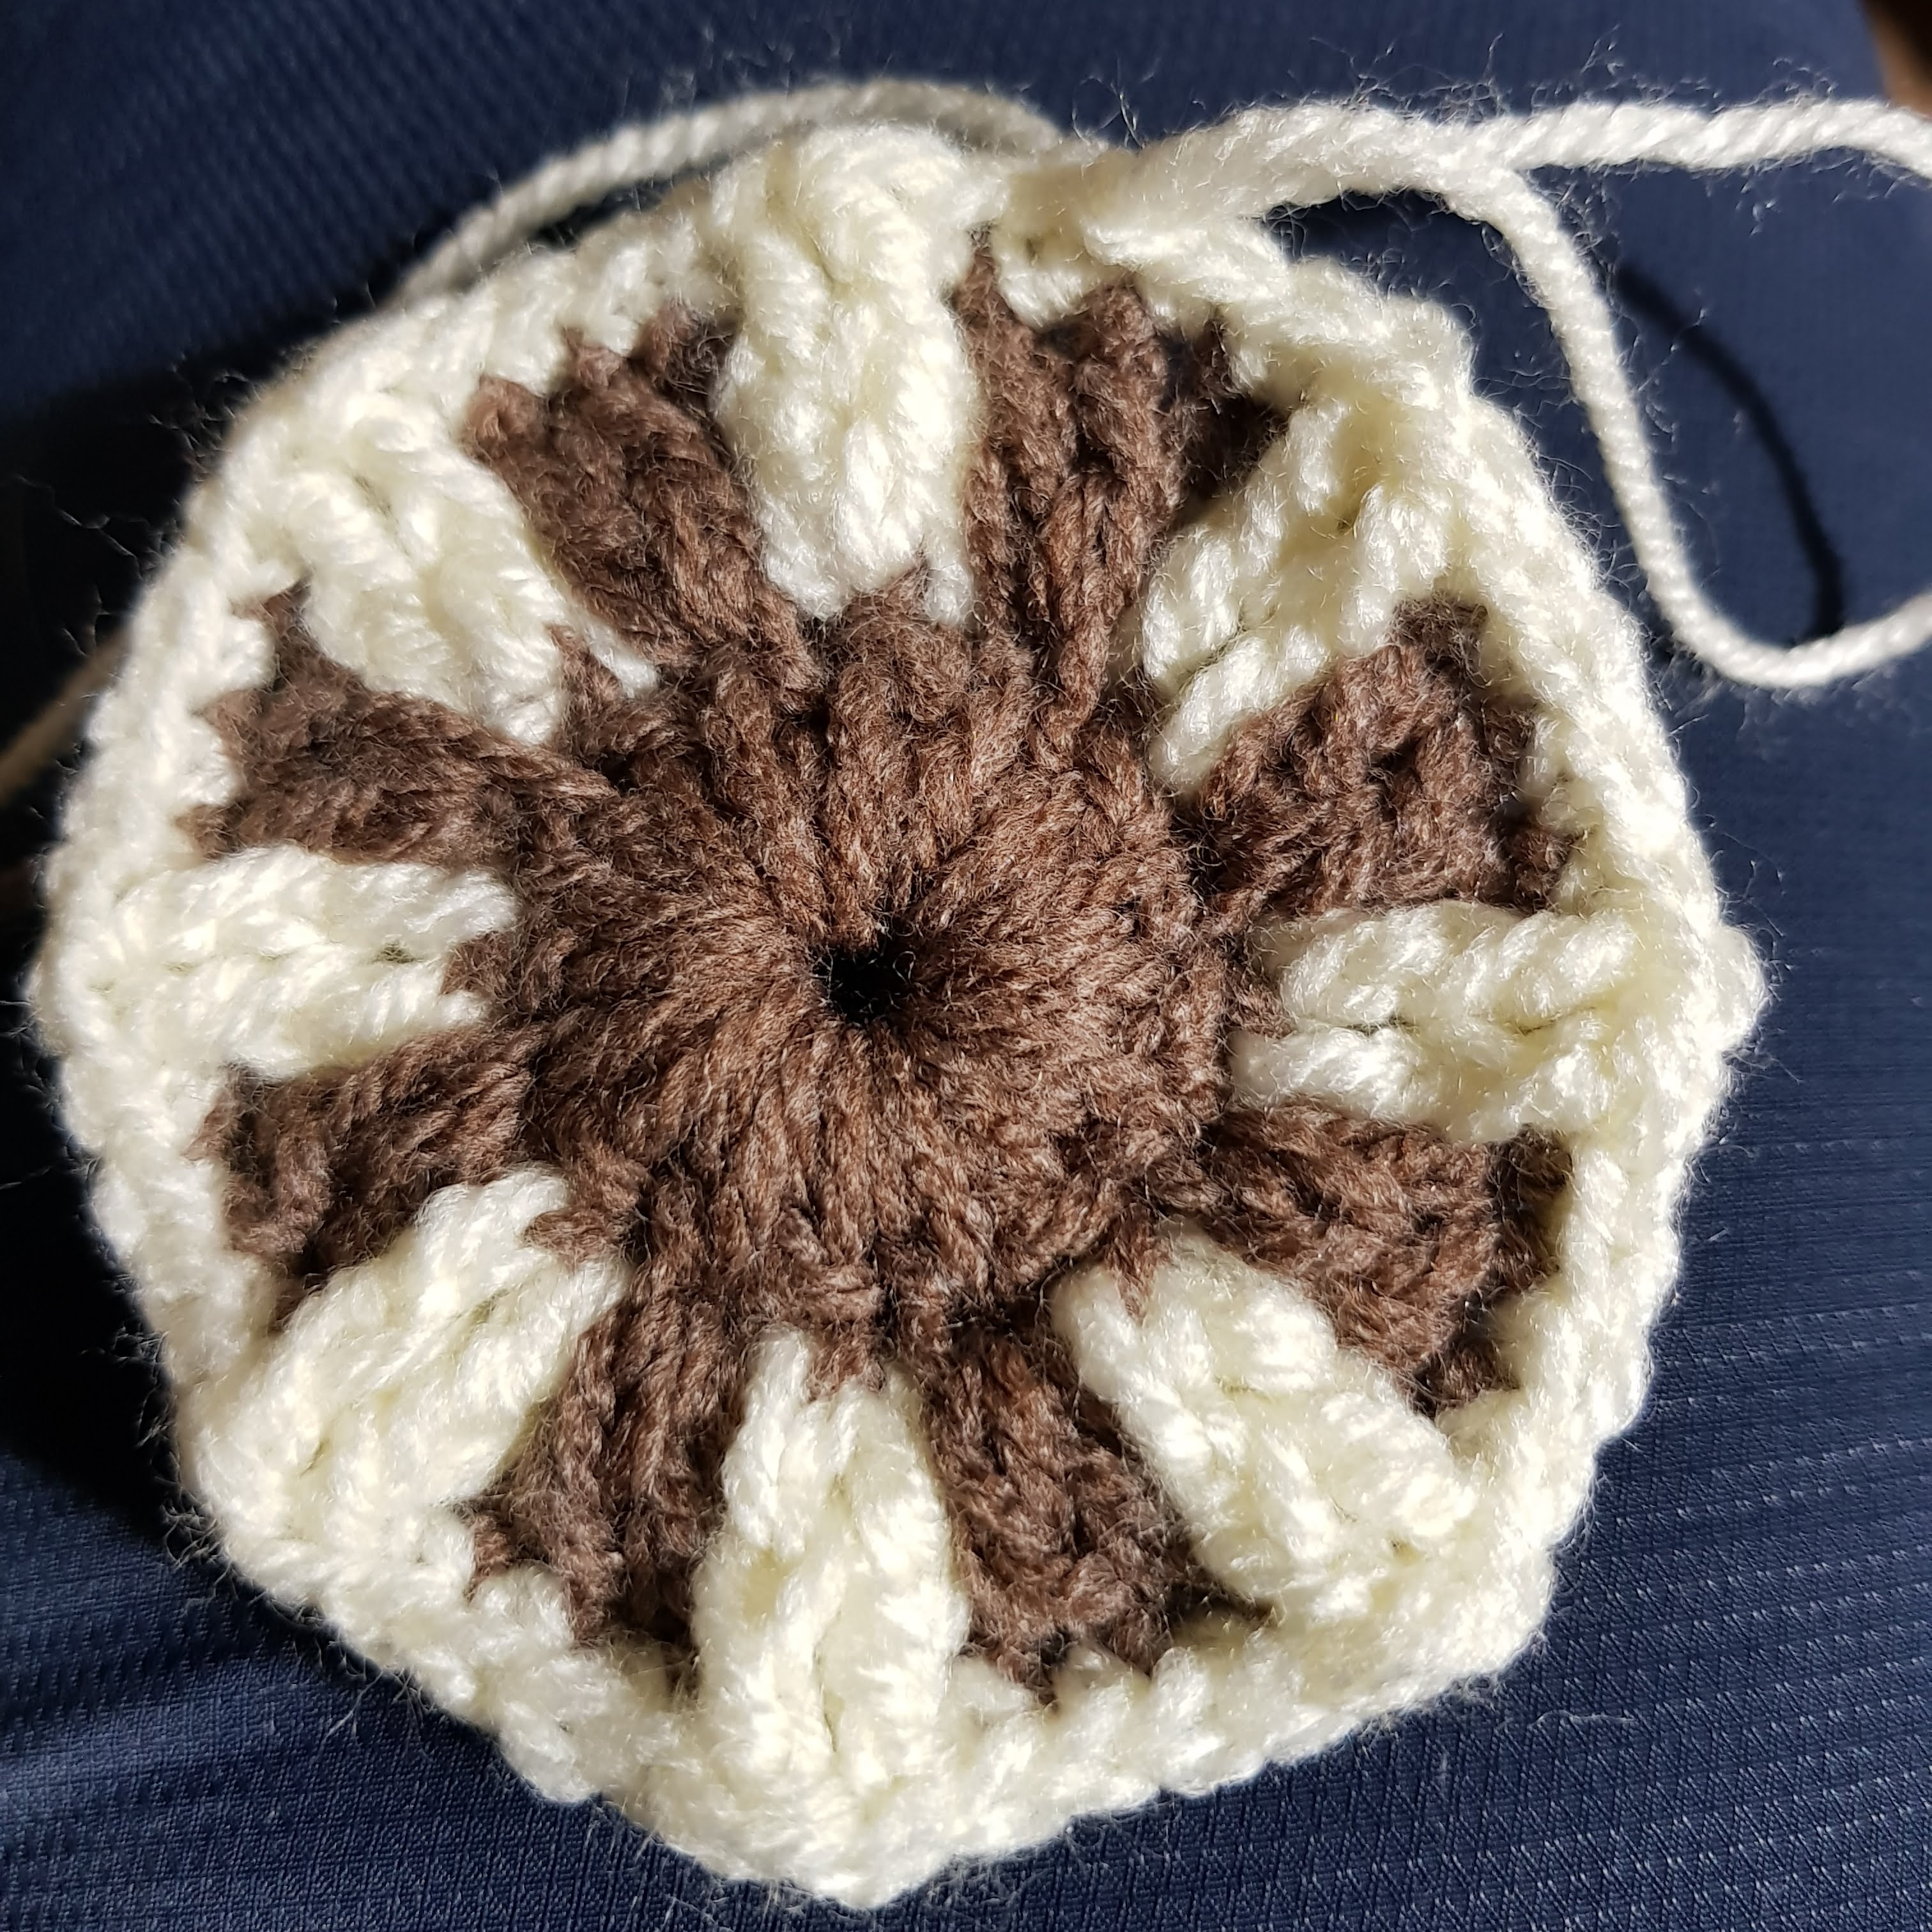
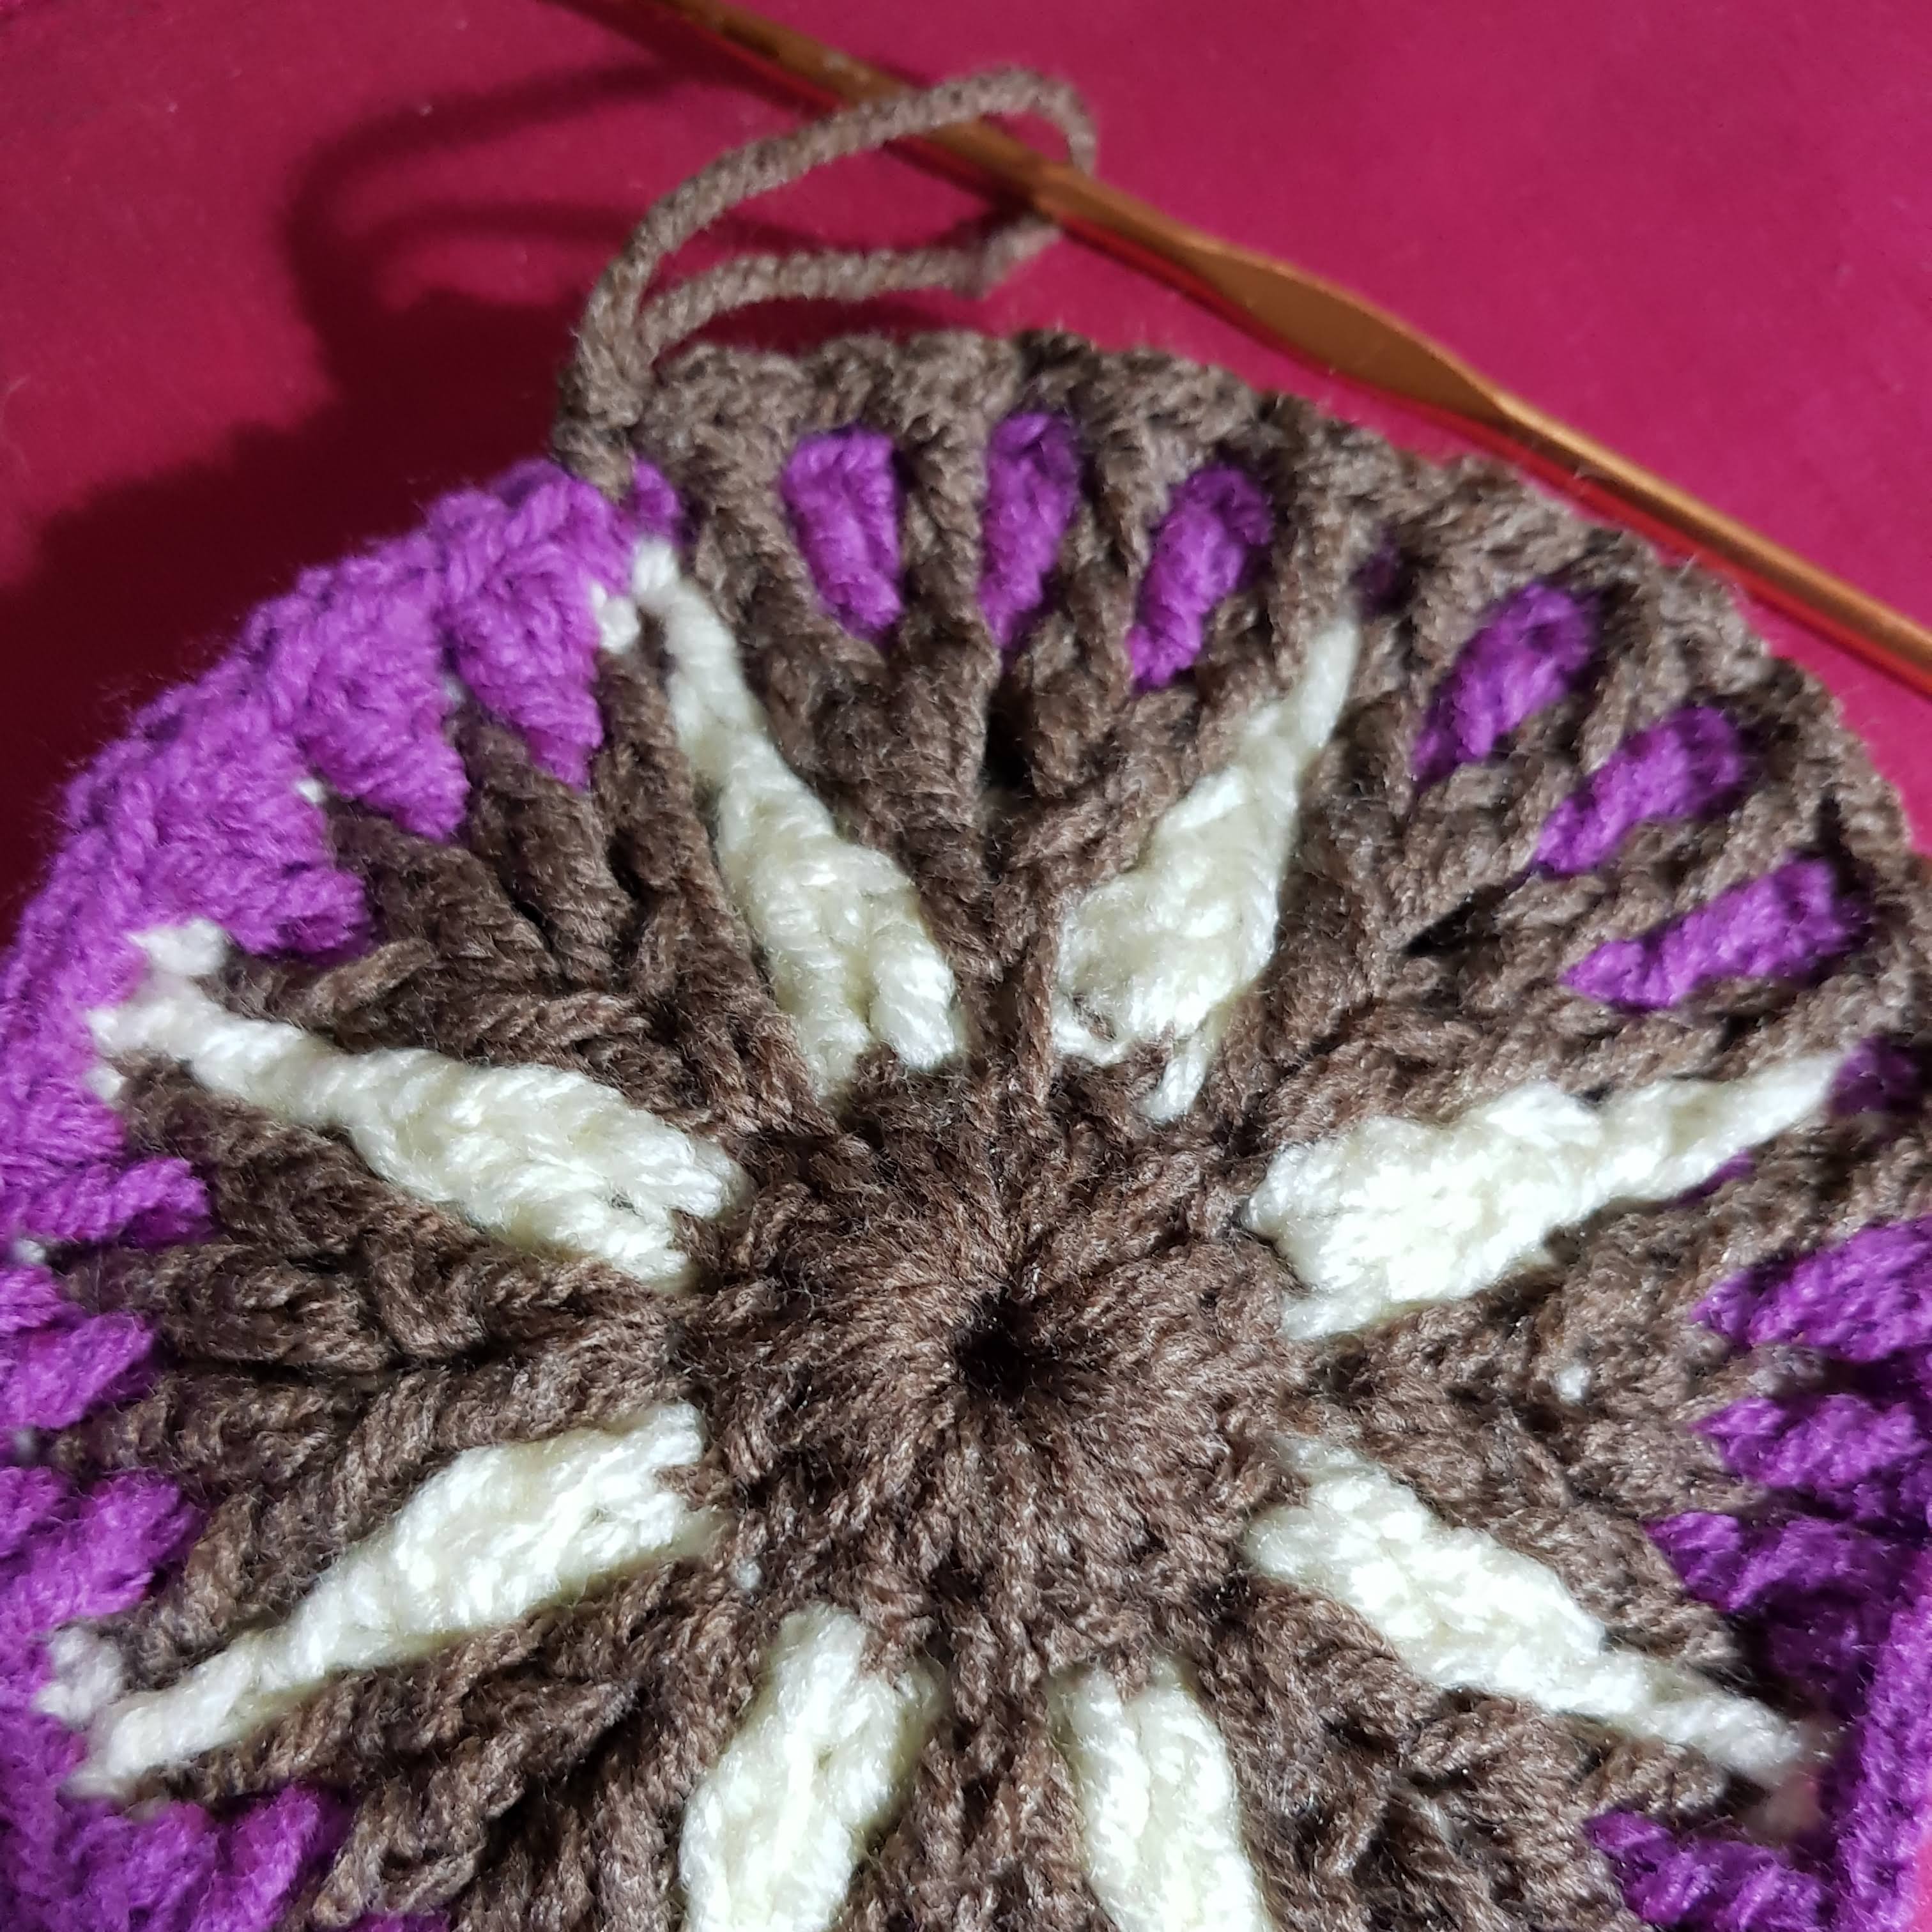
Step 3 – Brown Yarn
- 2 SC
- 2DC in brown front loop
- skip 2 stitches (white loops), 2 SC, skip 1 brown front loop
- 2 DC in the next front loop
- repeat from (3) all the way round – close with slip stitch
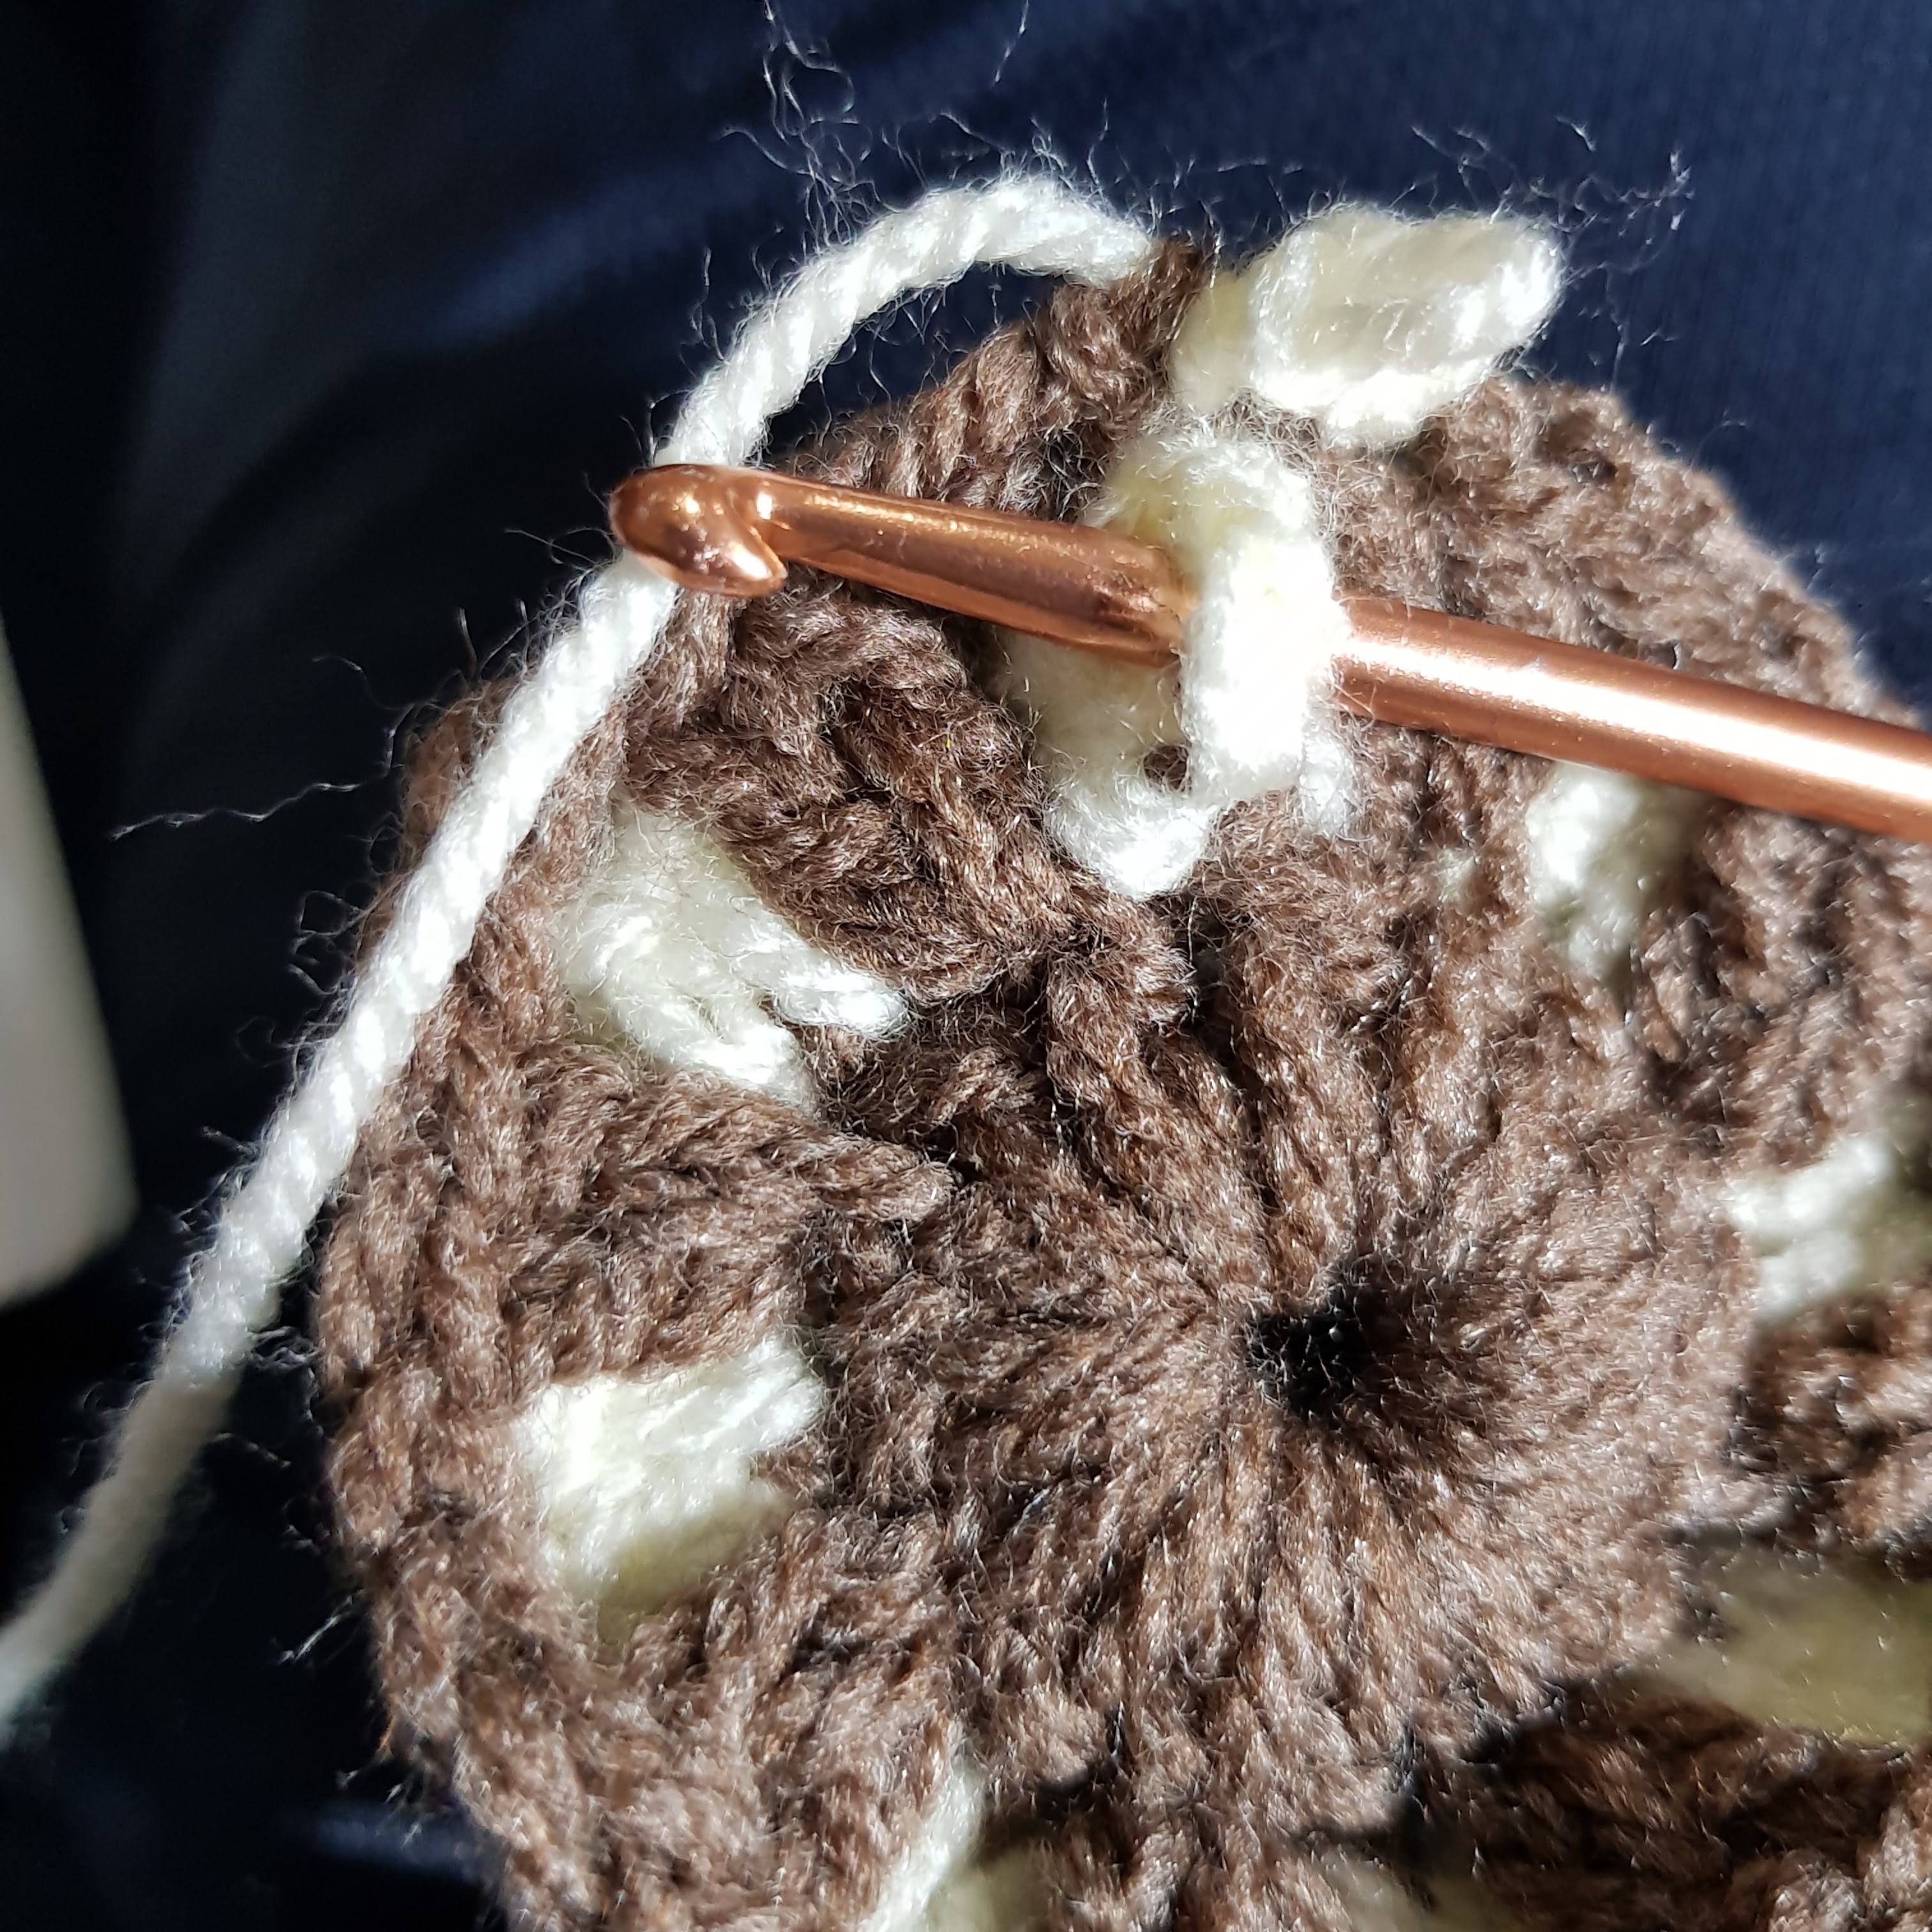
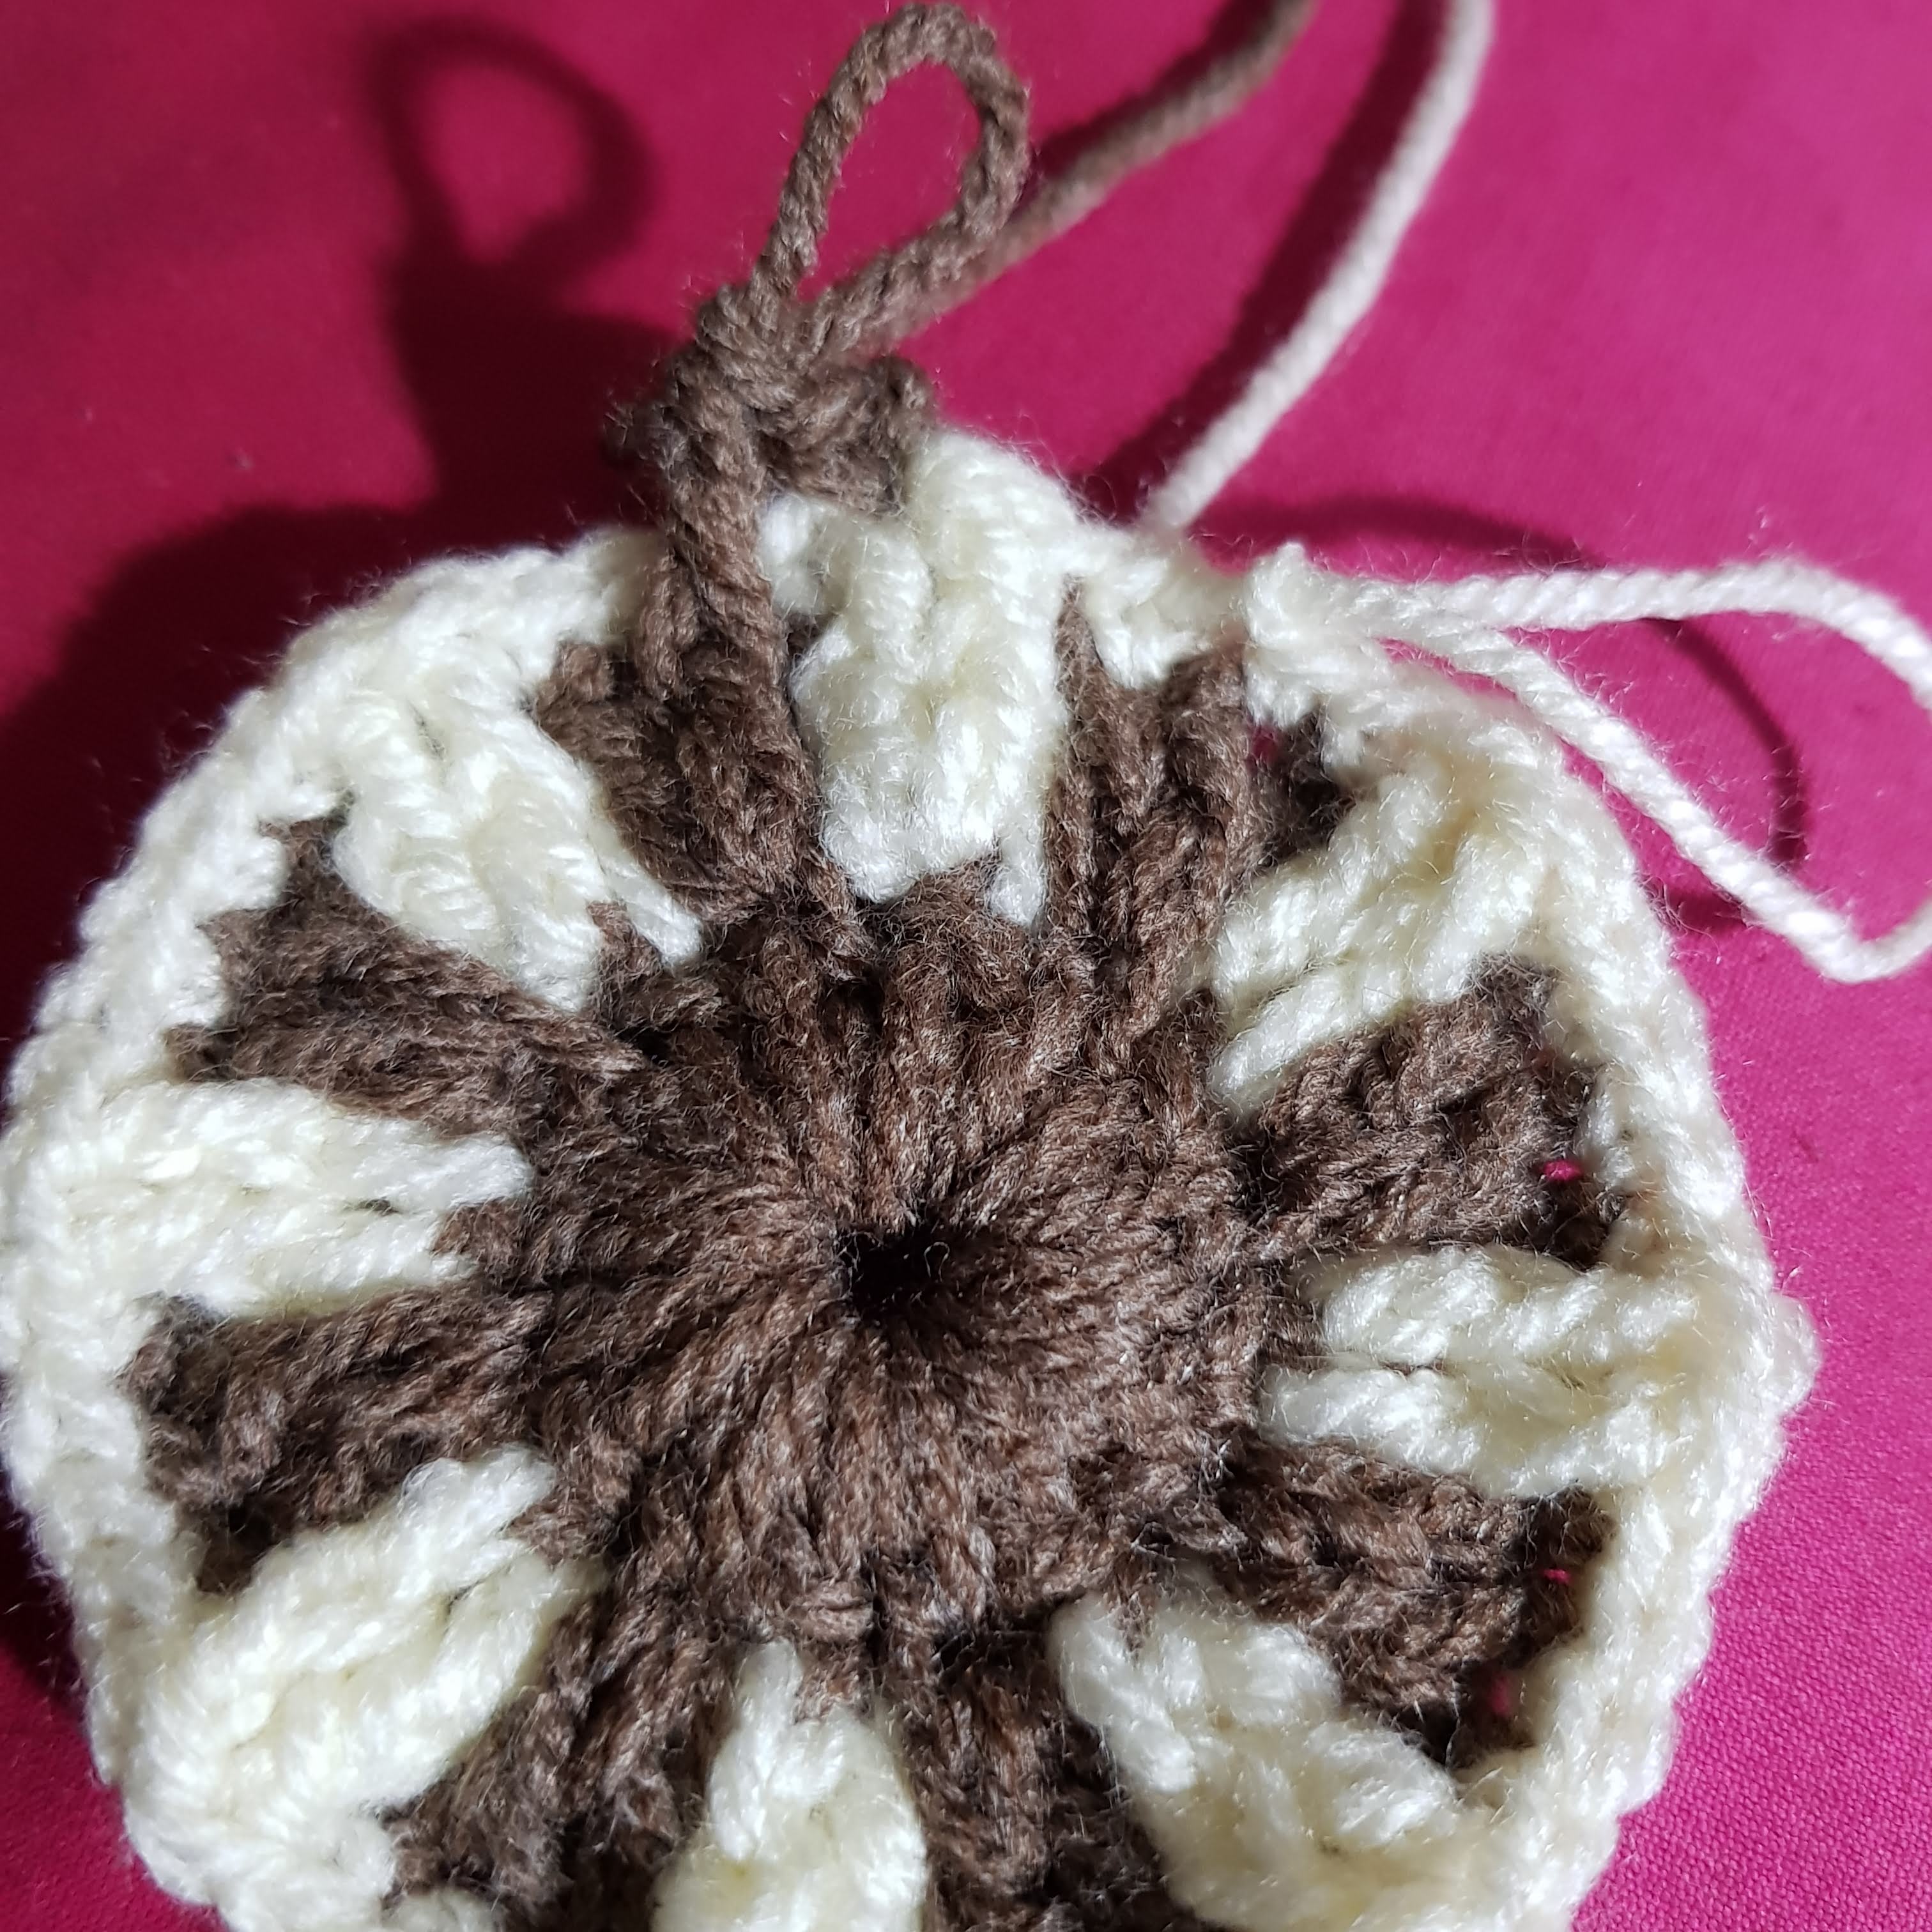
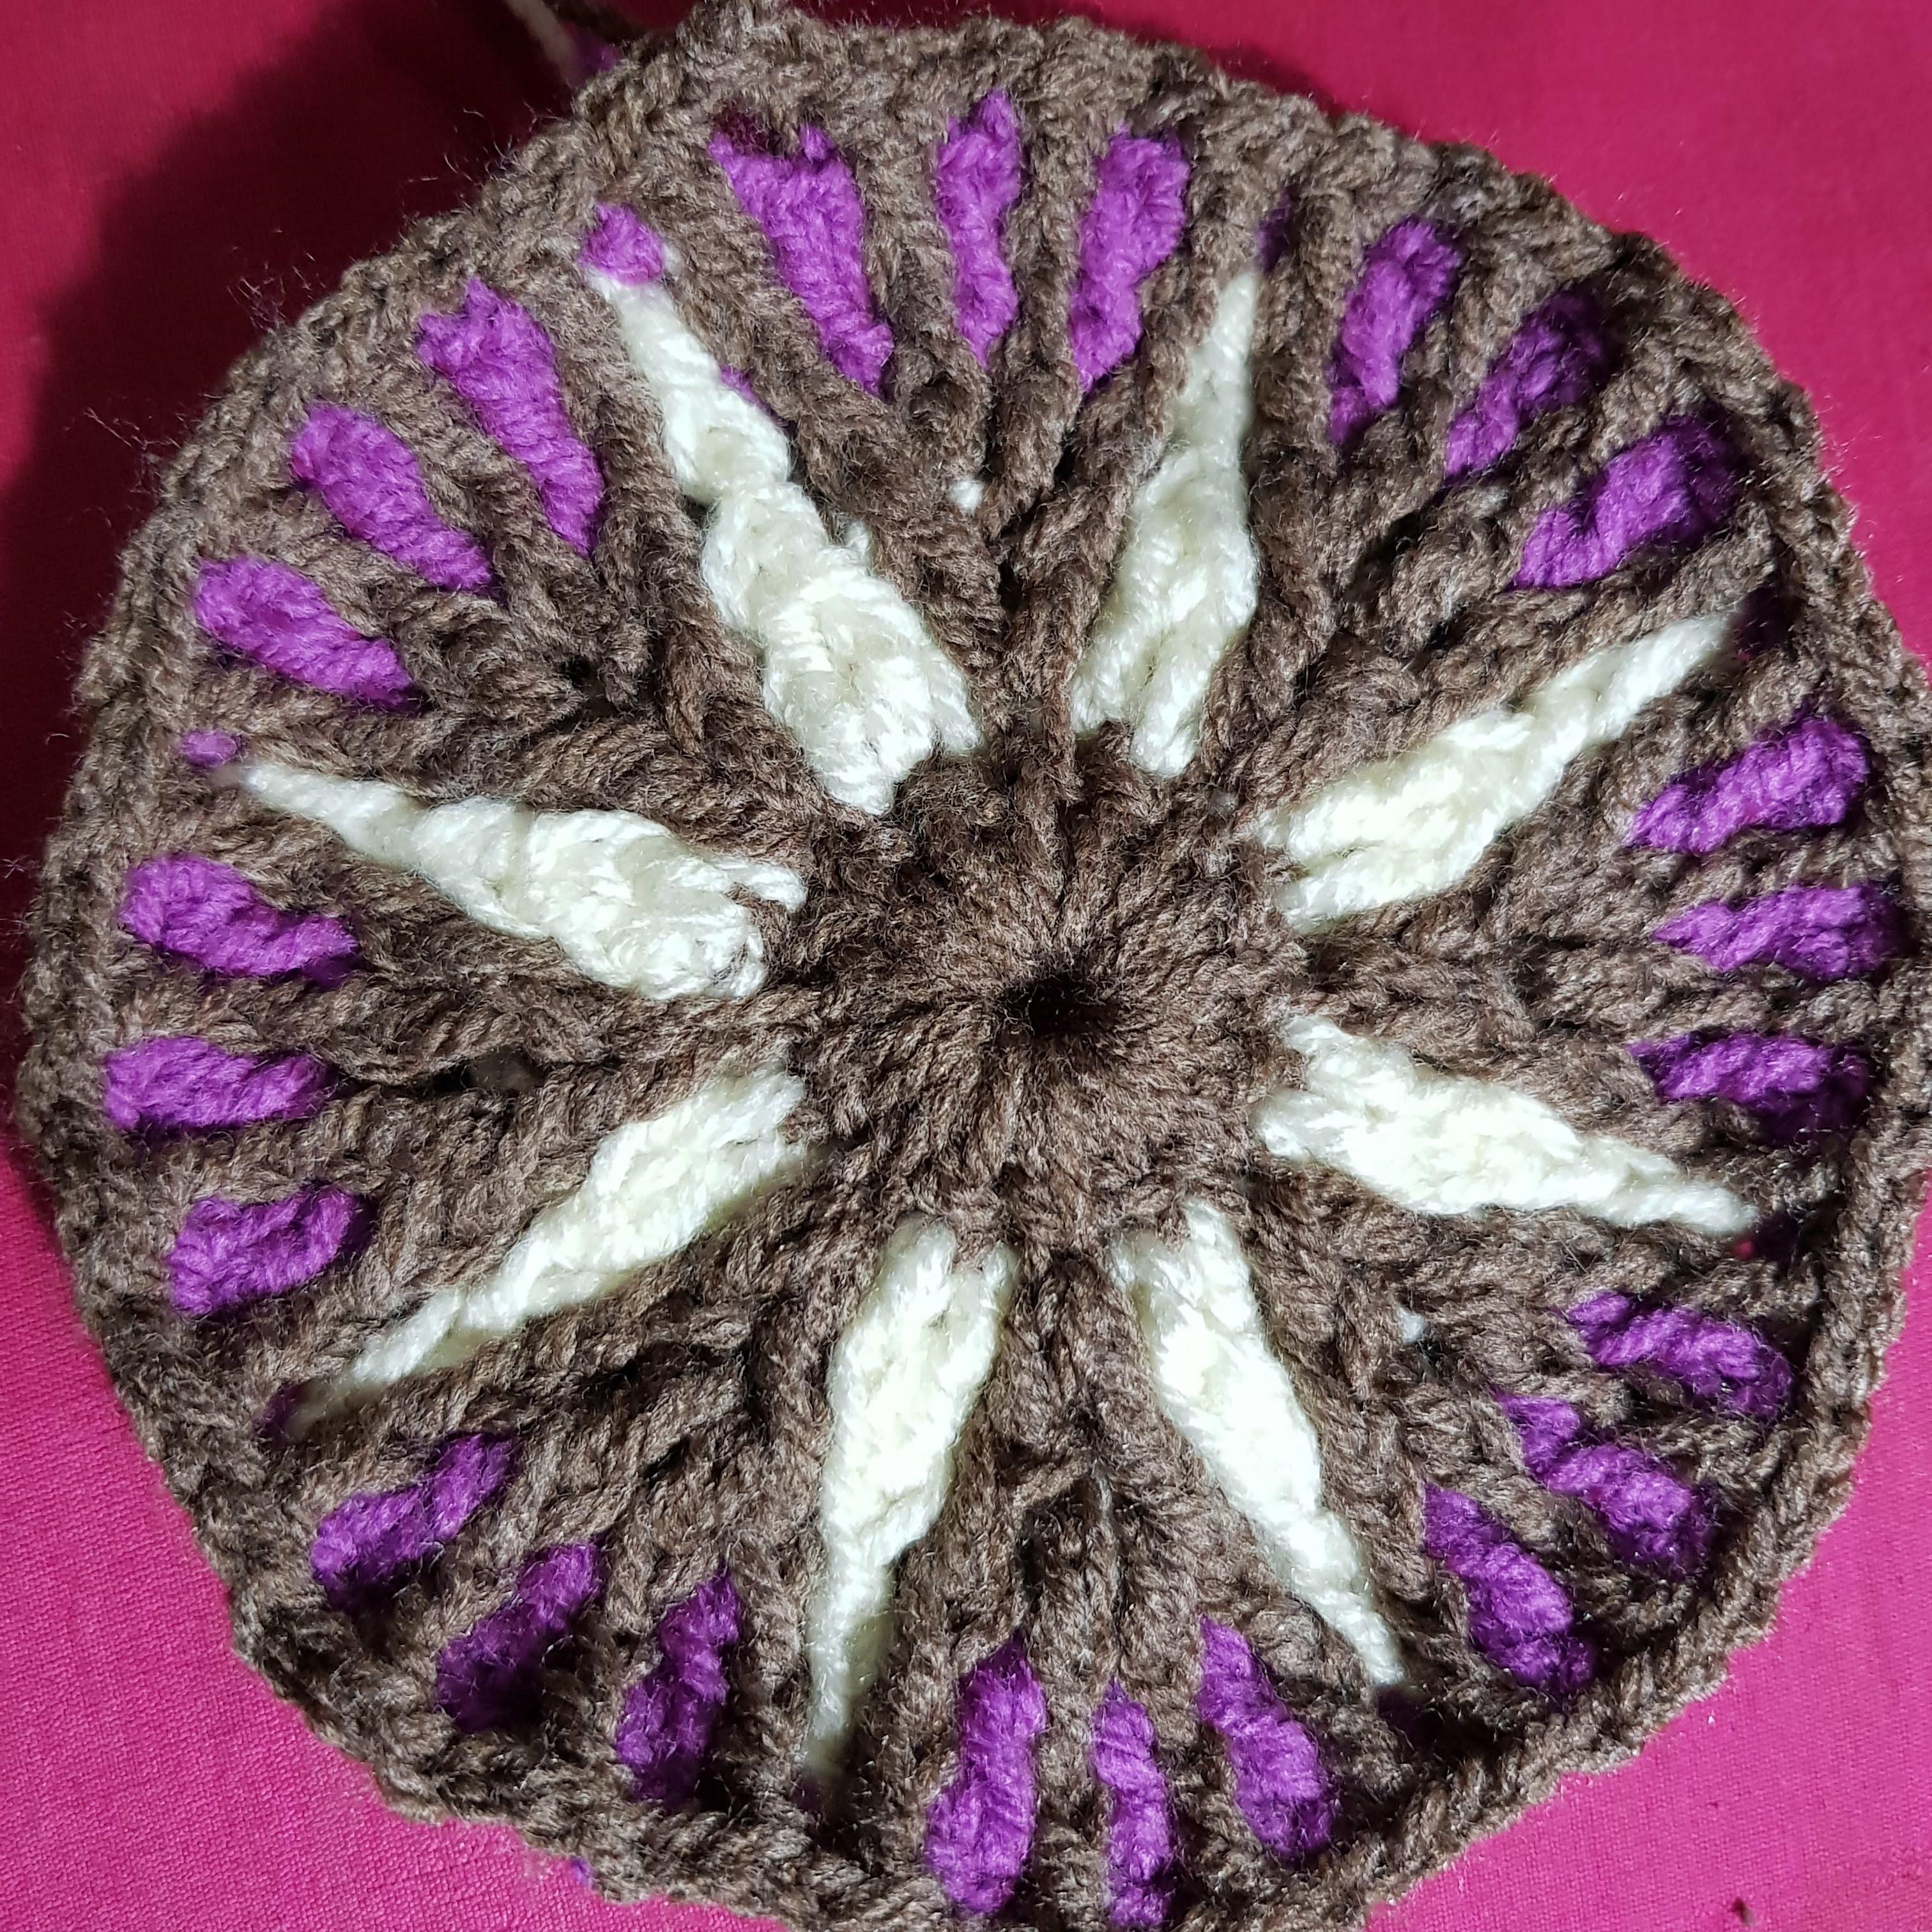
Step 4 – Brown Yarn
- SC in each stitch. When doing SC in brown DC, capture also the back loop of white DC from previous row all the way round and close with slip stitch.
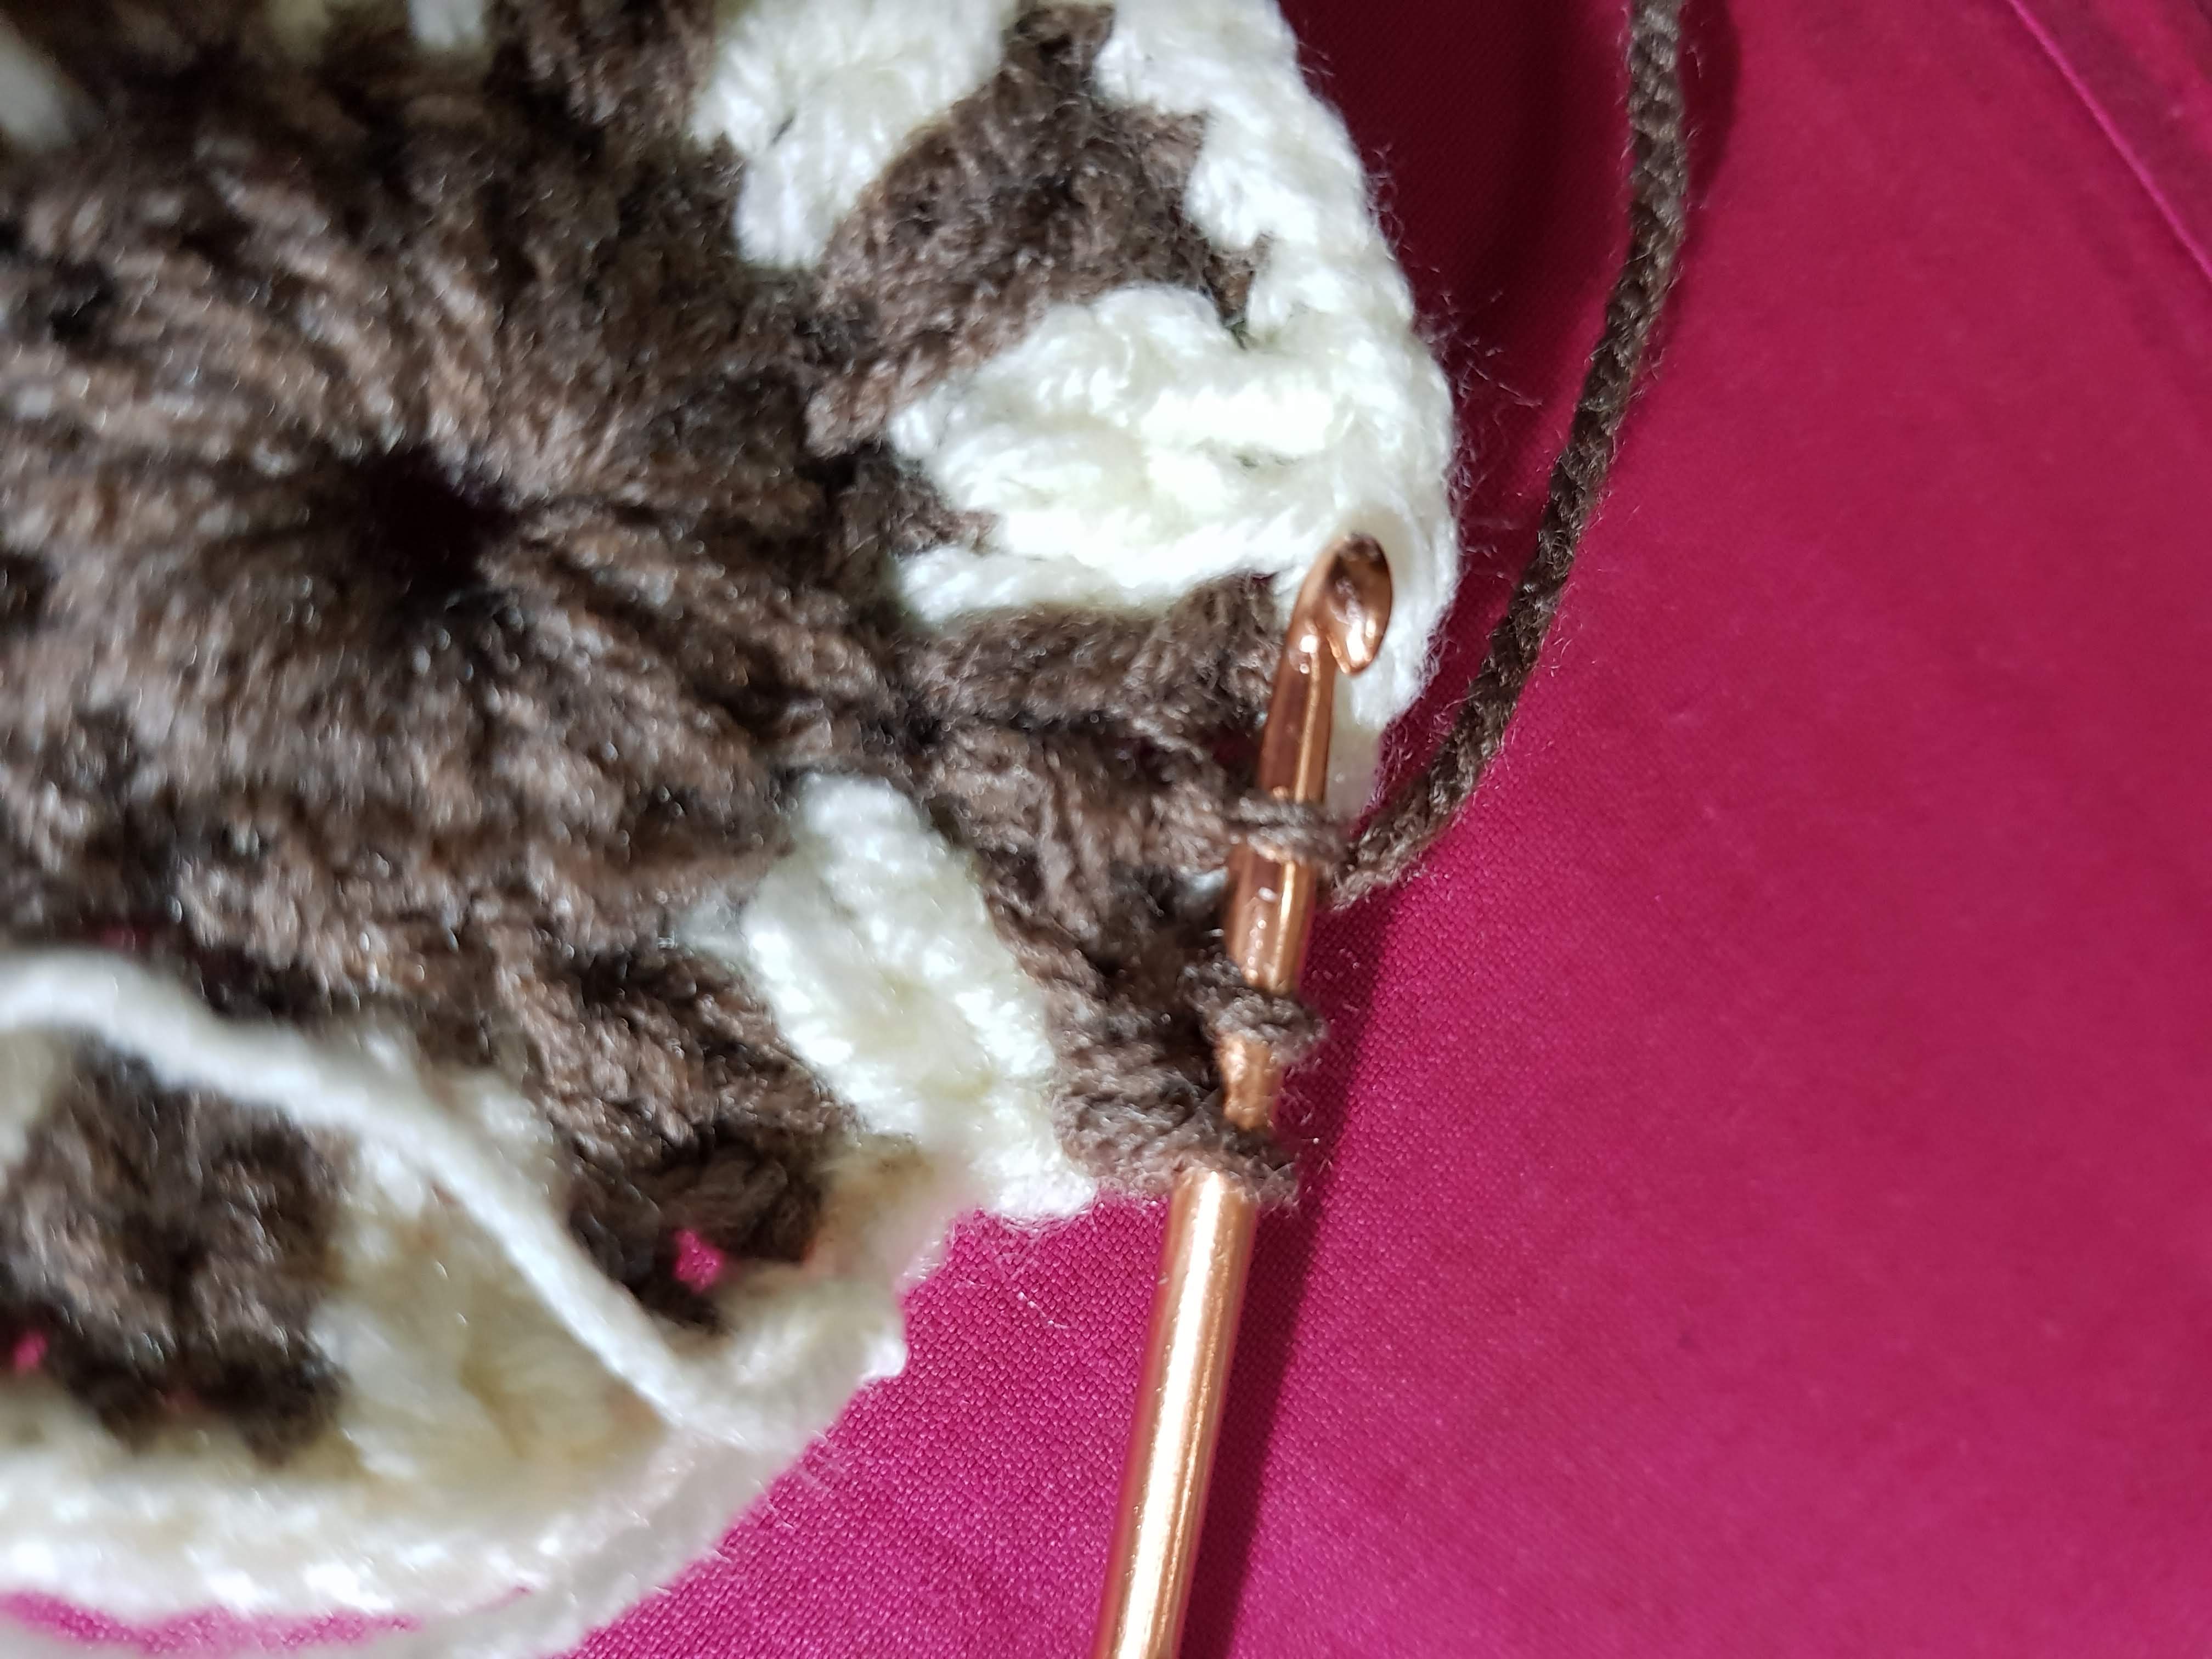
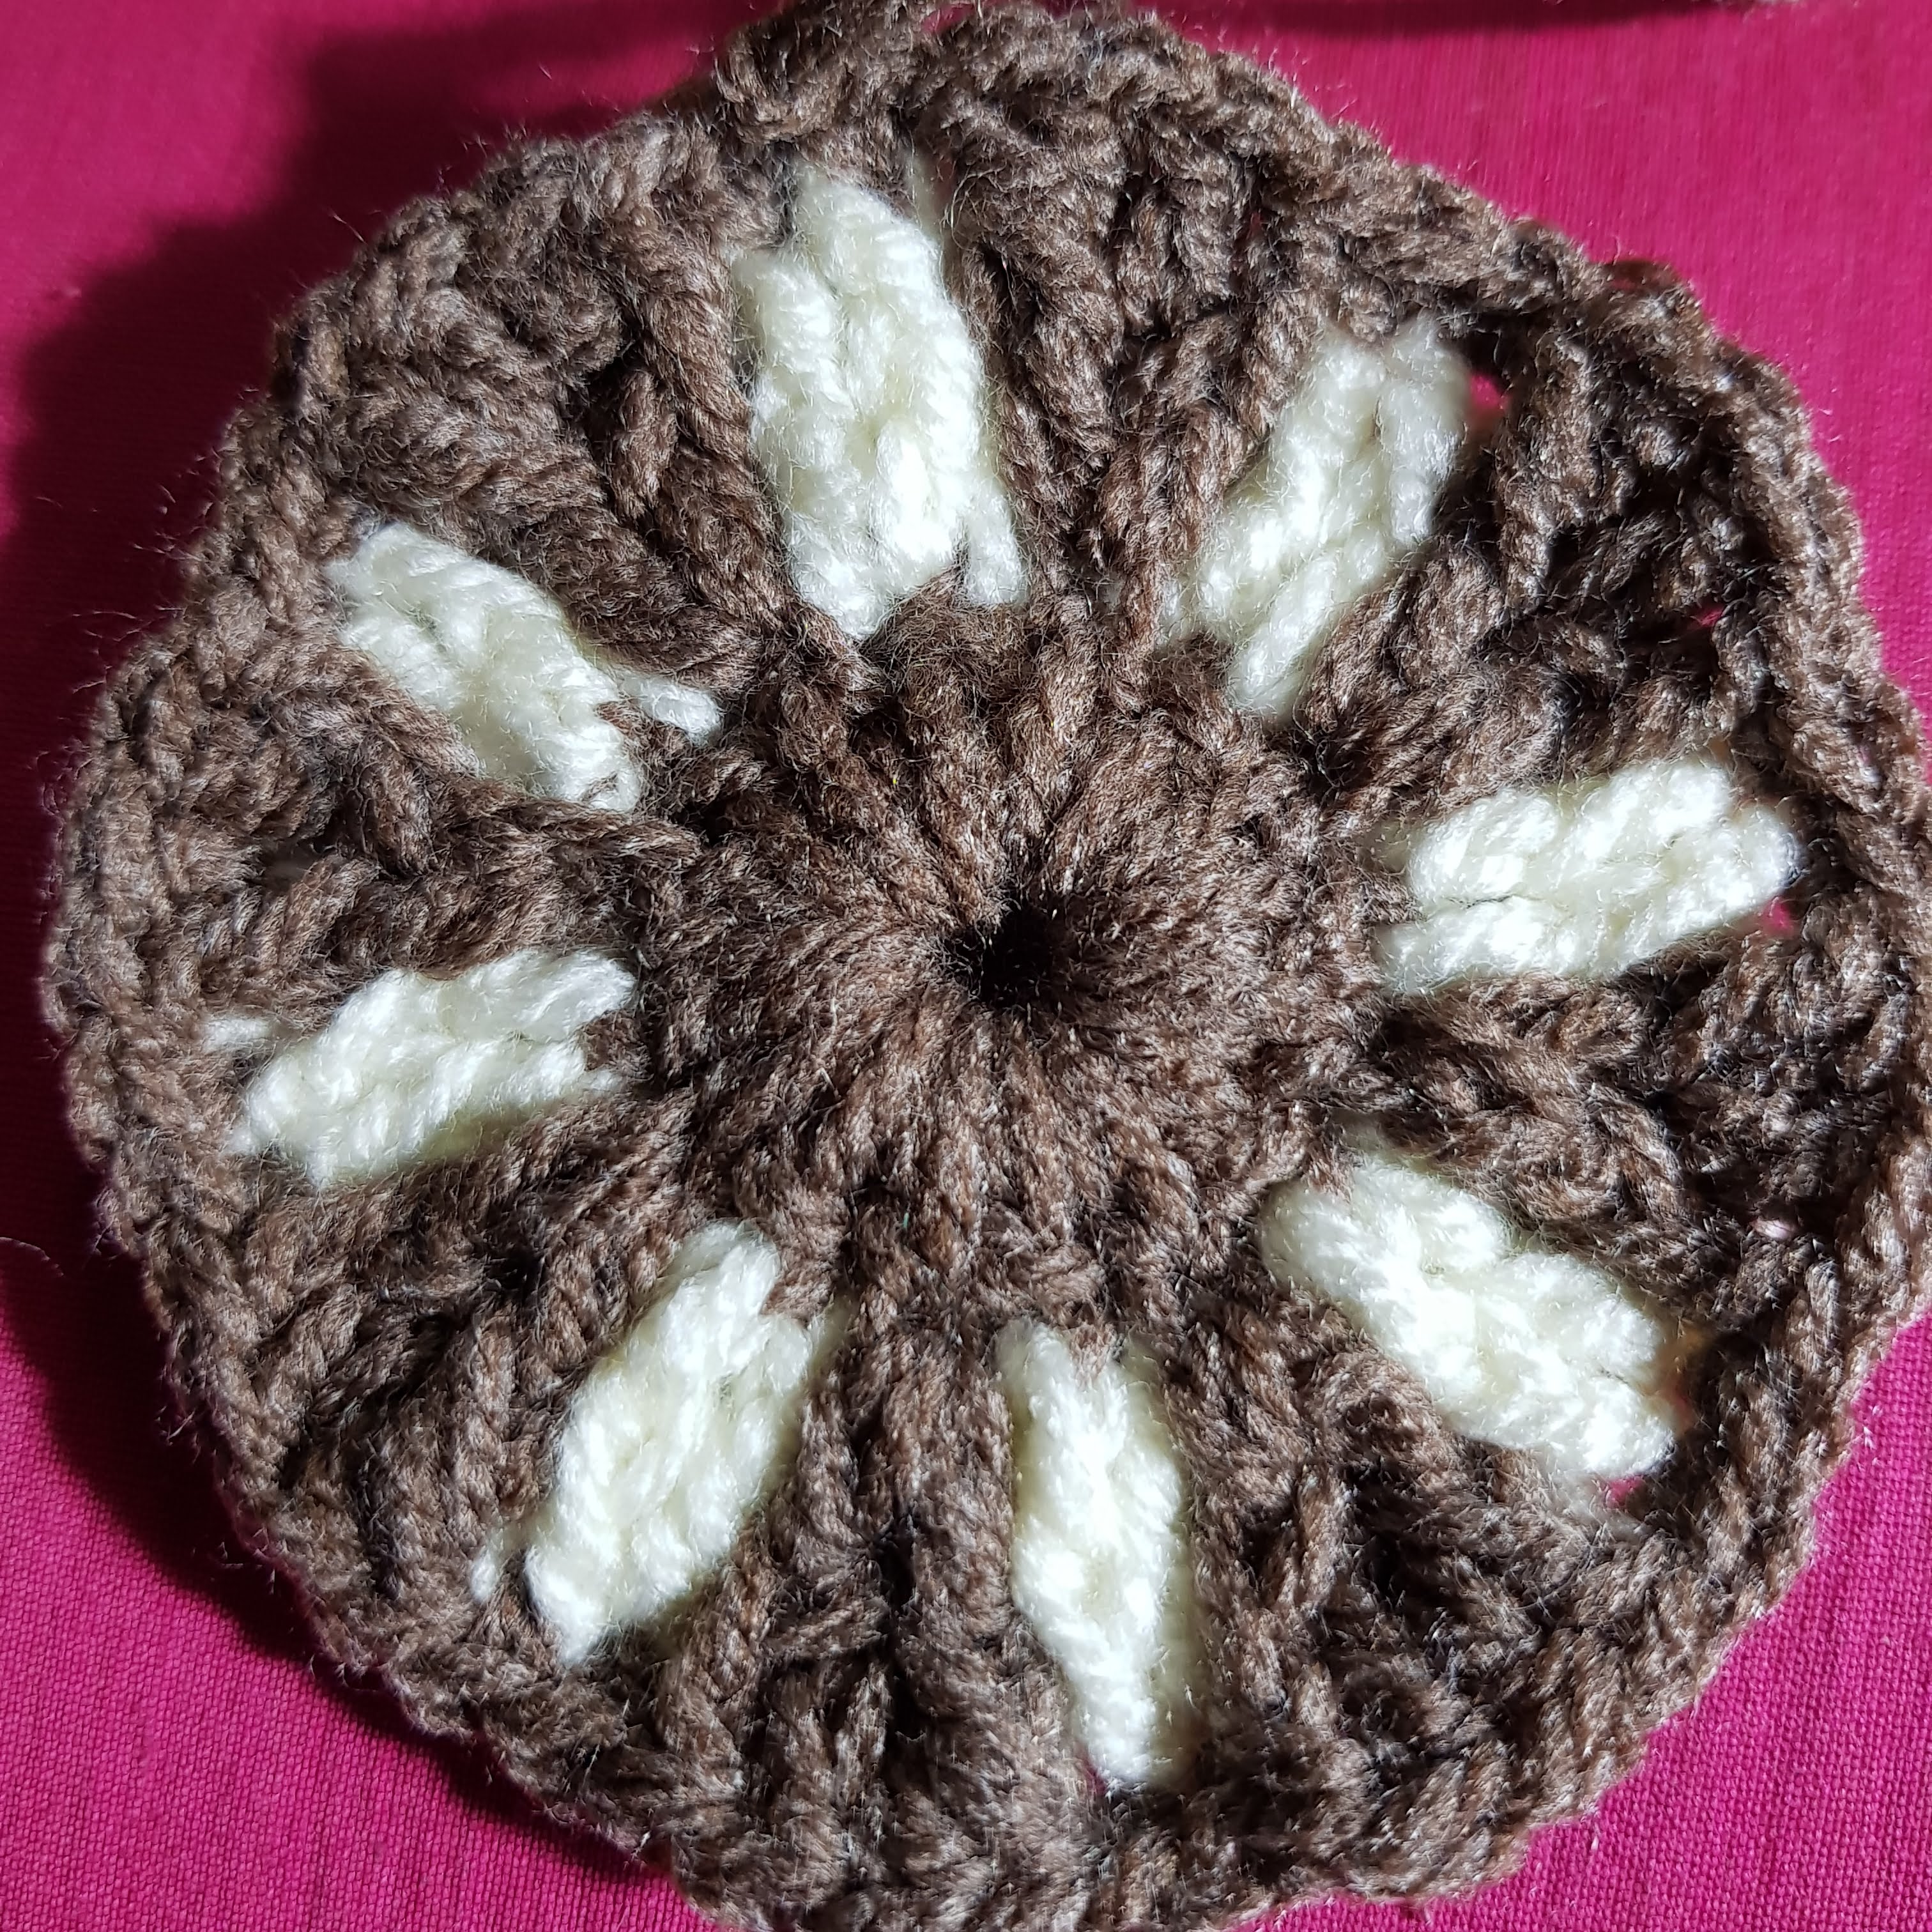
Step 5 – White Yarn
- 2 SC (1st on 2nd brown DC)
- 2 FDC on white DC from row 2, 4 SC , repeat all the way round. N.B. in the last repeat, finish with 2 SC instead of 4 SC. Close with a slip stitch
Step 6 – Brown Yarn
- SC in 2nd white DC.
- FDC in leg of brown DC.
- DC in front loop of 1st brown DC
- DC in front half-loop of 2nd brown DC
- FDC in leg of 2nd brown DC
- Skip 4 white stitches. 2 SC, repeat from (2) all the way round. Close wth slip stitch
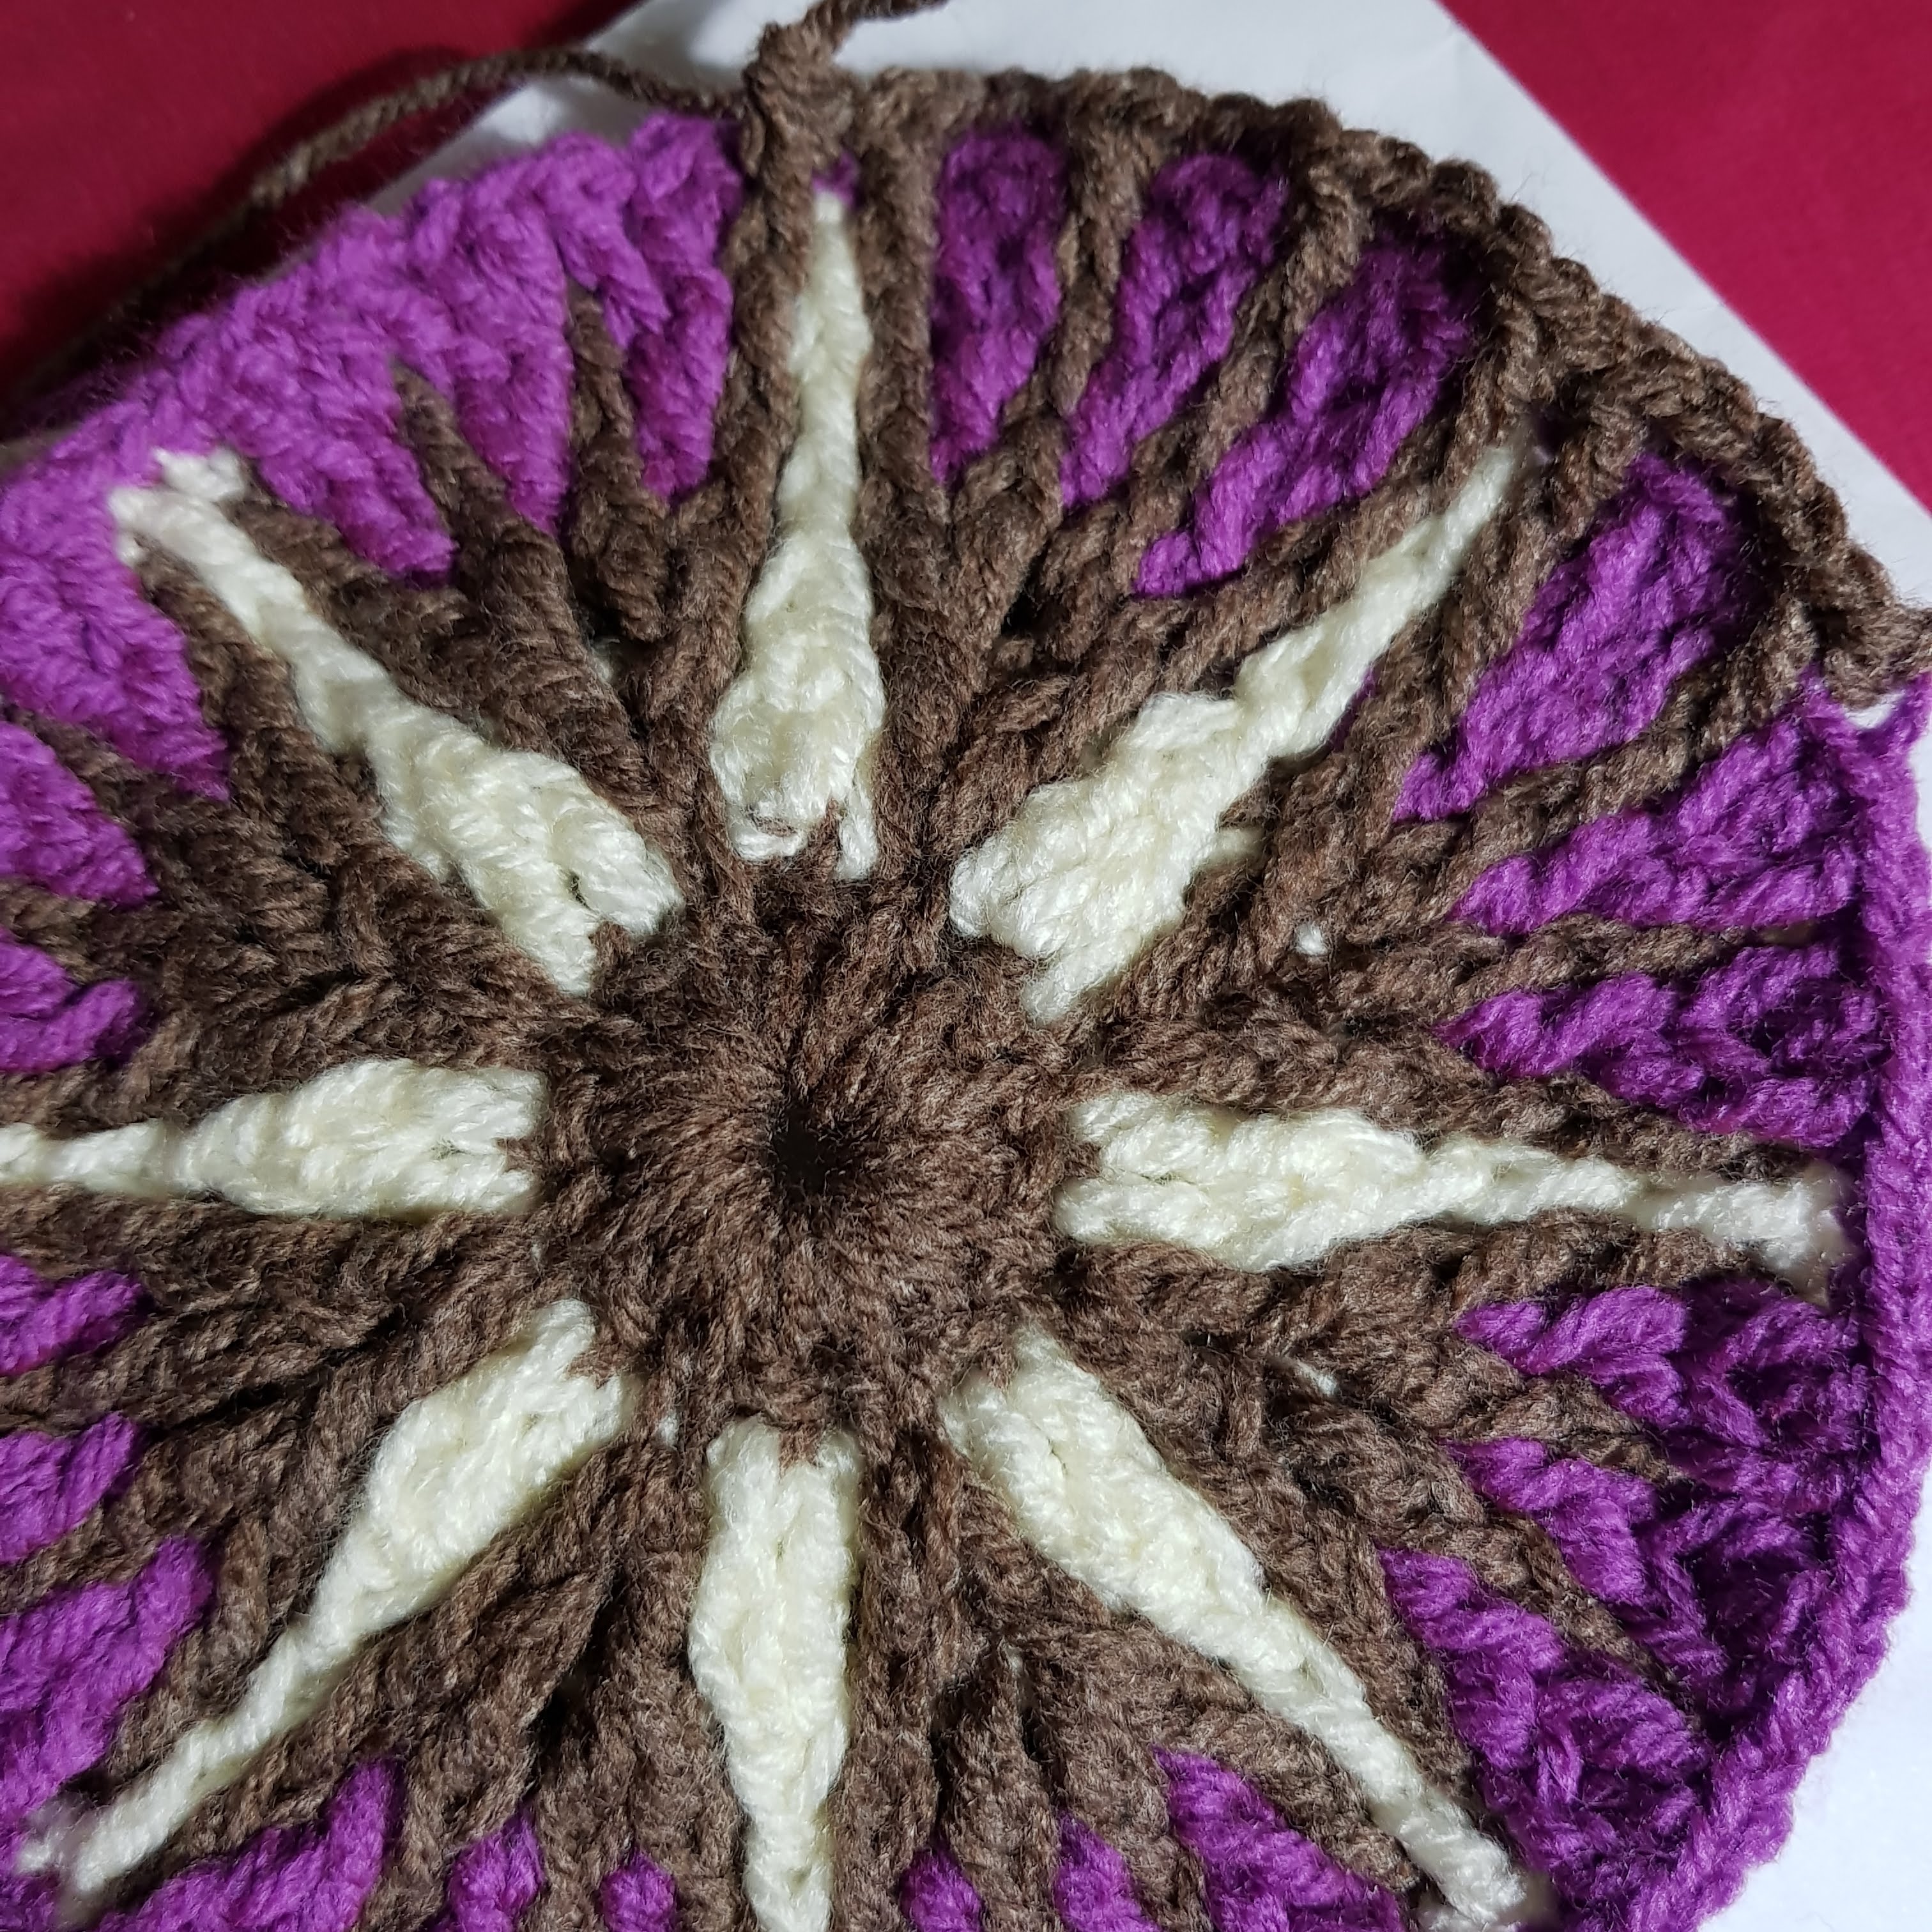
Step 7 – Brown Yarn
- SC in back loop of brown stitches from last row all the way round.
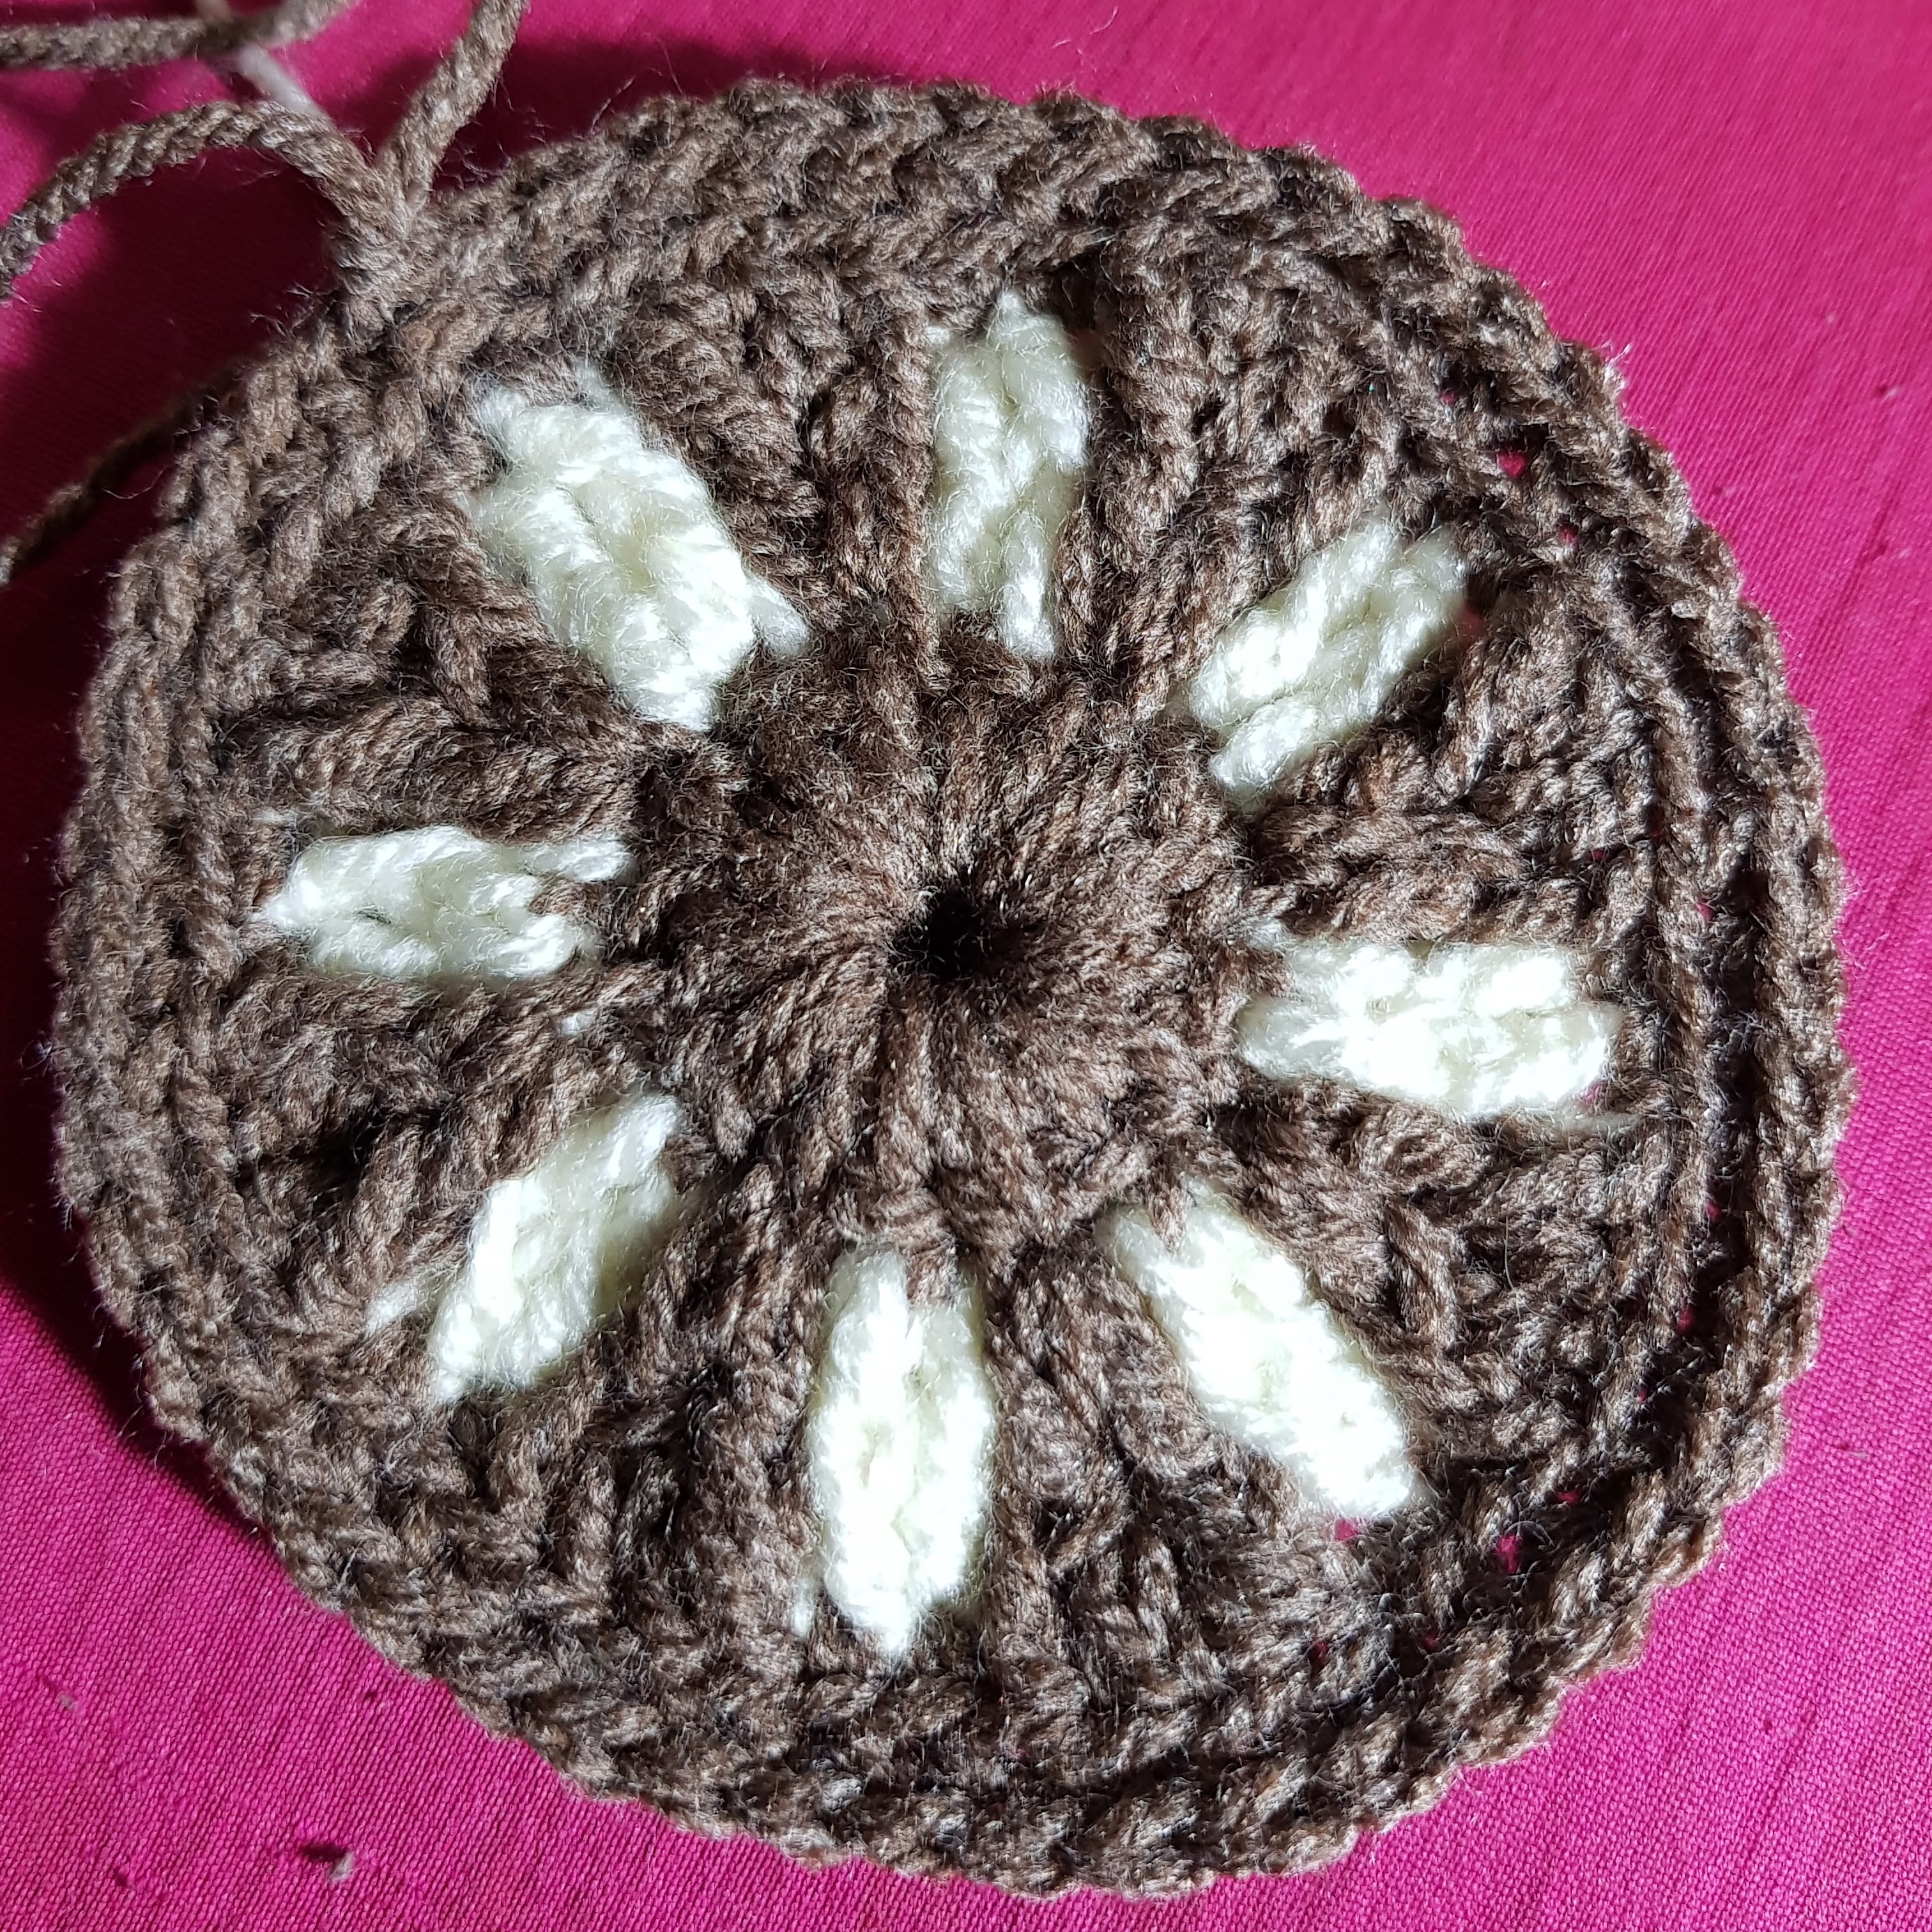
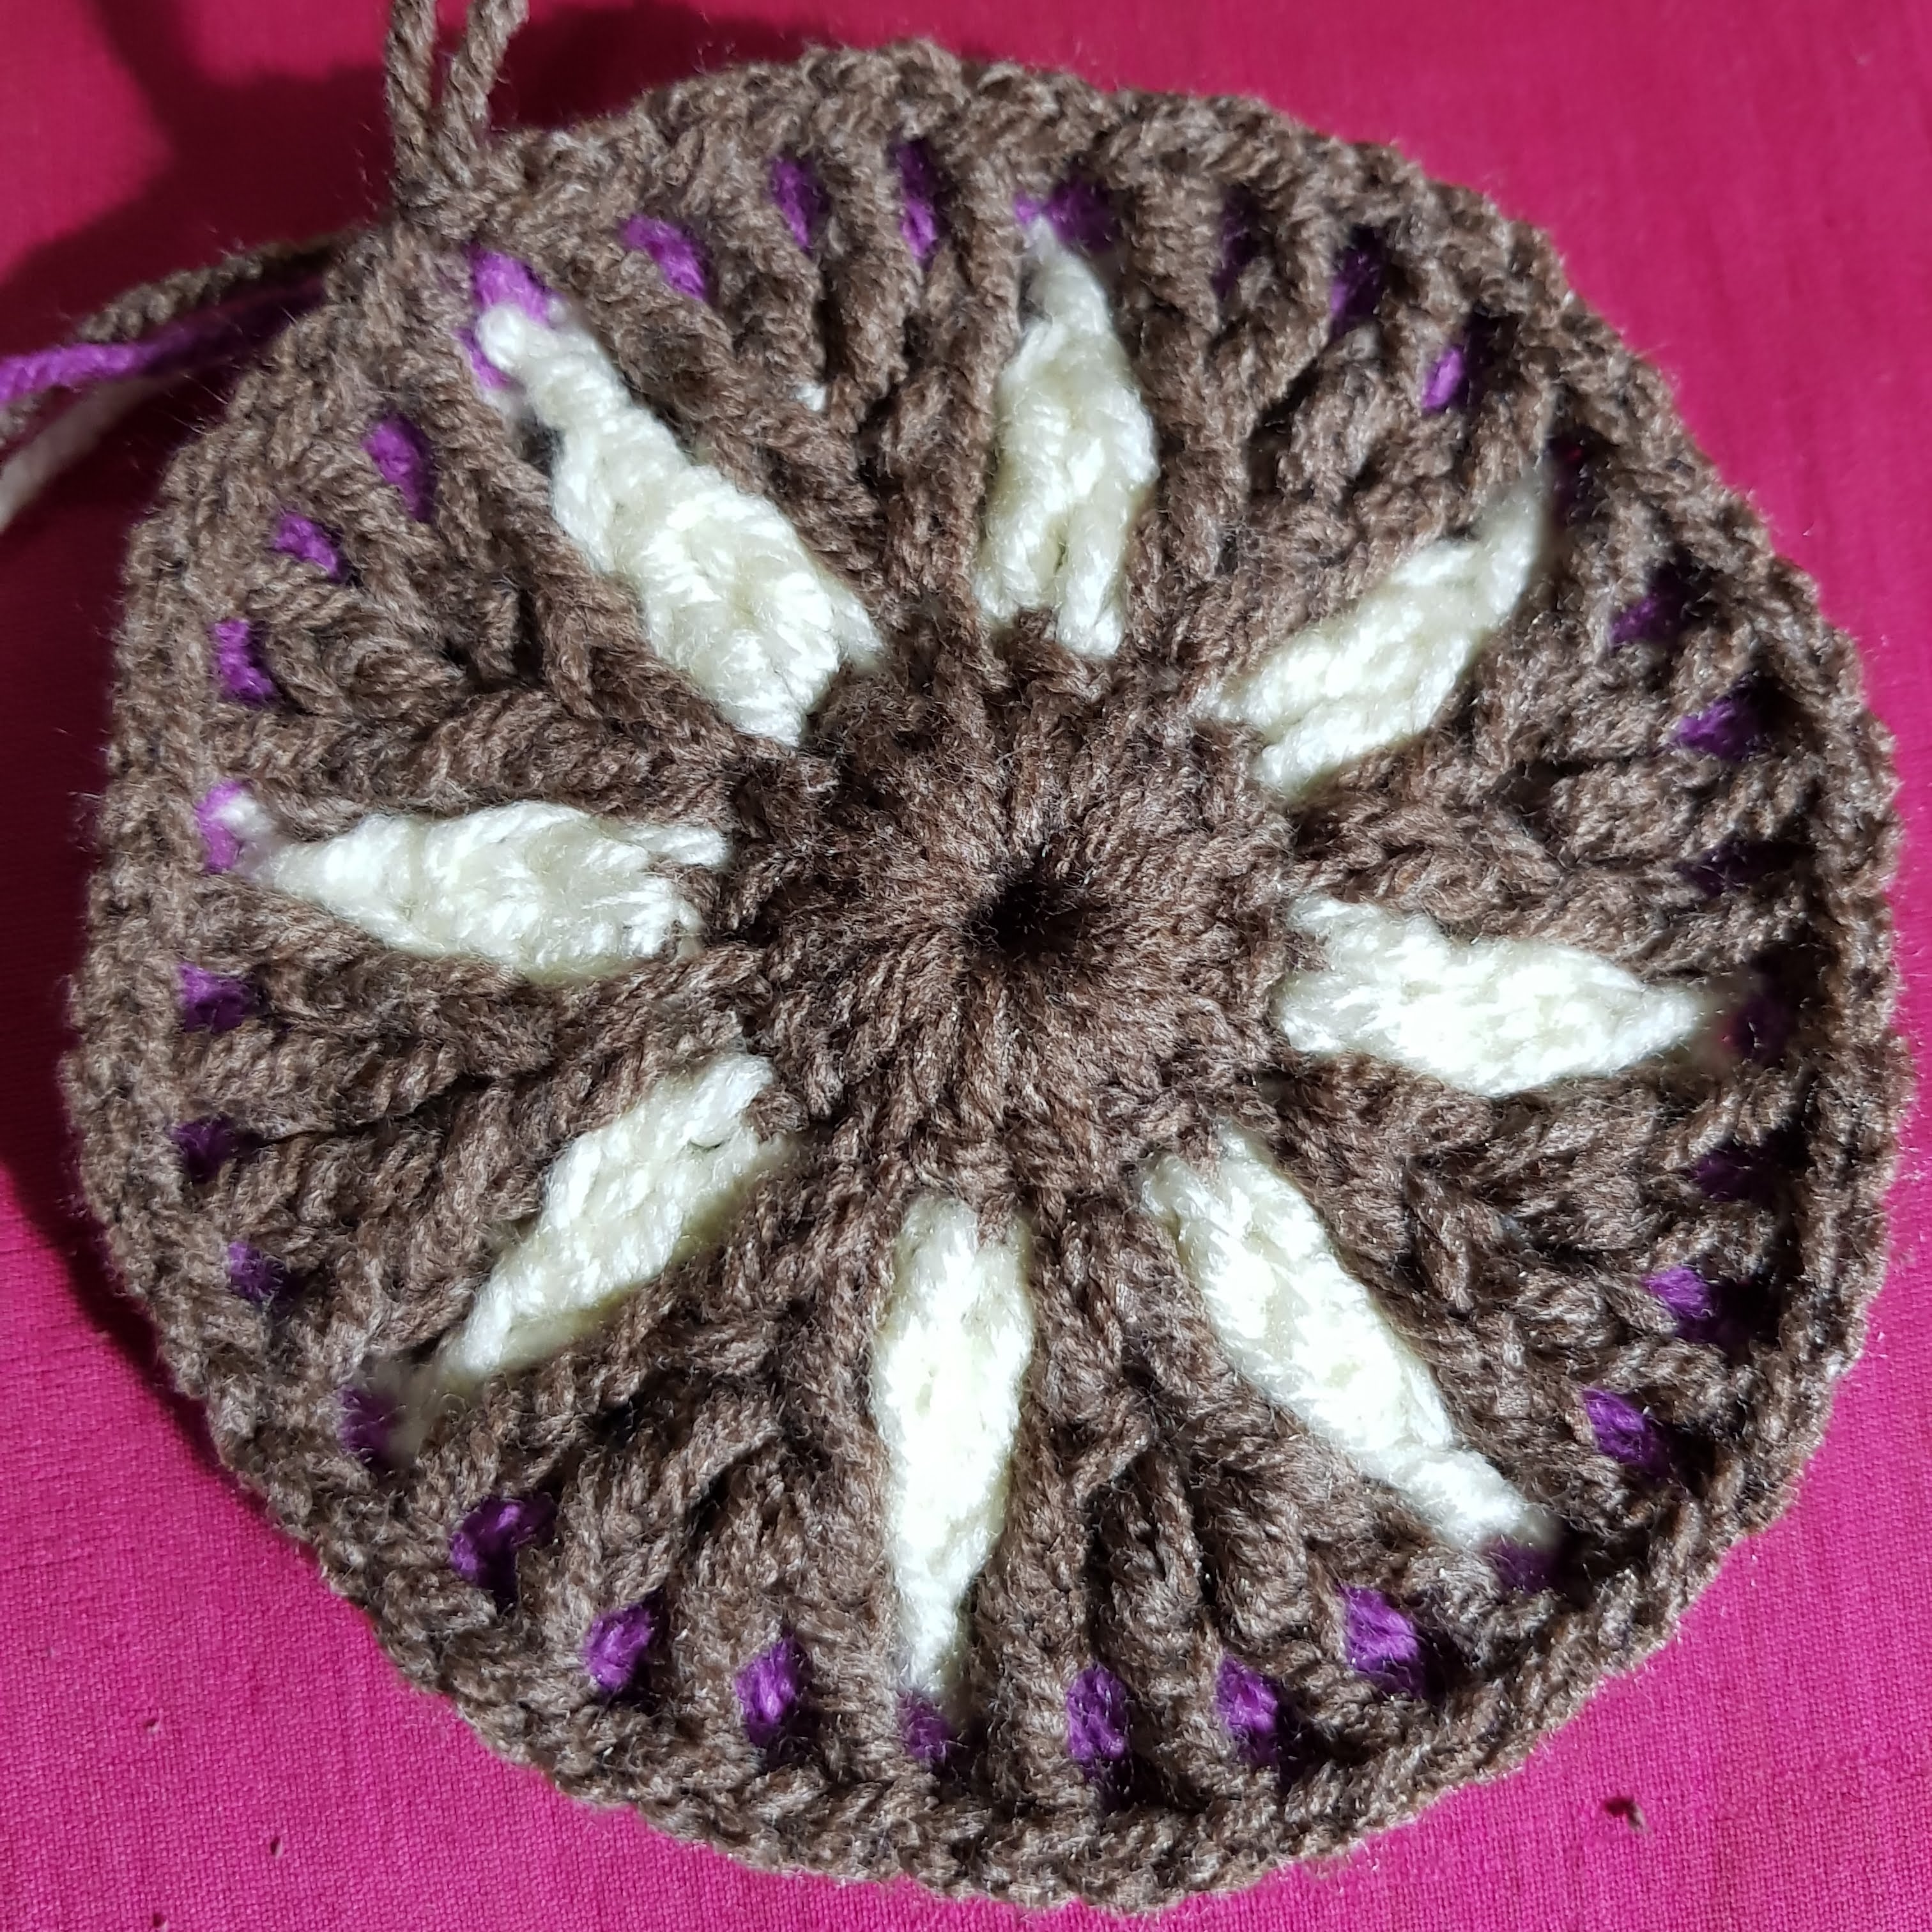
Step 8 – White Yarn
- 6 SC.
- FDC – immediately under both white DC from Previous row

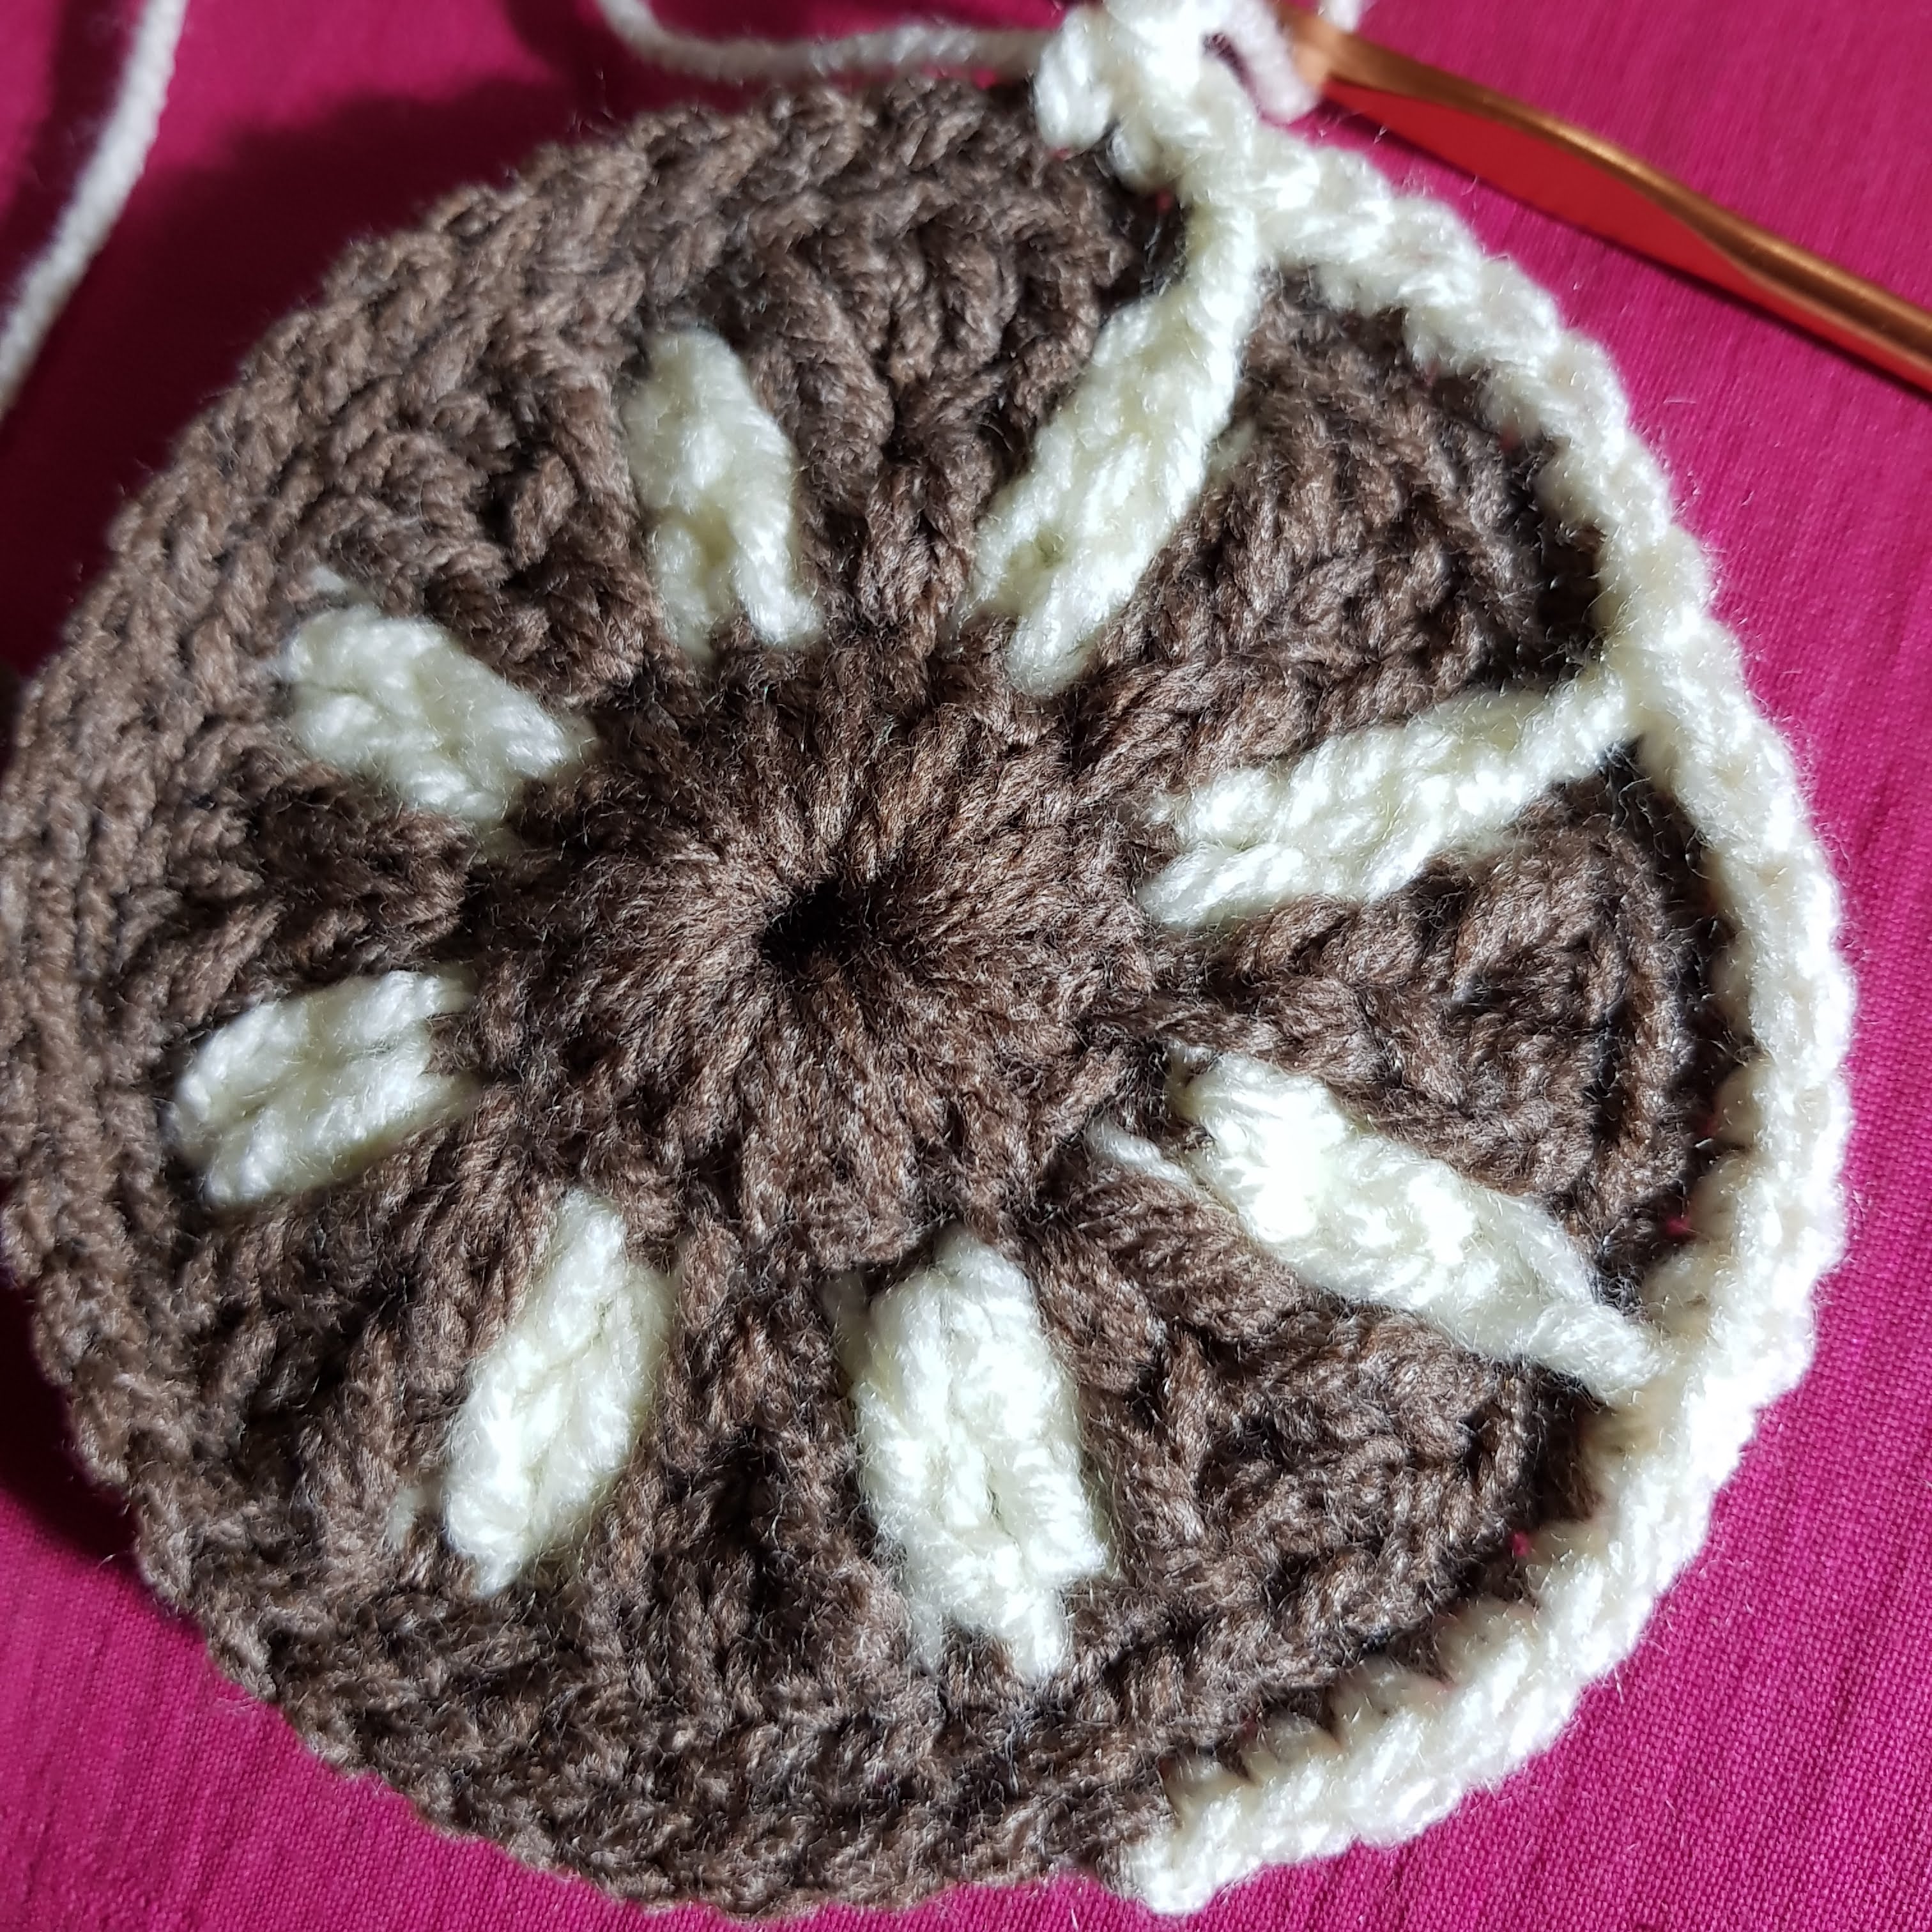
- repeat from (1) all the way round. Close with a slip stitch.

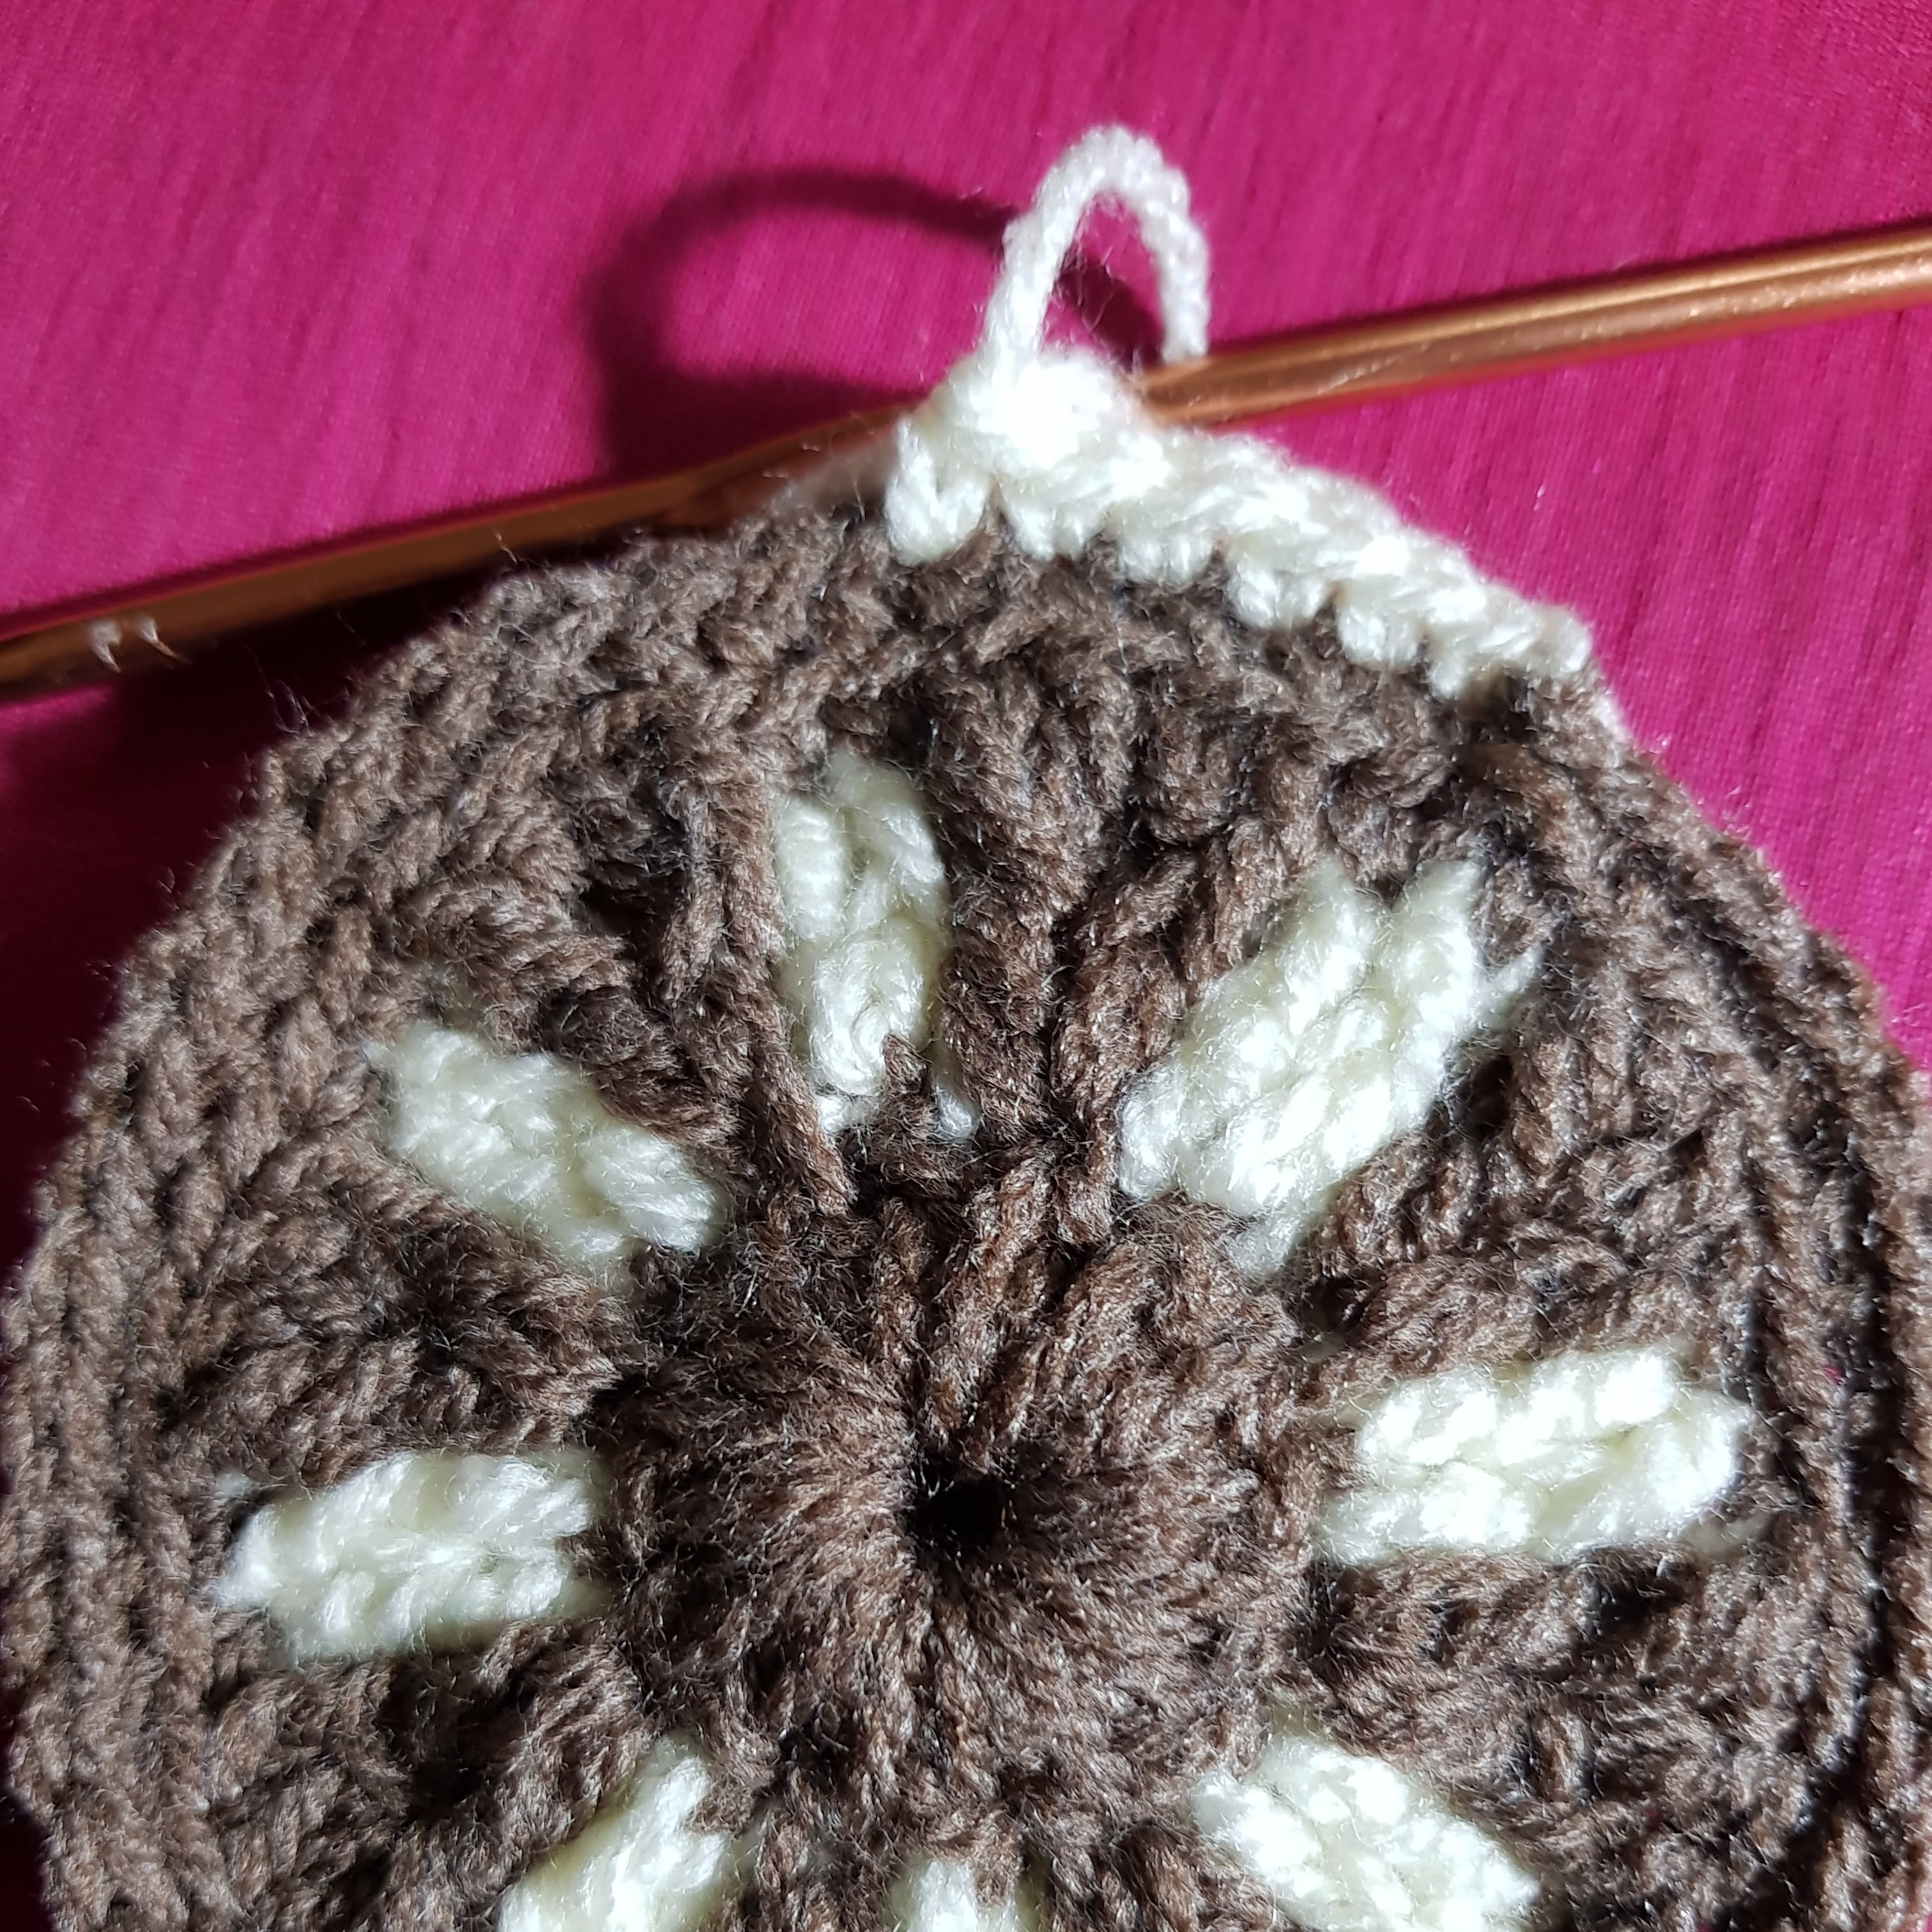
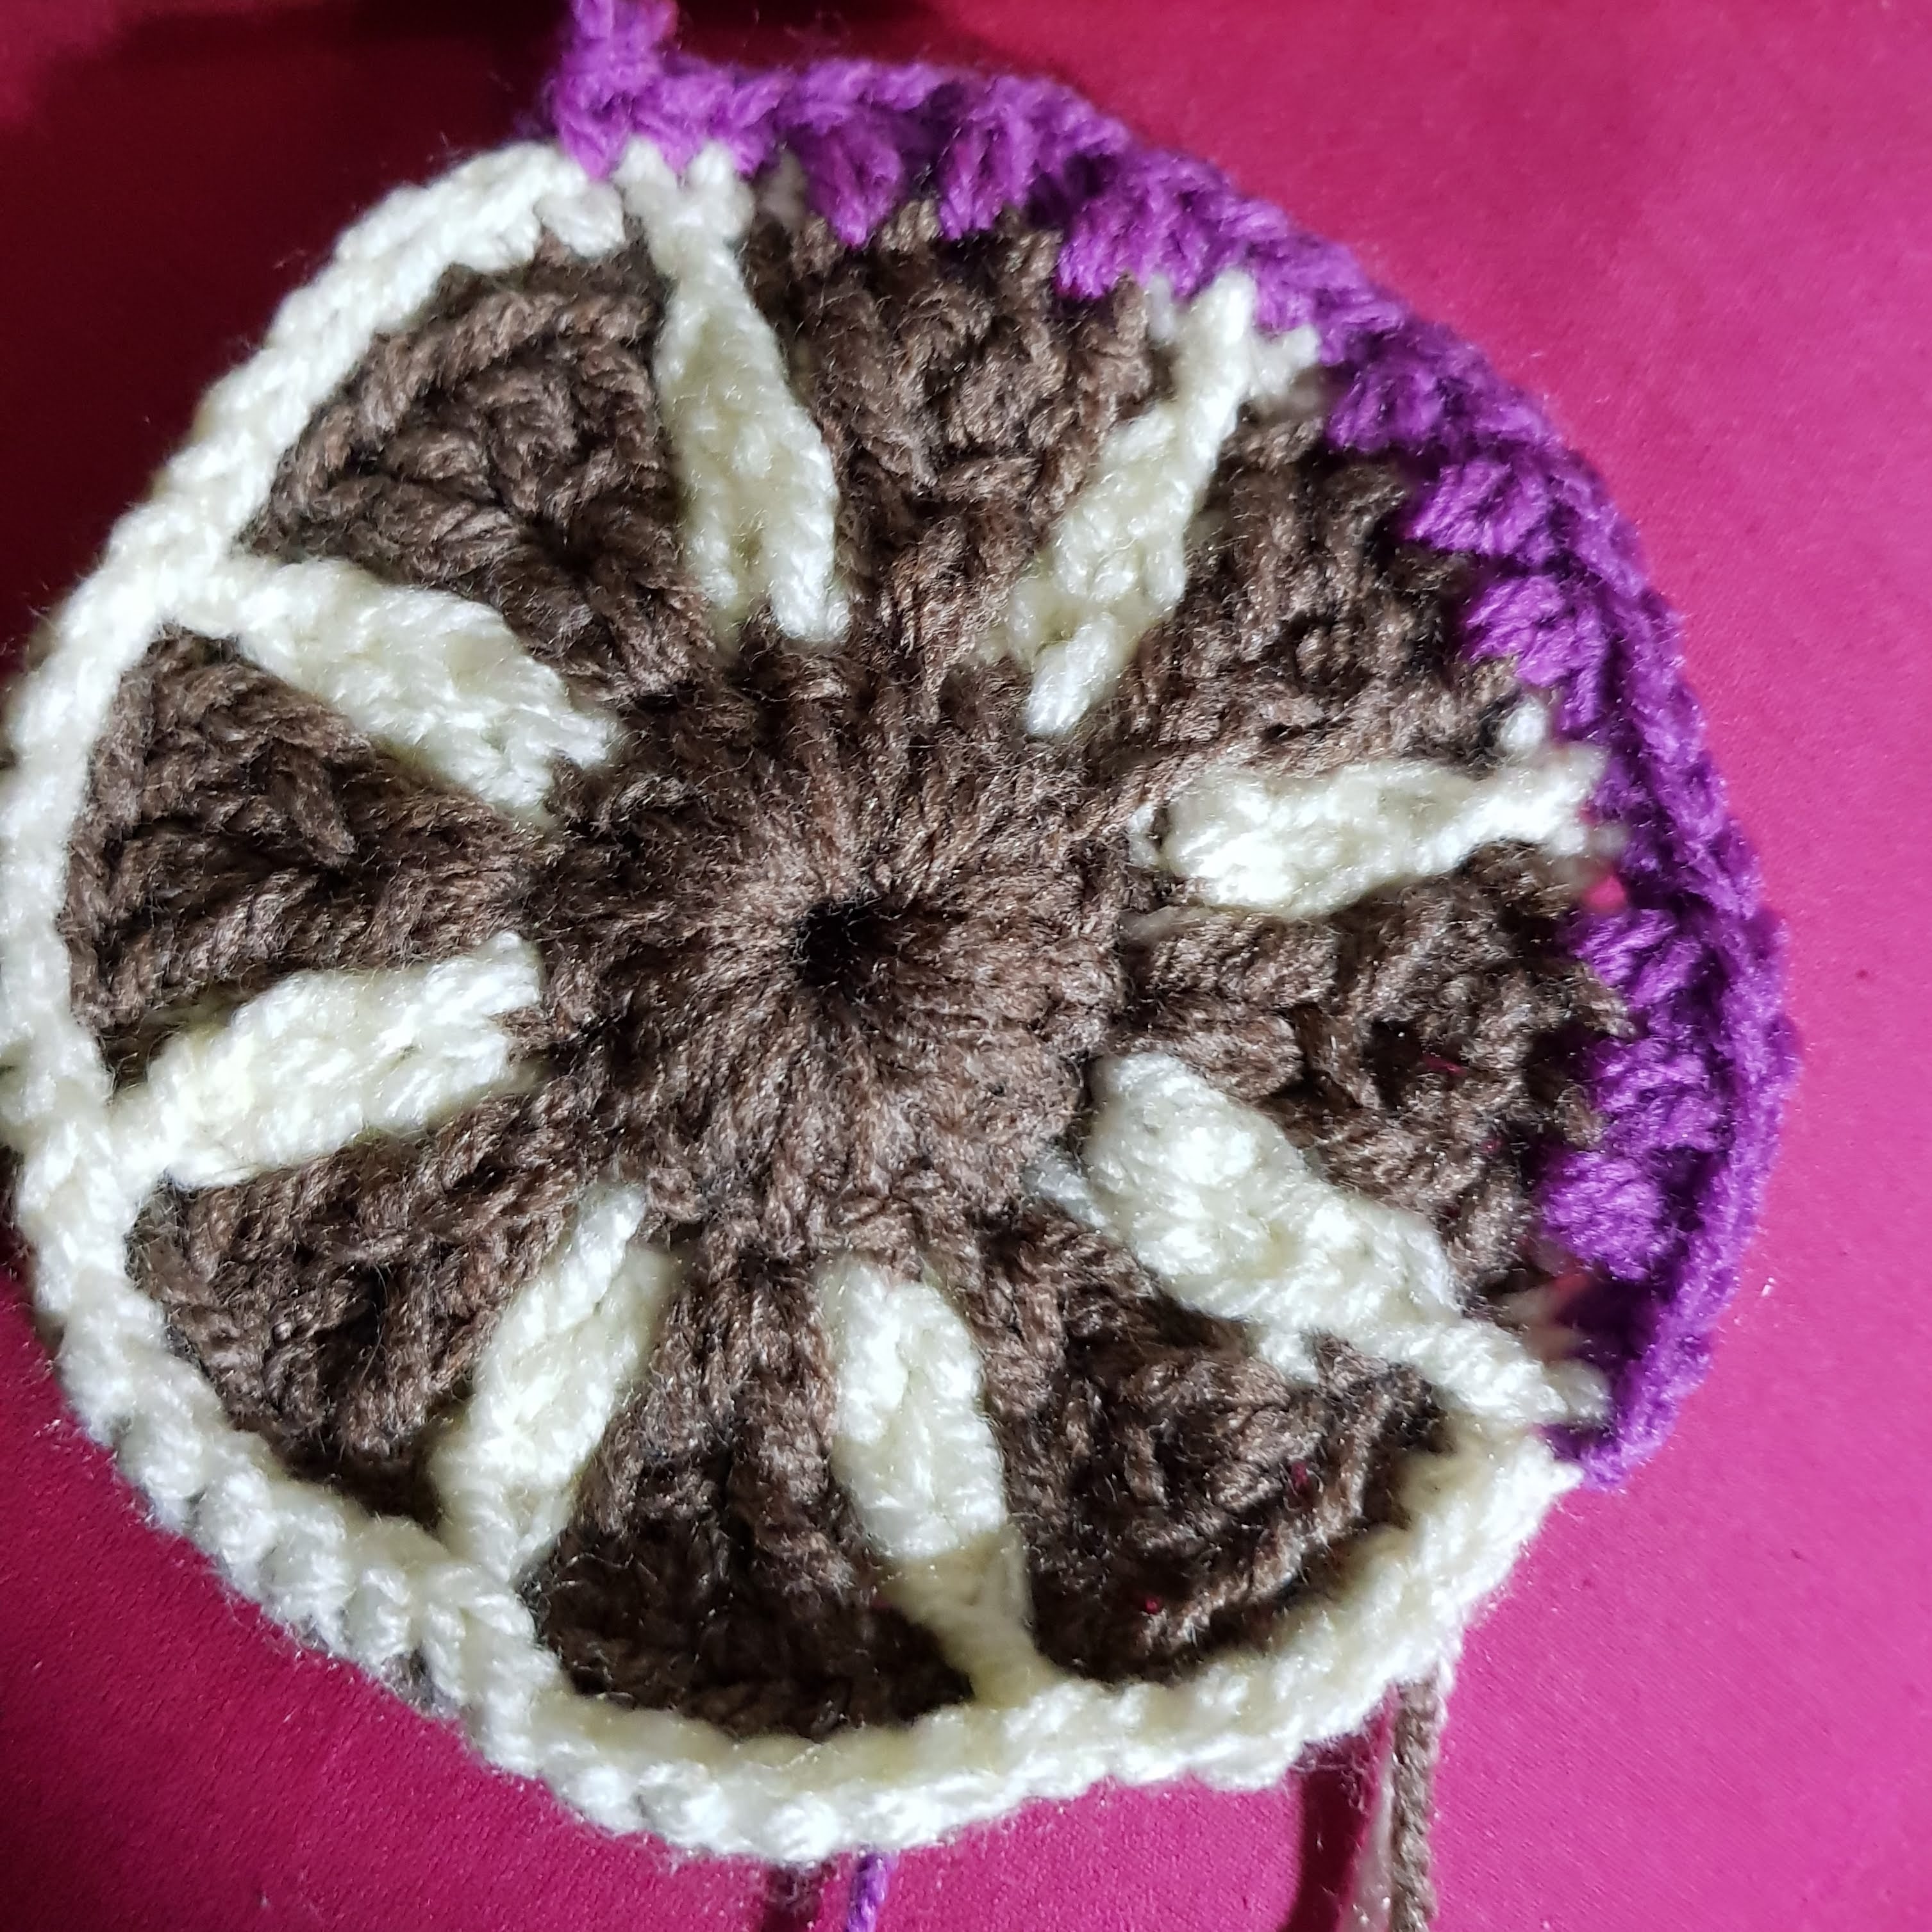
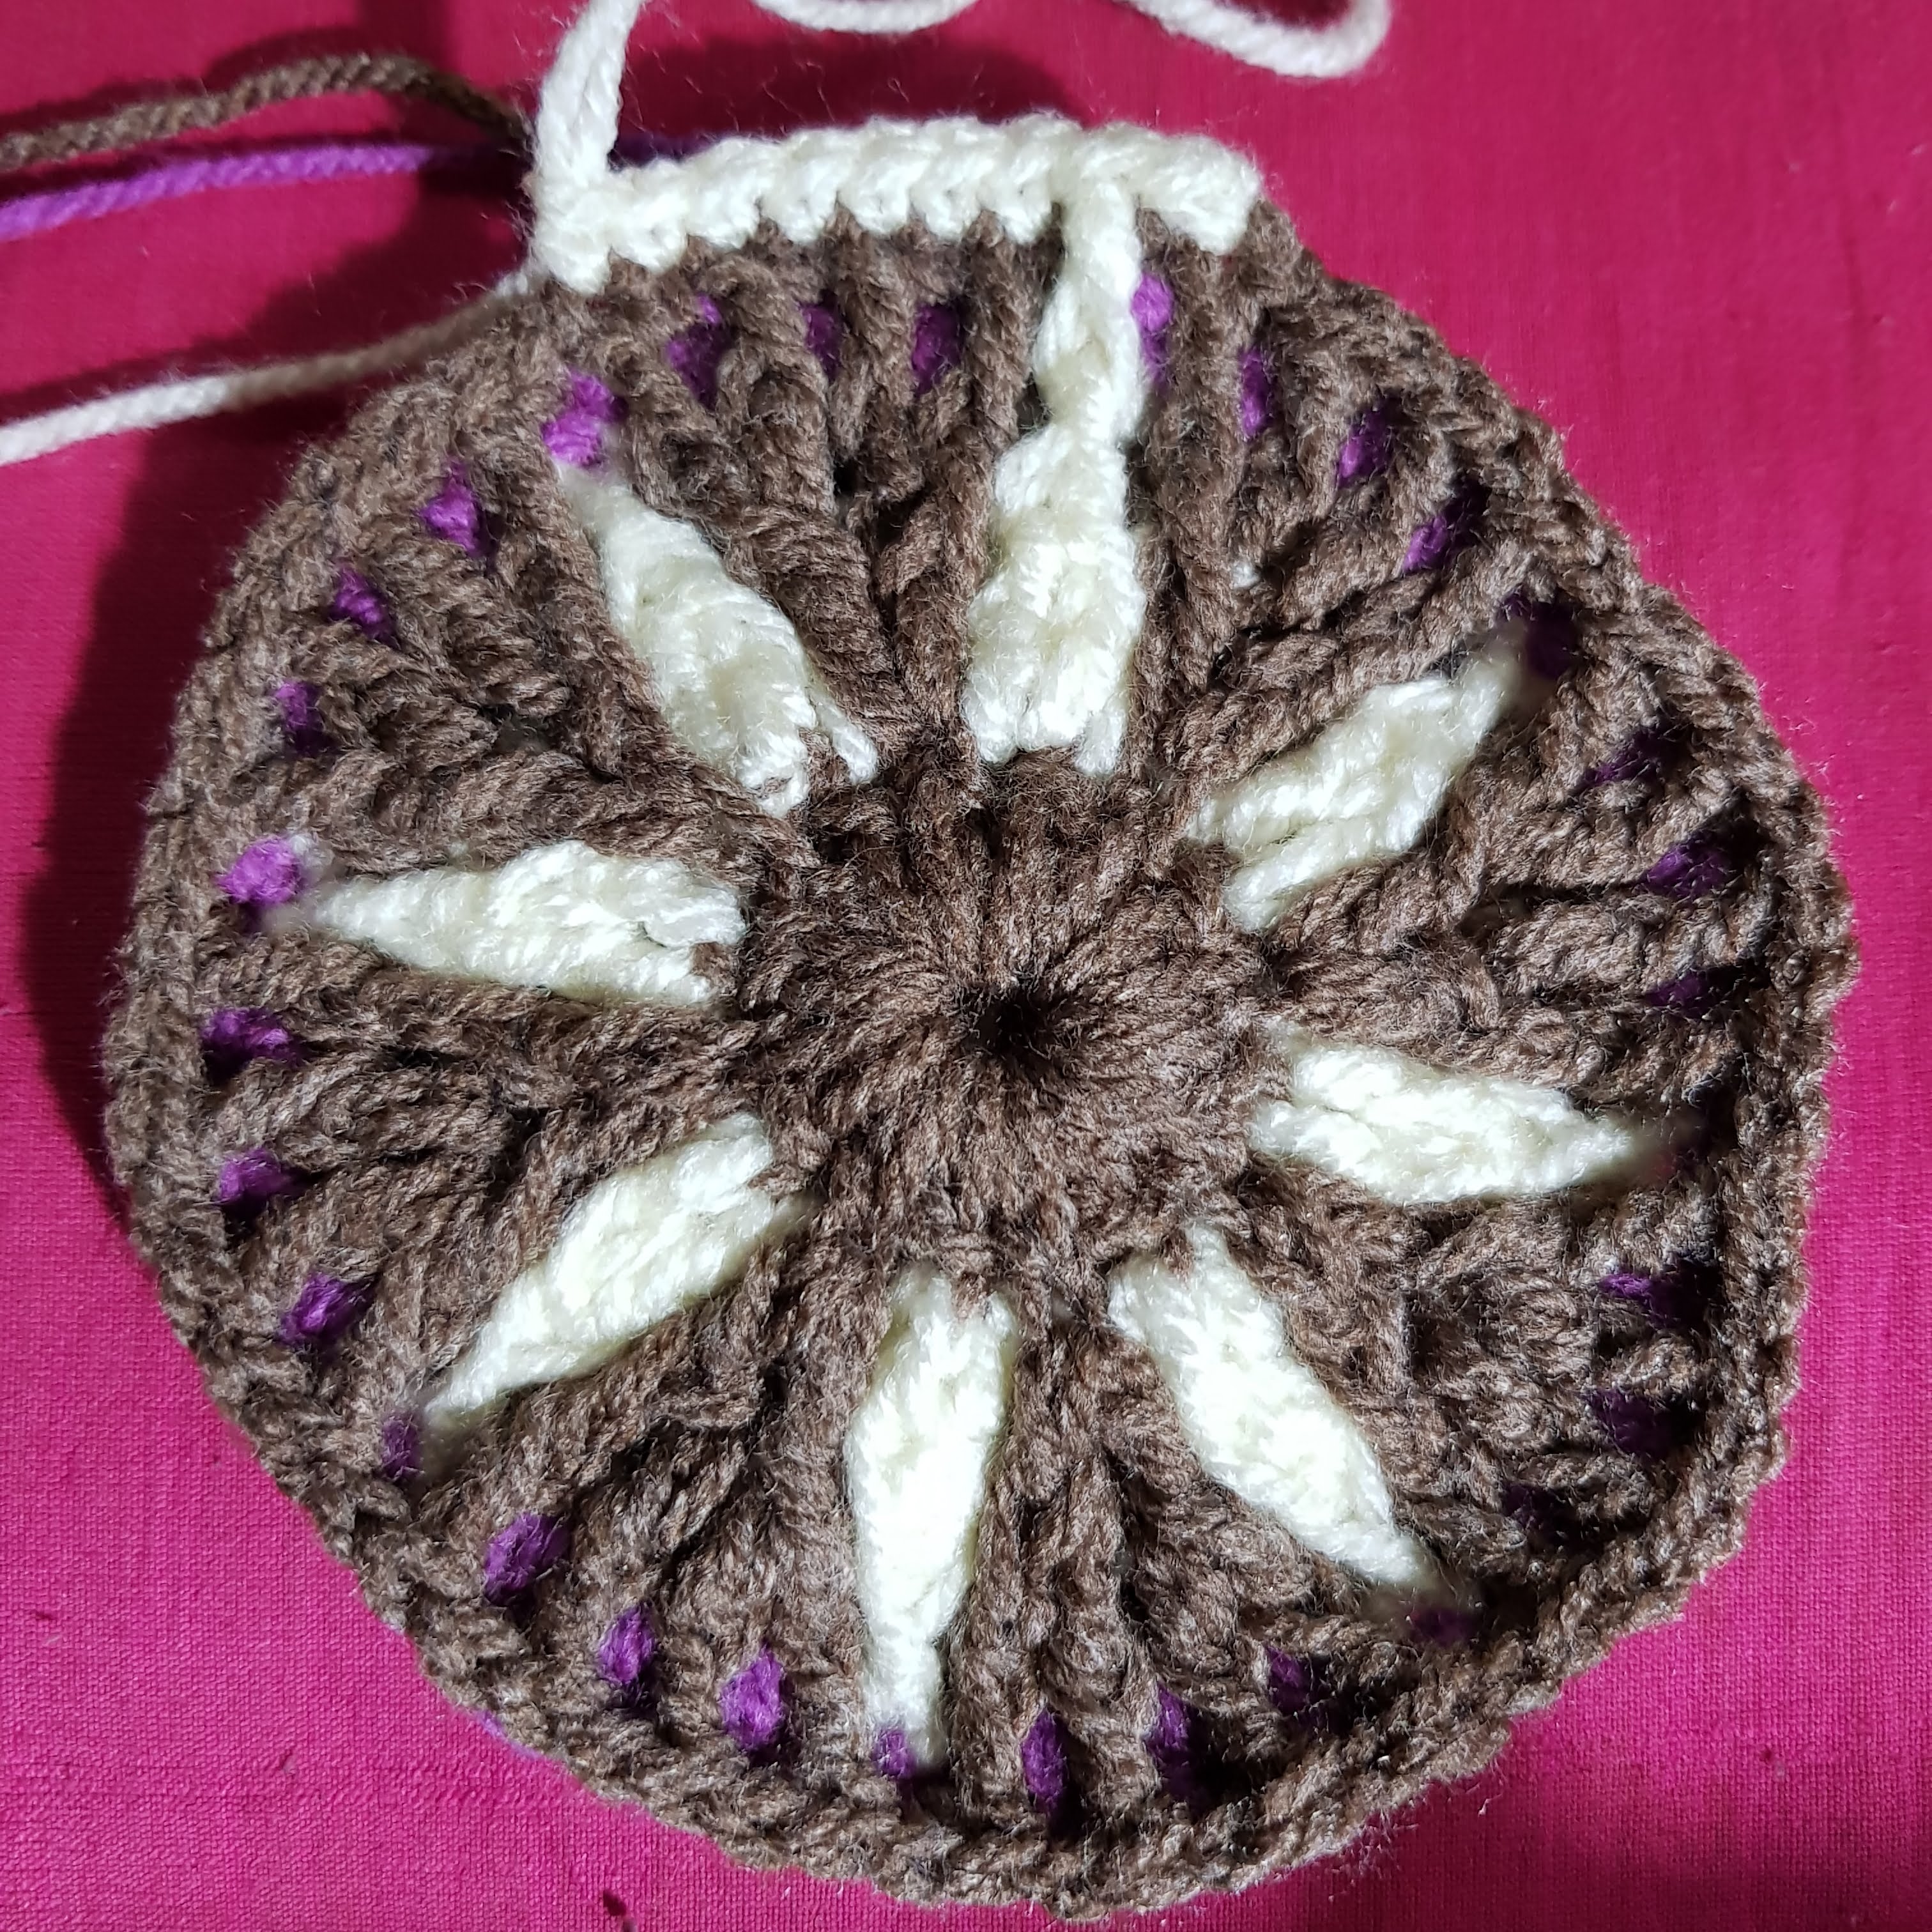
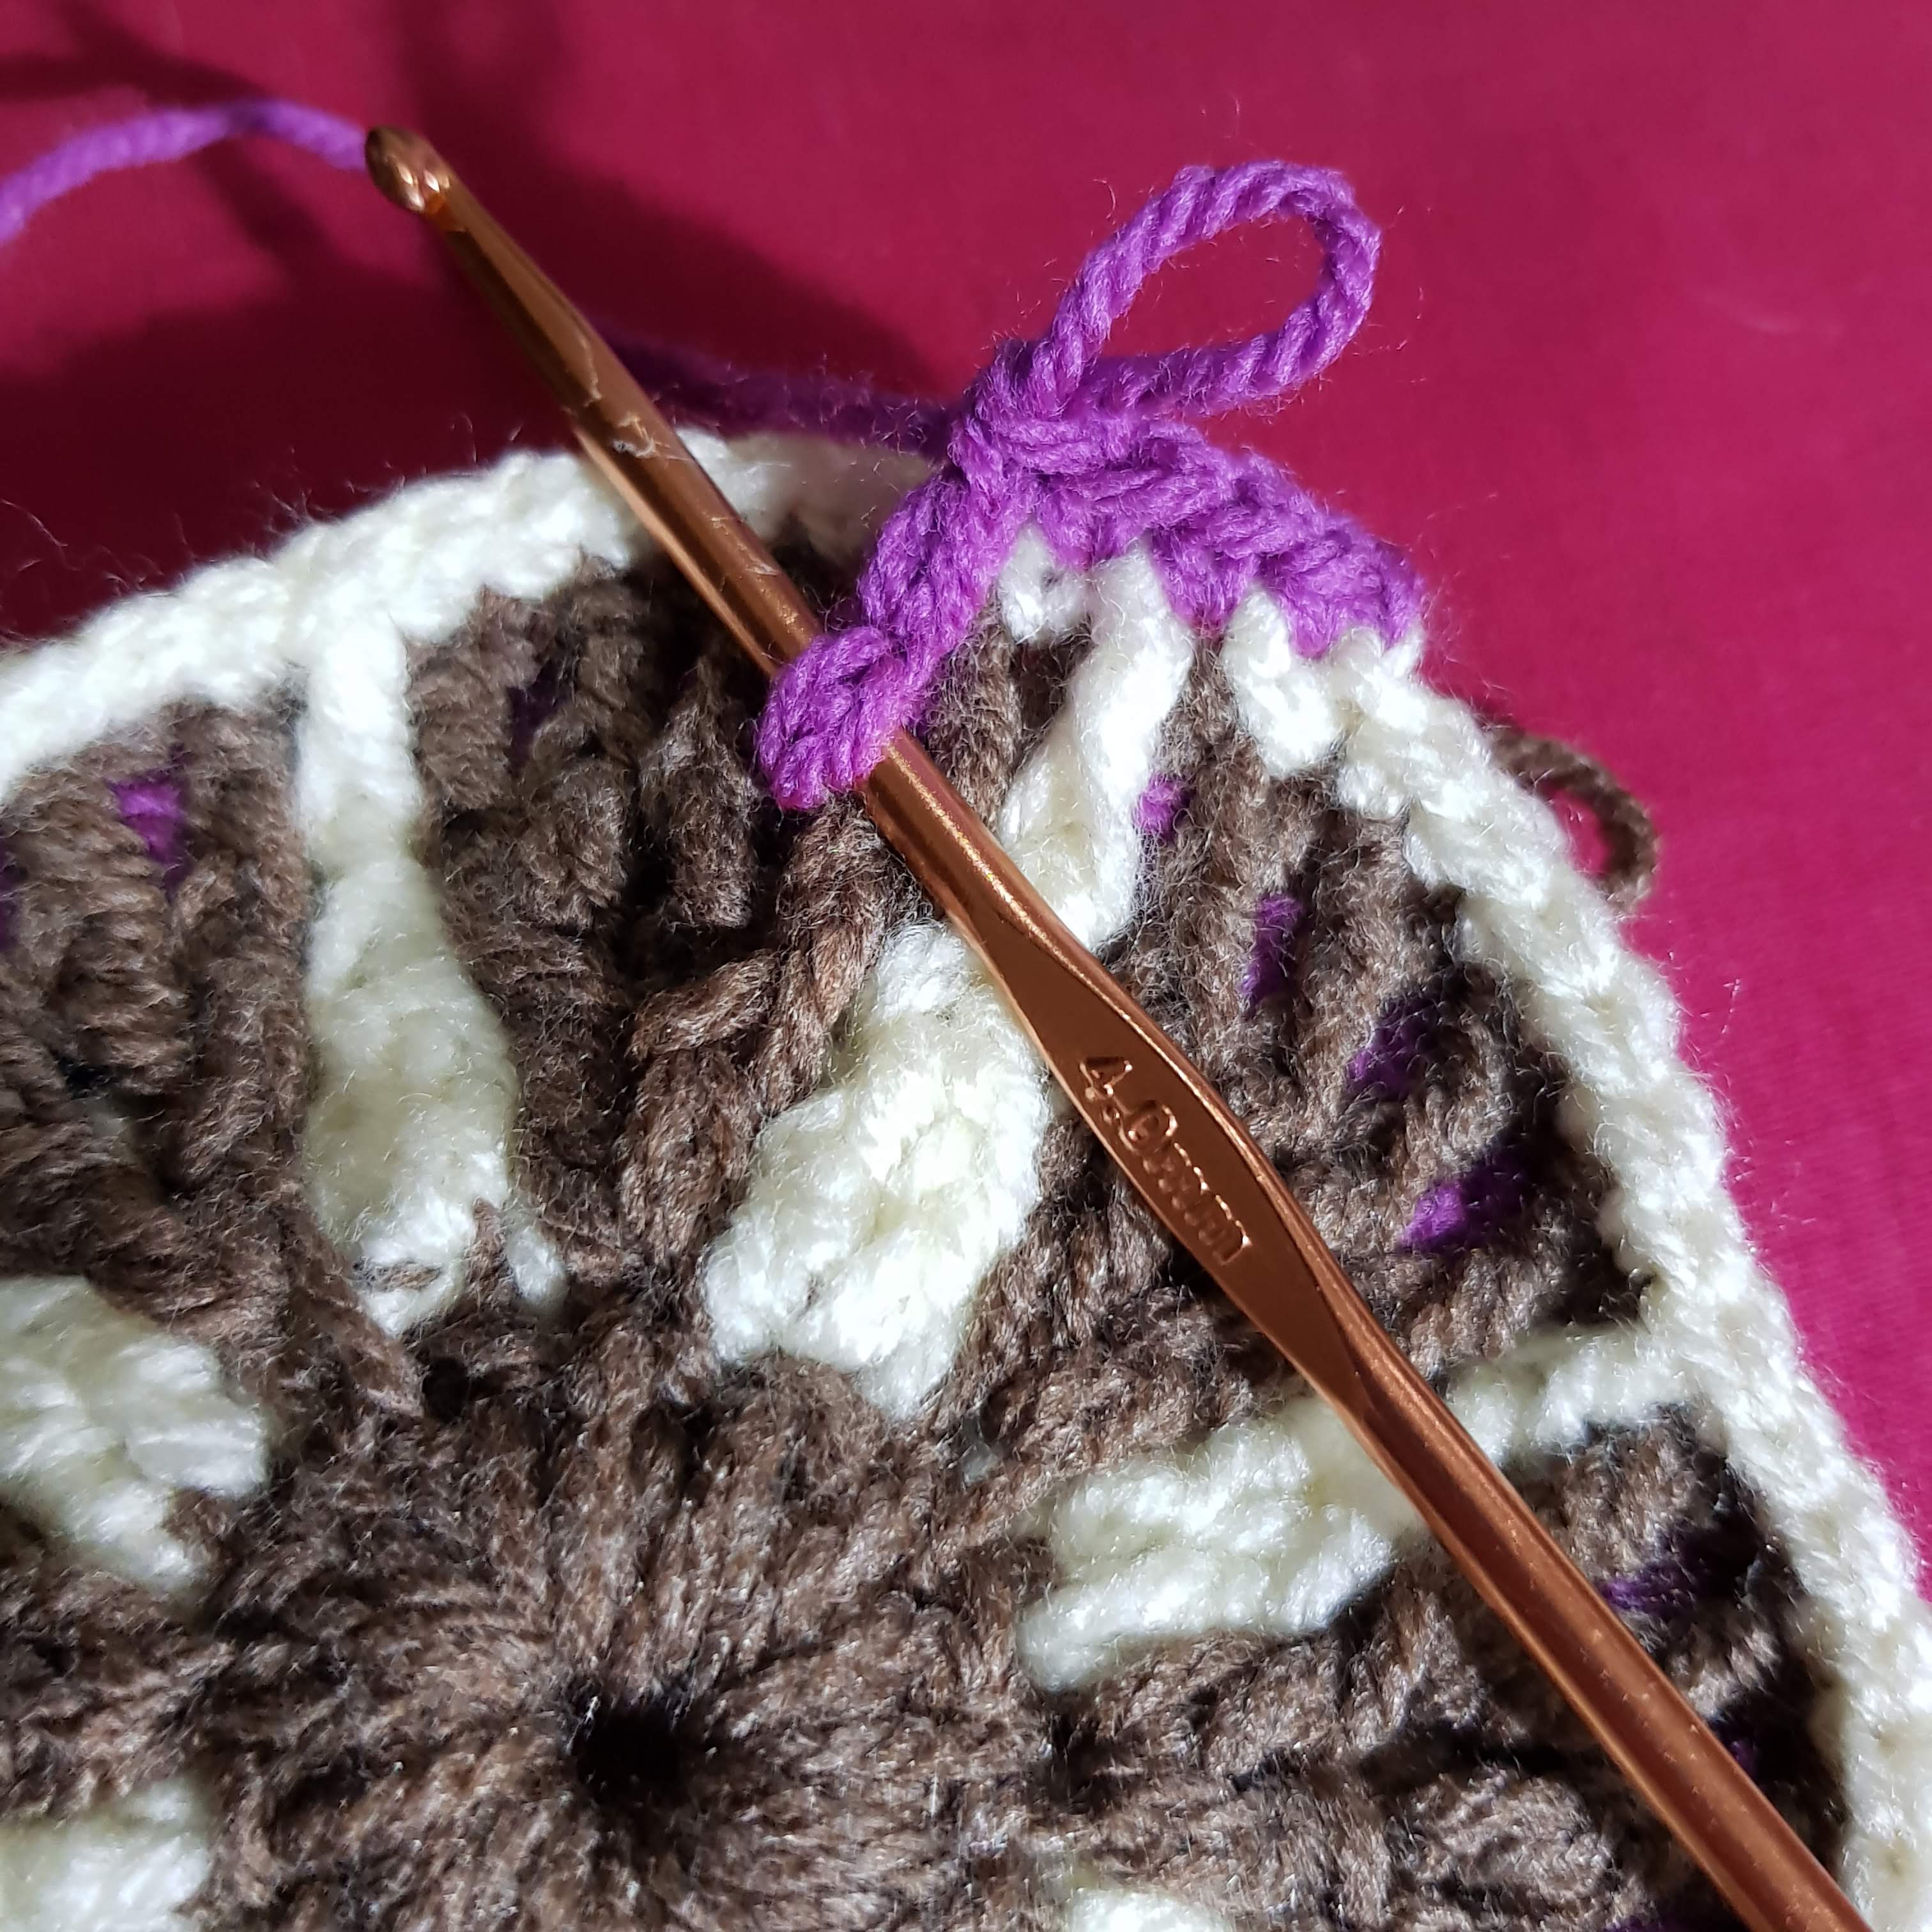
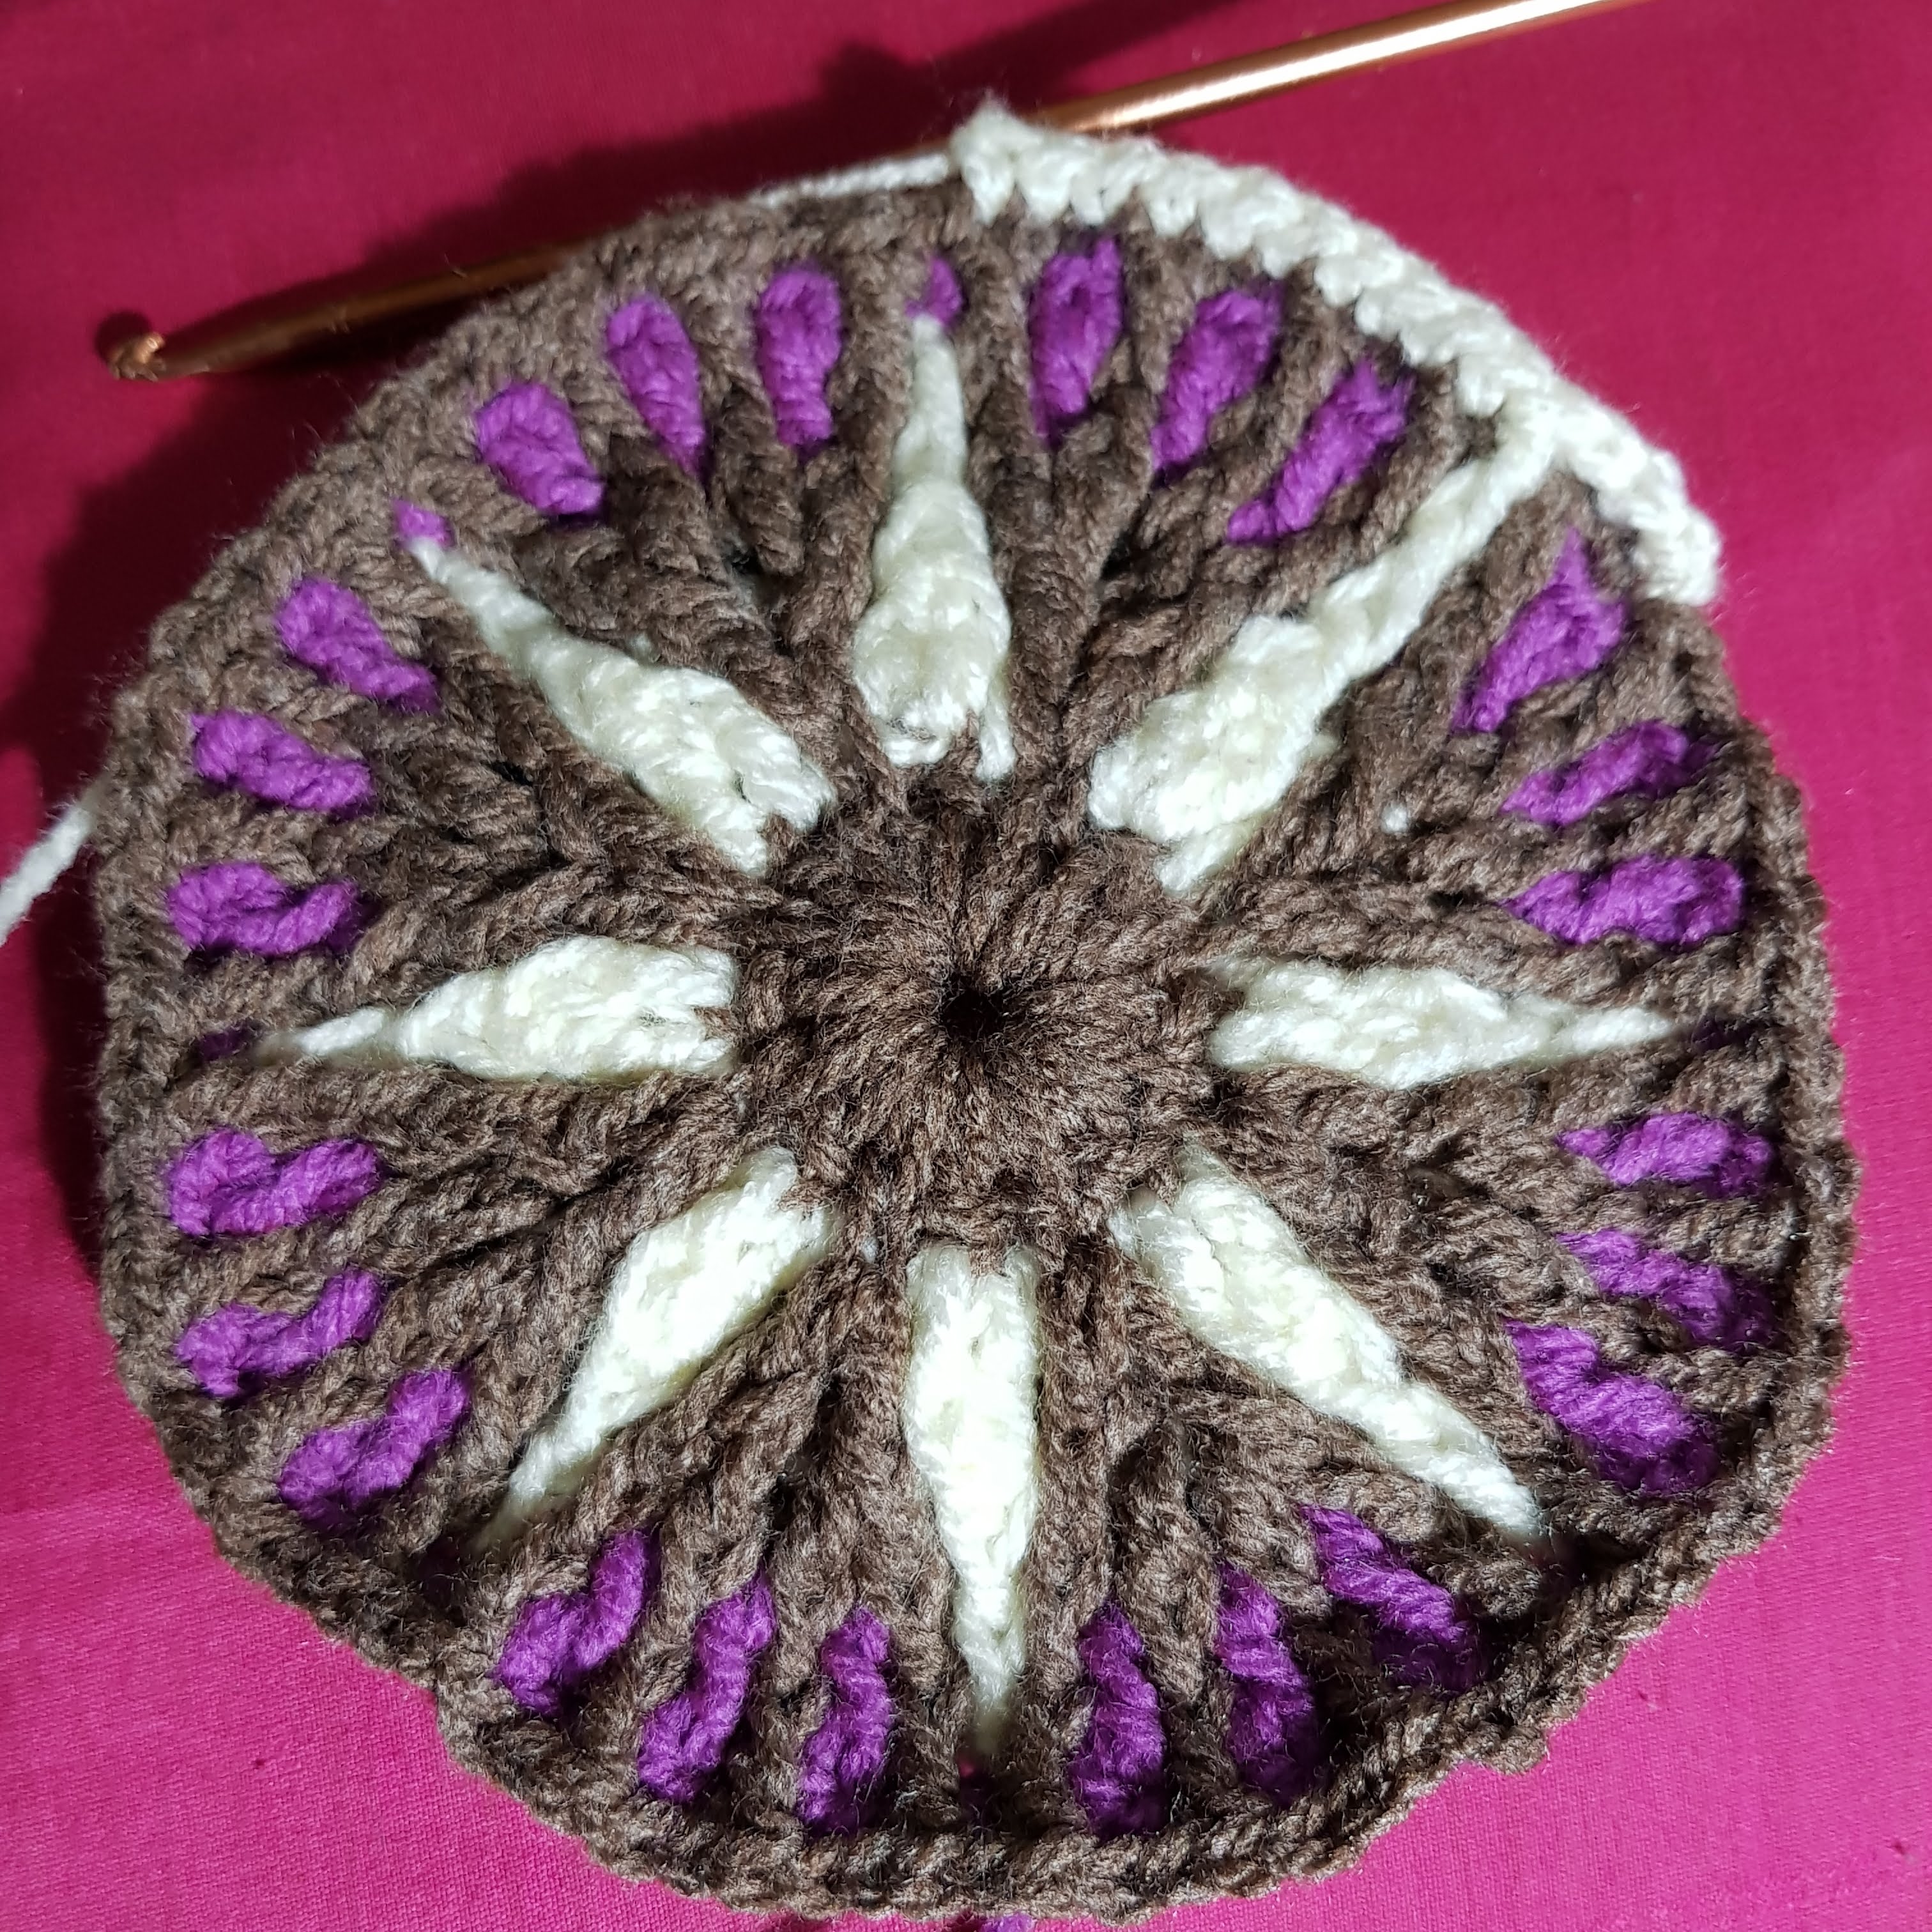
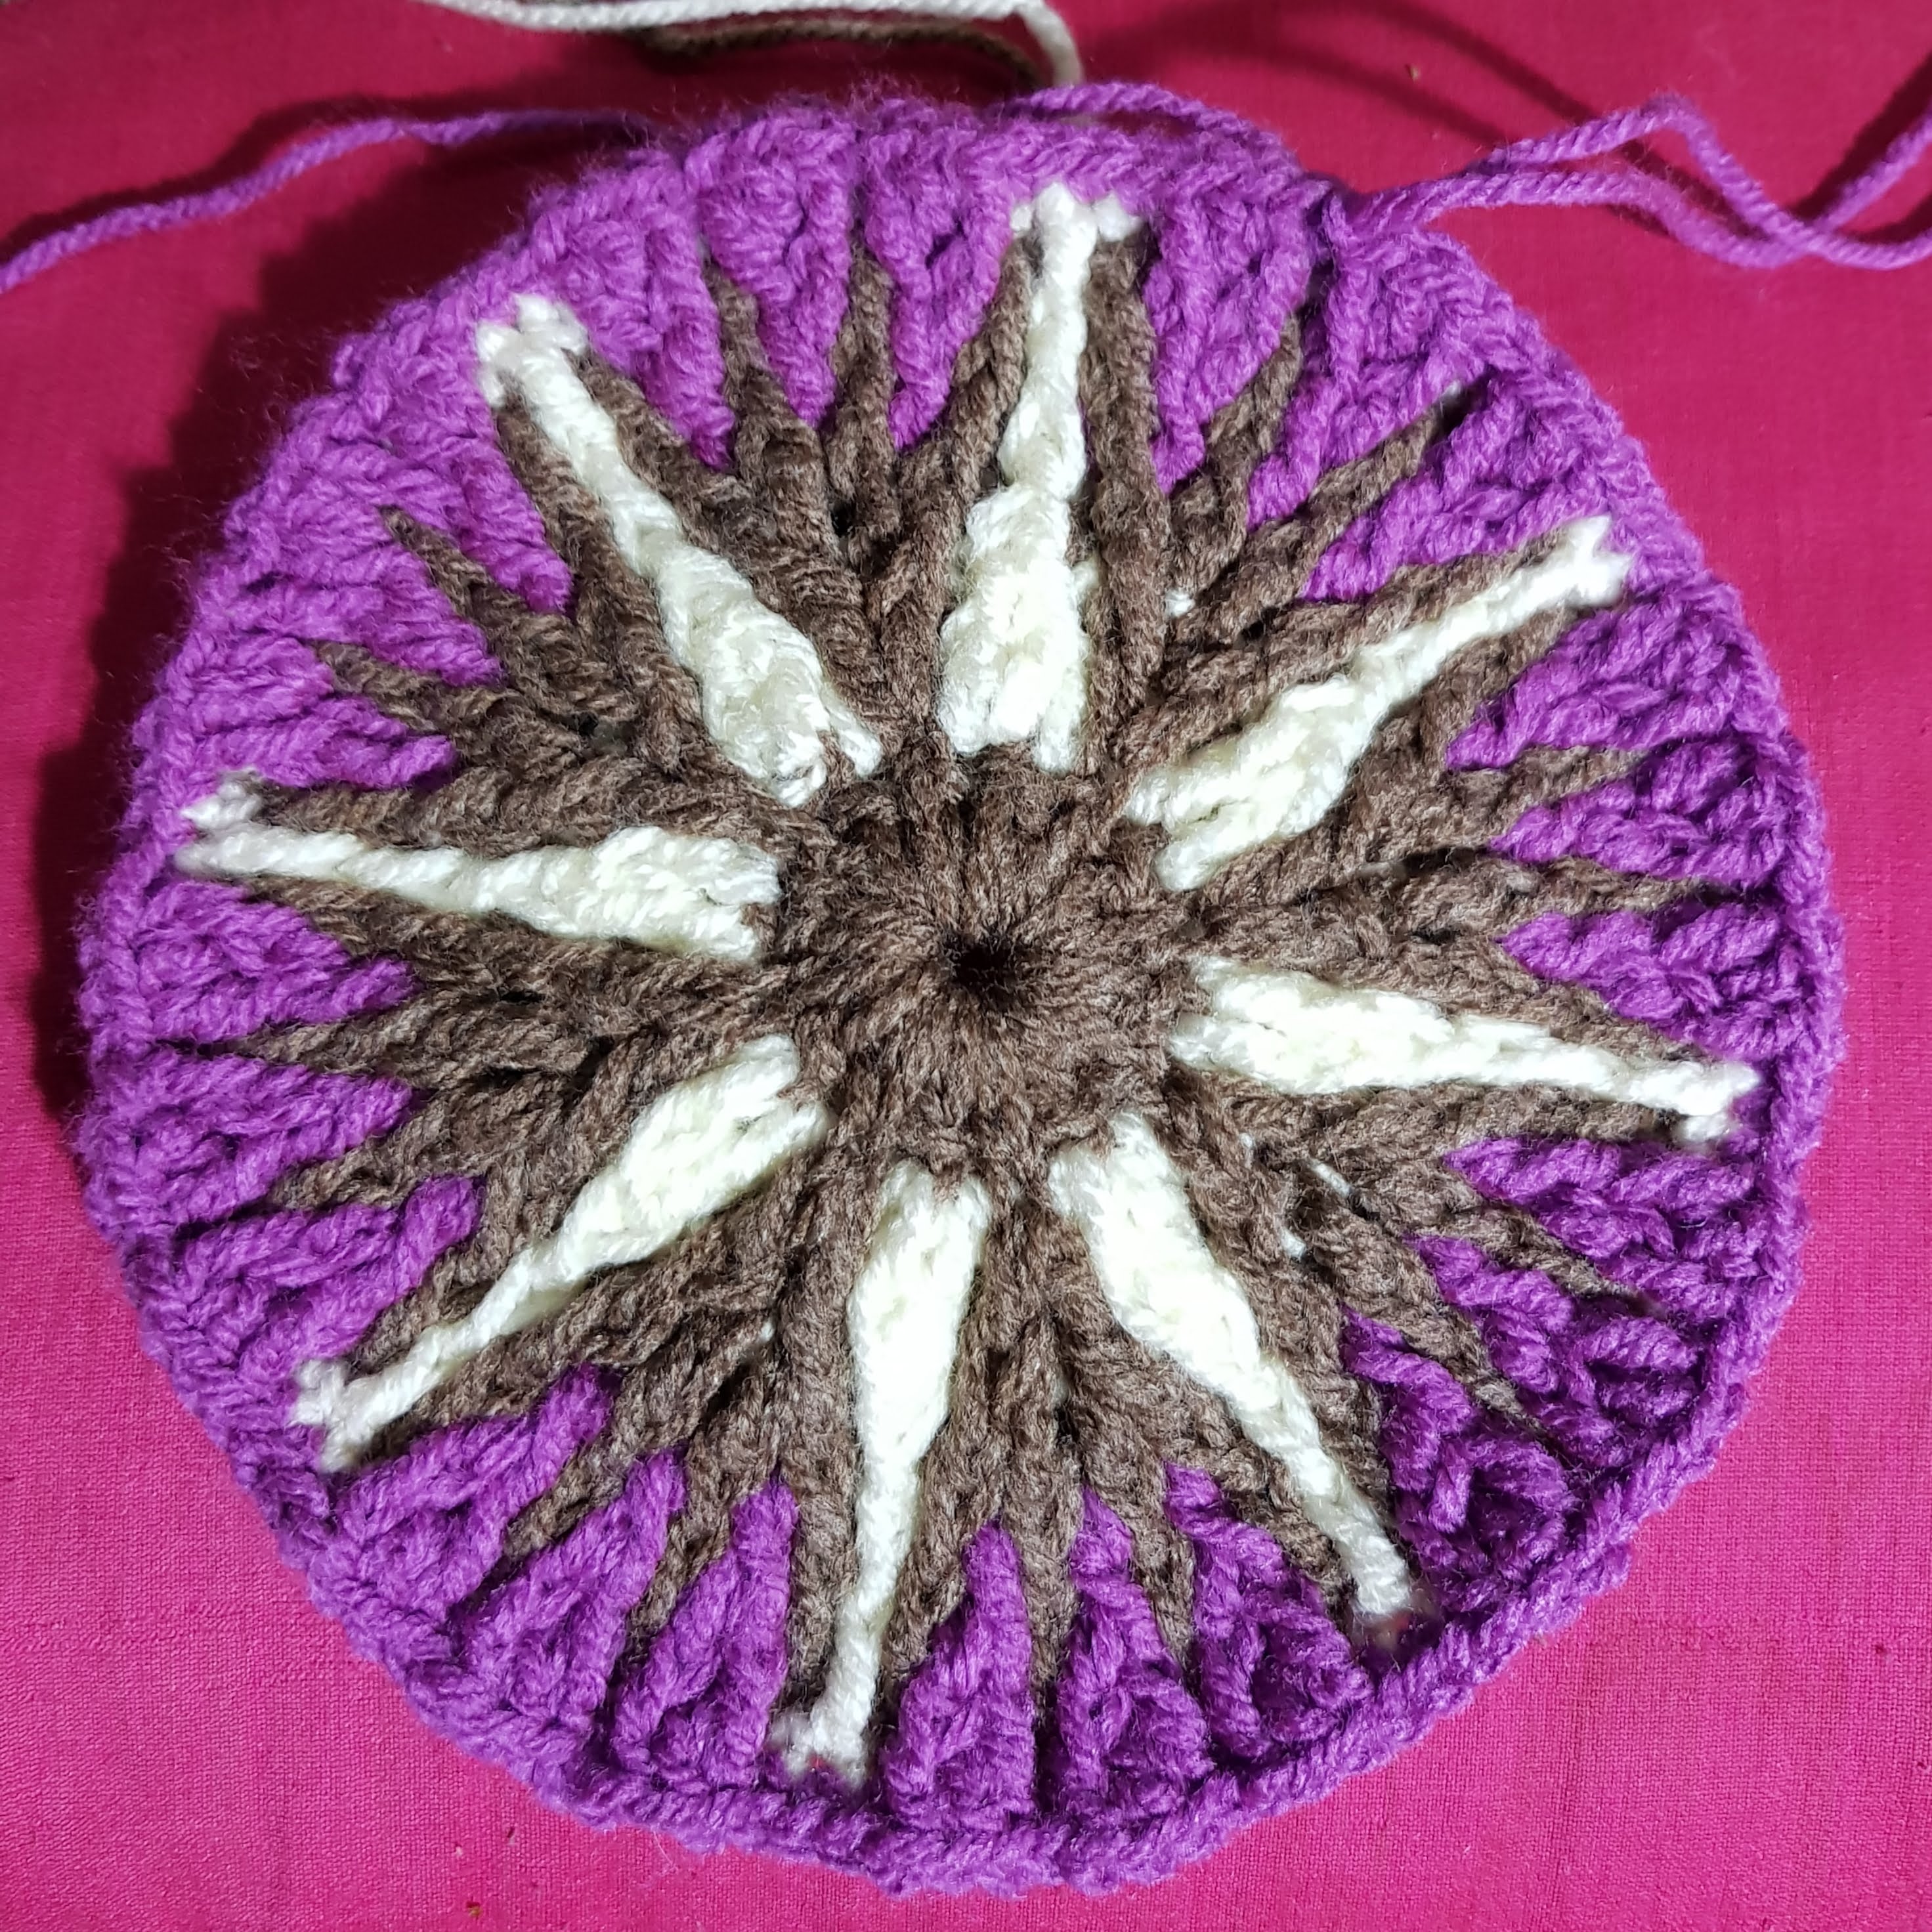
Step 9 – Purple Yarn
- 2 SC (1st in white DC)
- DC in front loop of the 2nd brown DC, skip SC from previous row, SC
- DC in front loop of the following DC, SC
- DC
- 3 SC (2nd on white DC), repeat from (2) till the end. N.B. in last repeat, finish with only 1 SC instead of 3 SC and slip stitch to close
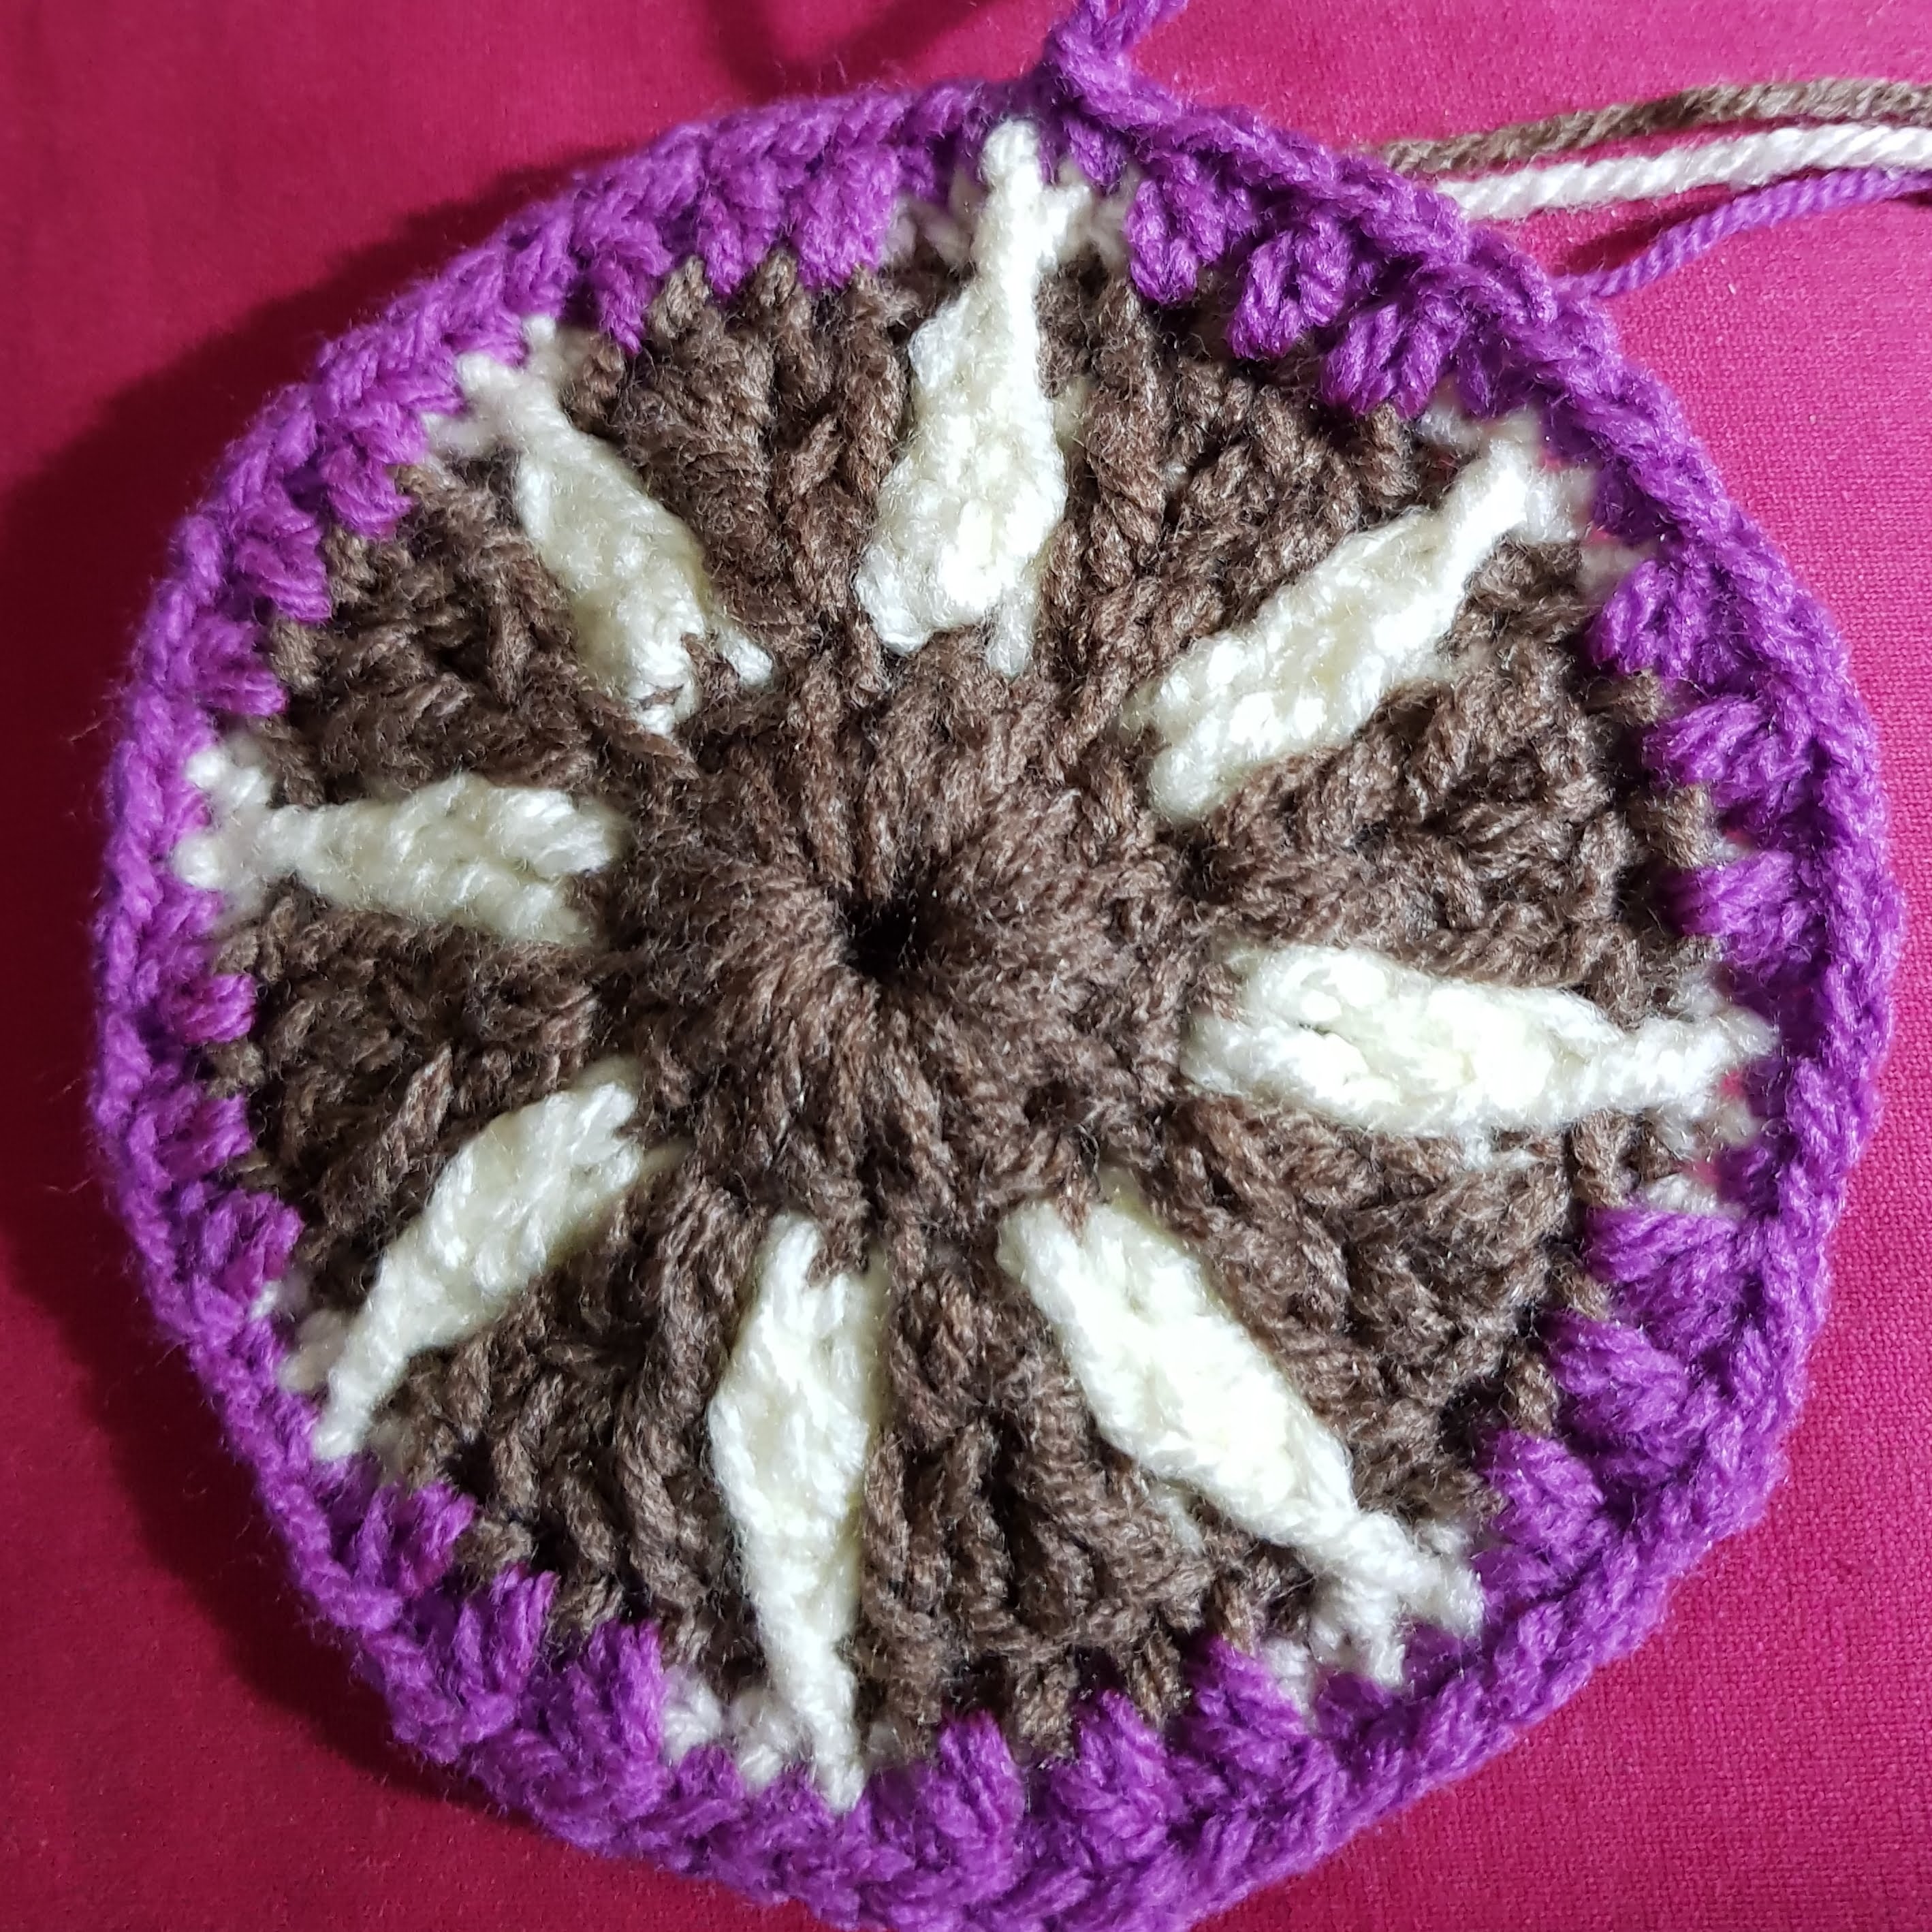
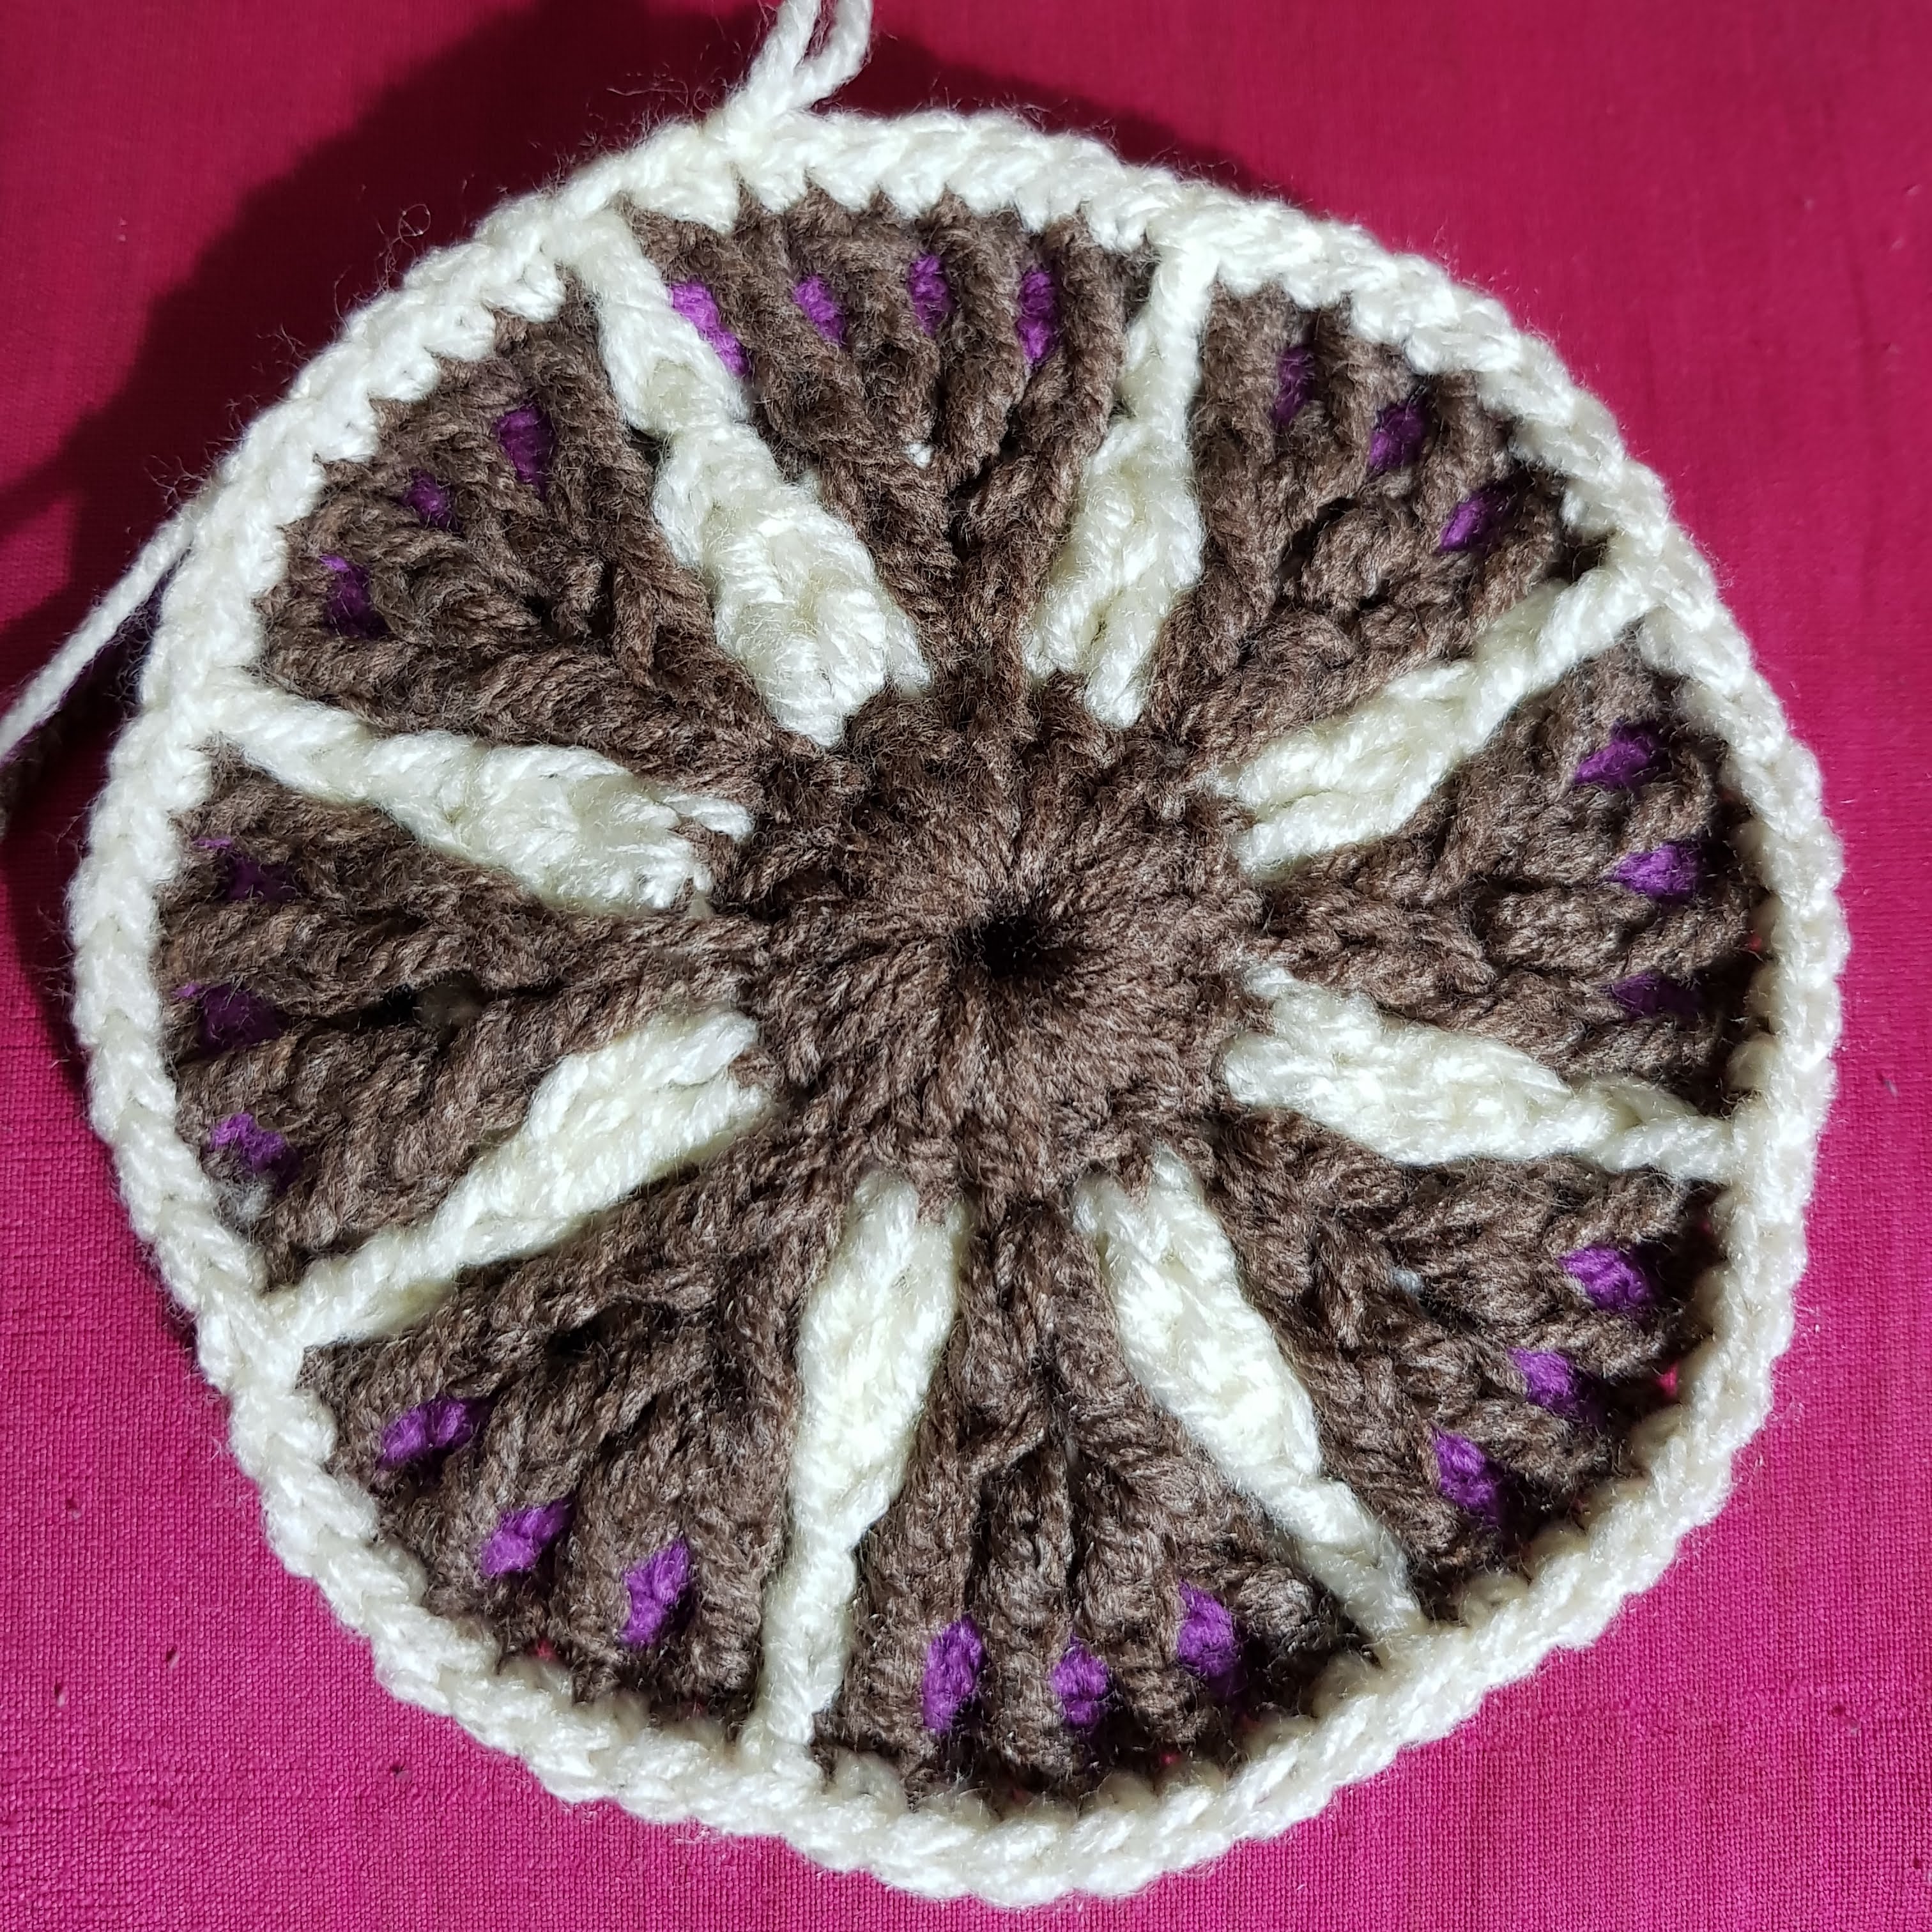
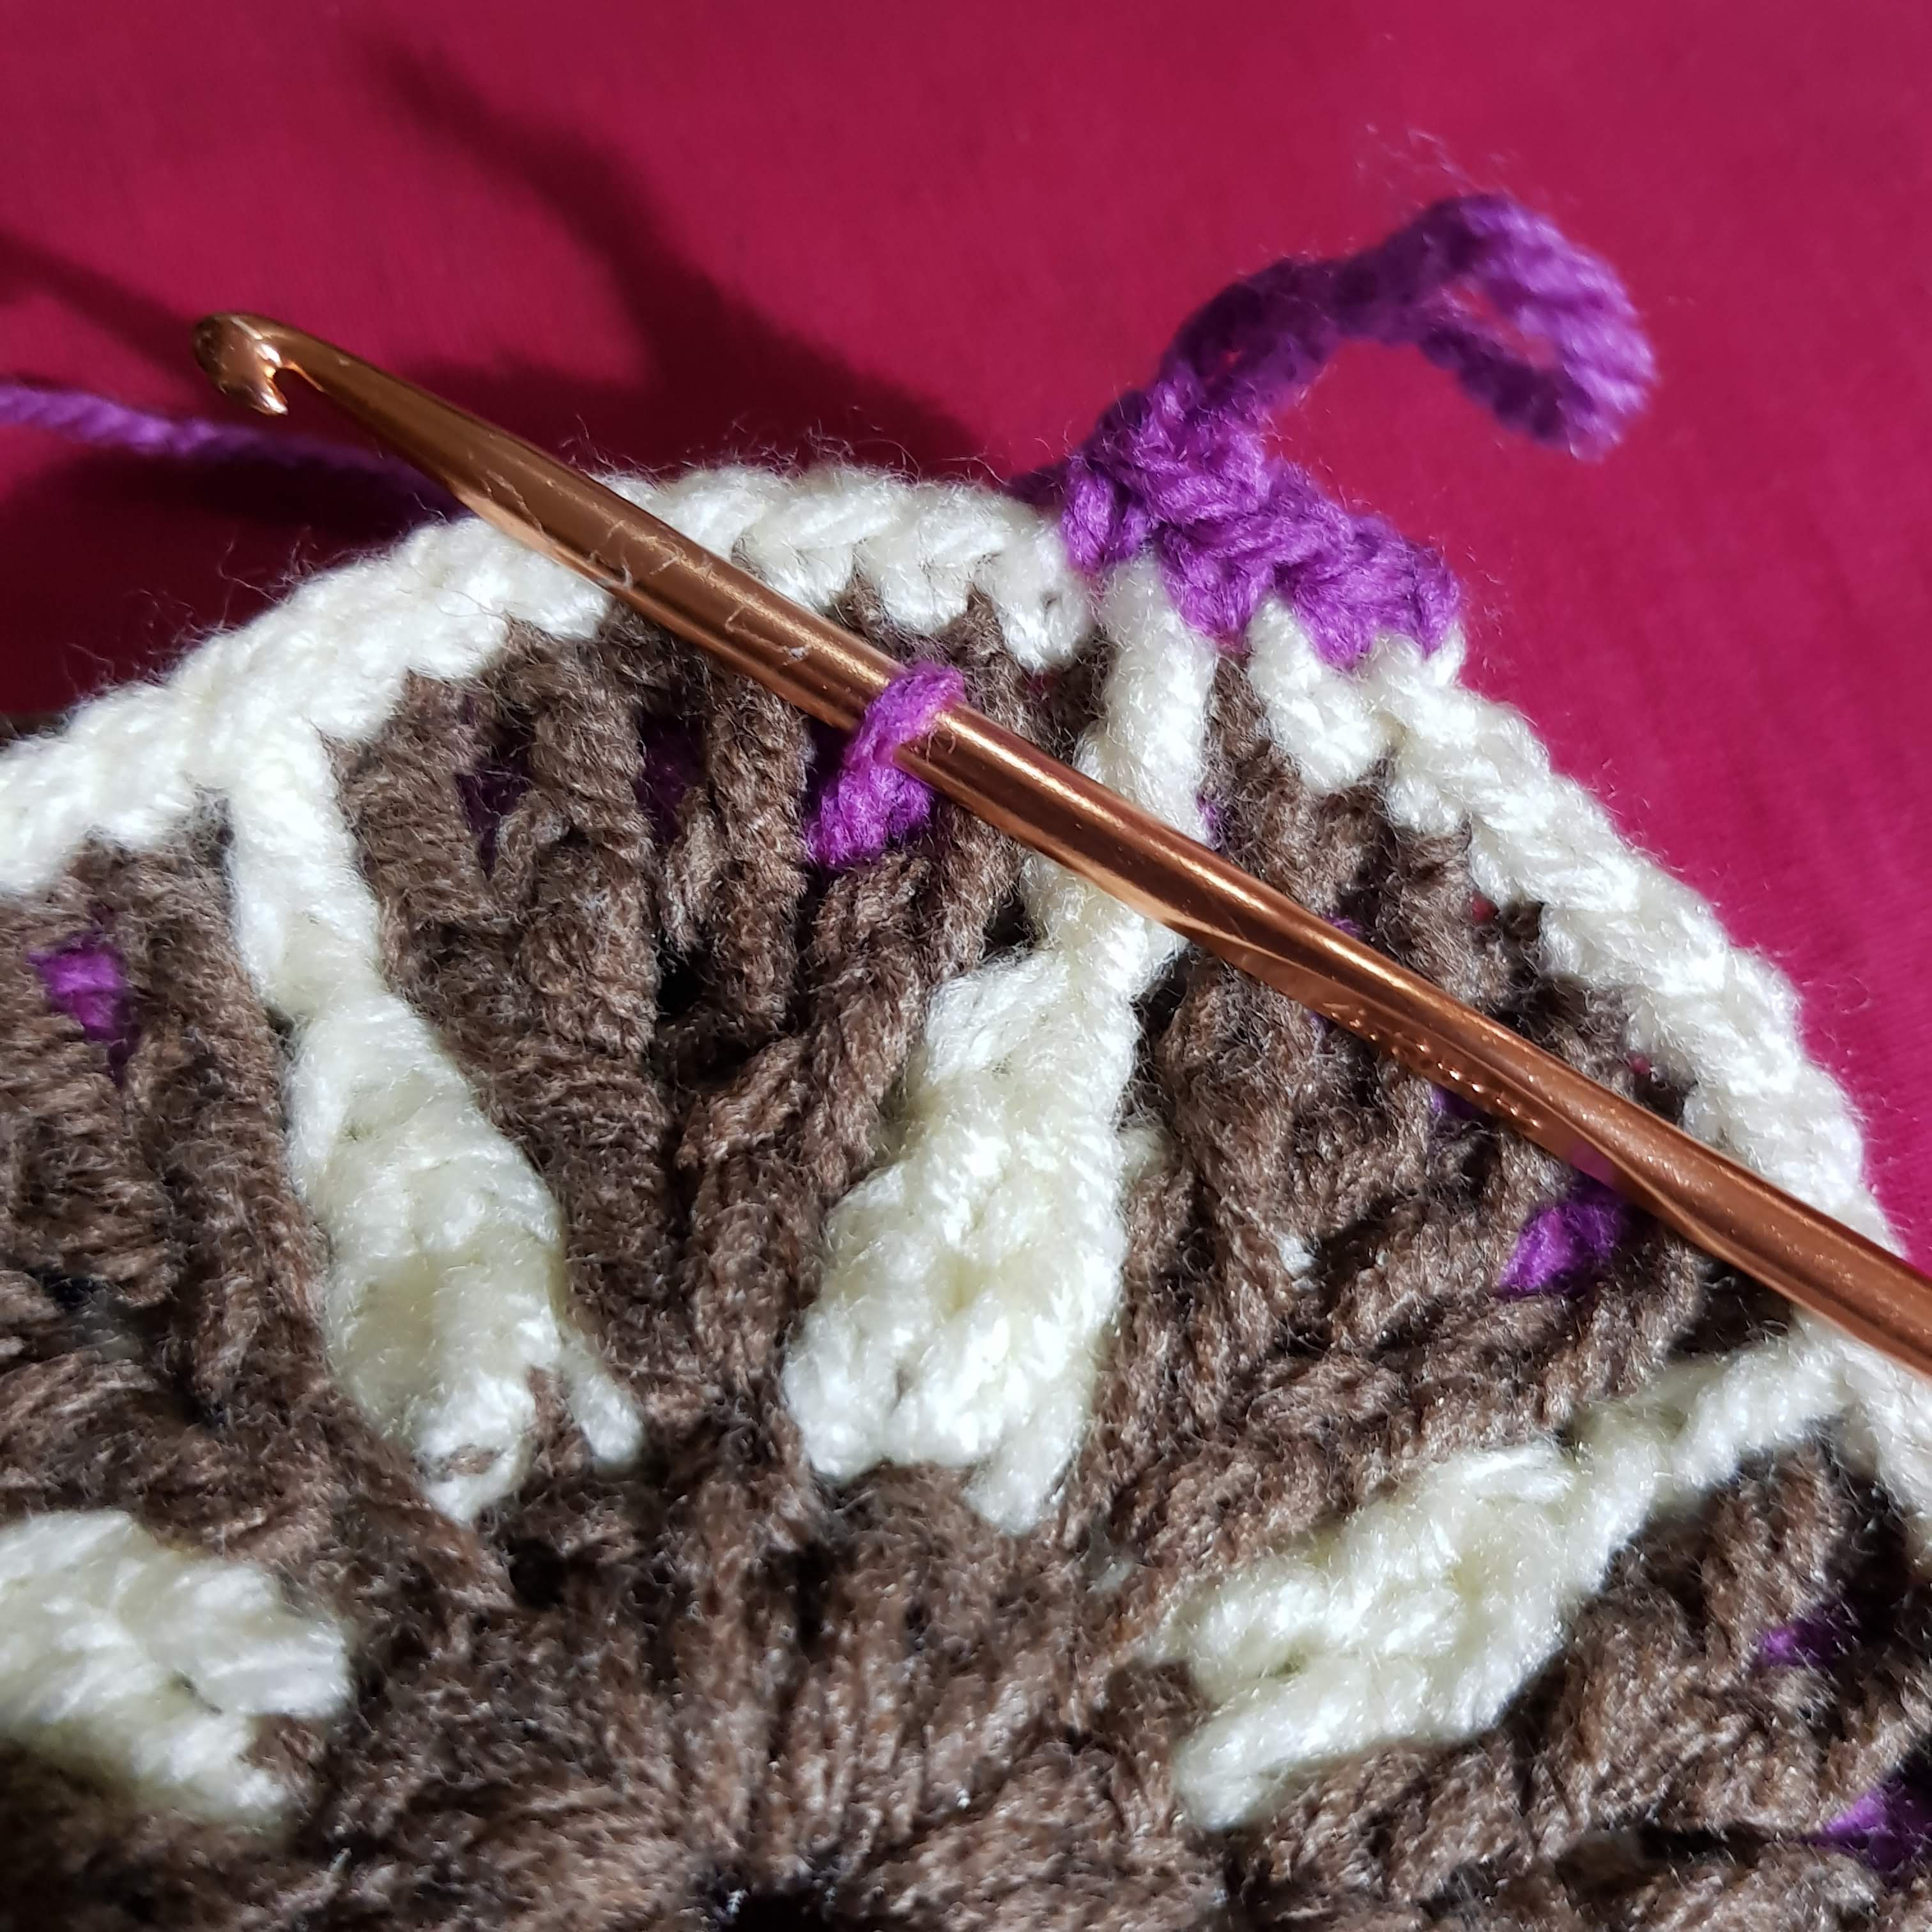
Step 10 – Brown Yarn
N.B. For all SCs falling on Purple DCs, work in the back loop.
- SC (in the 2nd purple SC).
- FDC in 1st brown DC, skip SC, SC
- FDC in 2nd brown DC, skip SC, SC
- FDC in 3rd brown DC, skip SC, SC
- FDC in 4th brown DC, skip SC,
- repeat from (1) all the way round and close with slip stitch.
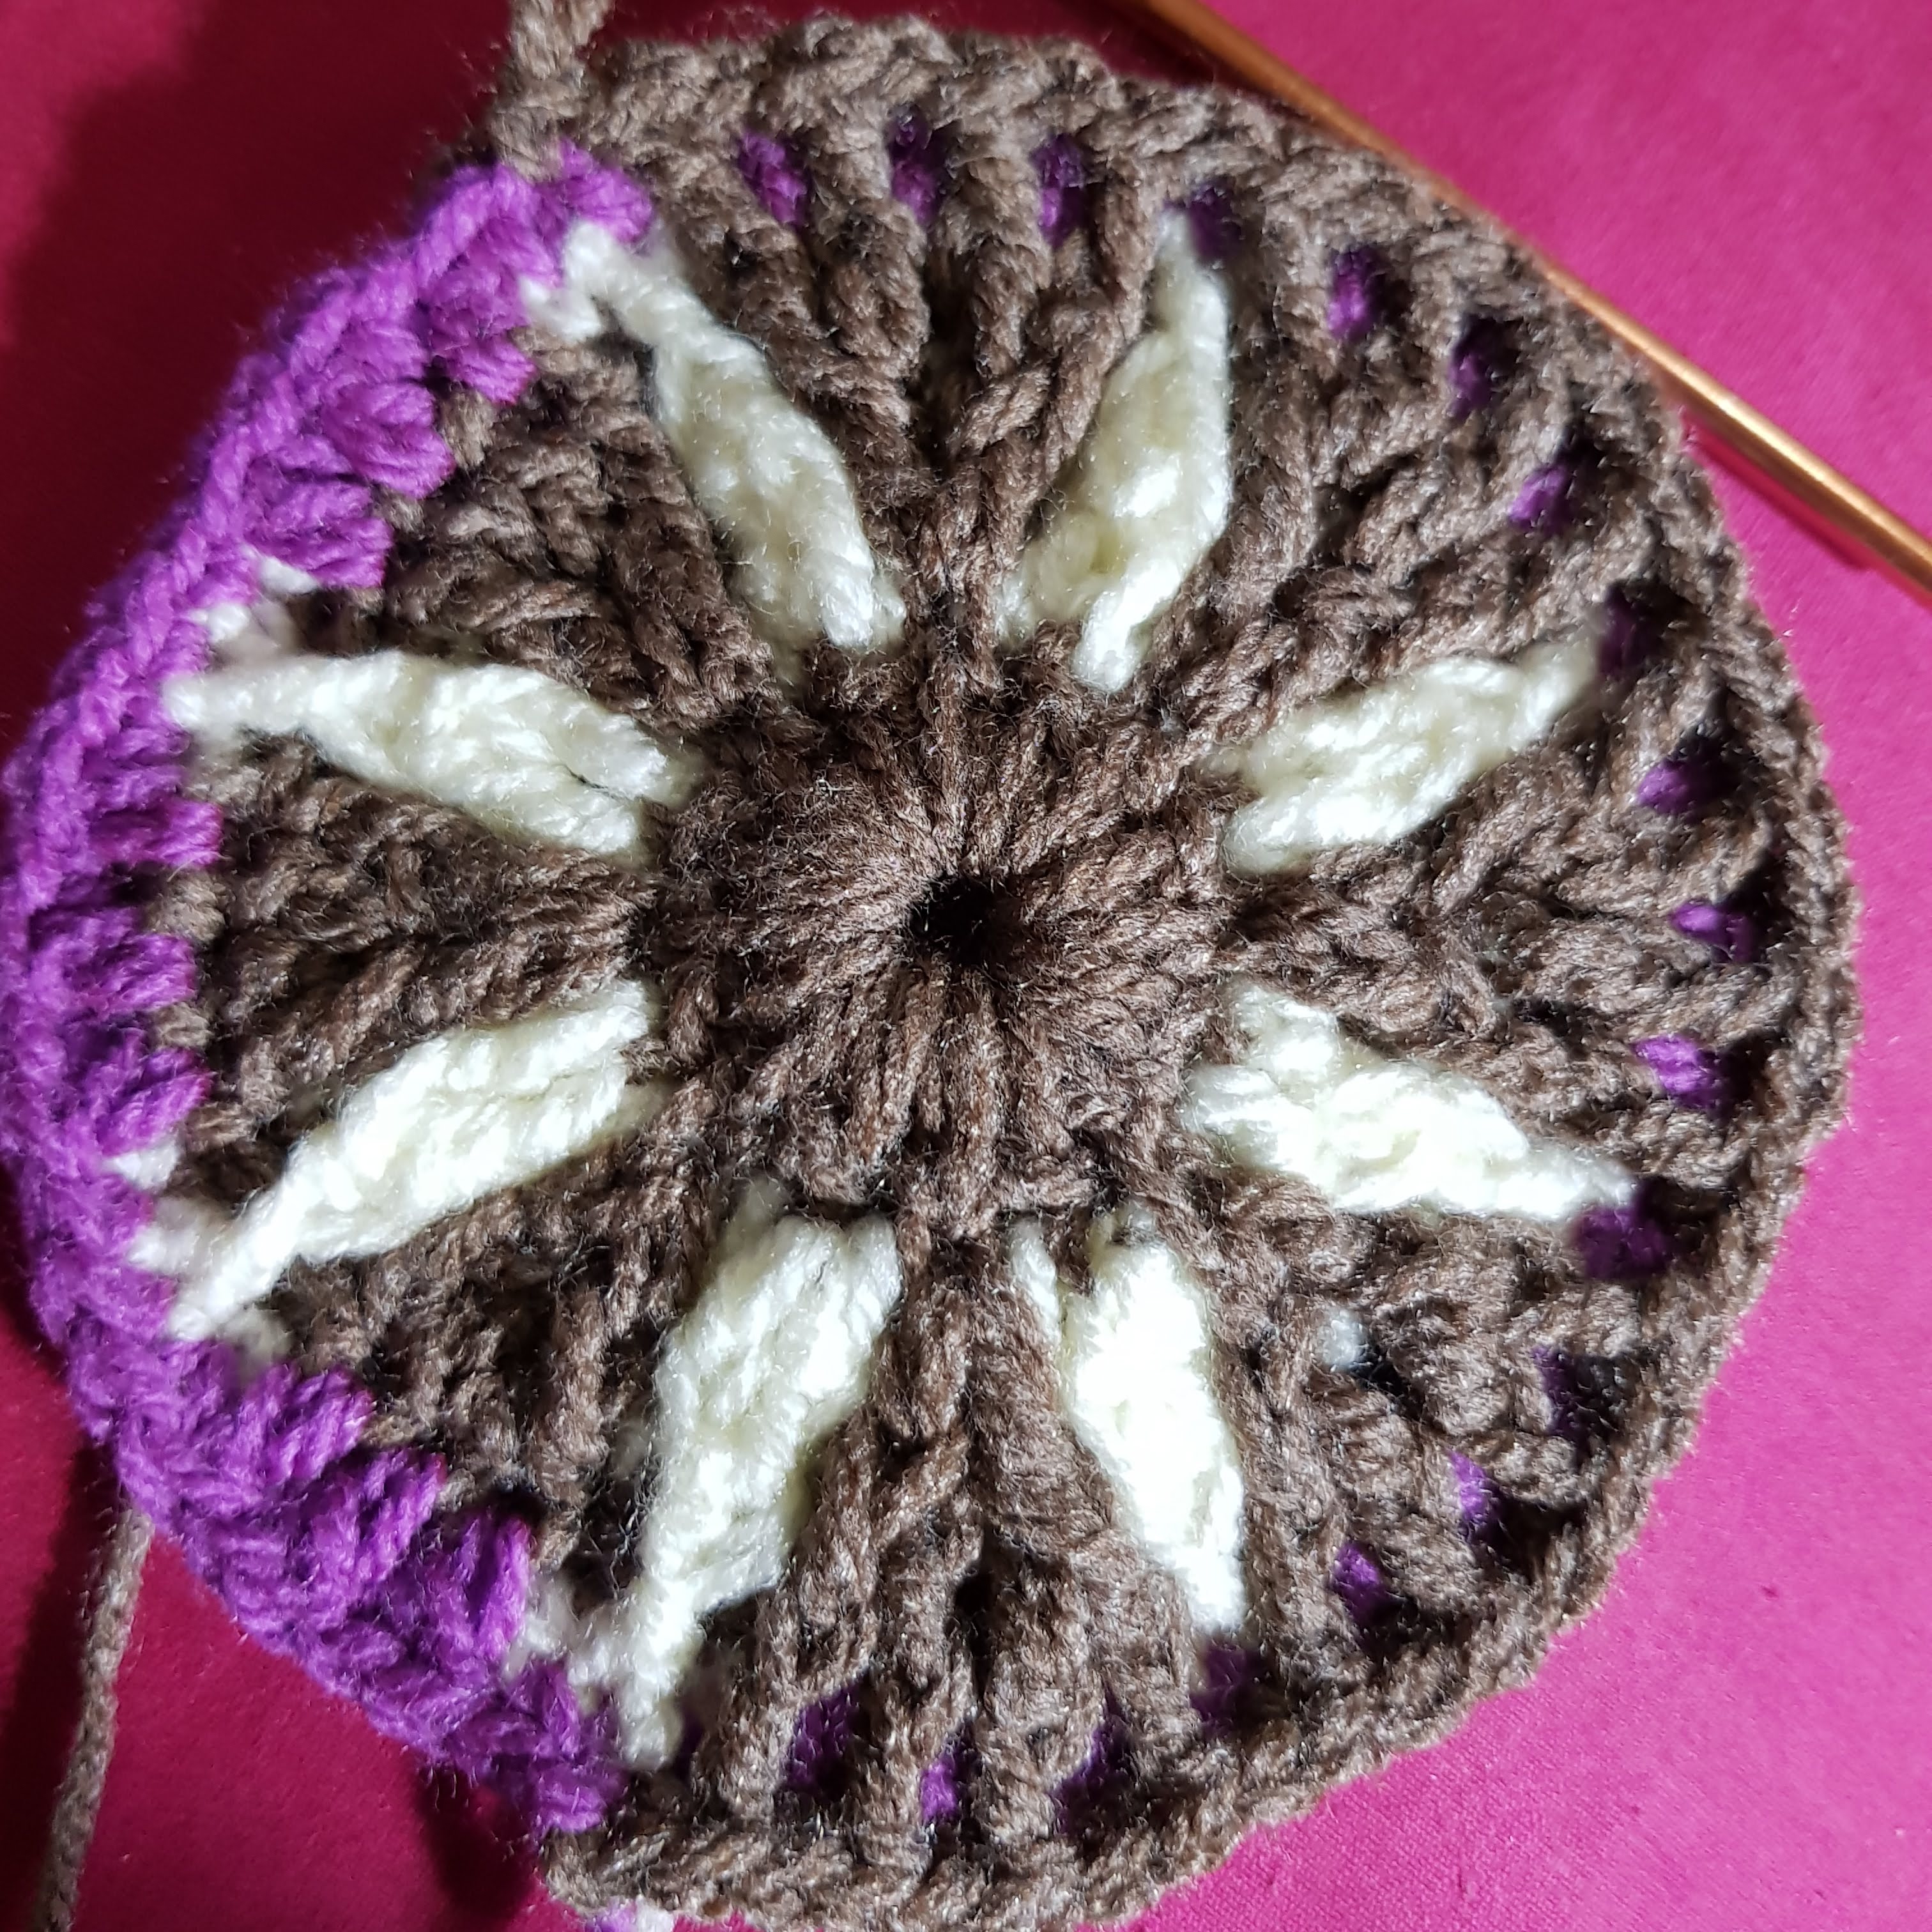
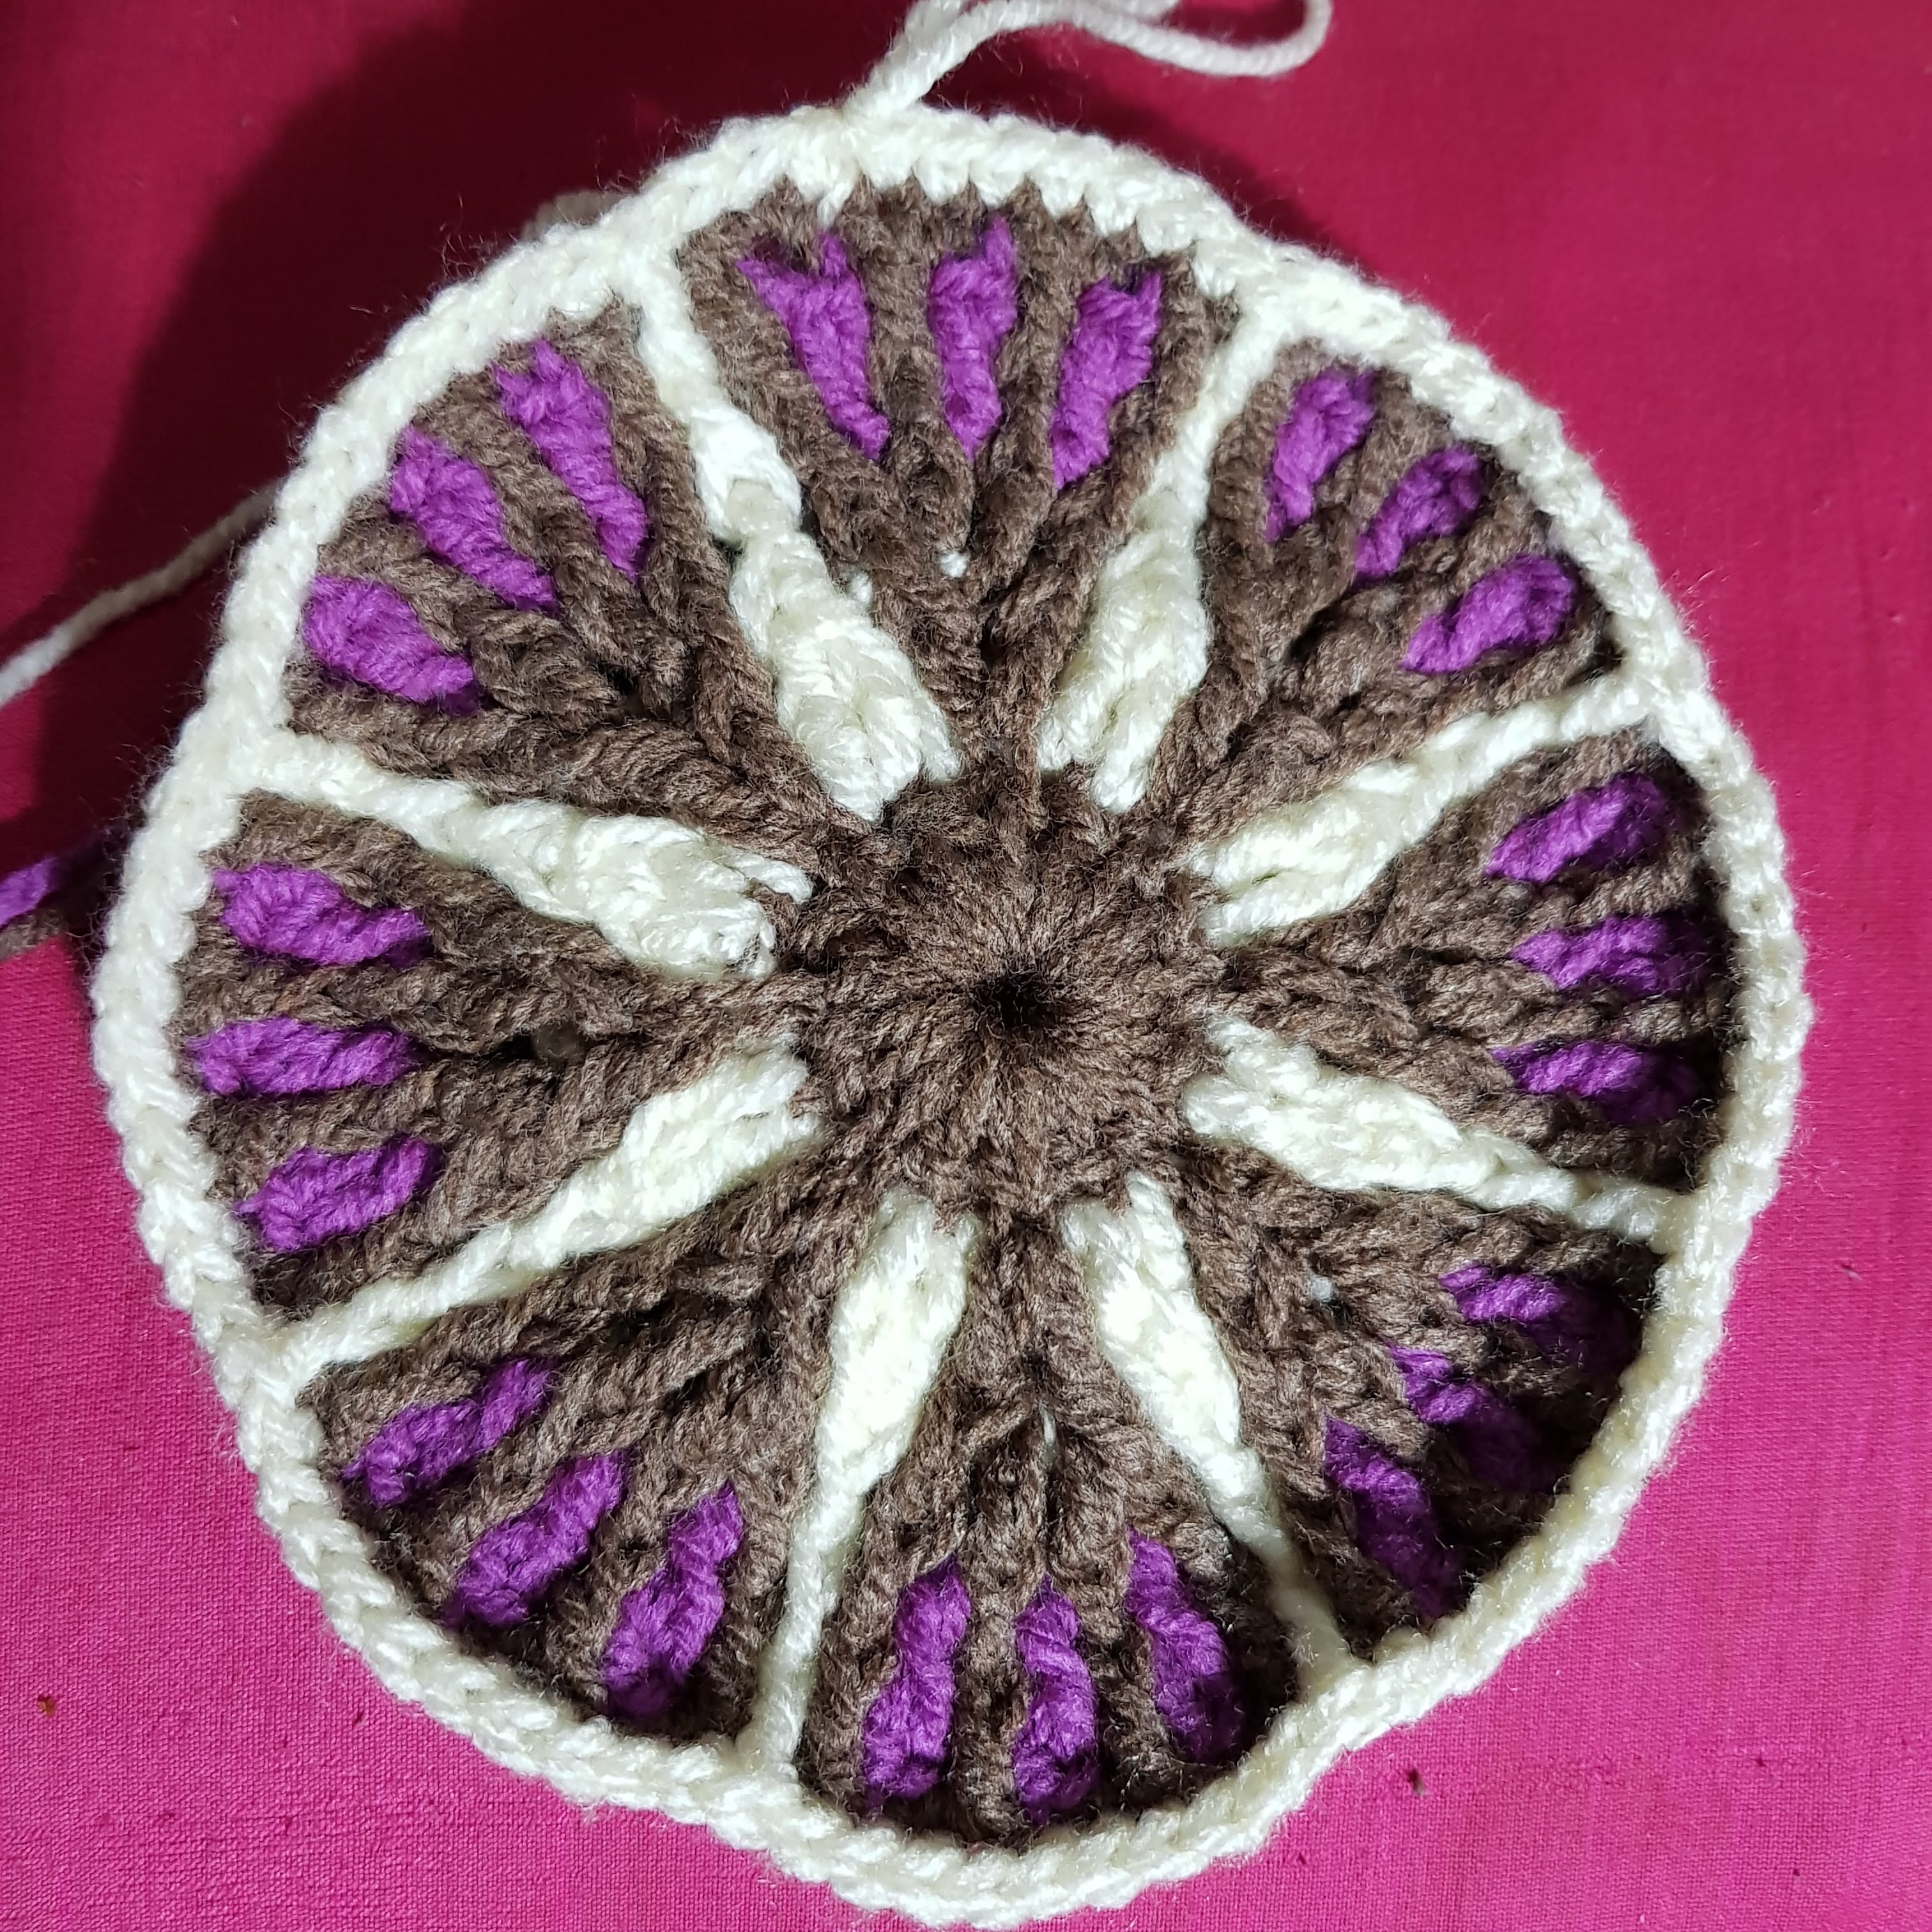
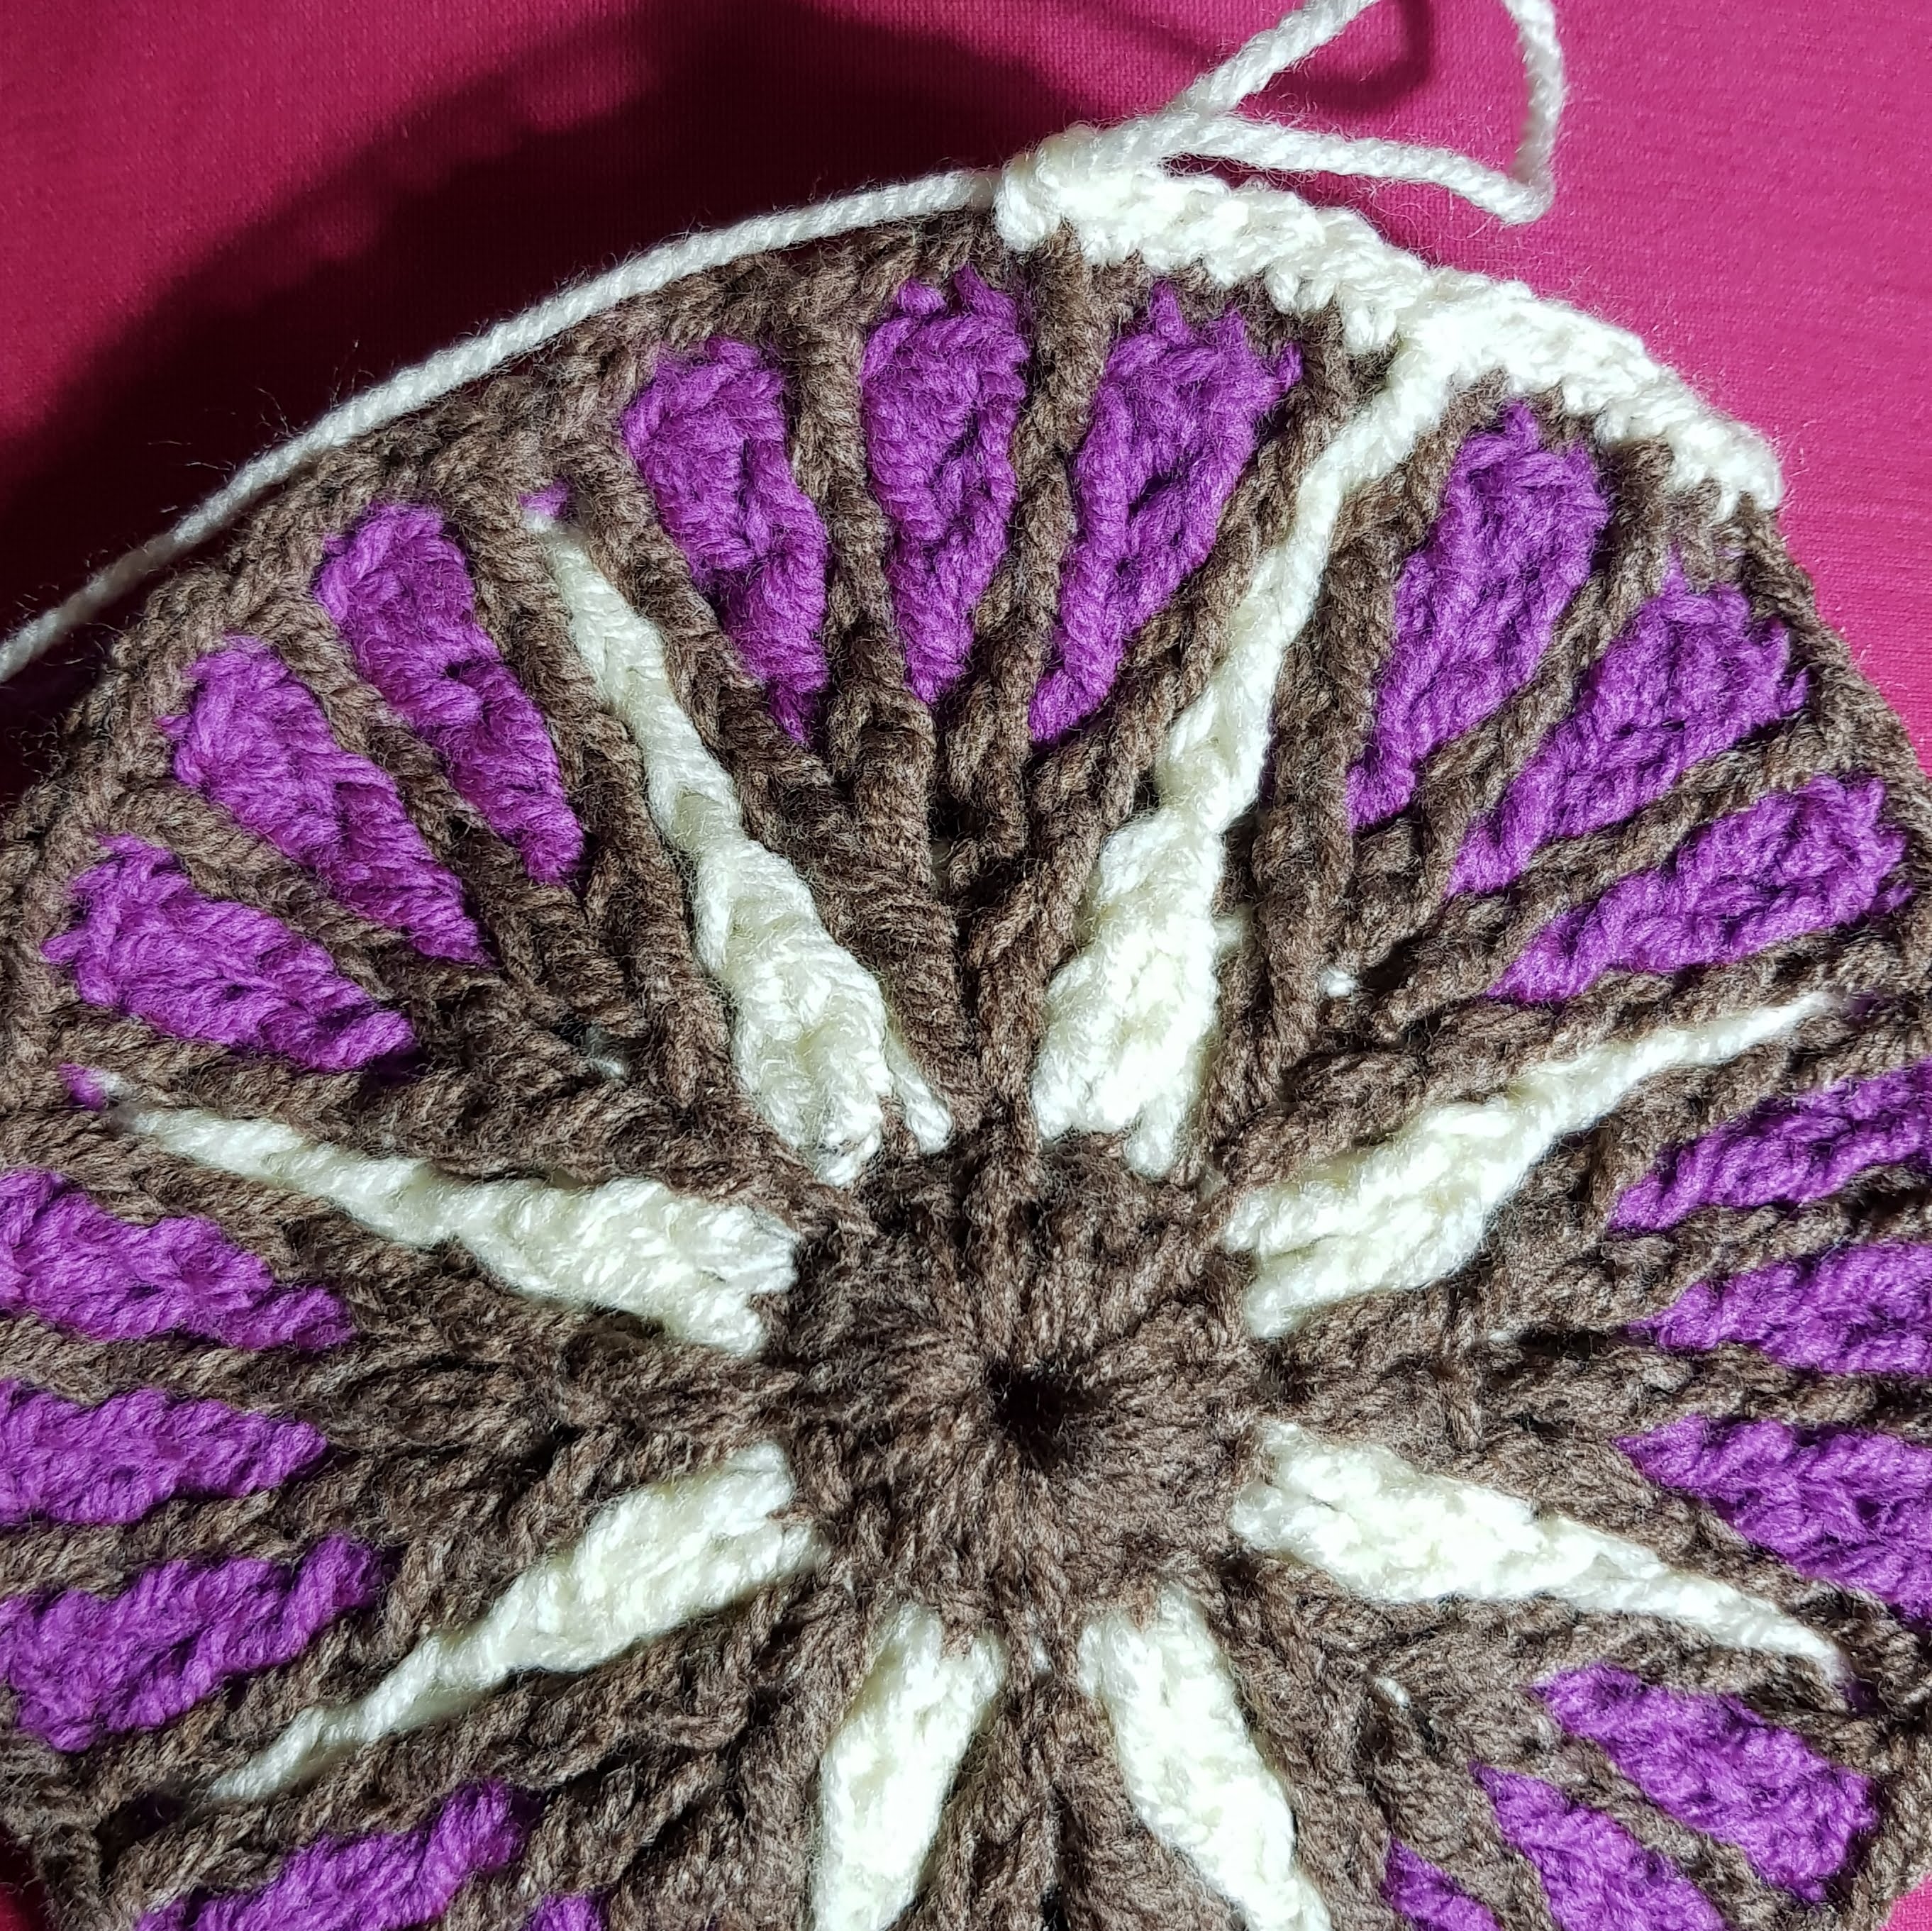
Step 11 – White Yarn
- SC (in brown DC)
- FDC in white DC, skip stitch,
- 7 SC, repeat from (2) all the way round – N.B. in last repeat , finish with 6 SC instead of 7 SC. Close with slip stitch.
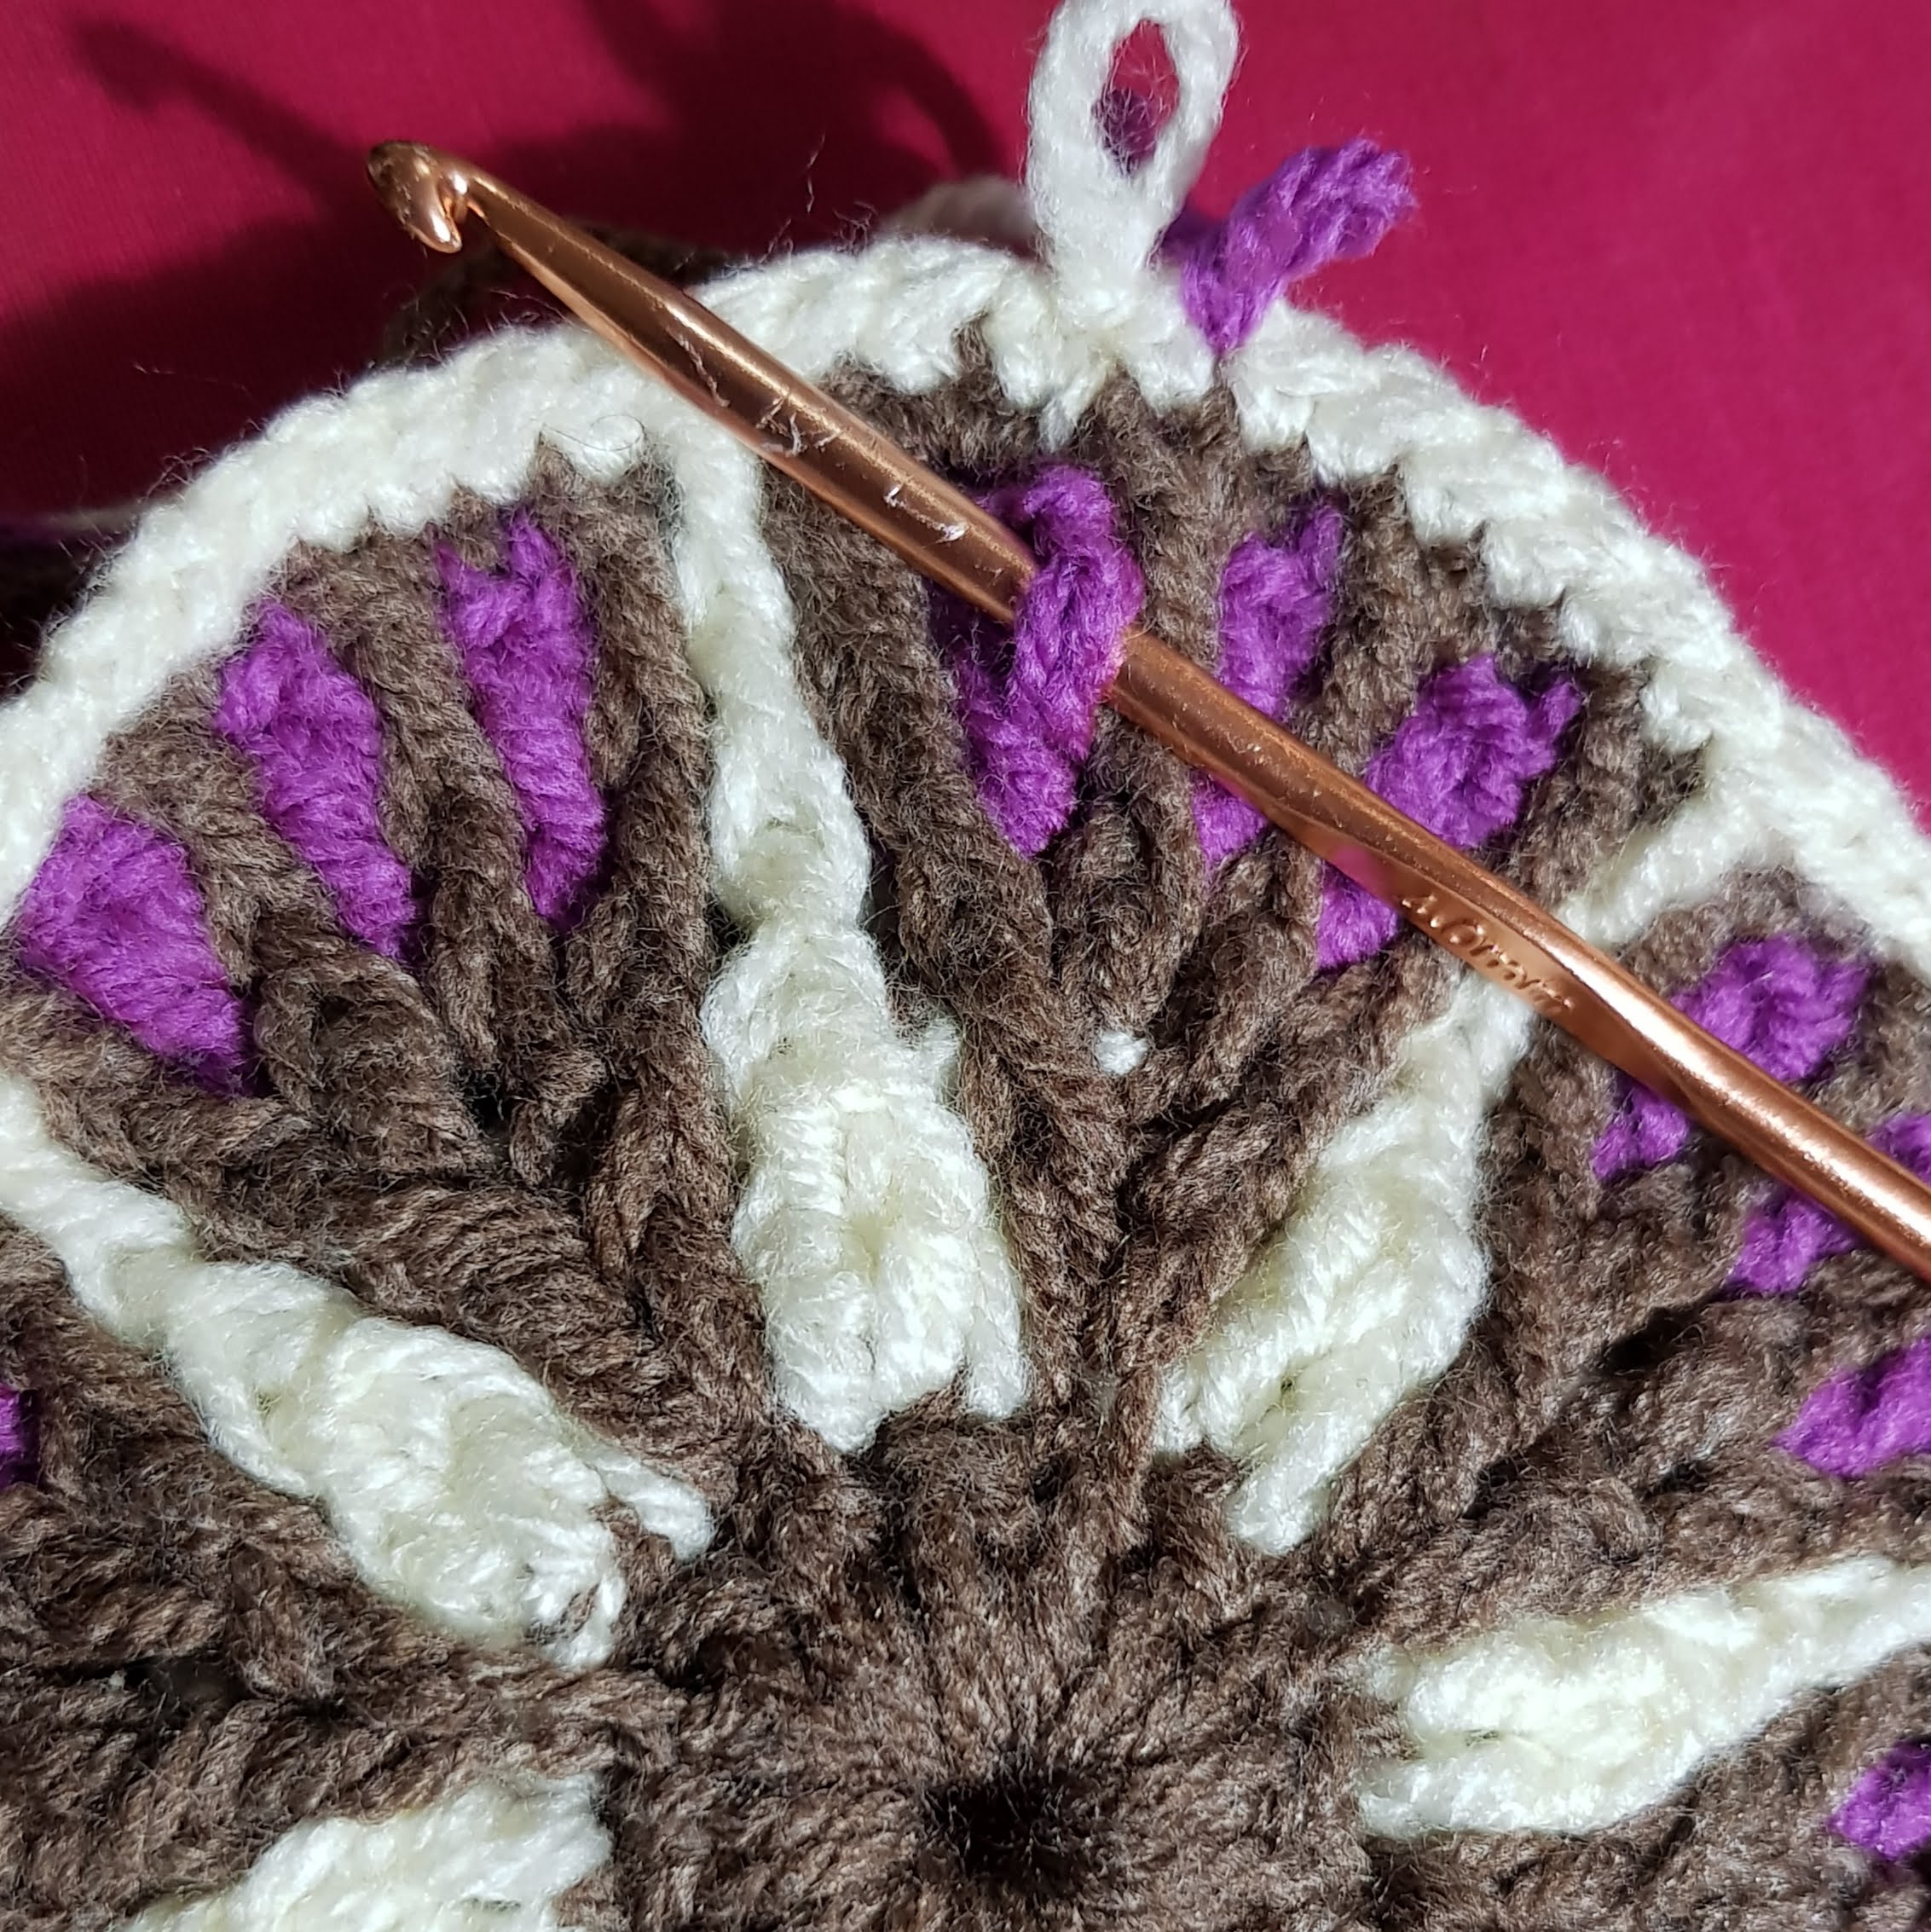
Step 12 – Purple Yarn
- 3 SC (starting at the last white SC)
- Do (DC in front loop of purple DC, DC in leg of the same DC, skip stitch, SC) 3 times
- 2 SC,
- repeat from (2) all the way round. N.B. In last repeat, finish with 1 SC instead of 2 SC. Close with slip stitch

Step 13 – Brown Yarn
For all SCs falling on purple DCs, work in back loop
- SC on 2nd purple DC
- FDC on brown DC, skip stitch
- SC, FDC on brown DC, skip stitch, 2 SC
- FDC on brown DC, skip stitch, 2 SC
- FDC on brown DC, skip stitch, 2 SC
- FDC for brown DC, skip stitch, repeat from (3) all the way round – and close with slip stitch
Step 14 – White Yarn
- 3 SC (3rd on brown DC)
- repeat (FDC in white DC, skip Stitch, 10 SCs) all the way round. N.B. in last repeat finish with 7 SC instead of 10 SC and close with a slip stitch
Step 15 – Purple Yarn
- SC.
- FDC in leg of purple DC
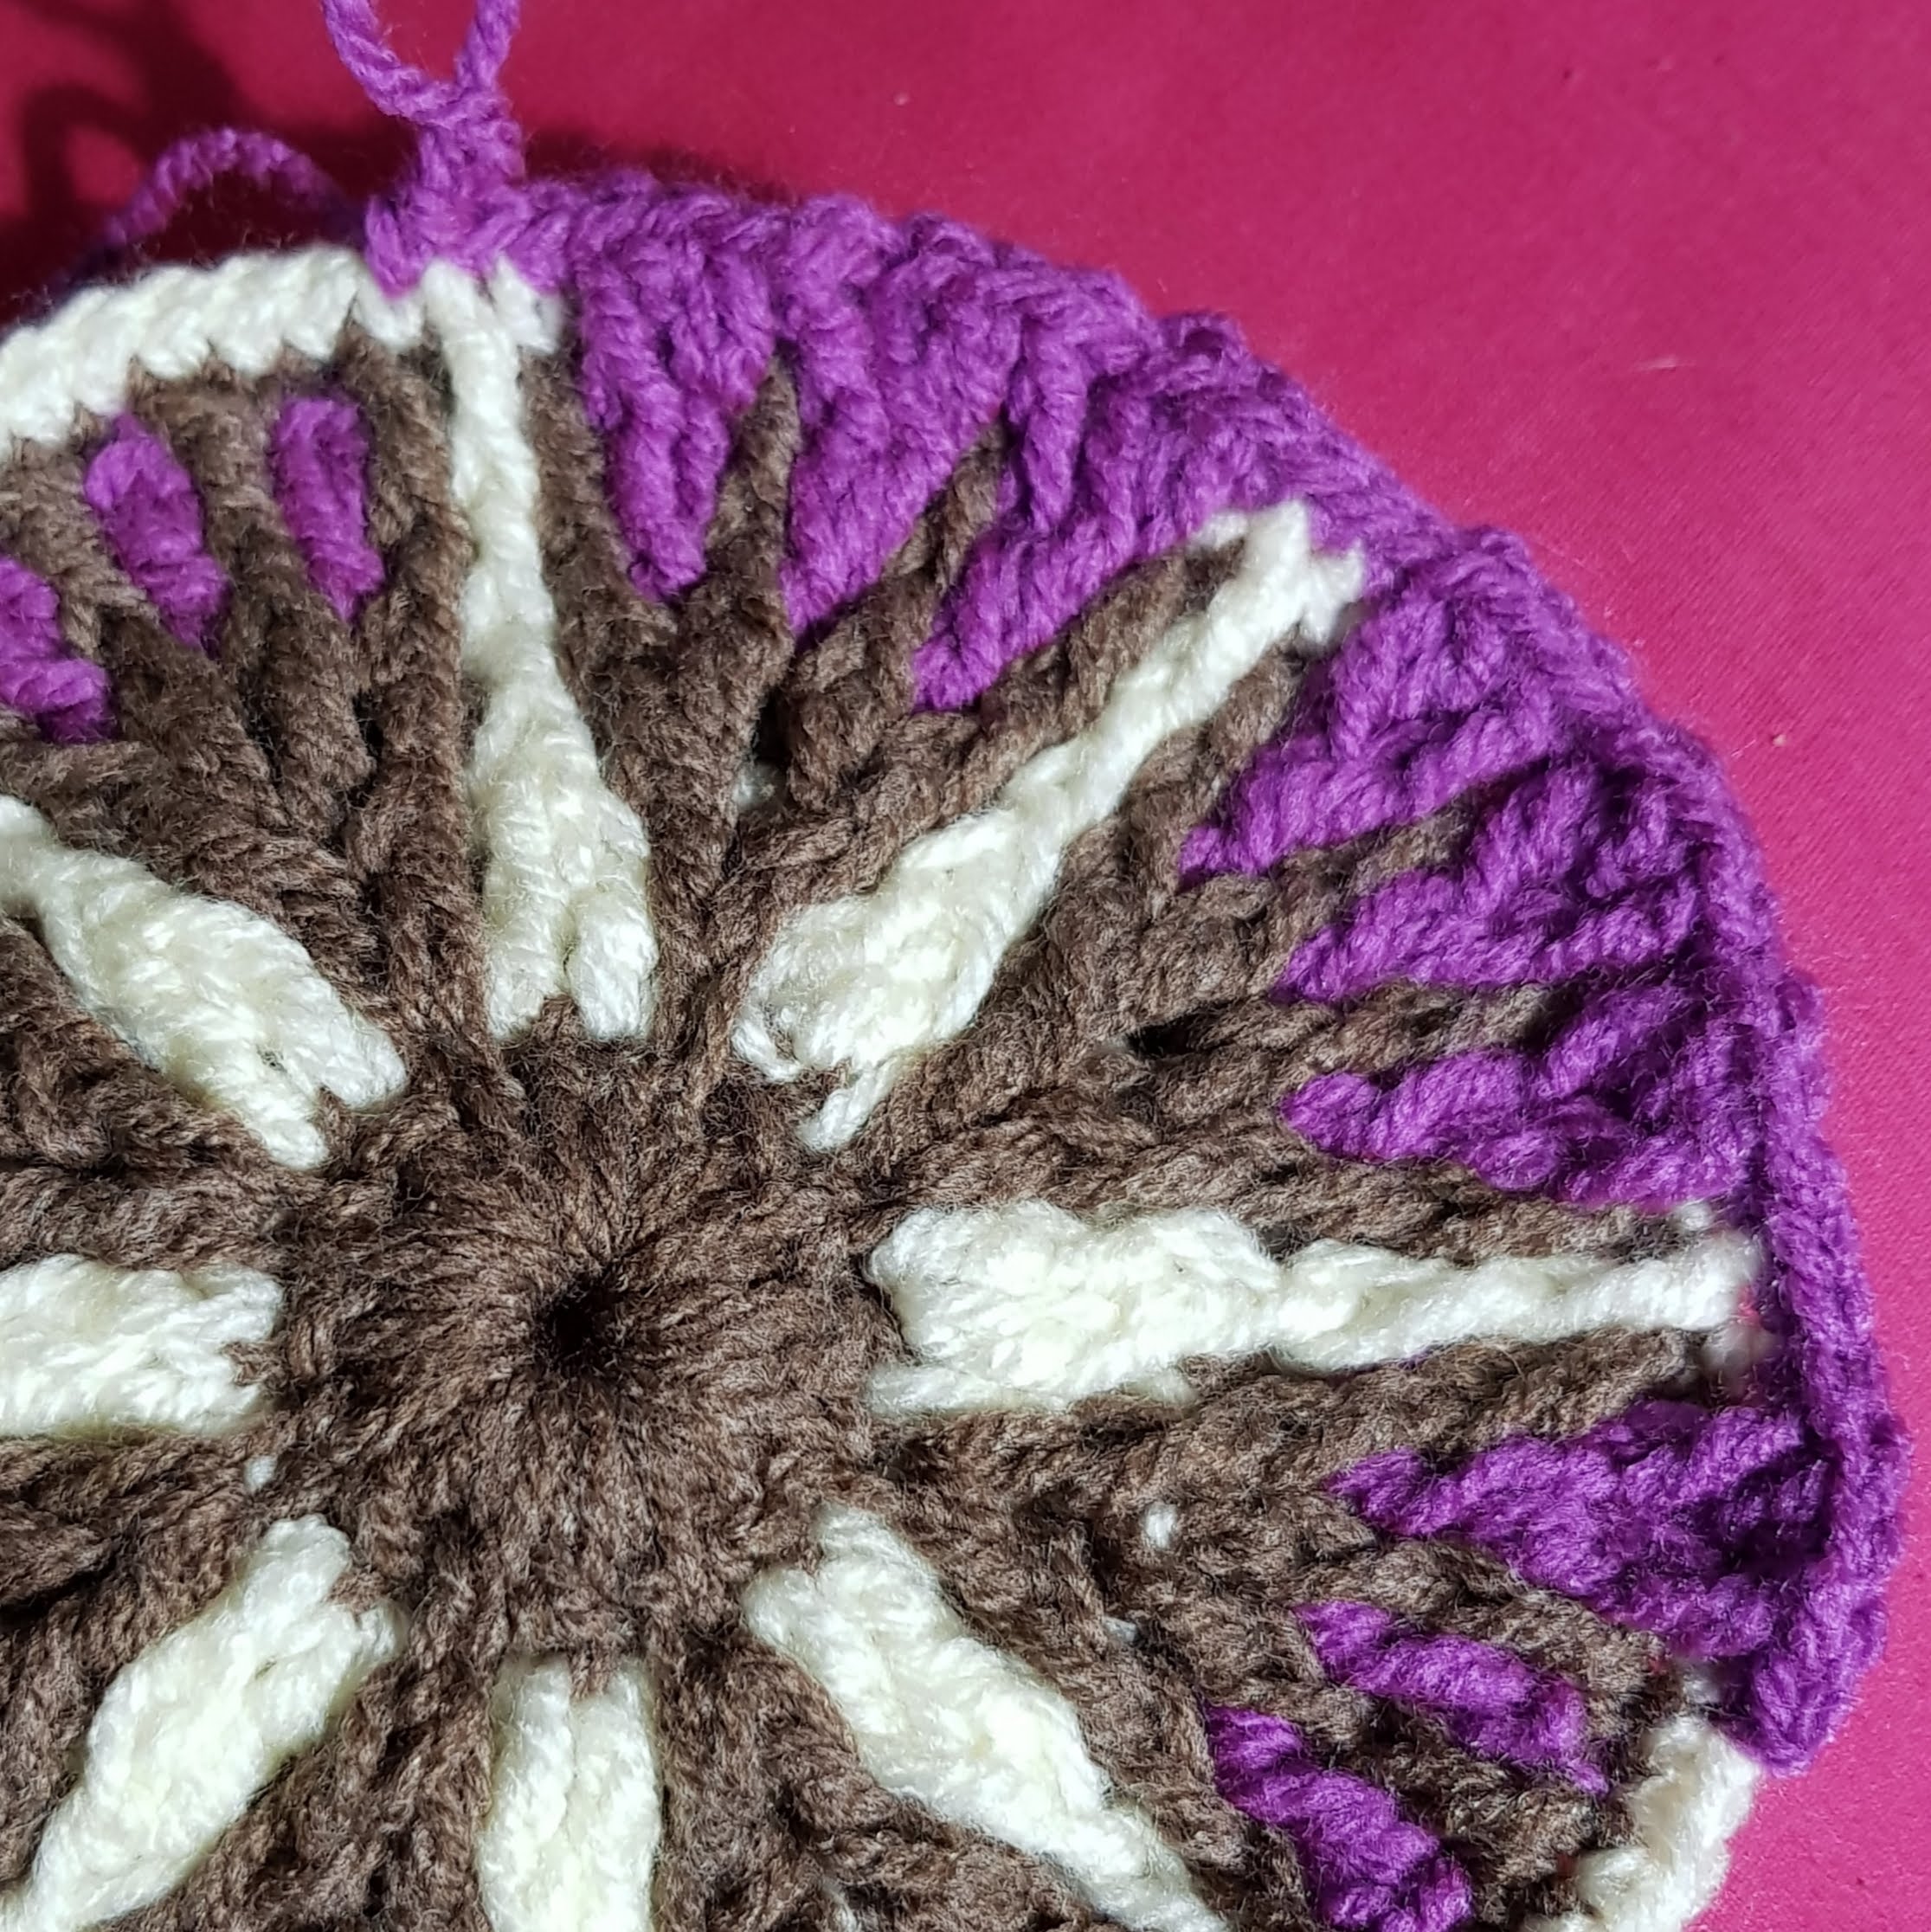
- DC in Front loop of the next purple DC
- FDC in the leg of the same DC, skip 2 white stitches, 3 SC
- Repeat (FDC in the leg of the purple DC, DC in Front loop of the next purple DC,FDC in the leg of the same DC, skip 2 white stitches, SC) 3 times
- 2SC
- Repeat from (5) all around. N.B. in the last repeat, do step 5 only twice instead of 3 times and skip the SC in second iteration. Close off with a slip stitch
Step 16 – Brown Yarn
For all SCs falling on Purple DCs work on back loop
- SC on 3rd purple DC in 2nd cluster of DCs from previous row
- FDC in brown DC, Skip purple stitch, 3 SC
- FDC in brown DC, Skip purple stitch, SC
- Repeat (FDC in brown DC, Skip purple stitch, 3 SC) 3 times
- FDC in brown DC, Skip purple stitch, SC
- Repeat from (2) all the way round. N.B. in the last repeat, finish with the FDC (i.e. miss the last SC from step 5) and close with a slip stitch.

Step 17 – White Yarn
- 6 SC (2nd and 6th on brown DC)
- FDC in white DC
- Skip stitch, 6 SC
- Cluster stitch in front loop of 2nd purple DC of middle cluster of purple DCs

- Skip stitch, and repeat from (1) all the way round, and join with a slip stitch
Step 18 – Purple Yarn
- Start with SC on cluster stitch from last round
- FDC into leg of 3rd purple DC, Skip stitch, SC
- FDC into each of the purple DC (total 3 FDC), Skip 3 white stitches, 3 SC
- FDC into each of the purple DC (total 3 FDC), Skip 3 white stitches, SC
- FDC into 1st purple DC
- Skip 1 white stitch, repeat from (1) all the way round and close with a slip stitch
Step 19 – Brown Yarn
Start in SC before cluster stitch from last row.
- 3 SC (2nd SC into cluster stitch back loop only)
- FDC into brown DC, skip purple stitch, 3 SC
- FDC into brown DC, skip purple stitch, SC
- FDC into brown DC, skip purple stitch, 3 SC
- FDC into brown DC,
- Skip purple stitch, repeat from (1) all around and close with slip stitch
Step 20 – White Yarn
- 9 SC (1st on brown DC)
- FDC into white DC

- Skip brown stitch, 13 SCs
- Repeat from (2) all the way round. N.B. on last repeat, finish with only 4SC instead of 13 SC and join with slip stitch.


I have been trying for weeks to translate this exact pattern. There is no way to express hiw grateful i am for all your HARD work in translating this. I have became a fan of Evgenia Tychenko’s work. I came across her online diary on a Russian site for moms and have been trying to recreate this same piece using just her photographs. Now thanks to you i can finally finish it. THANK YOU so much.
Thank you for you kind message! I’m really happy that you and others now can enjoy her design too – She is a truly gifted artist and I love her work. One day, I will hopefully have more time and ask her permission to translate some more 🙂
Thank you thank you thank you ❤ I imagine how arduous it must have been.
You are most welcome Marta! I put it down to a labour of love 😀 Very happy to share this and hope you enjoy making this!
thank you so much for the translation, you did it so well! I have made it and it is beautiful!
That is fantastic! Thank you for sharing! I would love to see a photo if you would be willing to share 🙂