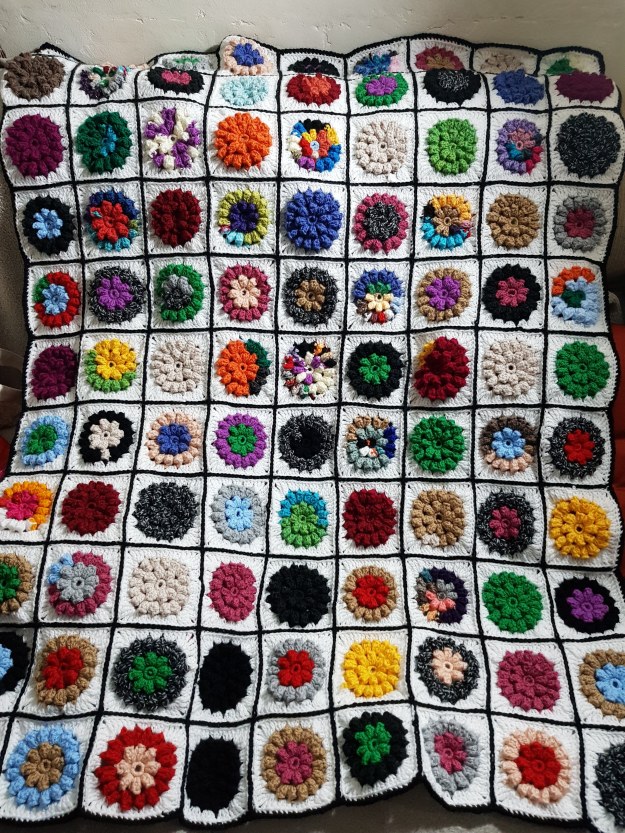
I’ve been rather busy putting this very colourful lapghan together . It’s similar to the Colourful Lined Baby blanket I made some time back . Hope you like it! I’m now working on one in pastel colours. Check back soon for updates!

I’ve been rather busy putting this very colourful lapghan together . It’s similar to the Colourful Lined Baby blanket I made some time back . Hope you like it! I’m now working on one in pastel colours. Check back soon for updates!
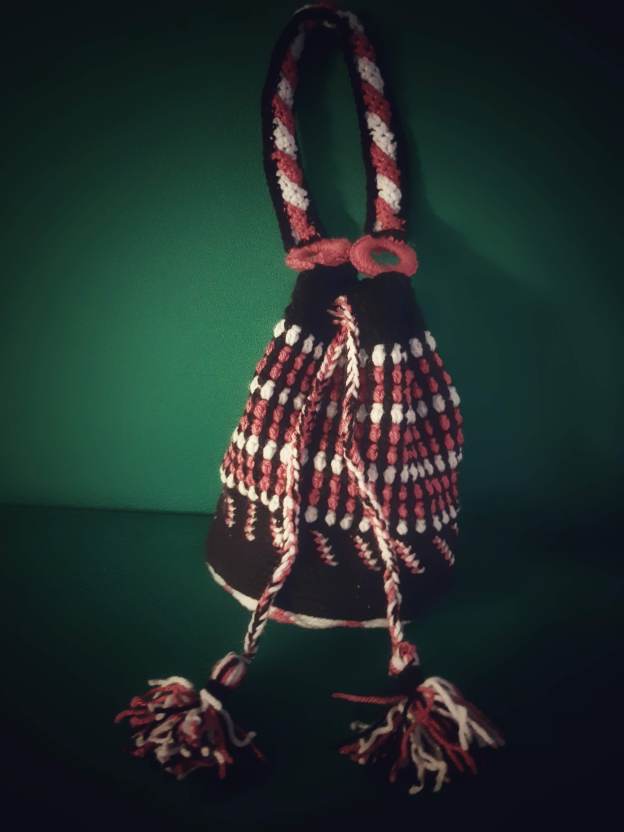
A few posts ago, I showed you my very first attempt at tapestry crochet, in which I made a little “bowl”.
Well, I was not satisfied and went on to transform it into a little bag. I did not make the sides using tapestry crochet, but instead made little puff stitches – like the ones used in the inifinty scarf which I posted about in my last post. Here it is – what do you think?
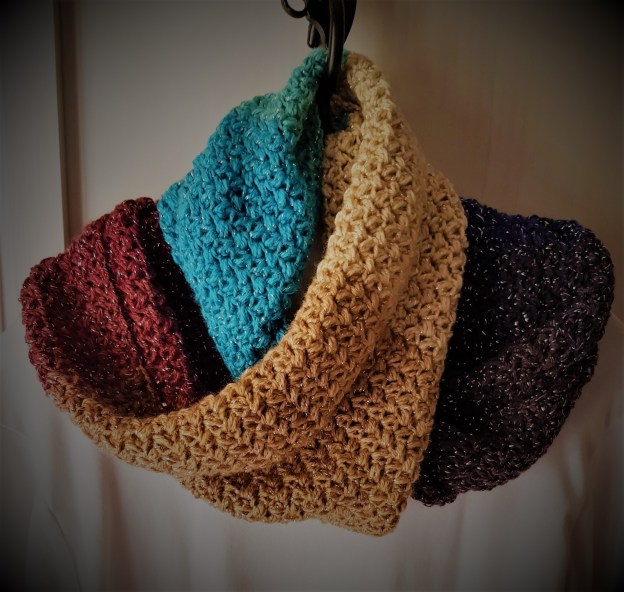
I love winter, and it is slowly on it’s way in 🙂 One of the things I love about winter is the clothes – those warm, soft & fluffy woolies, in which you wrap up tight. So, here is my first project in preparation for this season : the infinity scarf.
I love infinity scarves as they are so versatile and you can wear them in many ways.
For this one, I have used a variagated yarn by Katia which has a gold thread running through it, but you can use any yarn of your choice. As for stitch choice, I used the puff stitch because it forms double-sided bobbles that are both thick and fluffy – just what you want for your scarf.
This is a really easy project, and in case you have not made a puff stitch before, here is an explanation :
Step 1 : – Start by making a chain ( it should be in multiples of 2 stitches plus 4) till it is as wide as you would like your scarf to be.
Step 2: – Once you have made the chain, yarn over hook and insert the hook into the 4th chain from hook. Yarn over again and draw up a loop. You should have three loops on your hook. ** Yarn over hook and insert the hook into the same 4th chain from hook. Yarn over again and draw up a loop. ** Repeat from. You should now have 7 loops on the hook. (N.B. some people will even make puff stitches with 9 or 11 loops – it’s totally upto you – but I opted for 7.)
Step 3 : – Yarn over and draw the yarn through all the loops. This is your Puff Stitch.
Step 4: – With the loop pulled through the puff stitch, make a single chain to secure your Puff stitch.
Step 5: – Skip 1 chain stitch and make your next puff stitch in the next chain stitch. Repeat till you get to the end of the chain. You should end the row with a puff stitch.
Step 6: – At the end of your row, flip your work and make 3 chain stitches.
Step 7:- For all subsequent rows, make your puff stitches in the chain-1 space from the previous row.
Repeat till the scarf is as long as you like. Once done, I joined the last row to the initial row with slip stiches – but you can sew this if you prefer.
Enjoy!!


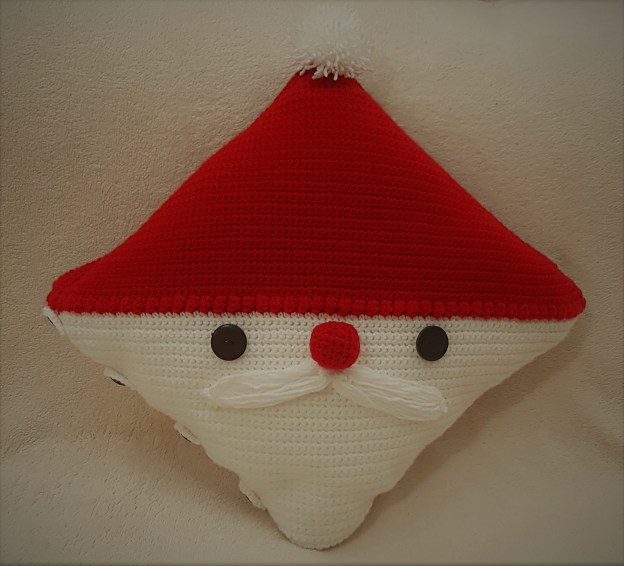
Christmas is round the corner, and I can’t wait to start decorating!
Here is a Santa cushion cover I made inspired by a pattern published here: https://www.yarnspirations.com/row-en/bernat-santa-pillow/BRC0517-005623M.html.
Instead of using a zipper to close, I used buttons and crocheted little hoops.
Enjoy!
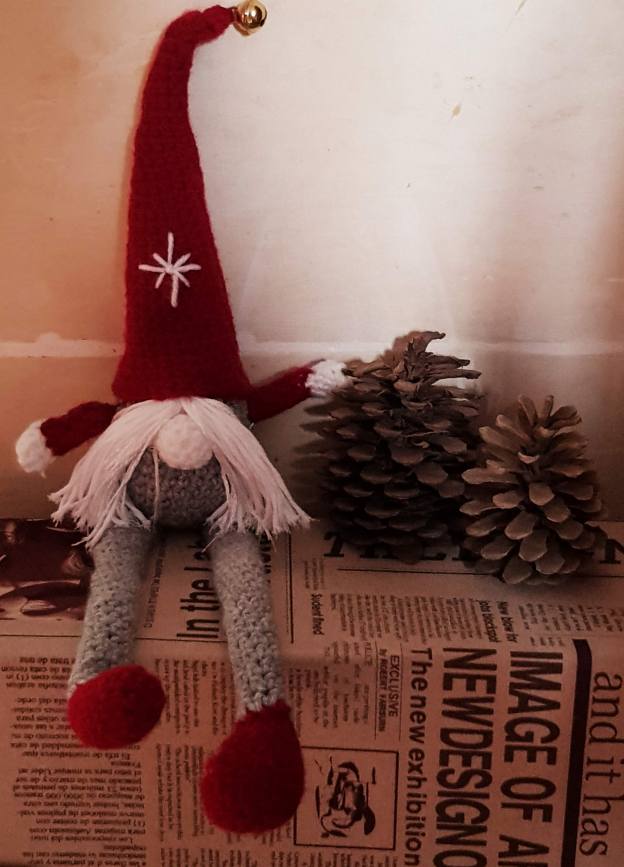
Christmas has to be my favourite time of the year, and this year, I just had to make some Scandanavian Christmas gnomes – oh my gosh – they are just adorable! You can find lots of free patterns on ravelry, and then put your own spin on them. Here are some of mine…..and keep a look out – there are more already being made .


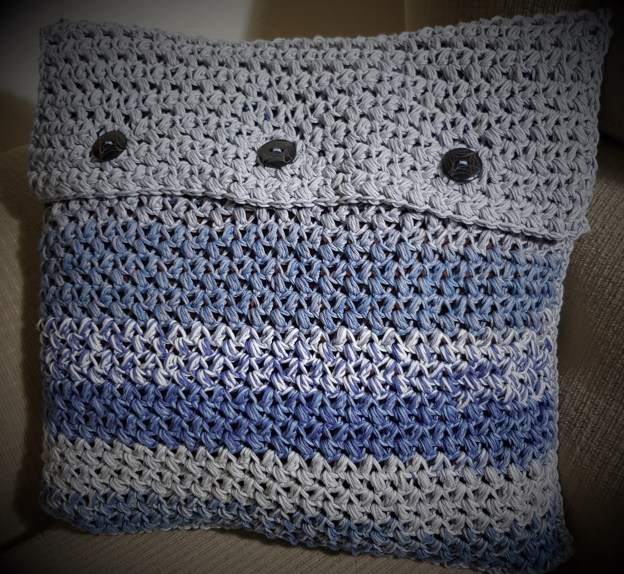
Do you ever buy yarn because you like the colour or texture even without having a project in mind? Well, I am guilty of that! In fact, sometimes I end up using the yarn for a project, only to undo it later as I find that it’s not quite right. I have this really lovely cotton yarn by the brand Katia. It is silky and unlike most other DK cotton I have used , it’s not stiff at all. The yarn is variagated in blues and greys. After a number of other projects, I settled for cushion covers. There is no patterm – I just winged it. I am quite pleased with how they have turned out. What do you think?

I came across this lovely pattern on a blog called (Mille Makes) and have adapted it to make a stylish baby blanket: https://millemakes.wordpress.com/2011/05/22/something-pretty-the-pattern/
I lined it with flannel (that was quite challenging!), as the design has holes and you don’t want little fingers from getting caught in the design. This is a fantastic way to use up any left ofver yarn.
What do you think?
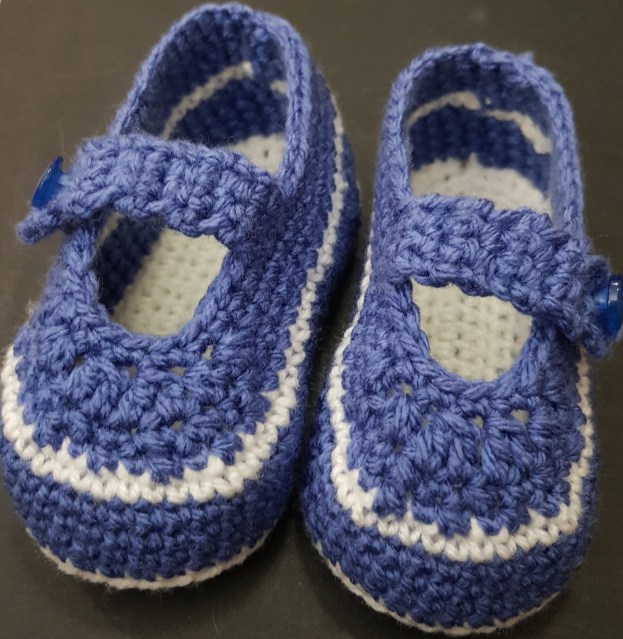
Here are some slippers I made for toddlers. Again, I modified the Elmo pattern which I shared in my earlier post (https://manjrisplace.wordpress.com/2019/10/27/cute-elmo-baby-booties), so that it is bigger, and added the white row detail as well as the straps. Toddlers love running around barefoot, or with just socks on , so this is a great and stylish way to keep little toes warm. What do you think?
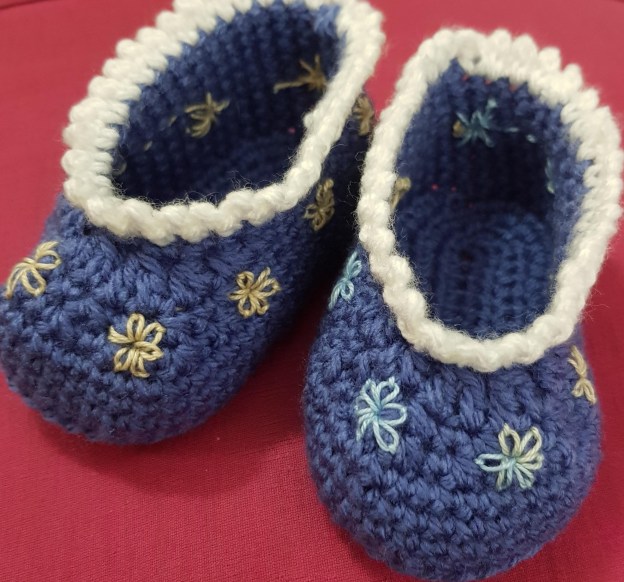
Here are some more booties I made. I modified the Elmo pattern which I shared in my earlier post (https://manjrisplace.wordpress.com/2019/10/27/cute-elmo-baby-booties), and embroidered some flowers all around to make them pretty. What do you think?
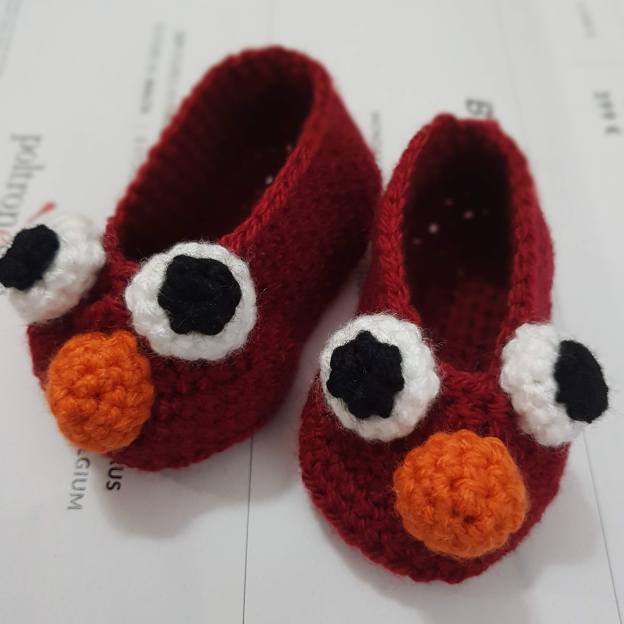
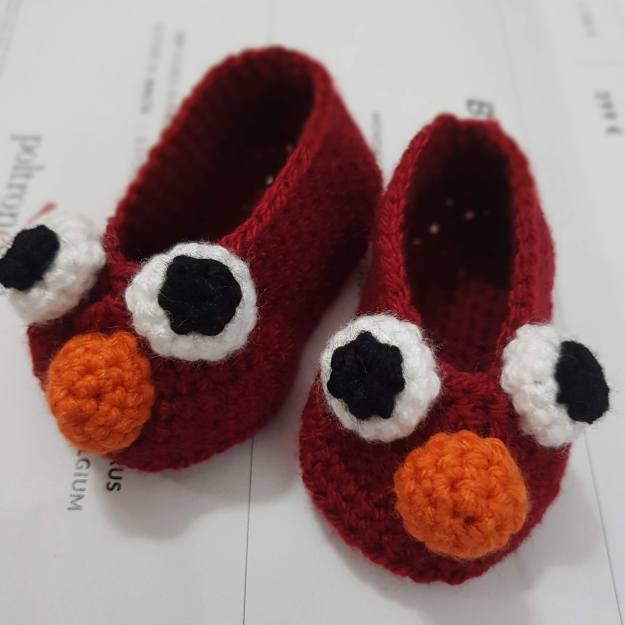
Baby things are so cute , and these could’nt be any cuter! What a great way to start baby’s shoe collection 🙂 I am a firm believer that you can never have enough shoes!
Thanks to Olivia from The Hope Honeywho has published the pattern here: http://www.hopefulhoney.com/2015/03/elmo-inspired-baby-booties-crochet.html


