Tag Archives: variegated yarn

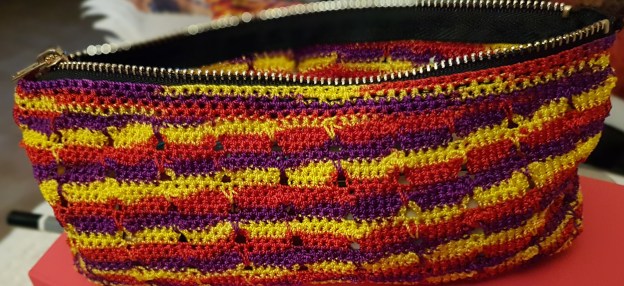
Crochet multi-colour Pencil Case / make-up bag/ toiletries pouch – Free Pattern

Hey all! Hope you are doing fine and churning out fabulous projects! If you need some inspiration, here is an easy one which I designed and made from nylon crochet thread (the same that I used to make the belt in my previous project ). Again, thanks to the stiff and abrasive nature, it lends itself really well to this pouch / case. The pattern is quite straightforward – it’s mainly single crochet (US Terms).  Here is the pattern :

Original pattern by Manjri’s Place

I used a 1.4mm crochet hook for this project.

CH – chain stitch
SC – single crochet

YO – yarn over

Start with 61 CH

Row 1: skip first chain and 1 SC into remaining 60 CH, CH 1 and turn

Row 2-9: 1 SC into each of the 60 SC from previous round, CH 1 and turn.

By the end of the last round, you will now have a rectangular piece, which will be the base of the pouch/case.

Row 10: In this round, you will be working all around the rectangular piece just made. 1 SC into the back loop only of each of the 59 SC from previous round. Make 3 SC in the last SC from previous round. 7 SC down the short side of the rectangle, 3 SC in the first stitch of the long side, 1 SC in each of the next 59 SC, 3 SC in last stitch of long side, 7 SC down the other short side. Slip stitch into the first chain made at end of round 9. CH 1 and turn.

Row 11: SC in the first SC from last round. Place a stitch marker between the CH and the SC just made as it will become hard to identify end of a row since we will be working all around. 4 SC, 3 CH, skip 1 stitch. (5 SC, 3 CH, skip 1 stitch) all the way round – N.B. you will end with 2 or 3 SC. Slip stitch into first CH. Remove stitch marker.

Row 12-13: CH1, SC in the first SC from last round. Place a stitch marker between the CH and the SC just made.  4 SC, 3 CH, skip ch space made in last round. (5 SC, 3 CH, skip 1 stitch) all the way round – N.B. you will end with 2 or 3 SC. Slip stitch into first CH.  Remove stitch marker.

Row 14: CH 1, SC in the first SC from last round. Place a stitch marker between the CH and the SC just made. 4 SC, SC over the 3 chain spaces from rows 11-13, into the Stitch skipped  in round 11. (5 SC, SC over the 3 chain spaces from rows 11-13, into the Stitch skipped  in round 11) all the way round – N.B. you will end with 2 or 3 SC. Slip stitch into first CH.  Remove stitch marker.

Rows 15-42: Repeat Rows 11-14  7 more times.

Row 43-47: CH 1, SC in the first SC from last round. Place a stitch marker between the CH and the SC just made. SC into each stitch from row 42. Slip stitch into first CH. Remove Stitch marker.  Cast off.

If you would prefer a deeper pouch,  repeat rows 11-14 until you get the desired size.

Once ready, sew in a zipper and voila! Your pouch is ready!  It’s fantastic for school – but you could also use it as a make-up bag, or for keeping toiletries.

This slideshow requires JavaScript.

Crochet multi-colour Belt – Free Pattern

Hey fellow crocheters,

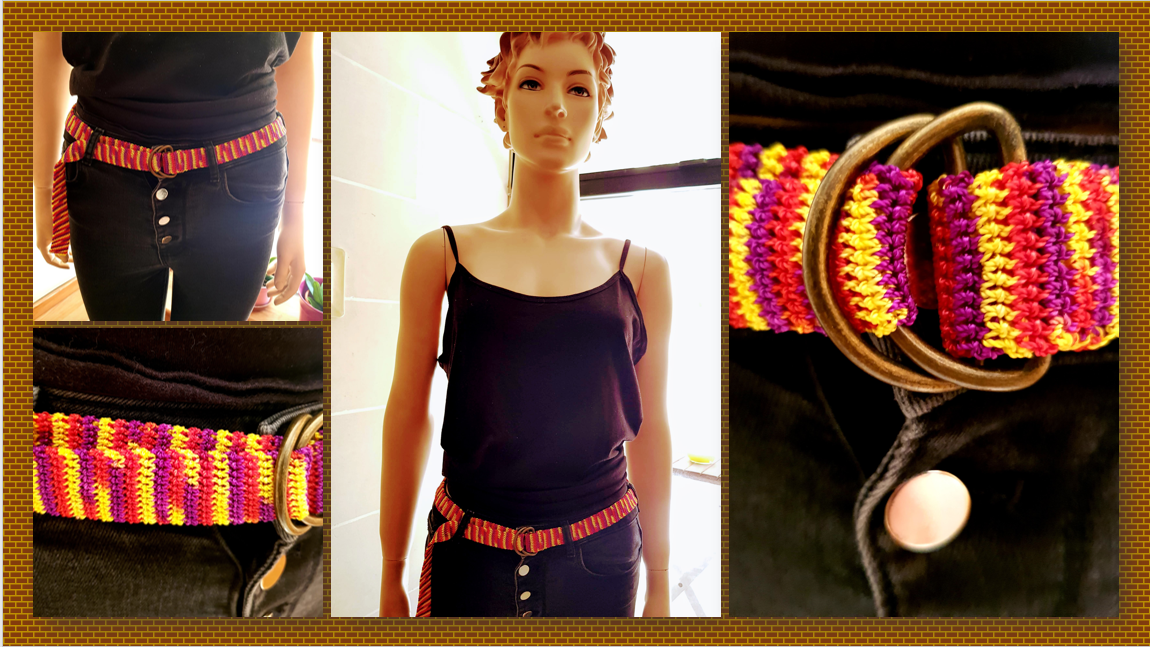
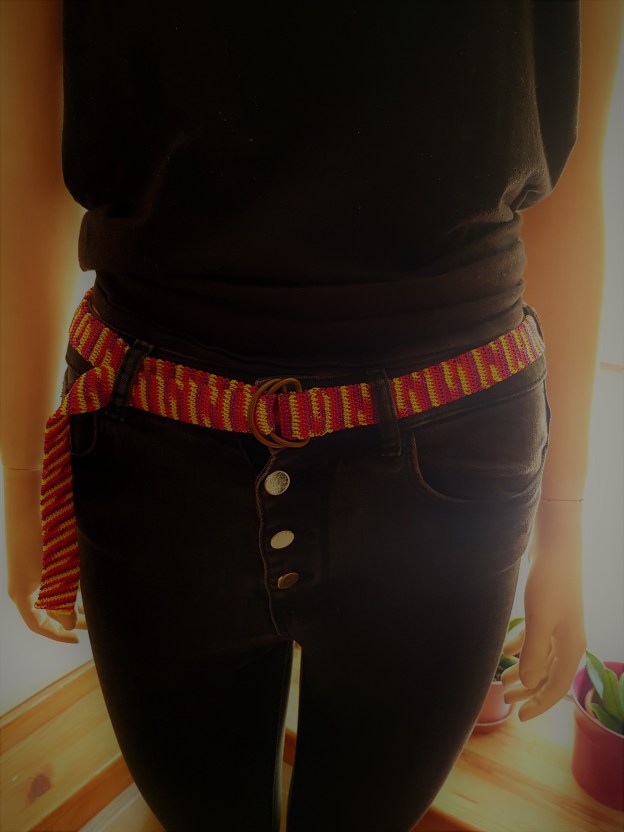
I recently bought some rather nice nylon crochet thread because I really liked the colours. Nylon is quite stiff and abrasive, so you have to be careful what you use it for — but I thought it would be perfect for a belt.

This is a simple free crochet belt pattern, worked mainly in single crochet (US terms). I used a double-layer technique to give the belt some extra structure, and I’ve included step-by-step photos below to show how I worked it.

Original pattern by Manjri’s Place

I used a 1.4mm crochet hook for this project.

CH – chain stitch
SC – single crochet

YO – yarn over

Start with 11 CH

Row 1: skip first chain and 1 SC into remaining 10 CH, CH 1 and turn

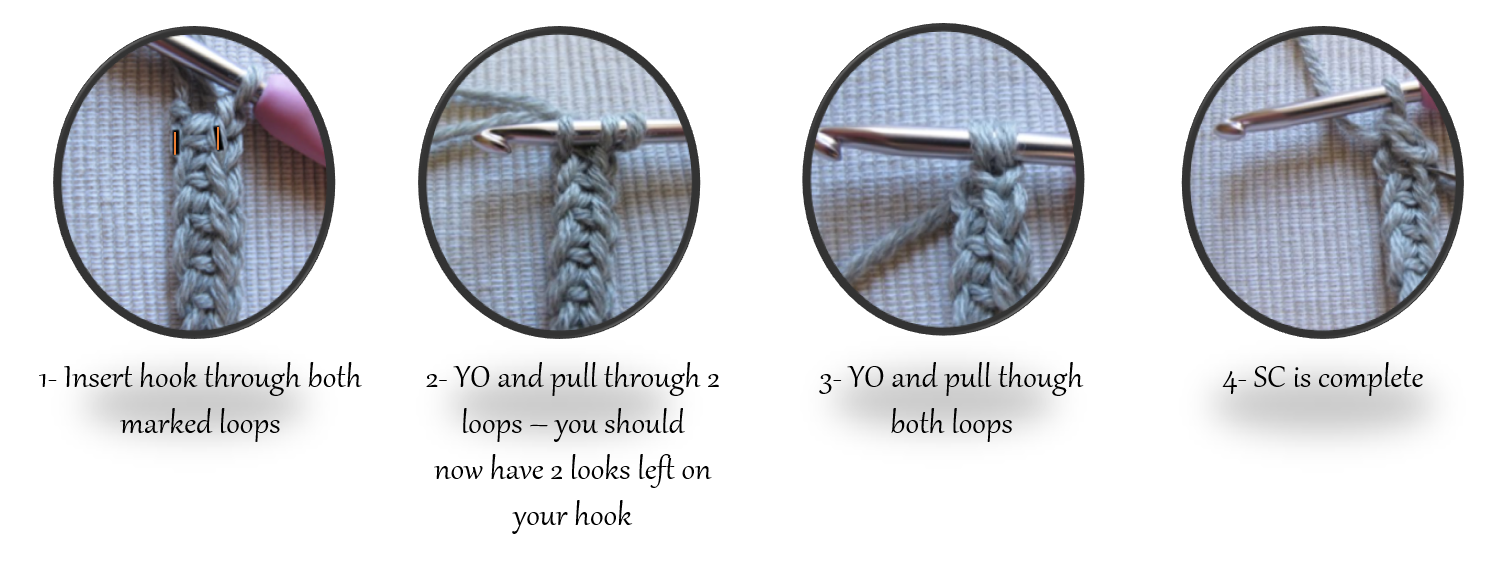
Row 2: To create a double layer SC, put hook through the back loop only of the SC made on row 1 and also the loop left over from initial chain stitch (see marked image below).  Repeat until end of row, CH 1 and turn.

pic1

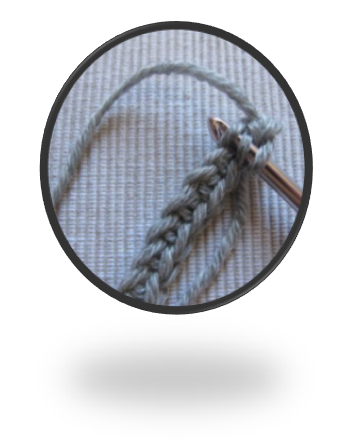
Row 3:  From now on, the double layer SC will be easier to make.  Insert hook through the leftmost loop in the SC just made on last row, and in the remaining loop in the corresponding stitch in the previous row. Repeat until end of the row, CH 1 and turn.

pic2

Keep working this way until you reach the desired length.

For the buckle, I used 2 brass hoops, recycled from an old handbag. 

belt

Hope this has given you some ideas!

Happy crocheting!


Where the crochet journey led…
This pattern comes from the earlier days of Manjri’s Place. Years of experimenting with crochet, colour and different techniques eventually grew into Studio Manjri, my creative studio in Malta, where I now make handmade crochet creations, accessories and plenty of other little ideas that begin with a hook and some yarn.

Visit Studio Manjri →

Versatile Seaside Wrap – Crochet Project

Hey all!

Update — September 2026:
I originally shared this project in 2020, when the Seaside Wrap pattern was available free. The pattern is no longer available free, but I’ve kept this post as part of my crochet archive and to share my version of the wrap.

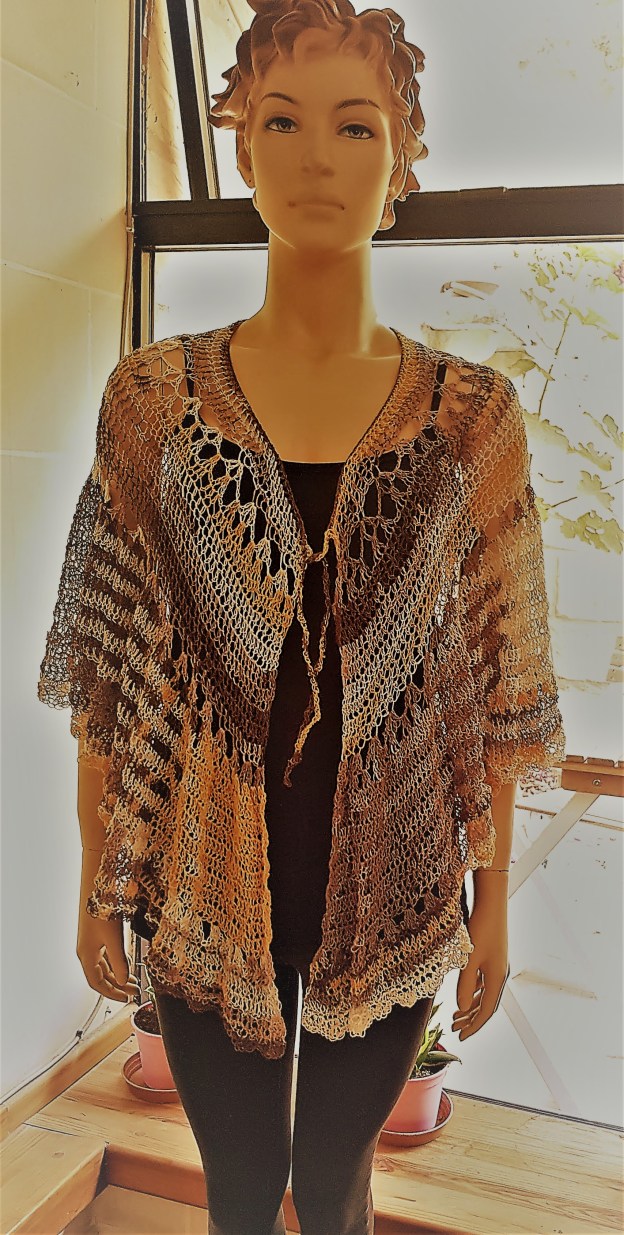
I came across this beautiful boho-inspired wrap and decided to make my own version. I used a different yarn and hook size, which explains the difference in size from the original — but I loved how it turned out!

As you can see, it can be worn 2-ways:

1 – over the shoulders as a wrap,

2 – as a skirt-wrap – perfect for the beach.

The original design is the Seaside Wrap. The pattern is no longer available free, but you can still find the pattern page on Ravelry here: Seaside Wrap pattern

Hope this gives you a little inspiration for your own summer crochet projects. 😊

Crochet Summer Beach Dress

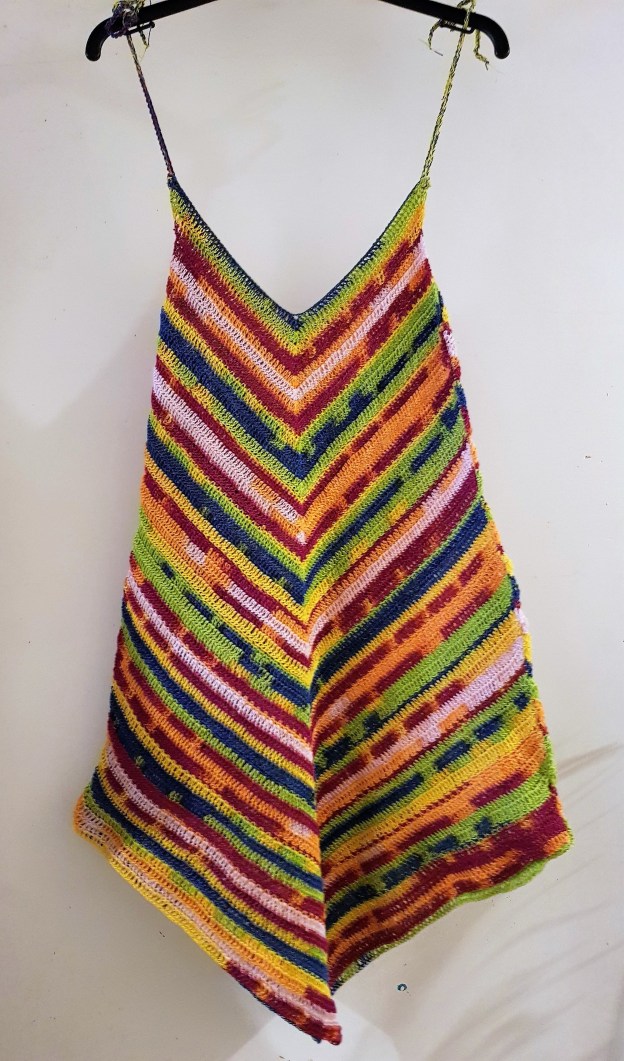
Summer is round the corner — so here is my first creation for summer: a stylish multi-coloured beach dress. It’s made using Katia Jaipur Cake cotton yarn.

The original design was based on a pattern published by Katia. The original pattern link is no longer available, but I later prepared my own written version, including the modifications I made:

Beach Dress – Written Pattern here →

I’ve kept this original post as it was my first version of the dress — and the project that eventually led to the written pattern.

I love variegated yarn like this, as you get a beautiful result even with a simple pattern.

Hope you get inspired by this! Enjoy!!