Author Archives: manjrisplace

Crochet Flower Sun Hat – Free Pattern

Hey all!

Finally it seems like summer has made her appearance! The temperature here in Malta is in the high 20s (Celsius), there is a nice cool breeze, skies are blue and days are getting longer. No more COVID restrictions – life is good and it’s definitely the best time of the year!

In warmer weather, I normally switch to using cotton yarns for my projects – that way, I can continue crocheting all year round 🙂

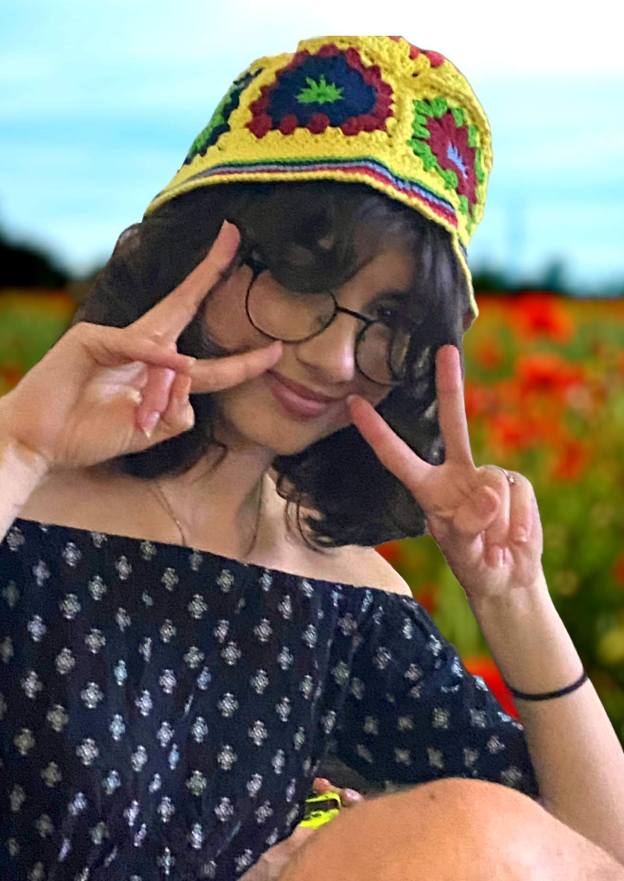
I have long wanted to make a granny square sun hat – and finally, I got round to it and have made a few. I used the Flower Sun Hat pattern by Natalie Beard for Hobbycraft, which is available free online:
Flower Sun Hat – Free Pattern →

For my hats, I used Katia Menfis yarn and a 3 mm hook.

So, without further ado, here are the hats I have made so far. A great big thanks goes out to Ylenia and Alex for being such good sports and modelling them along with me!

This is just the beginning – I’ve got lots more bucket hats which I have been working on – so keep an eye out for more posts in the coming days.

And, don’t forget to use sunscreen and stay hydrated!

Commission Lapghan

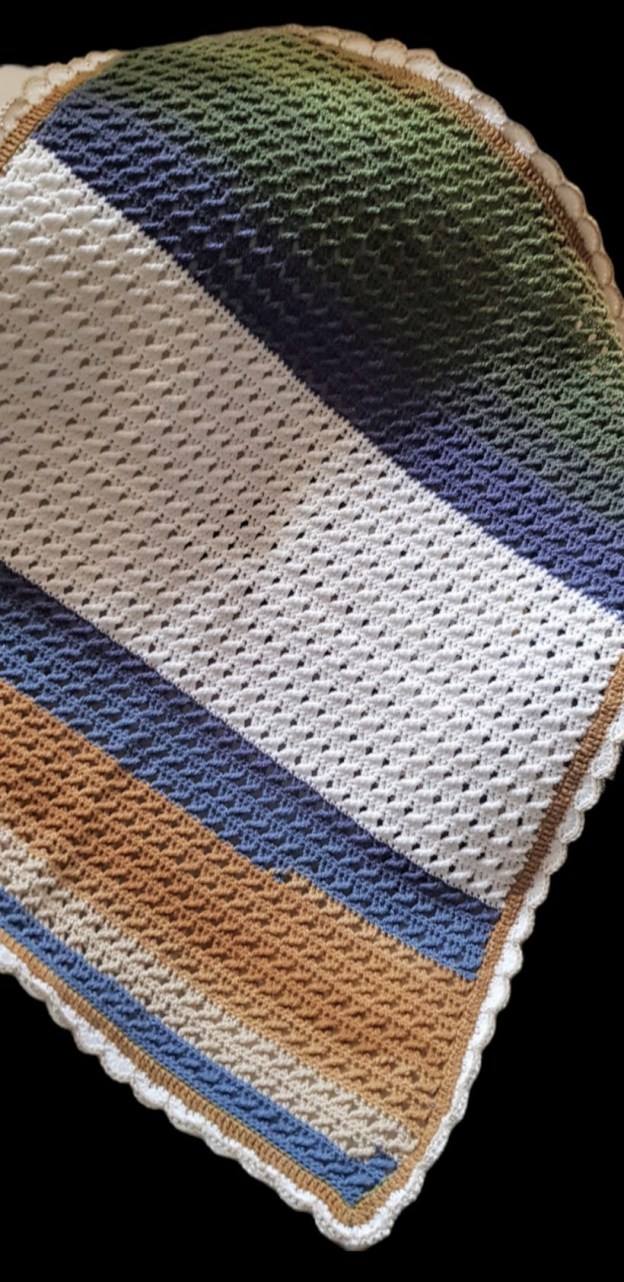
Recently, I completed a lapghan on commission for a lovely elderly lady. I did not follow any pattern, but made it up as I went along. I used a variegated yarn and 4.5 mm hook. Here is the end result.

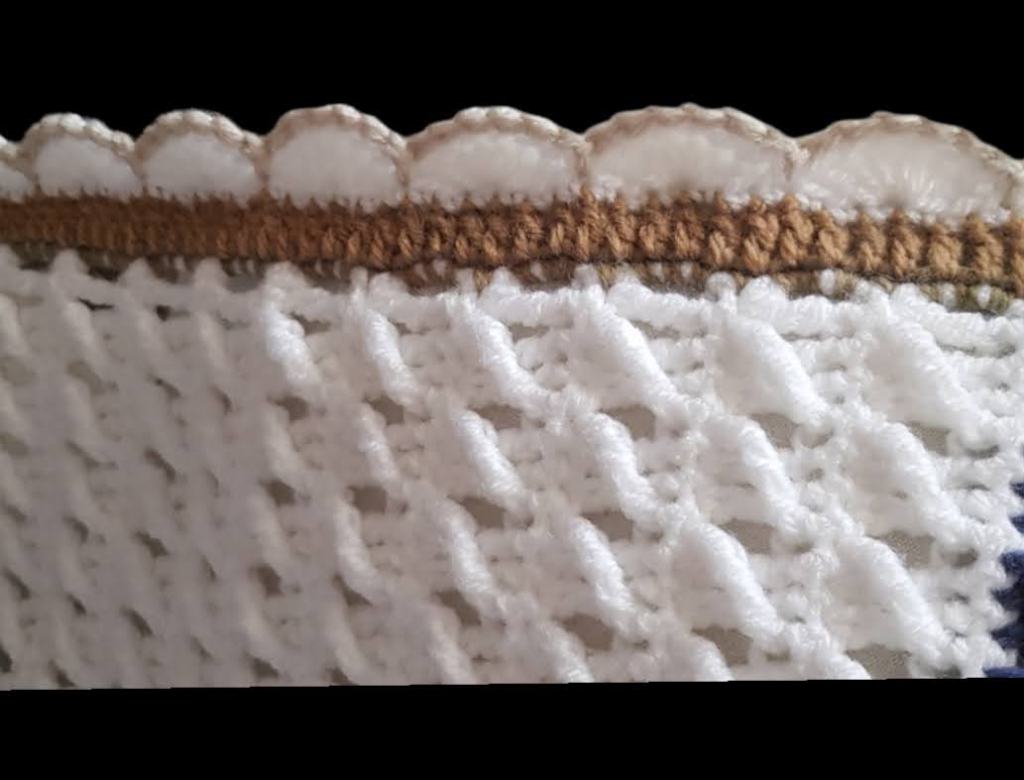
I am particularly pleased with how the edging came out. I used a surface crochet technique to create the beige edging. Here is a close-up:

Hope it inspires you!

An uber-soft baby blanket

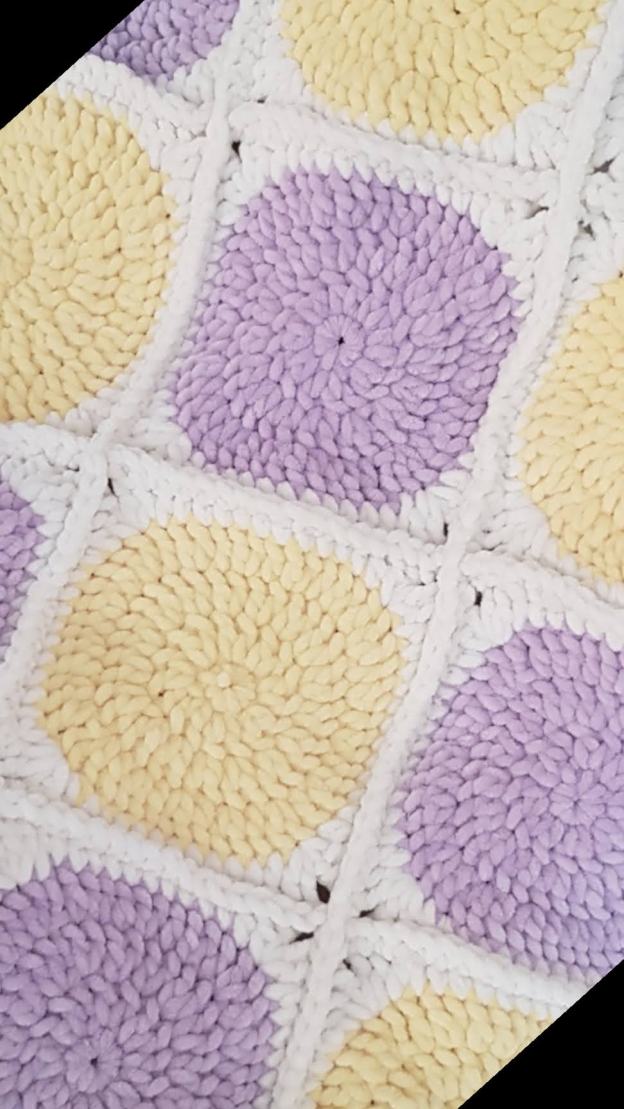
I came across this super-soft, thick yarn from the Katia Bambi range and fell in love with the colours as well as the texture. It’s so luxurious and velvety — and ideal for a baby blanket.

So, I decided to make a modern granny-square version. Not being a fan of the traditional pink or blue, I opted for a more neutral combination of lilac and yellow.

While the yarn is gorgeous, it isn’t very forgiving if you need to do any rework — so avoid making mistakes! 😊

Hope it inspires you!

Froggie Bonnet – a slightly different version

It’s been a while since I’ve published a post, but rest assured, I haven’t been crochet idle (ha ha – is that even a term?) – while I haven’t spent as much time as I would have liked on projects, here is a commission I recently completed.

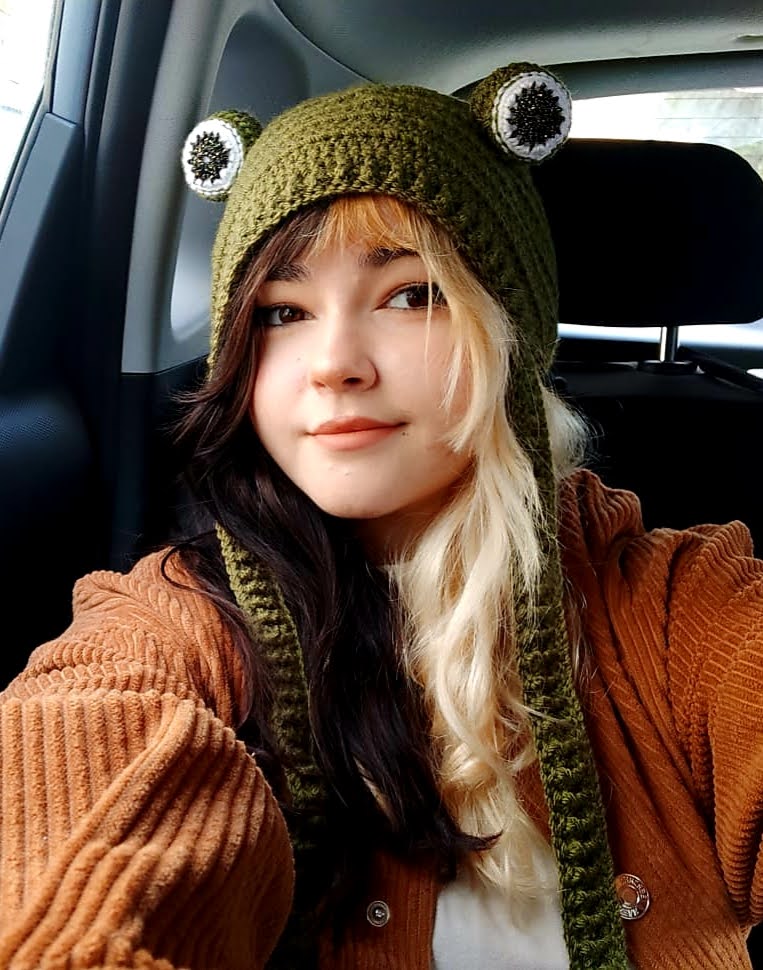
A while back, I published a post with a free pattern for a froggie bonnet. I was asked if I could make a slight variation of that with the main differences being the straps are ribbed and are an extension of the rib border. I also thought that the eyes would look awesome with a bit of a sparkle, so decided to use a yarn with a gold strand through it.

The biggest challenge, believe it or not, was actually positioning the eyes. Once that was sorted, the bonnet finally made its way to its new owner, Amelie – and here she is!

Easy Knitted scarf

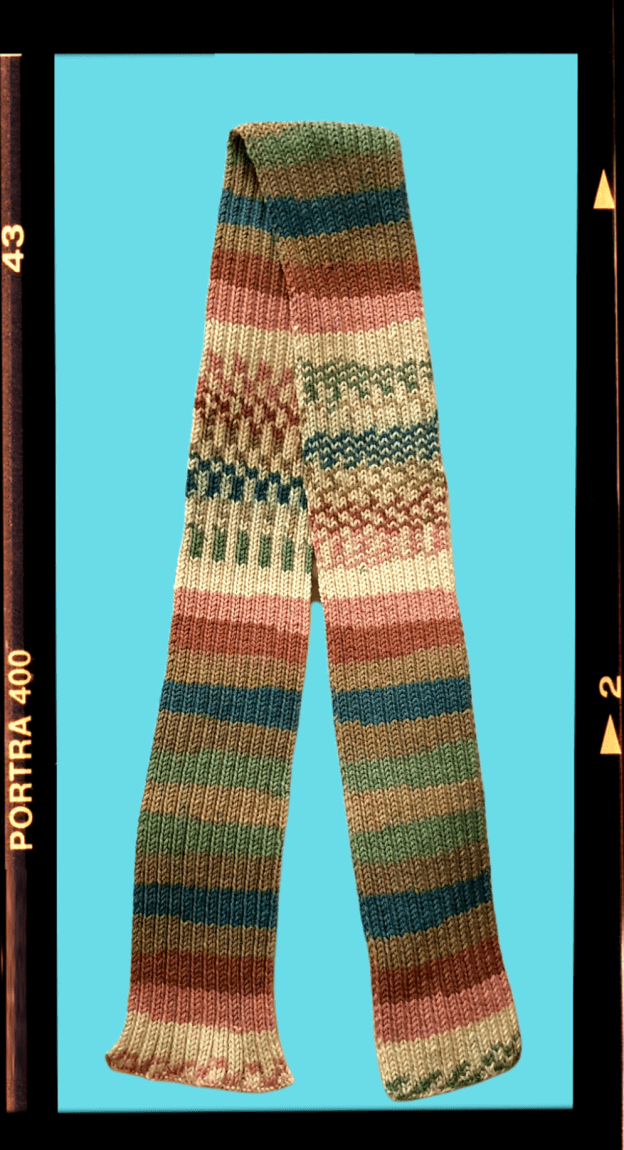
It’s been quite a few years since I last knitted anything, as normally I prefer crochet. But, I came across this lovely yarn, and needed a project to use it for (I know – that’s the wrong order of doing things – i.e. you should have a project in mind, and then you find the material – but I’m sure crafters know exactly what I mean and are likely guilty of the same!)

The yarn I used is Katia Easy Jacquard, which came with a free hat and scarf pattern:

Katia Easy Jacquard Hat & Scarf – Free Pattern →

My version is somewhat different, as I wanted a thicker scarf. To achieve that, I worked the whole scarf in rib stitch. My instructions are below.

Instructions:

Using 4.5 mm needles, cast on 46 stitches.
Row1: Repeat (K2, P2) to the end of the row.
Make as many rows as you like util the scarf is the desired length. (I used the entire ball, and my scarf is pretty long).

This is an ideal pattern to follow while watching your favourite shows – if you are like me, I can’t just sit and watch a show, I have to be doing something as well.

Hope this inspires you to pick up your hooks or needles and get crafting!

Getting started with Crochet Jewellery

I have completed many a crochet project – some big, some small, some straightforward, others quite complex, but I have not tried crochet jewellery before. So, first things first, I need more YARN – something a bit sparkly! Off to the yarn shop I trotted – and bought one of each colour available in the metallic Katia Gatsby range – it was too difficult to choose just one or two – and you can never have too much yarn anyway!

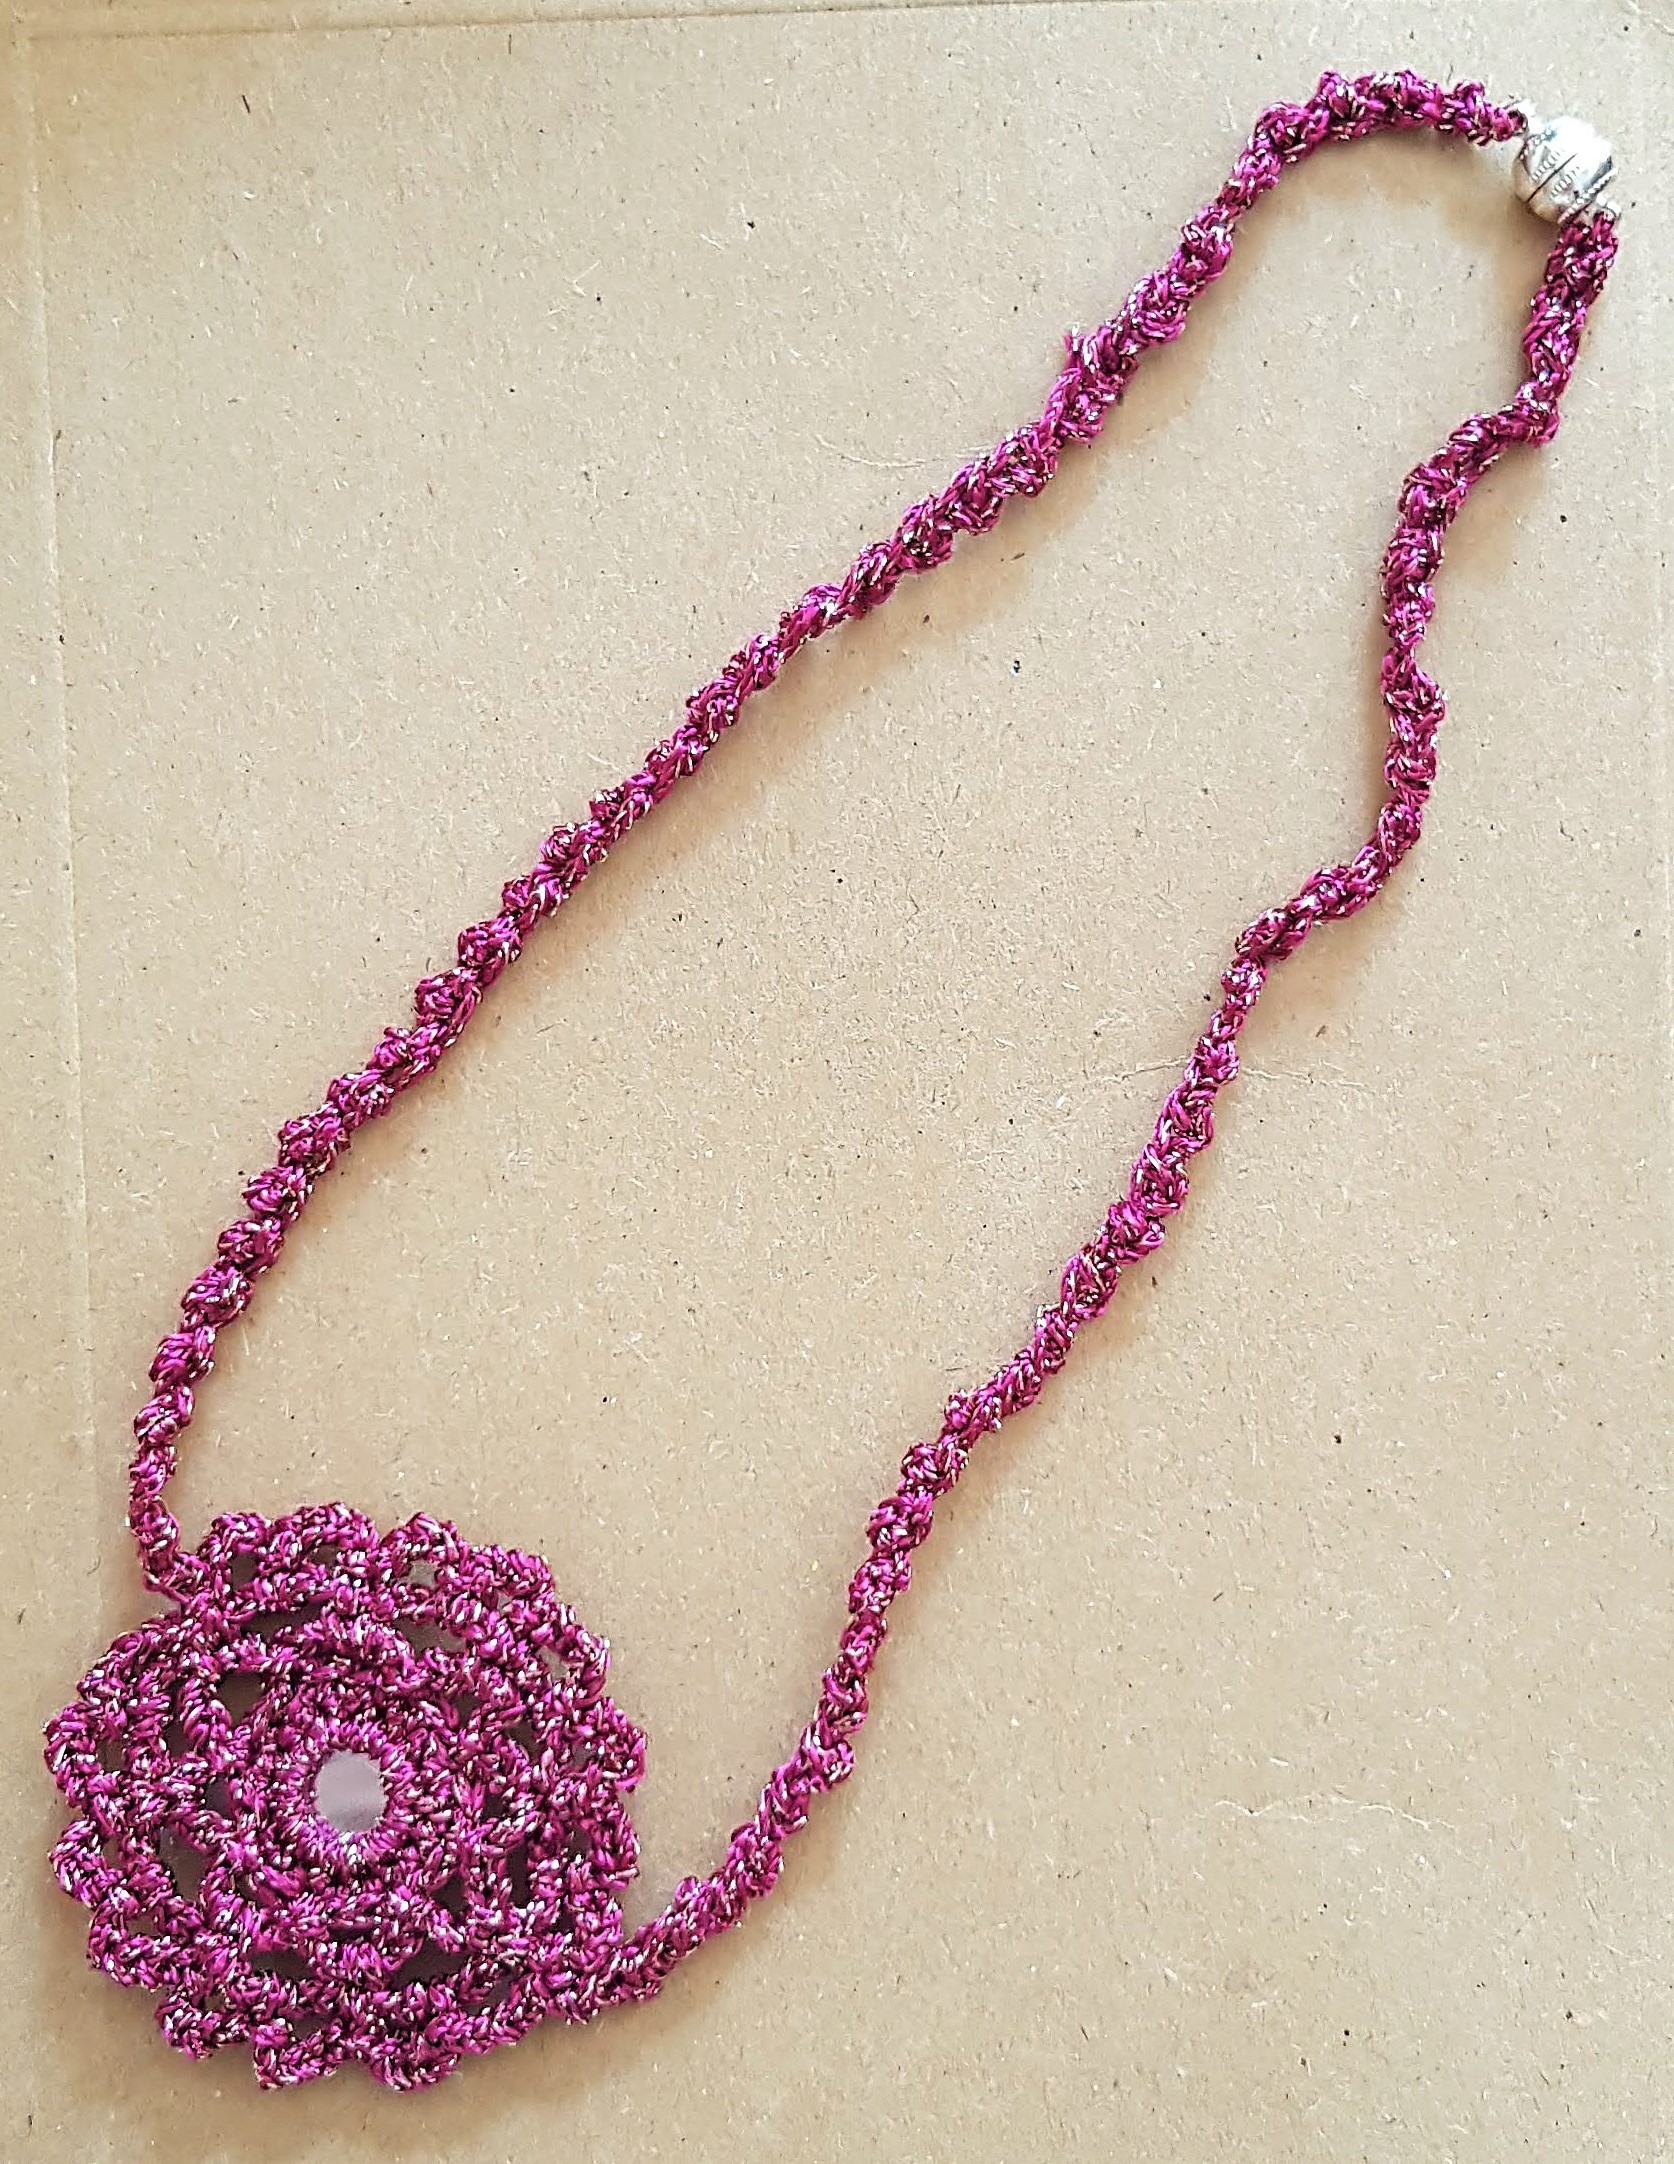
Here are a few necklaces I’ve made so far. I have used glass beads and mirror tiles in the pendant. The clasp is a magnetic clasp – so very easy to wear – the magnet is surprisingly strong, but I wouldn’t advise relying on that if the pendant is heavy. In my case, as the necklaces are pretty lightweight, these work perfectly:

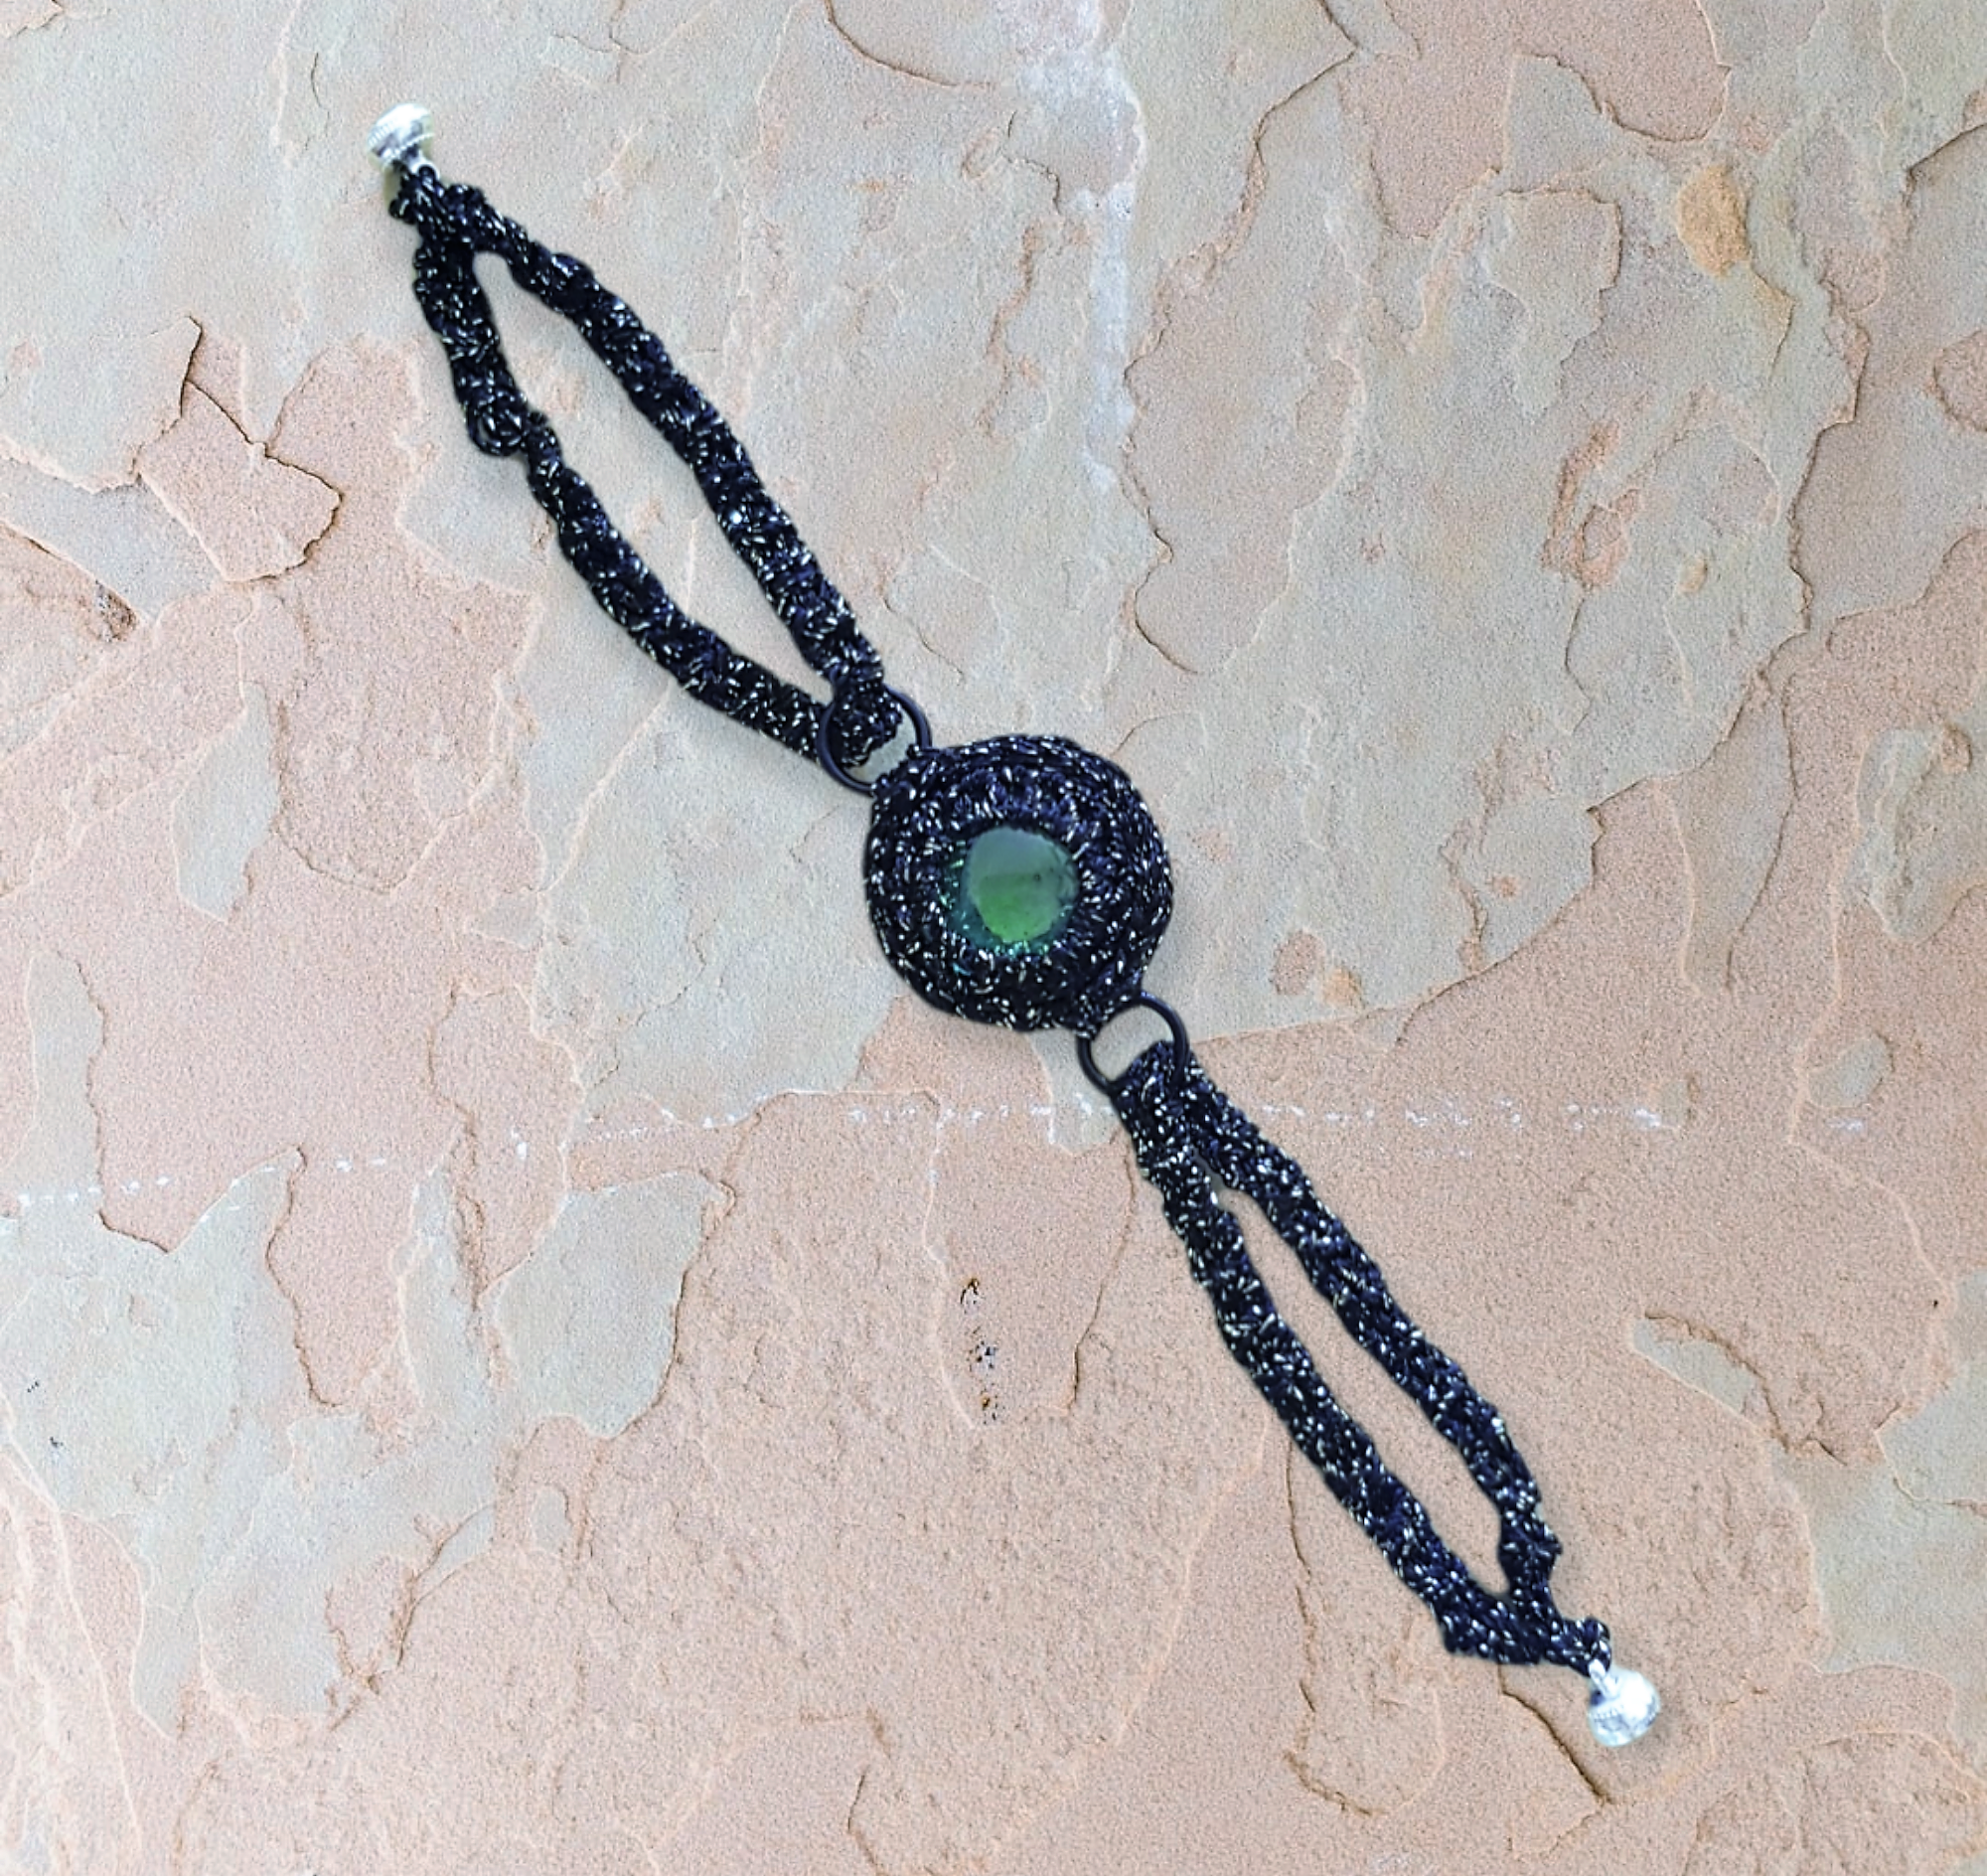
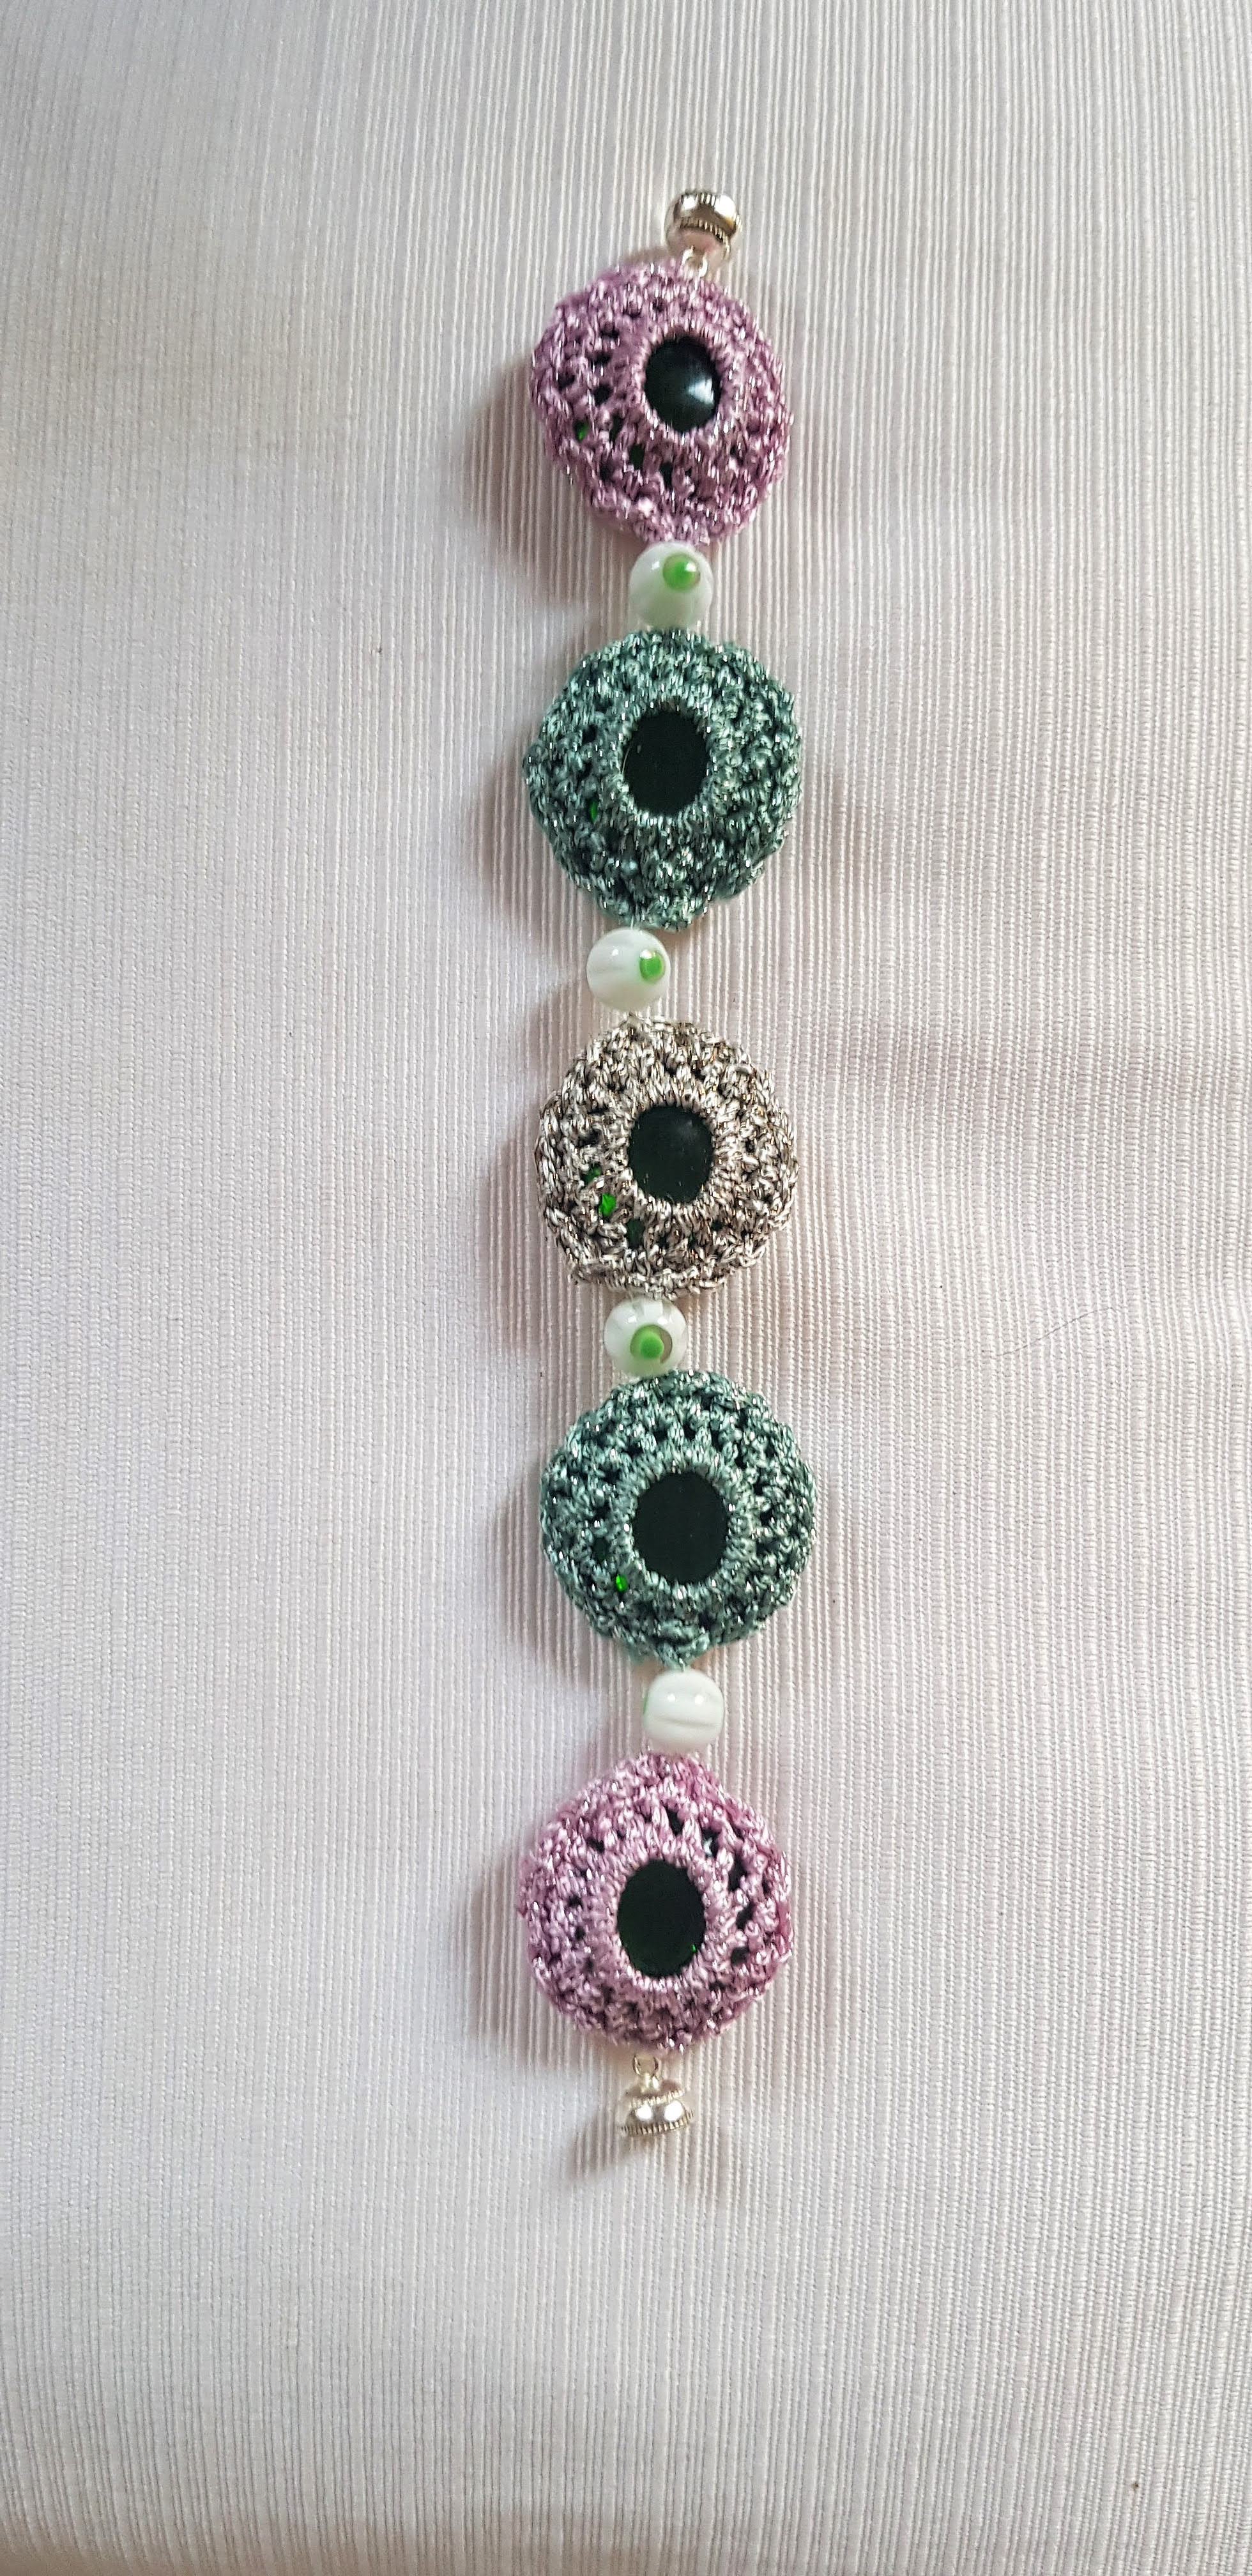
Below are a few bracelets I’ve made. Again I used the magnetic clasp. Note that I also used very small metal rings to attach the straps in the first two bracelets (I found these at the haberdashers and they are actually used for bras!). In the third bracelet, I added small glass beads as spacers. I would recommend having beading needles available, especially as the bead holes can be quite small.

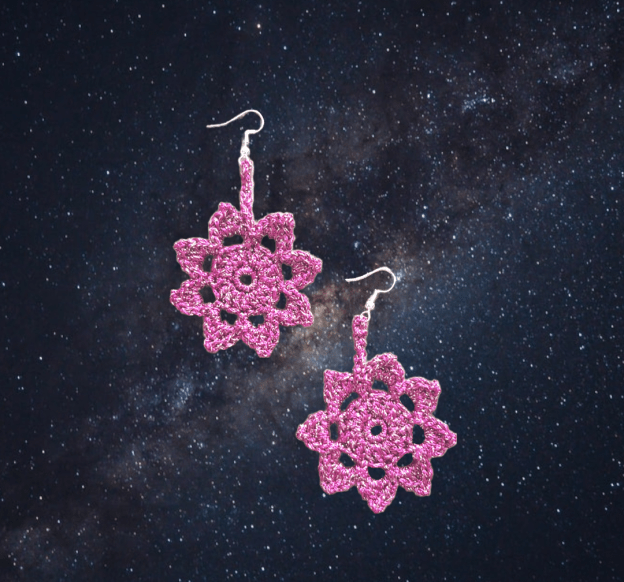
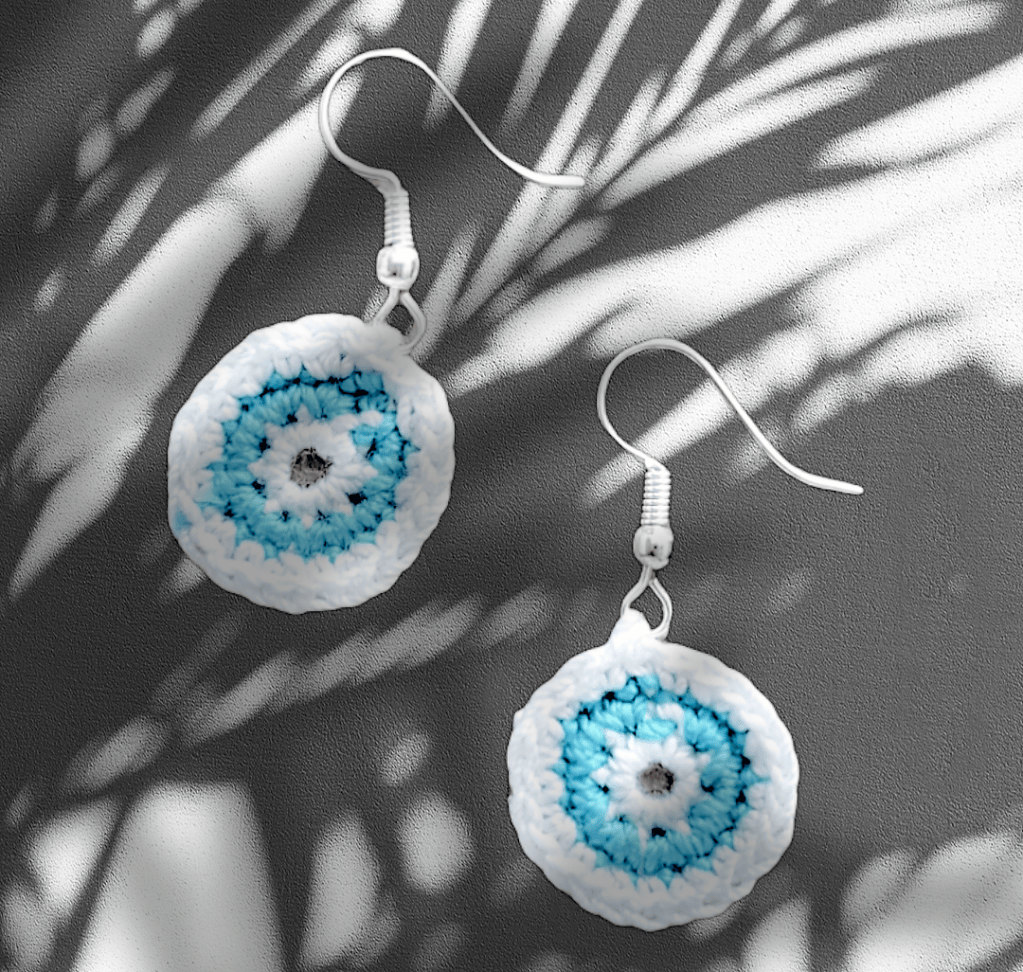
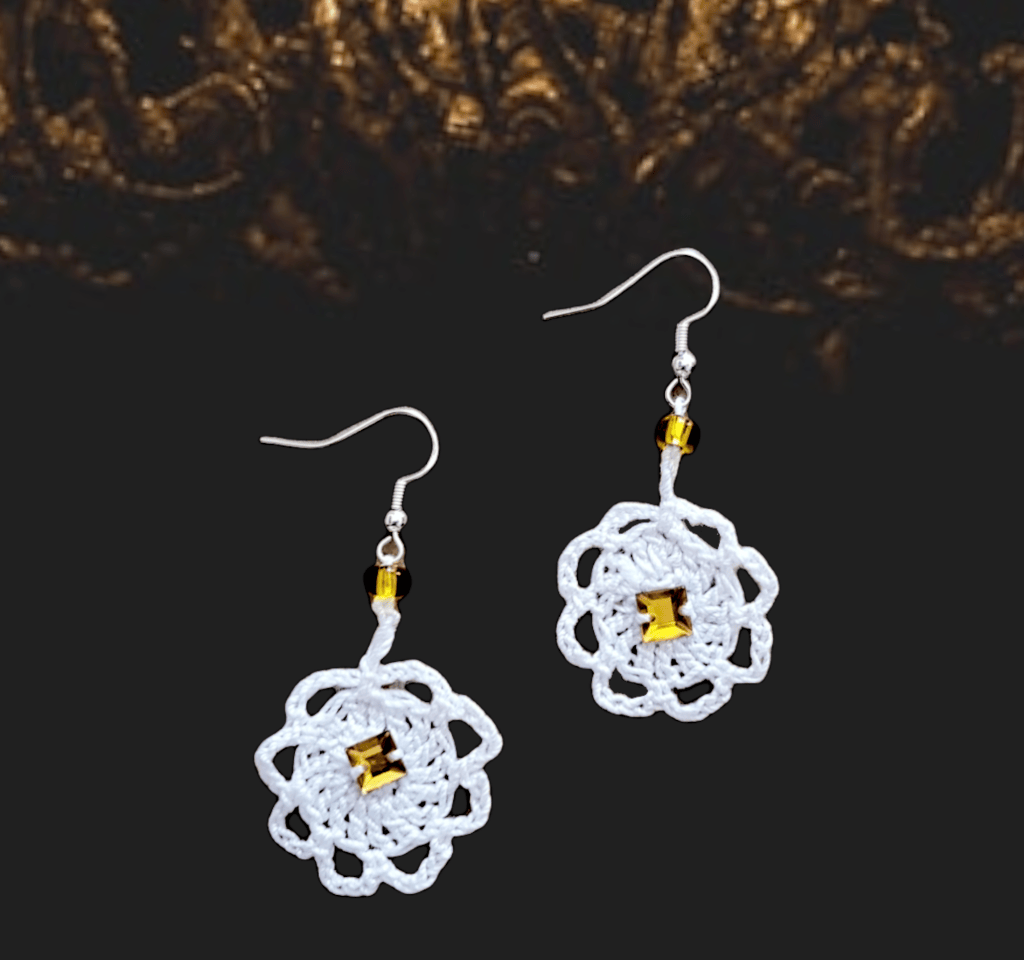
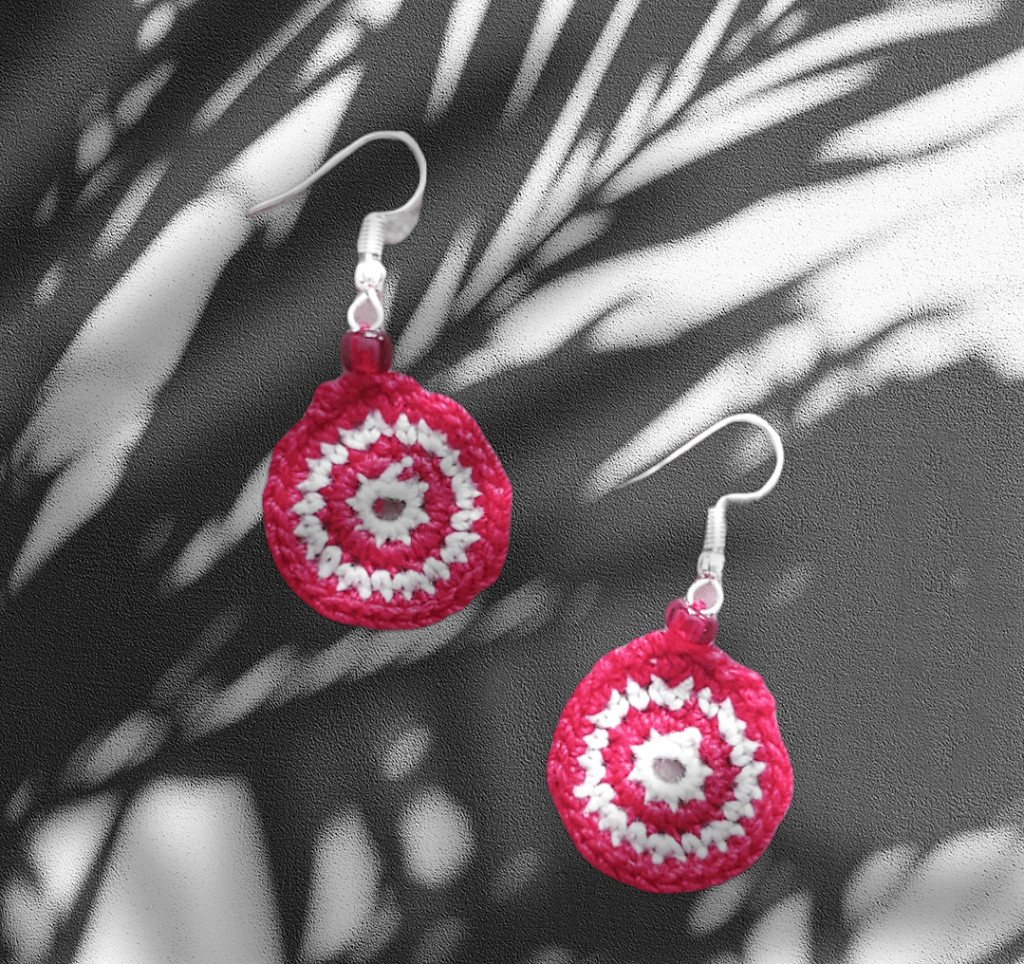
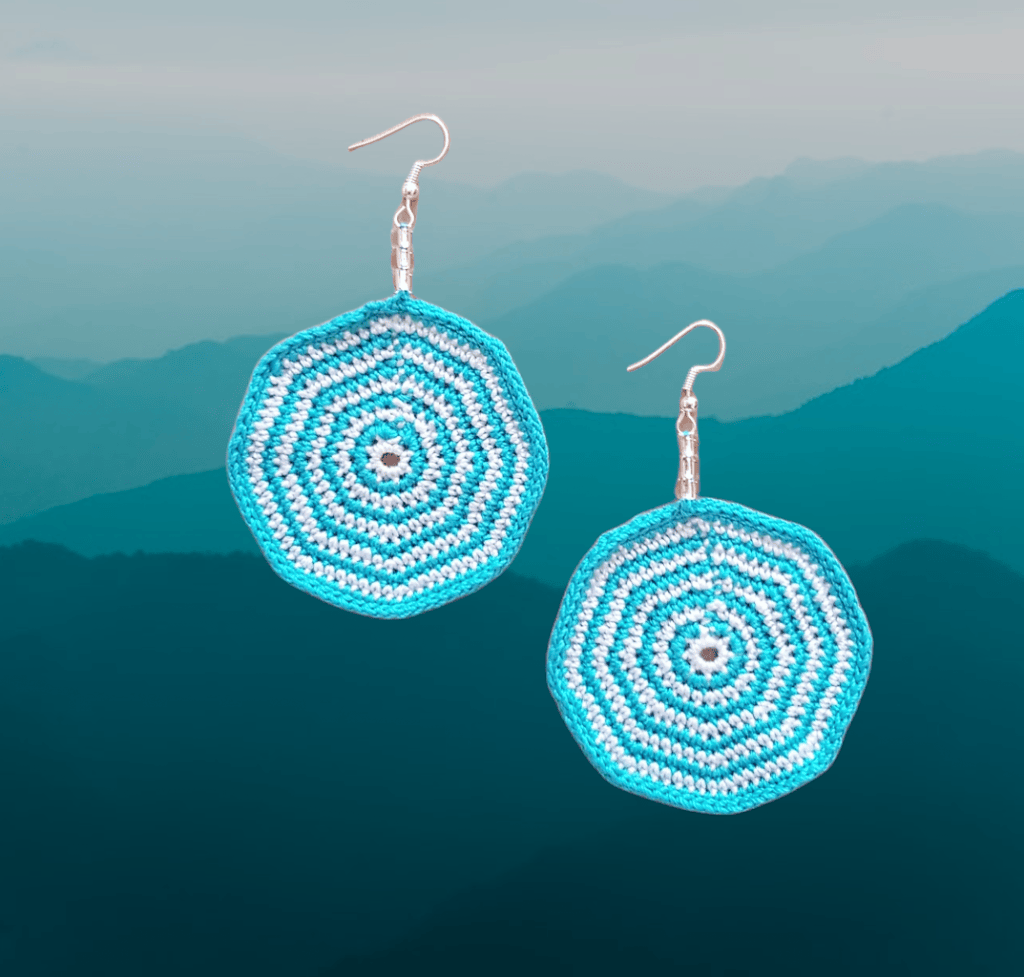
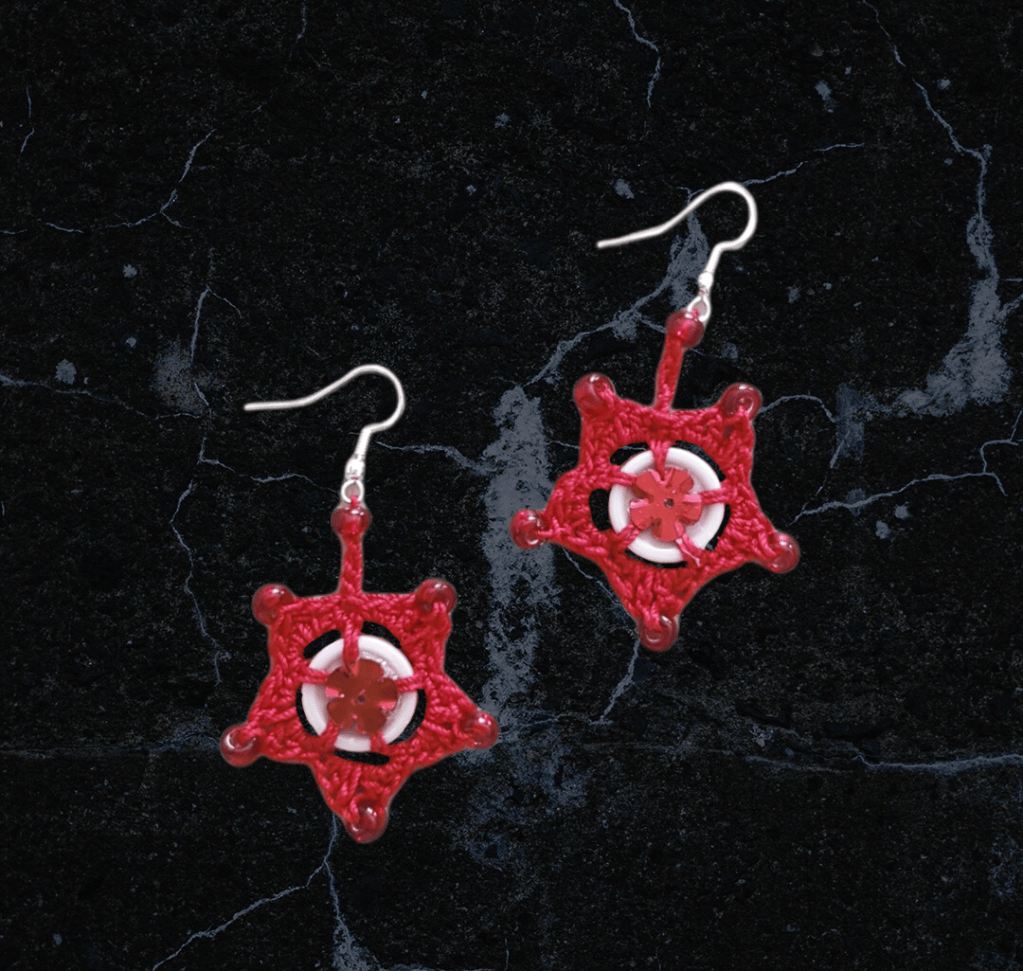
And finally, here are a few earrings I made. I used mostly cotton crochet yarn, and a 0.6 mm crochet hook for these. The very first pair I made can be seen in Picture 1 – I learnt a valuable lesson here – the earrings don’t “swing” and move as I would have liked them to. I added a few chains and created a long “neck” to the next pair (picture 3), but still didn’t get the desired movement. Next experiment was more successful and from that point onward, I added a bead between the hook and the earring – and this does the trick. All the earrings which have a bead straight after the hook have lovely movement. I have used sterling silver hooks for the earrings, and have used mainly beads to add the “jewel” element. In Picture 6, you can see I have also included a button and a flower-shaped sequin to decorate further. Note that I crochet the beads in – i.e. I did not add these on later, but I must confess to gluing the sequin.

I hope you have enjoyed this post and hope I have inspired you to make some of your own jewellery! I’d love to hear from you and see your creations!

Till later!

A little update – September 2026

Looking back at these early experiments is rather special, as crochet jewellery eventually became part of my work at Studio Manjri. I’ve continued experimenting with crochet earrings, necklaces and other accessories since then — although the designs have certainly evolved along the way! 😊

Pot holders – Farmyard Collection

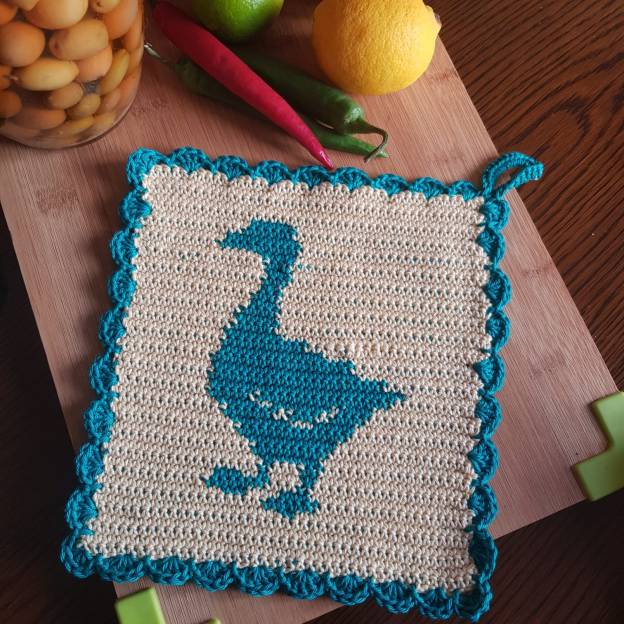
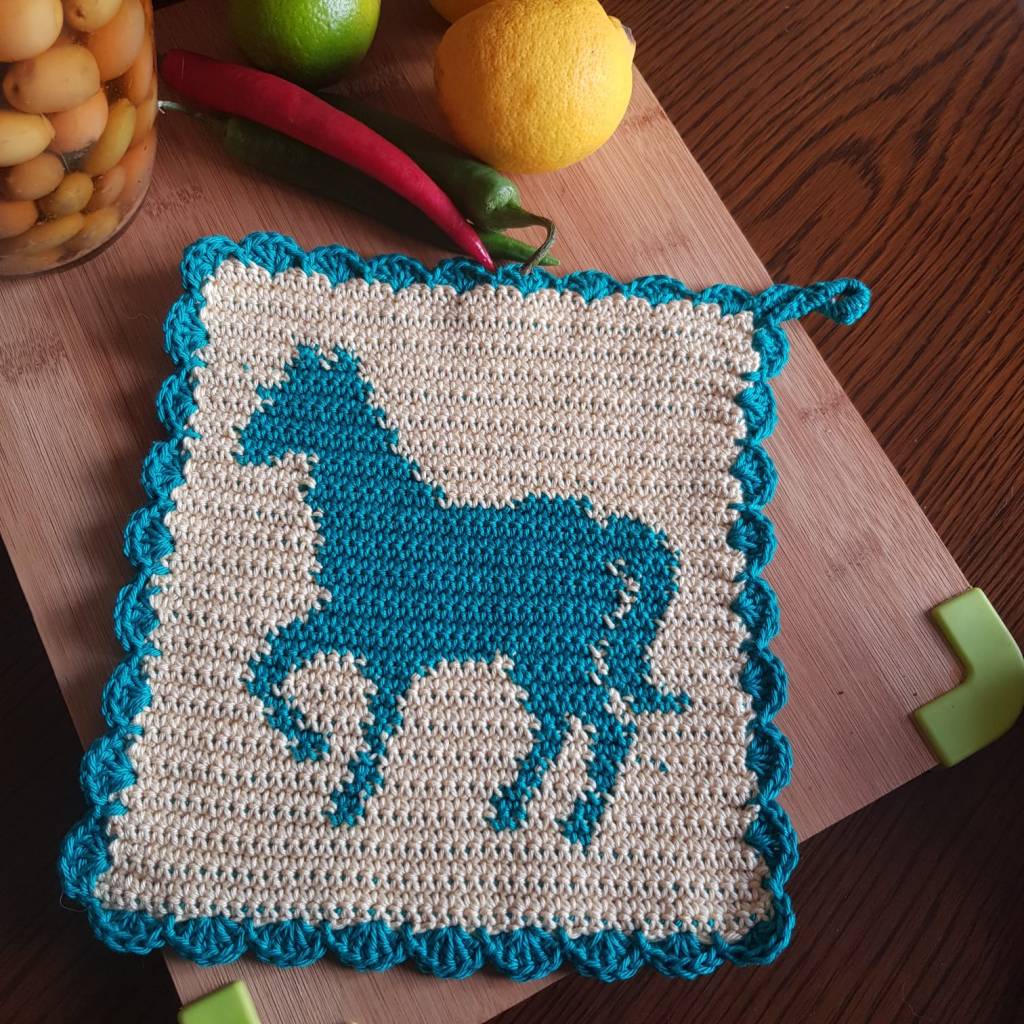
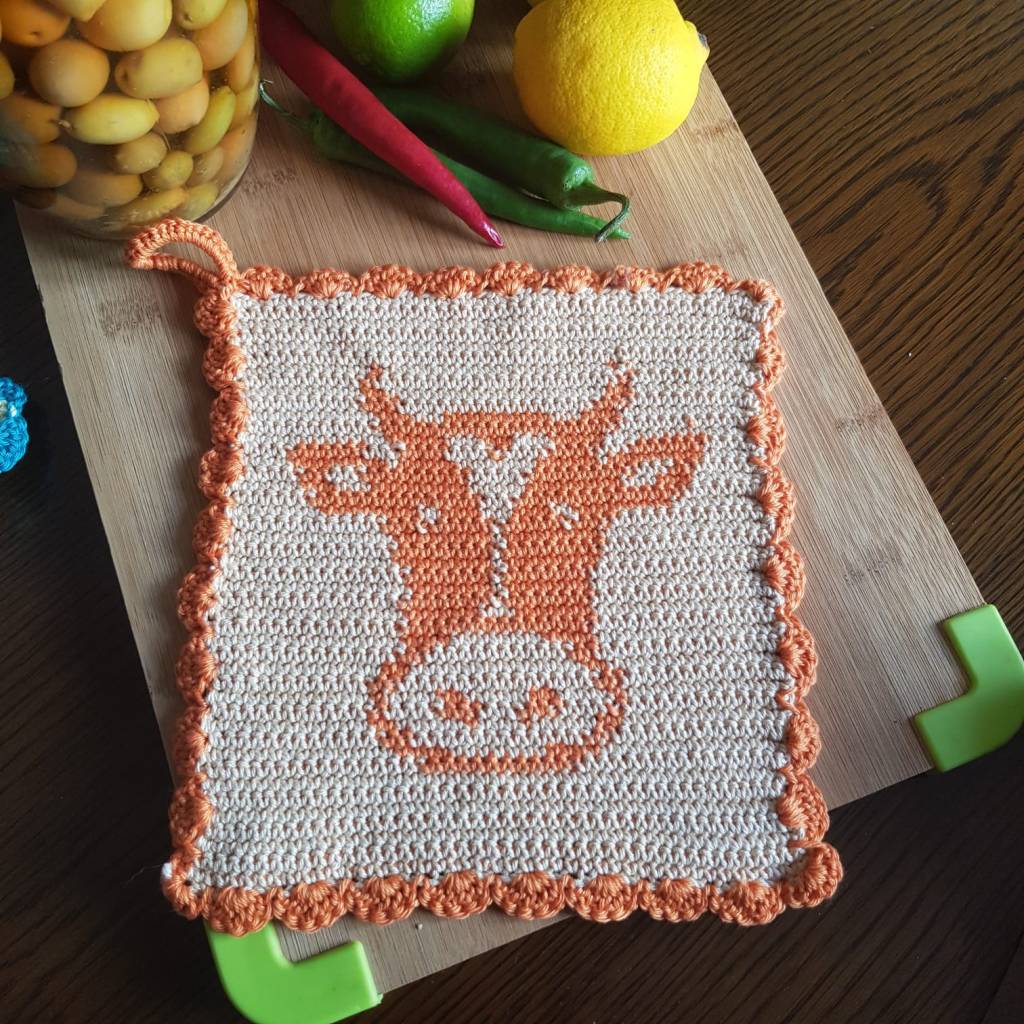
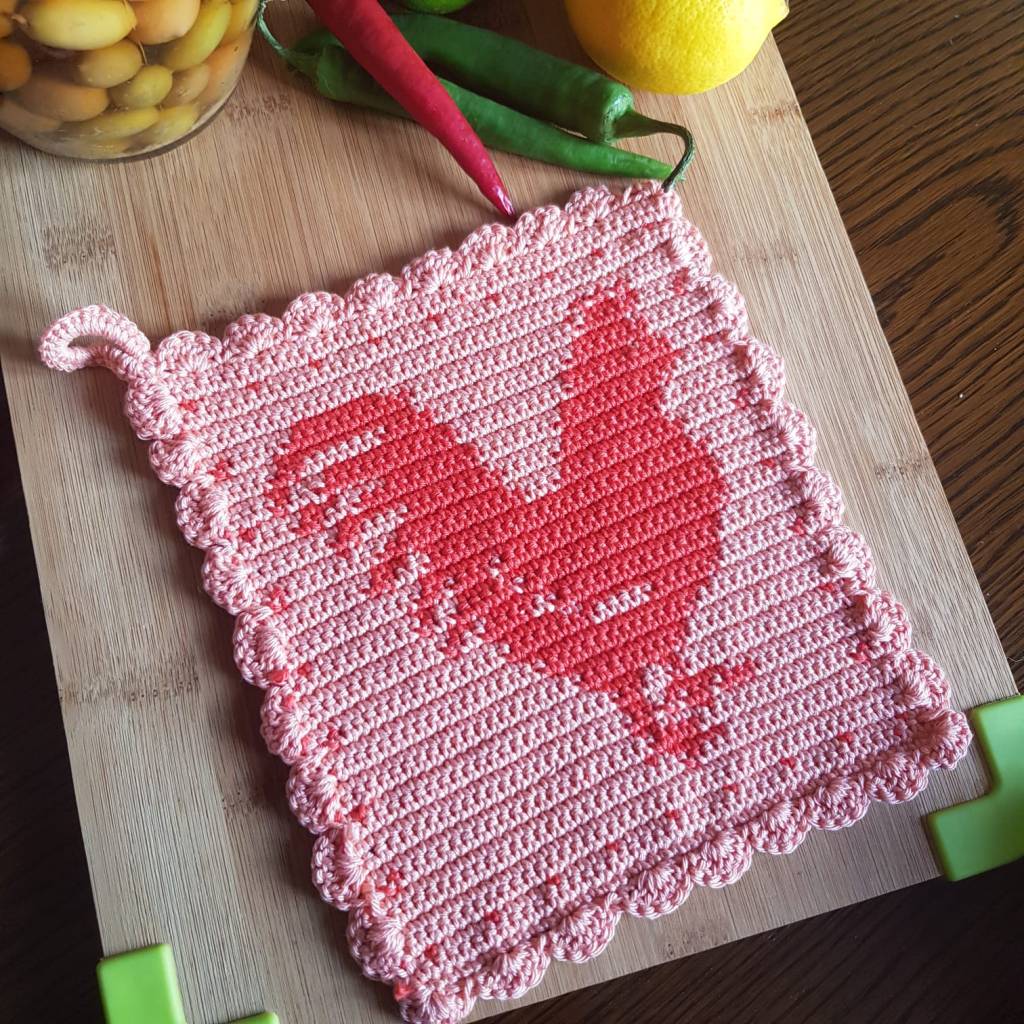
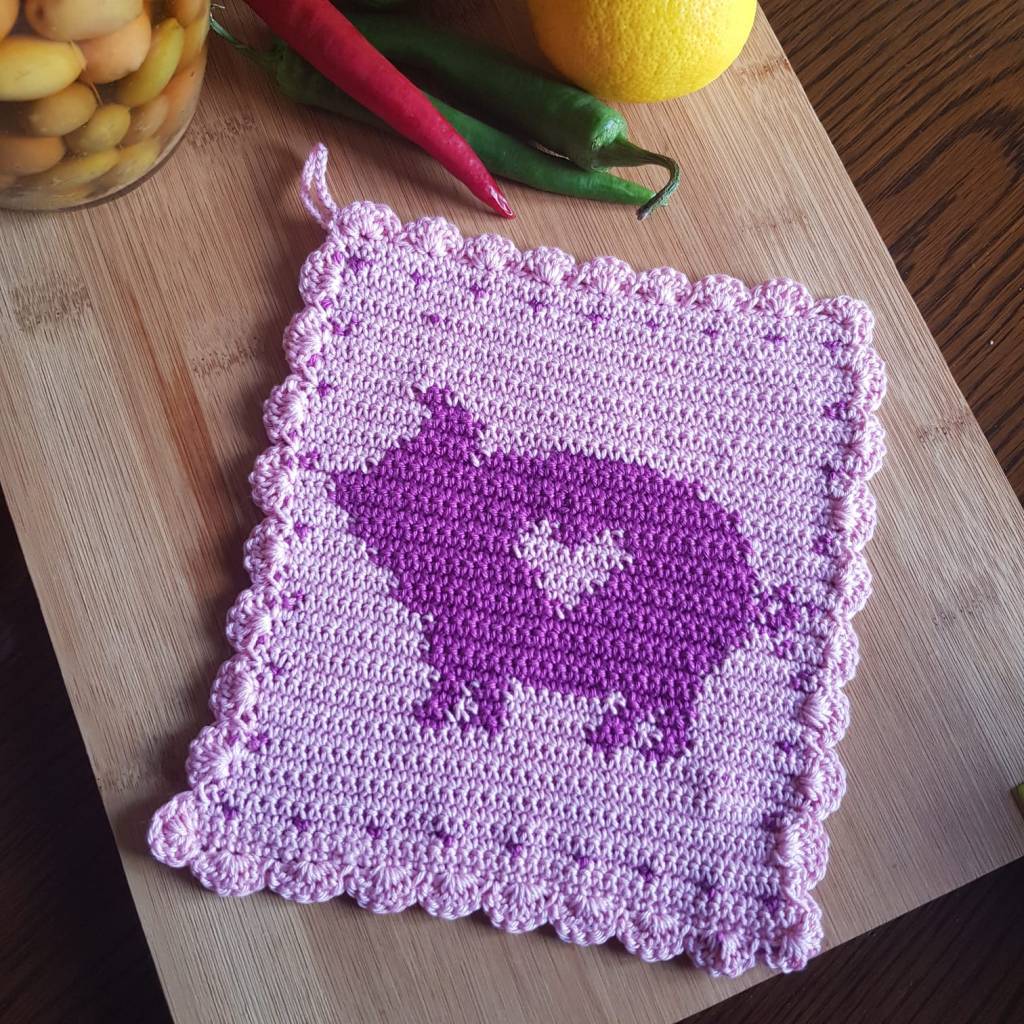
I came across a wonderful set of farmyard-inspired tapestry crochet potholders and have been busy as a bee crocheting away a whole range of them – they are simple but really cute.

Here are some of the ones which I have made – they make really cute sets! I always use mercerized cotton for these as it is heat resistant. These are made using either DK or 4-ply cotton and a 4 mm or 3.5 mm crochet hook – of course the 4-ply using the 3.5 mm hook results in a smaller pot holder, but it’s still a pretty decent size.

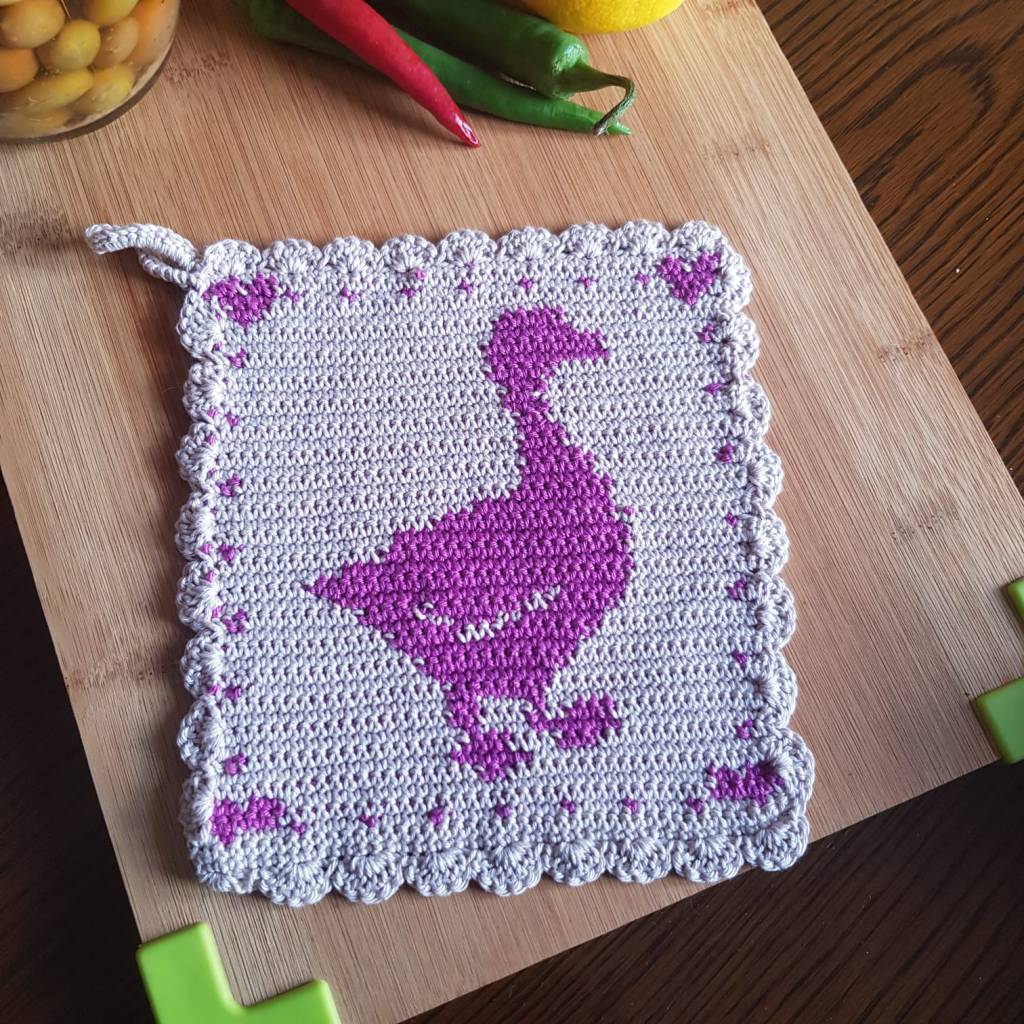
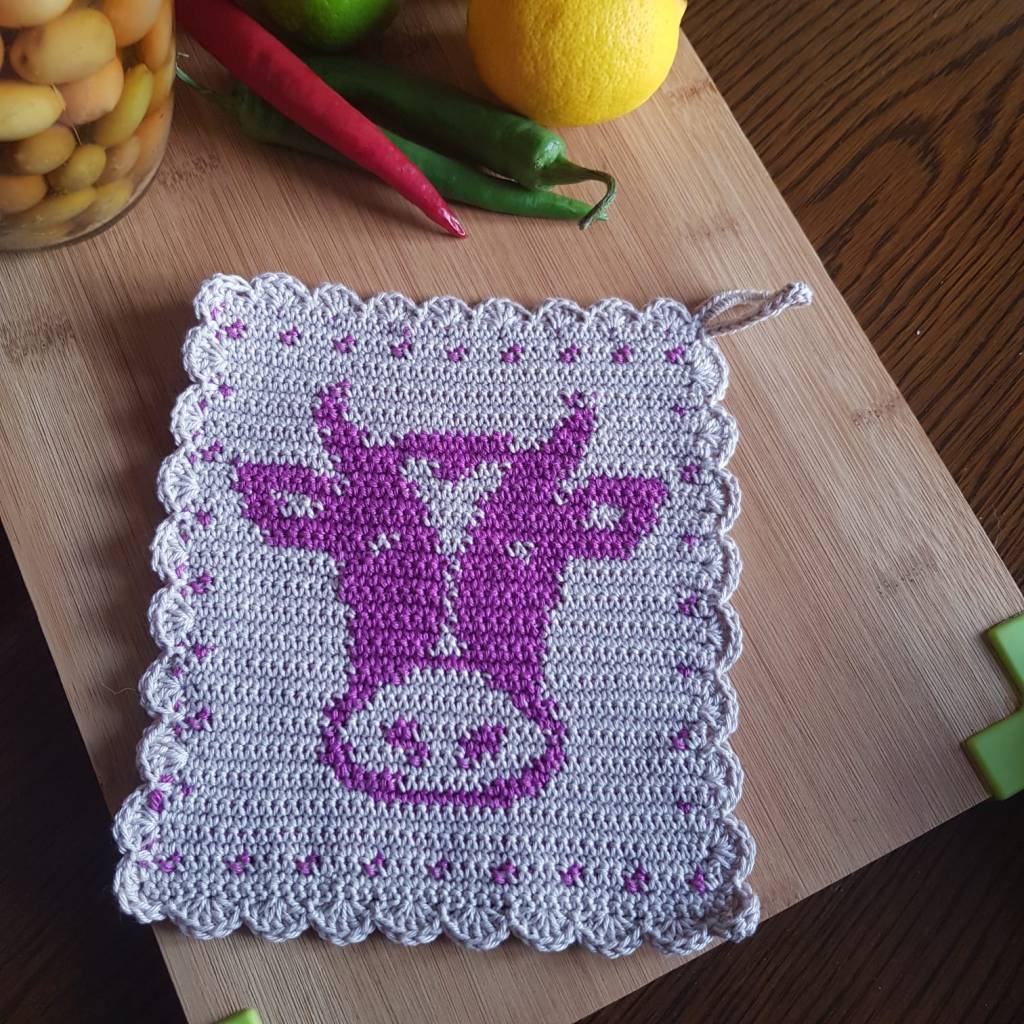
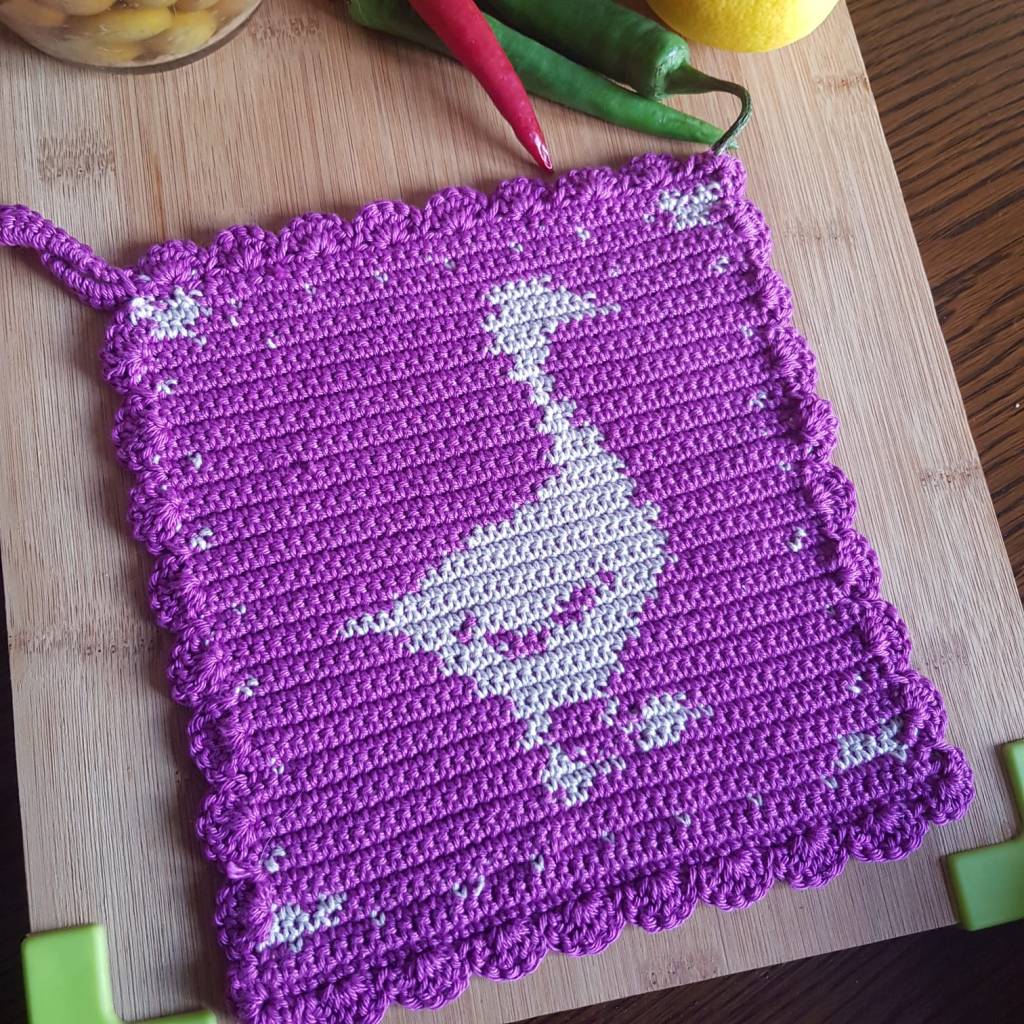
I have made some others (which are not a set – and you can see them below). I’m not very fond of the goose with the purple background – it does not seem to look as neat as the ones where the background is light.

My next post will also be more potholders – but this time, it’s my own design and they are Grand Prix-inspired 🙂

So stay tuned — and in the meantime, why not try making some of these yourself?

The original Farmhouse Potholders are designed by Raffaella of Raffamusa Designs, and the individual patterns are available free on her website:

Farmhouse Potholders – Free Patterns →

Crochet Granny square handbag – getting ready for spring!!

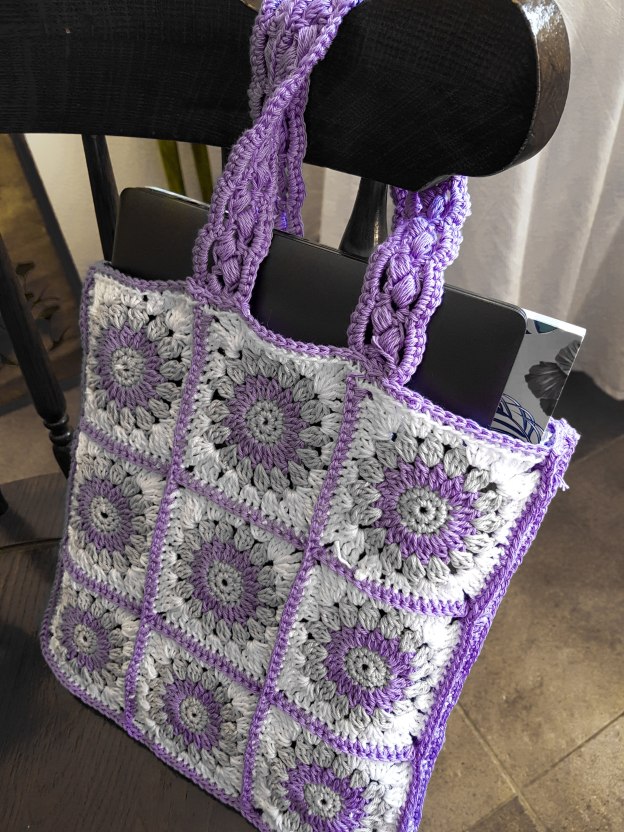
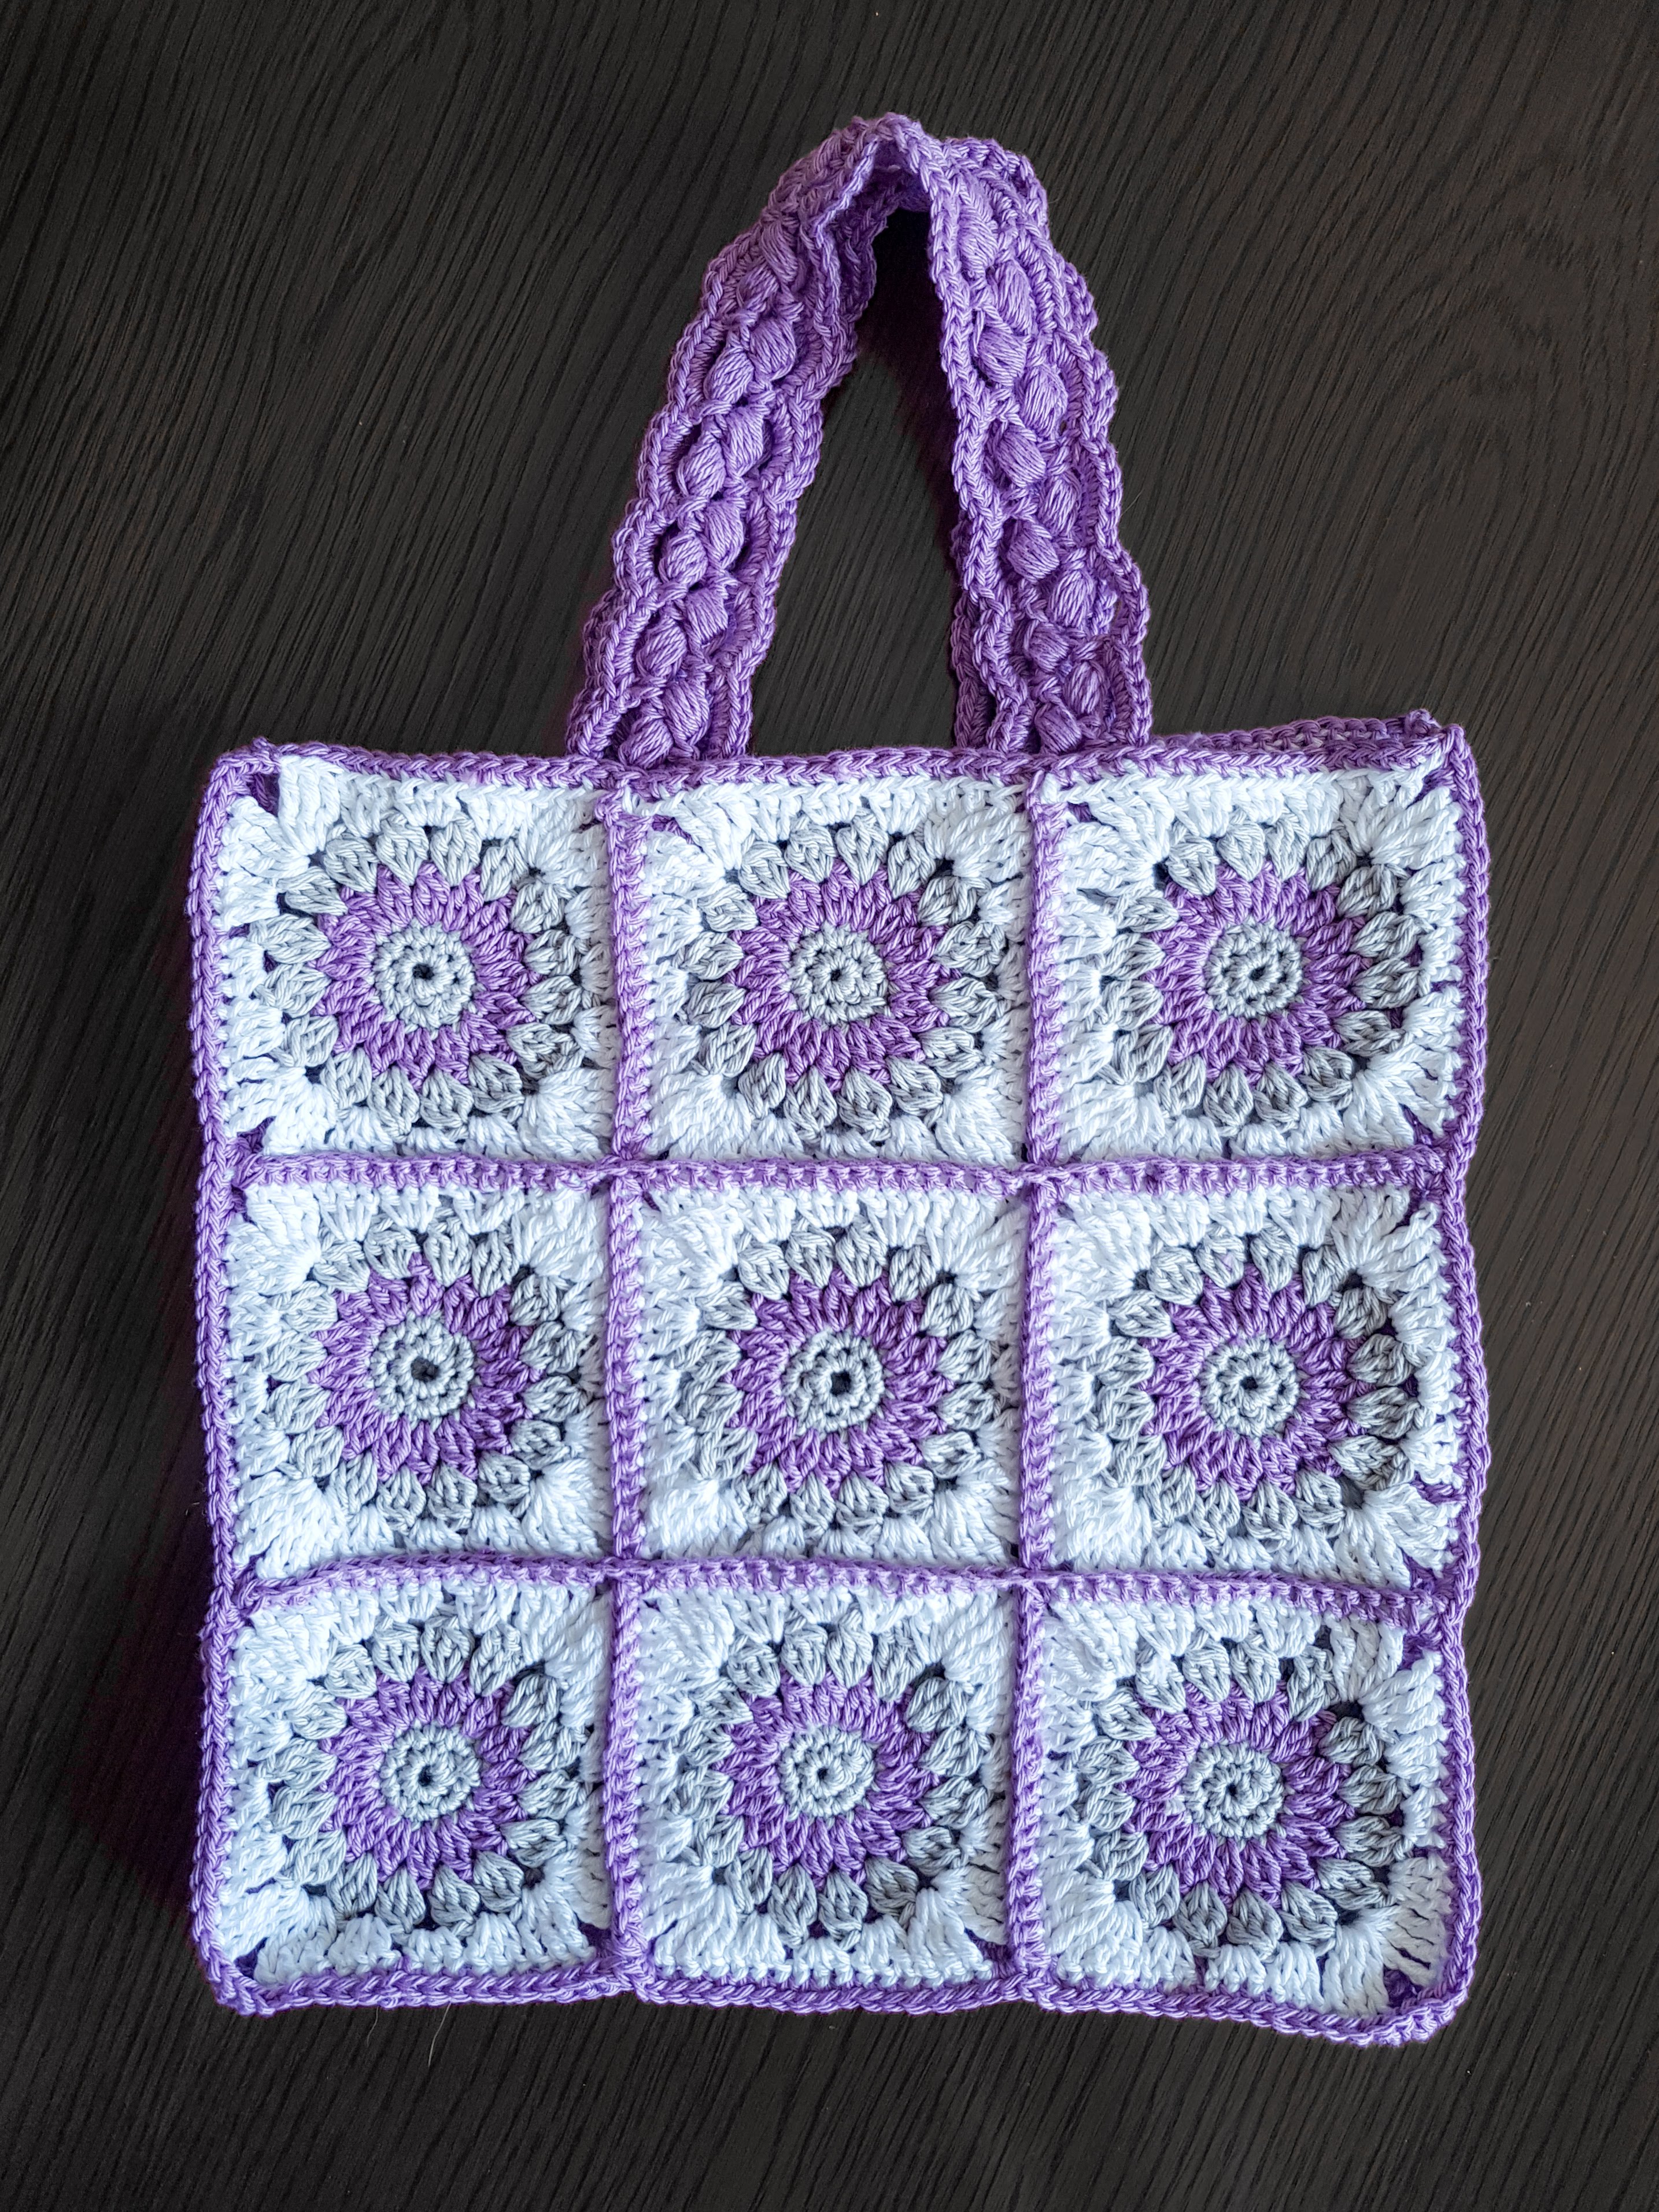
Hey fellow crafters!  With the weather getting a little warmer, I thought that a nice spring handbag would be a great project – so here is one I made up.  I used mercerised cotton DK in 3 colours and a 3.5 mm crochet hook.

20210228_124809

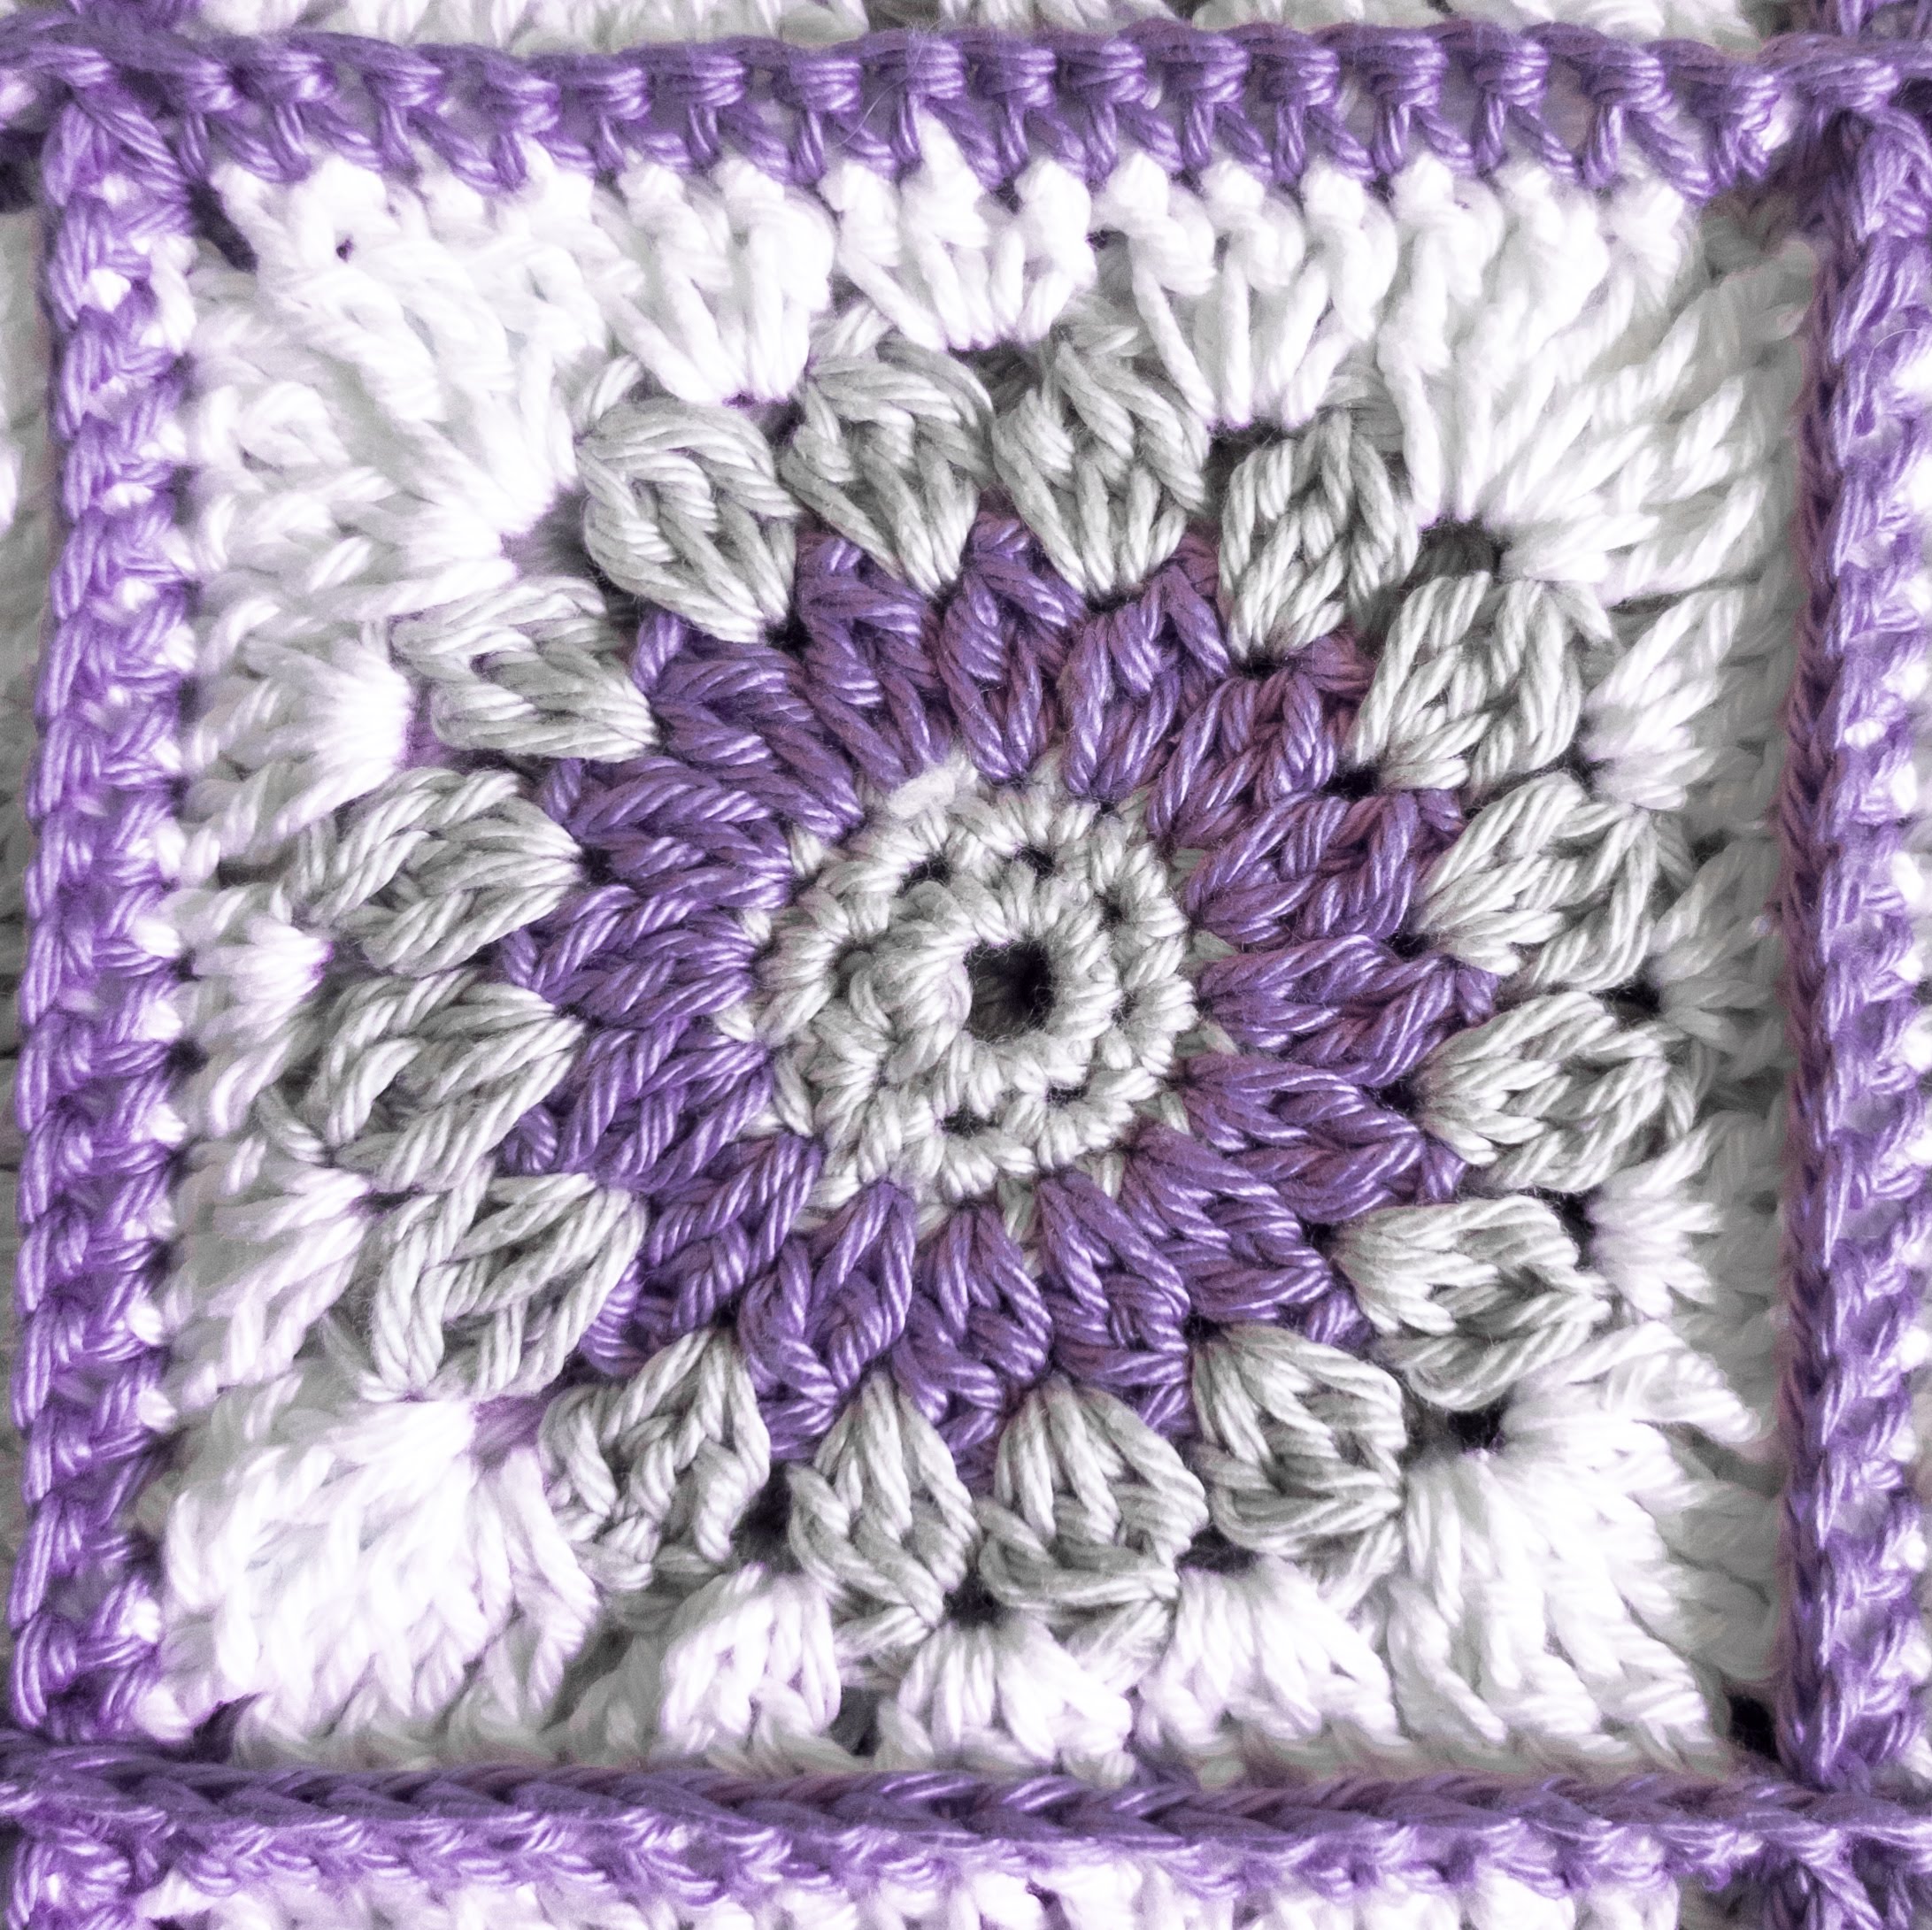
Each side of the bag is made by joining 9 granny squares, and then joined by crocheting single crochet through adjacent aligned squares. Below is the pattern of the granny square seen in this bag.

Original bag design and granny square pattern by Manjri’s Place

The granny square pattern

LRM_20210228_125530

Abbreviations (US terms):
CH – chain
SC – Single Crochet
HDC – Half double crochet
DC – Double Crochet
TC – Triple Crochet
DC2TOG – 2 DC together (for instructions of how to do this please refer to external link)
DC3TOG – 3 DC together also known as cluster stitch (for instructions on how to do this, please refer to this external link)

Round 1 : Using grey yarn, in a magic ring, CH, 8SC, join with slip stitch into the 1st SC to complete the ring. (8 stitches)
Round 2 : CH, 2SC in  each SC from Round 1, all the way round. Join with slip stitch into the 1st SC to complete the ring (16 stitches). Cast off.
Round 3 : Using the lilac coloured yarn, join in any SC from Round 2, and CH 2. In the same SC, DC. CH, Repeat (DC2tog in next SC, CH) all the way round. Join with a slip stitch into 2nd chain of the first 2 chains which you started the round with.  Cast off. (16 Stitches, 16 spaces)
Round 4 : Using the grey yarn, join in any chain space made in Round 3 and CH 2. In the same chain space, DC2tog, and CH 2. Repeat (DC3tog, CH 2) all the way round in each chain space from round 3. Join with a slip stitch into the 2nd chain of the first 2 chains which you started the round with. Cast off. (16 stitches, 16 spaces)
Round 5 : Using the white yarn, join in any chain space made in Round 4 and CH 3. In the same chain space, 2 DC. 3 HDC in next chain space. 3 DC in next chain space. (3 TC, CH2, 3TC) in next chain space – this forms the first corner of the granny square. Repeat {3DC in next Chain space, 3HDC in next chain space, 3DC in next chain space, (3TC, CH2, 3TC) in next chain space } 3 times. Join with a slip stitch into 2nd chain of the first 3 chains which you started the round with.  Cast off.

Joining

Once you have completed all 18 squares, join them by aligning 2 squares next to each other and using SC to join the corresponding stitches. I used the lilac yarn to do this, but you can choose the colour of your choice. Do this to create 2 panels of 9 squares joined together (one for the back and the other for the front of the bag).

To create some depth in the bag, with the external side facing you, join lilac yarn in any corner or panel and DC in each stitch all the way around 3 of the sides of  the panel and cast off – do this for both front and back panels of the bag. Then, place the front and back panels on top of each other, so that the side where there is no DC rows aligned and with the inside of the panels facing you – i.e. this is inside out. Using lilac yarn, join the panels on the 3 sides which you did a row of DC by doing SC through DCs on both panels – i.e.  the SC would go through the DC on front and back panel. This way, the join which is created will be on the inside of the bag. Do this all the way round the 3 sides.  Do not cast off yet! Turn the bag the right way round. Do SC in each stitch on the edge which is the opening of the bag – this will define the opening of the bag nicely. 

Handles

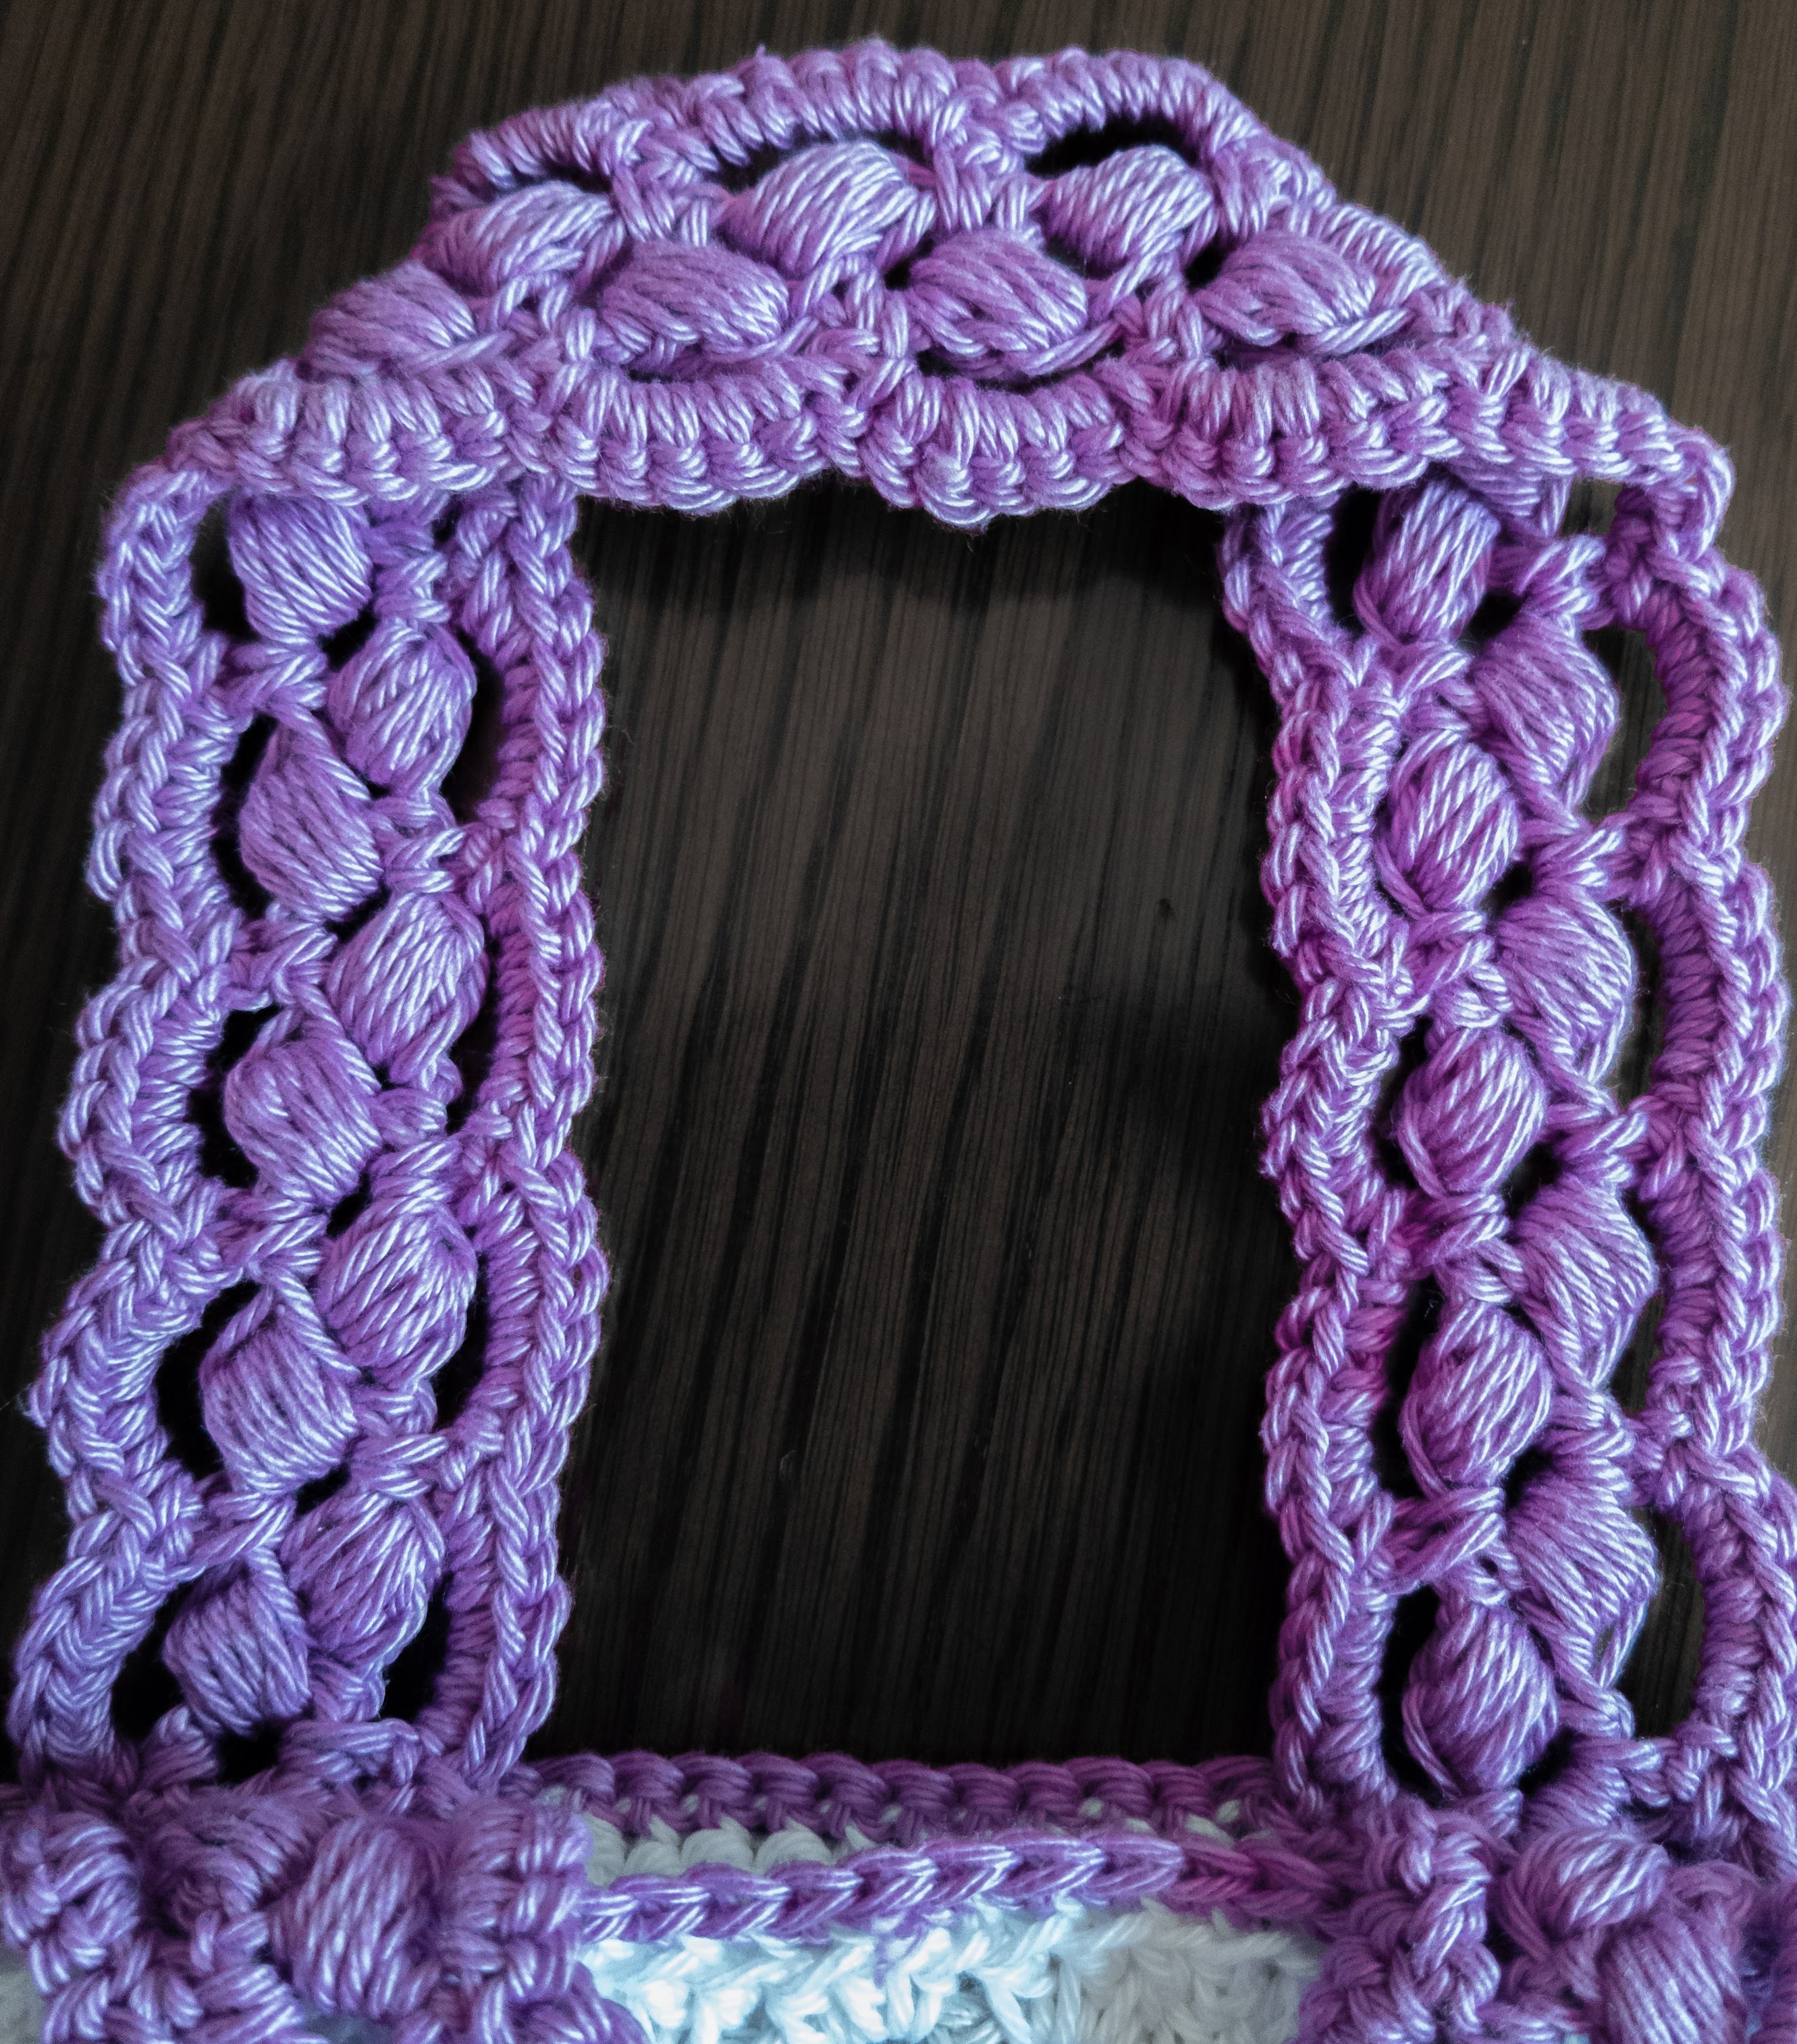
This is always somewhat of a challenge – what handles to make? I decided to try something different and came across a lace-like design – while the pattern is for a much finer yarn, it has worked very well with DK too and I think they make ideal fancy handles! Here is the tutorial of how to make them – though the video is not in English, it is very easy to follow. 

LRM_20210228_125612
  I am now off to make some more in other colours! Hope this has inspired you to make your own. Please share and Happy crocheting!

“Bumble bee” mask

Hello all!

Who would have thought a year ago that masks would become staple wardrobe items?! There are so many different cloth masks available – plain ones, printed ones, even some bejewelled and lacy ones. Still, sometimes, it’s hard to find the perfect mask to go with your outfit…..and if you don’t want to make one from scratch, why not upgrade yours?

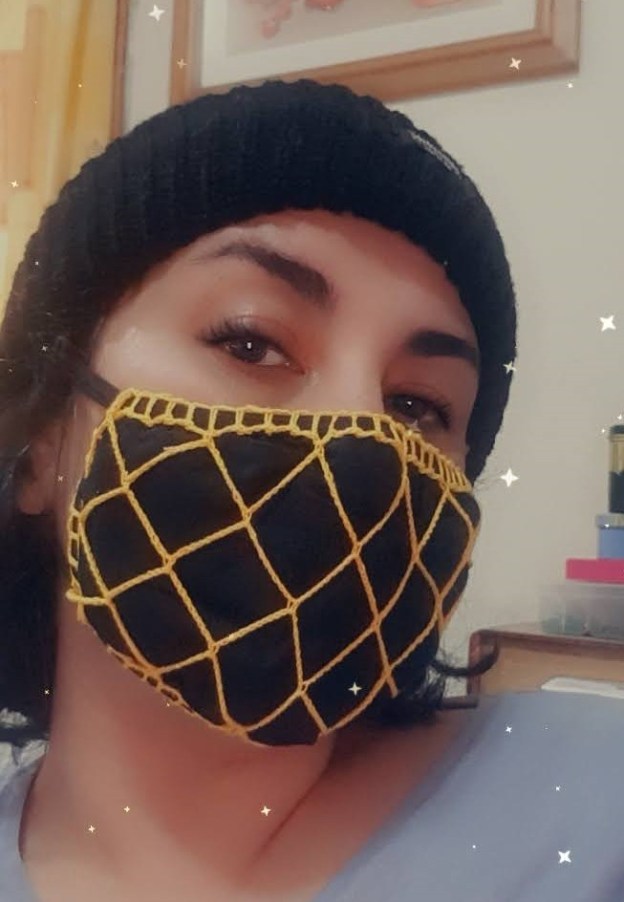
Here’s a one-of-a-kind “bumble bee” mask. I crocheted the yellow design directly onto a shop-bought black fabric mask using crochet thread and a 0.6 mm hook, to go with a black and mustard outfit.

Hope I’ve inspired you! i Look forward to seeing some of your creations.

Froggie Bonnet Bonanza – Free Pattern!!

Hey all!

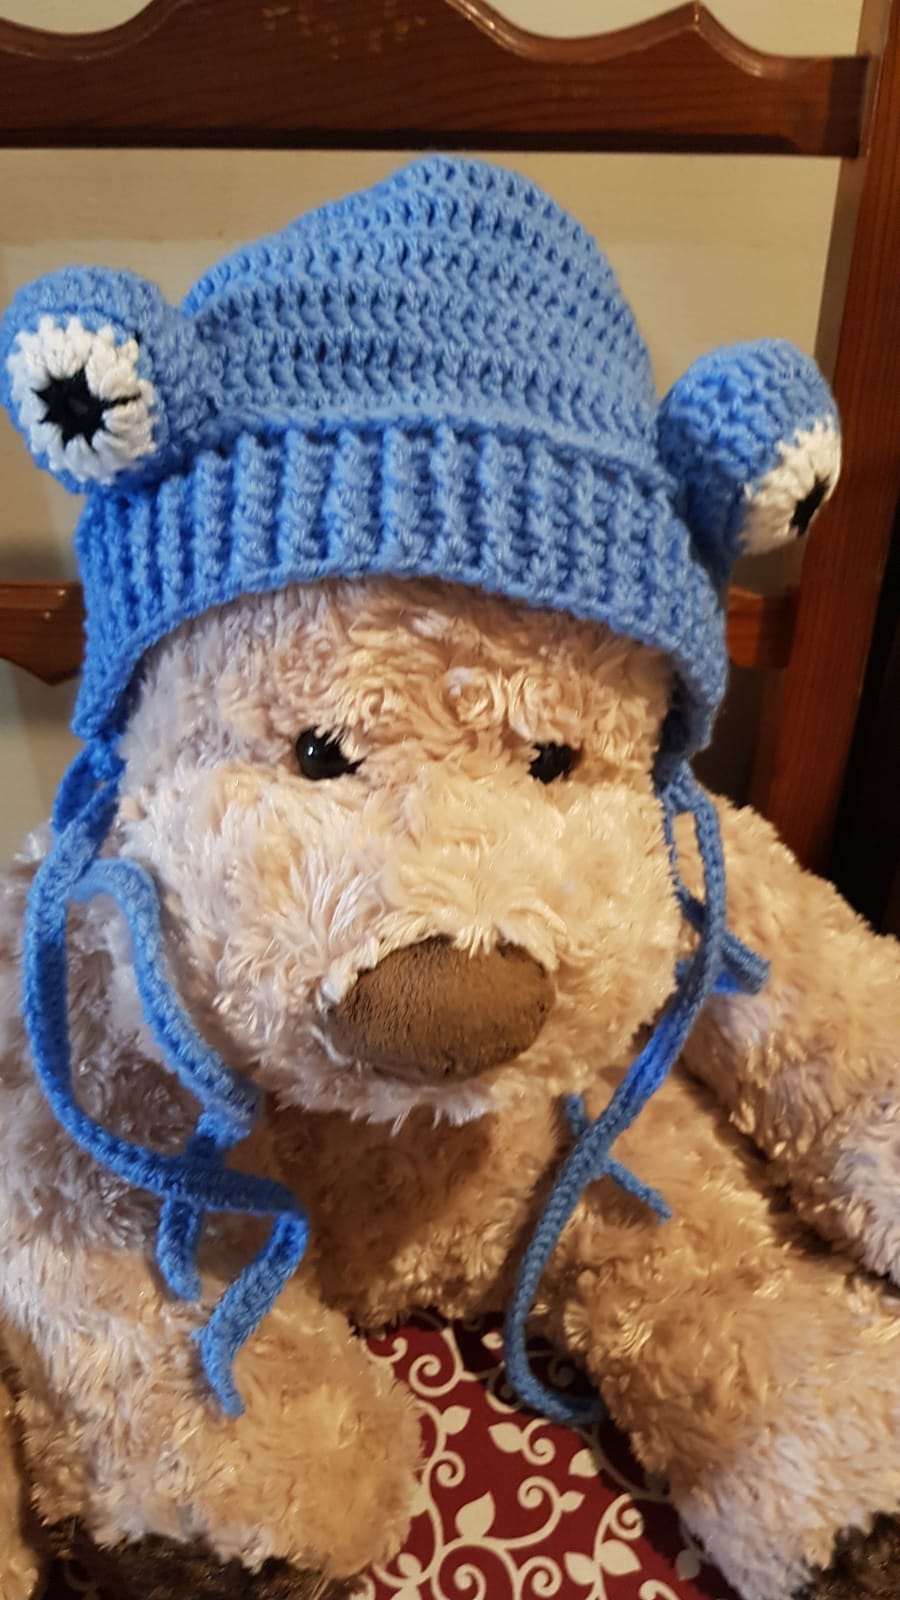
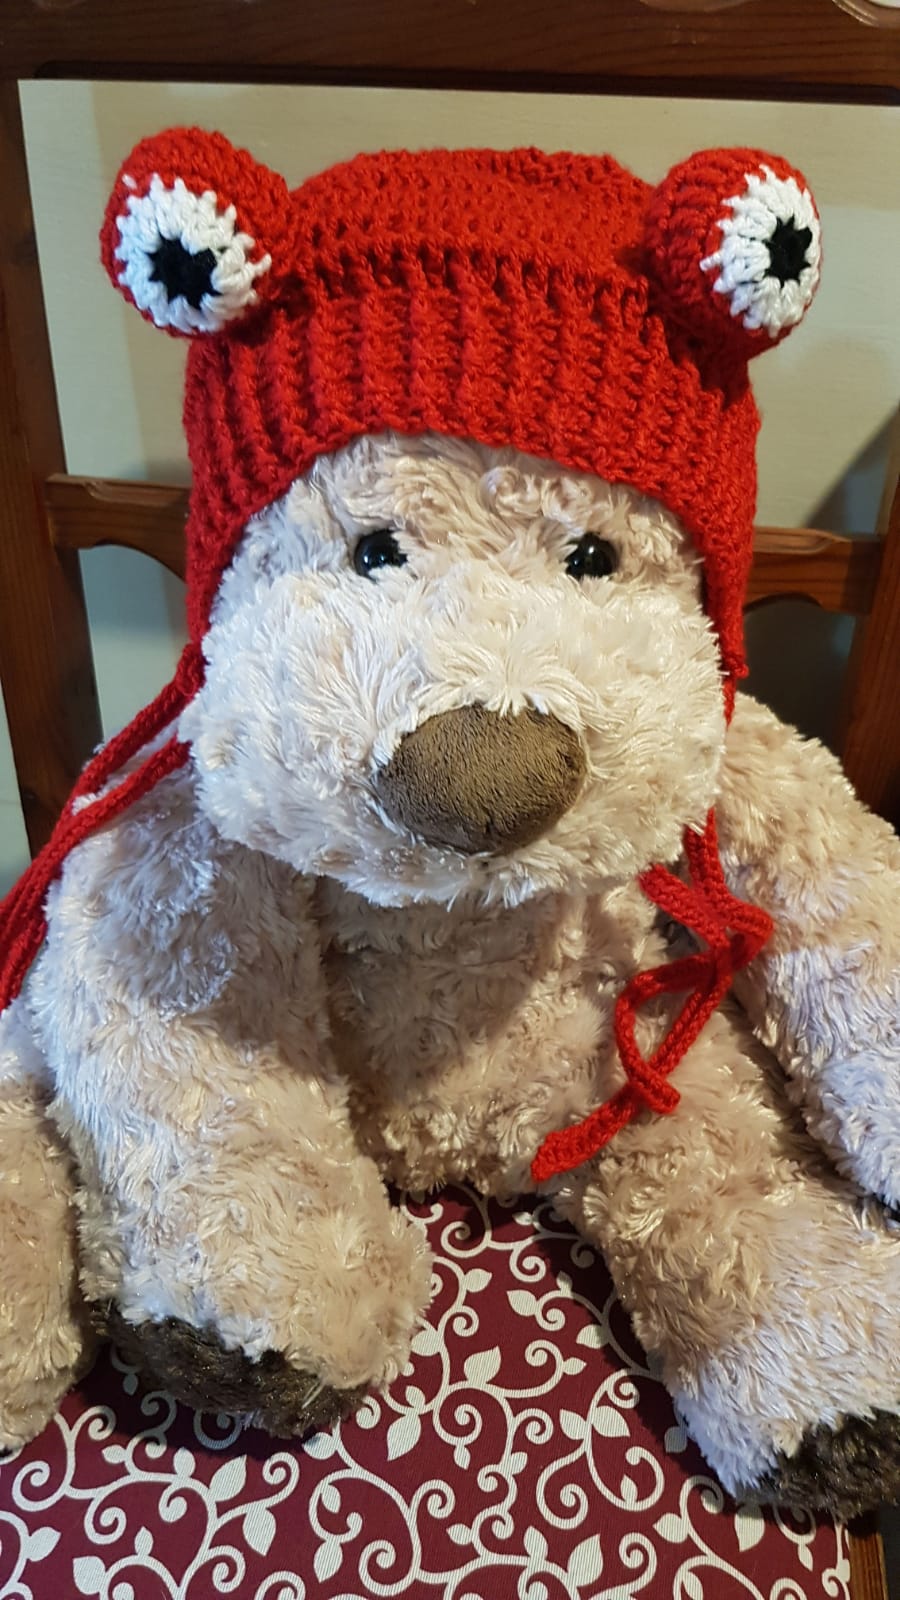
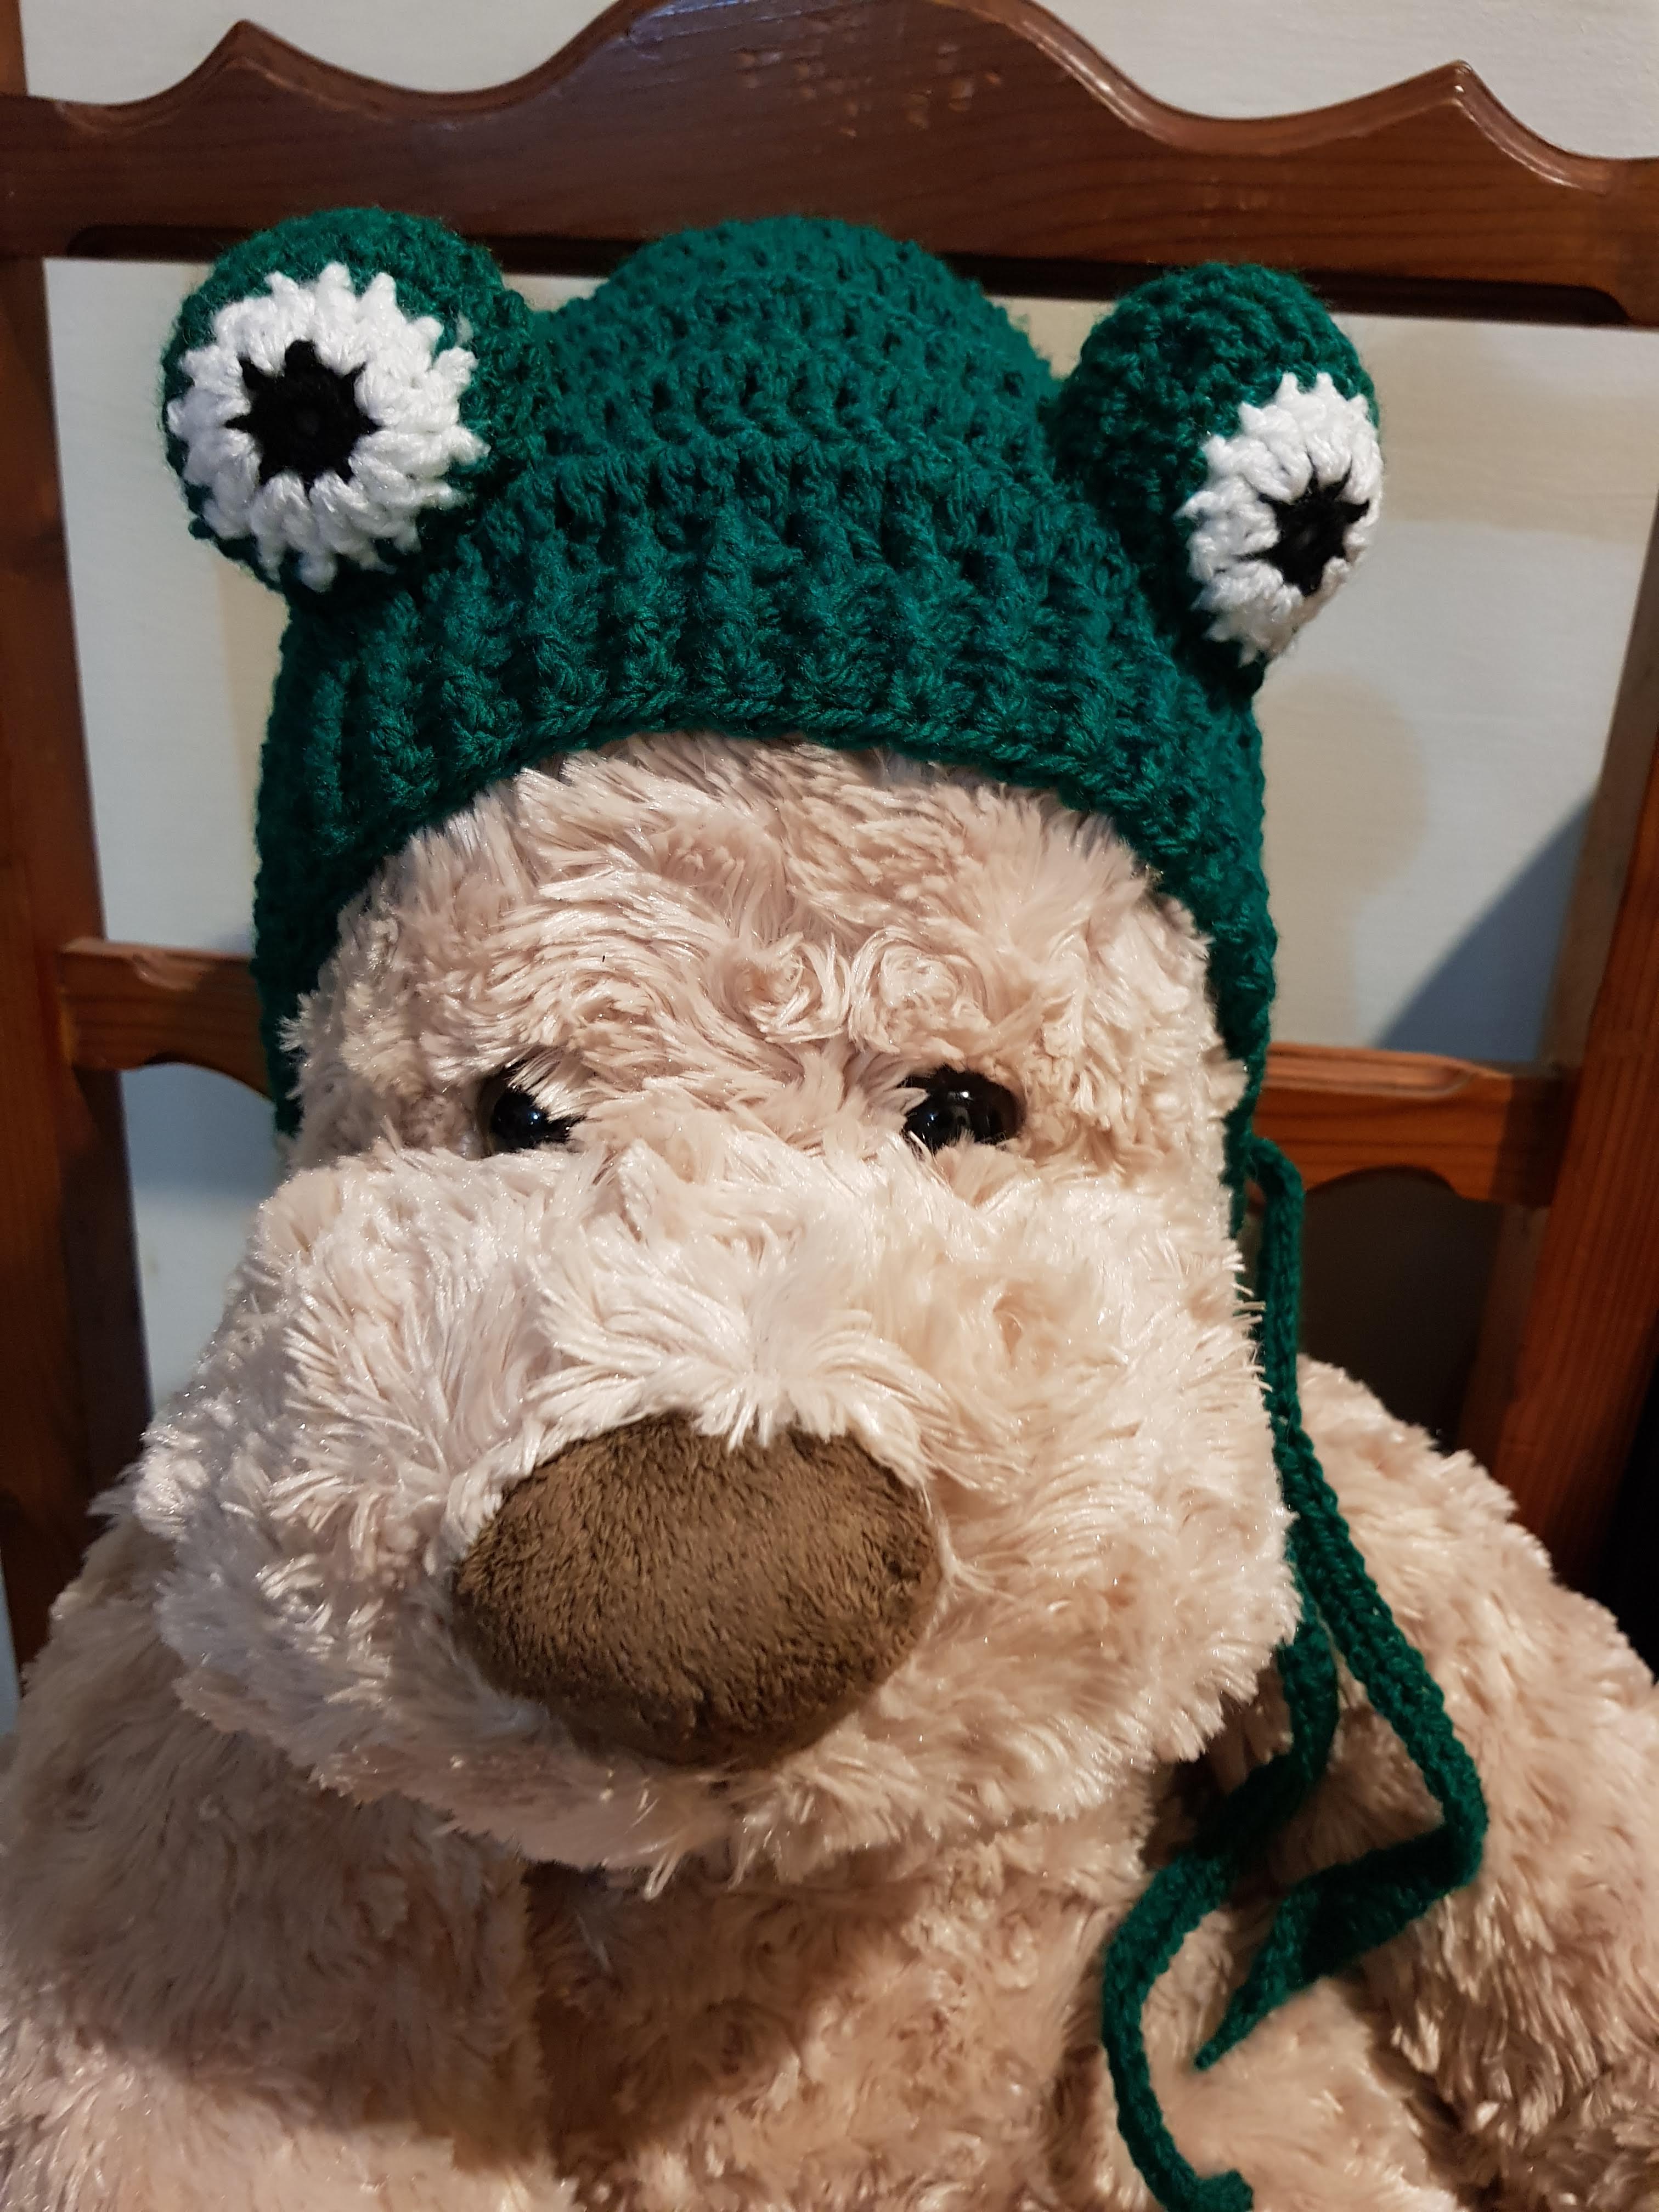
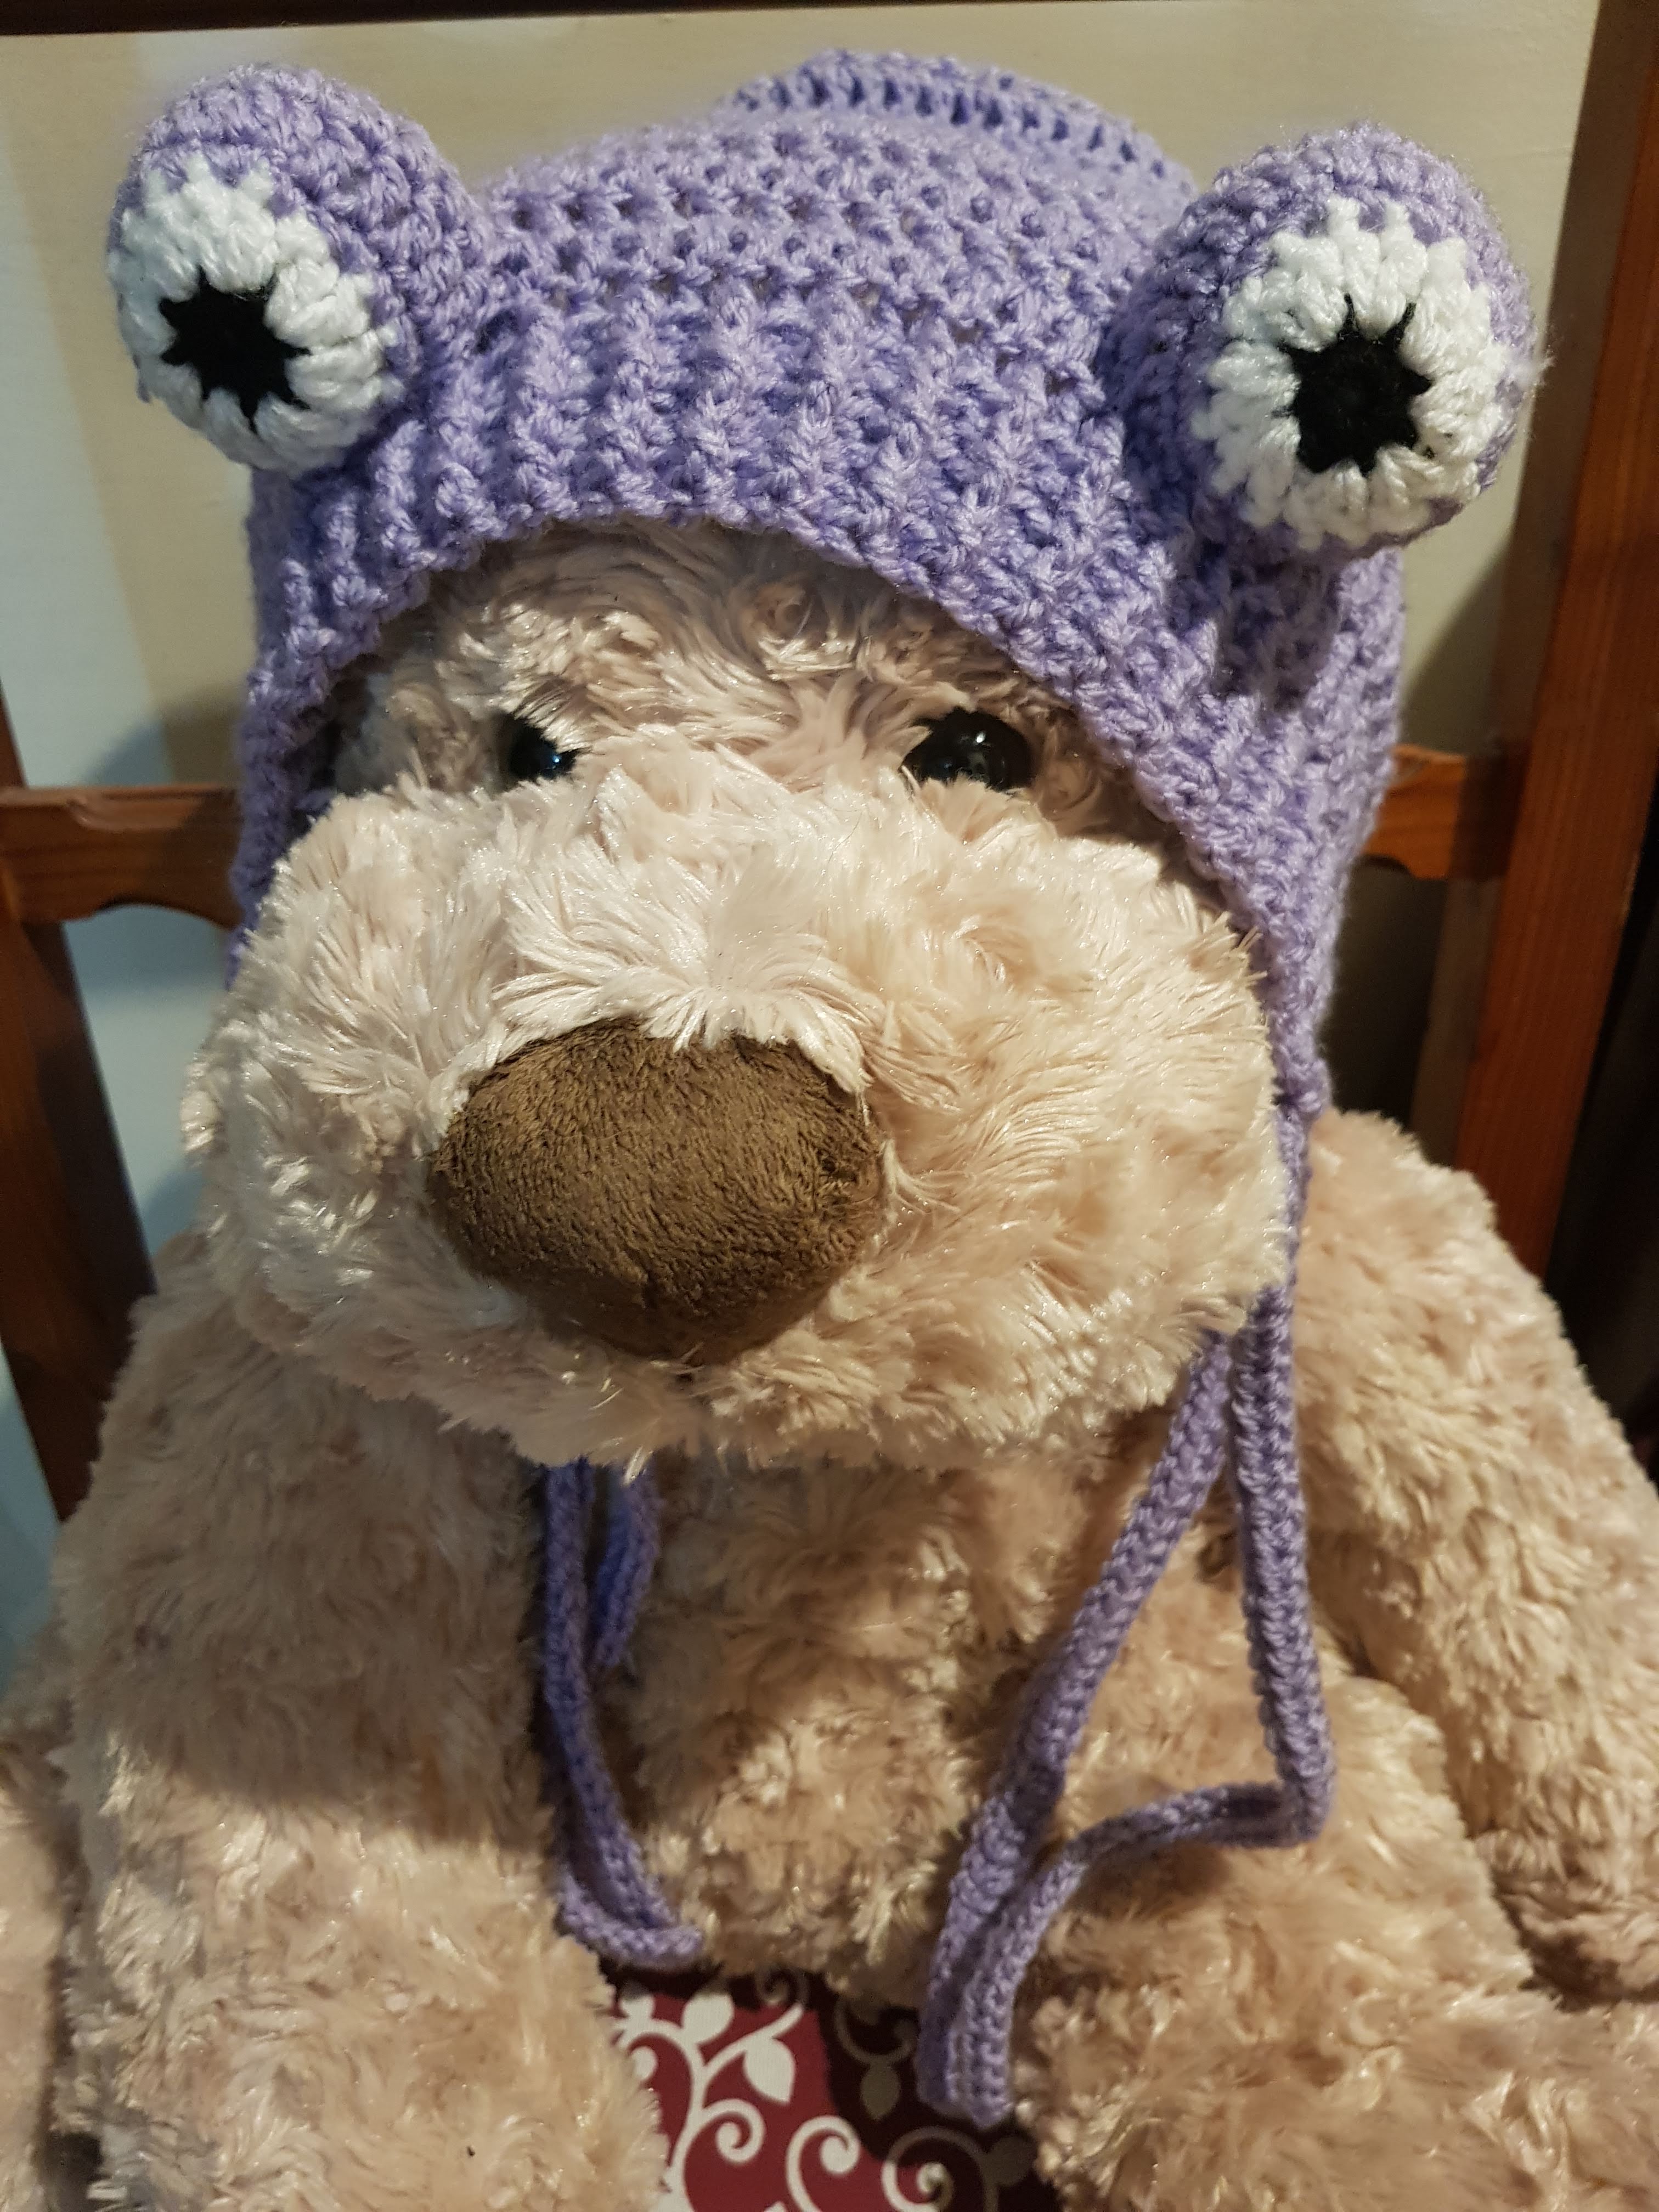
This hat is such a hit that I’ve made a whole bunch more in different colours! What colour will you wear ? I call dibs on the red one – ha ha ha!

I would like to give a shout-out to my model, Ms Halle “Bearry” – she has been most cooperative and professional! Don’t you think she rocks these bonnets?

Here is the pattern if you want to make your own!
I used the Horatio Cool Bonnet pattern from Lovely Loops as the base for the bonnet:

Horatio Cool Bonnet – Free Pattern →

The frog eyes and straps are my own additions, and I’ve included my patterns for them below. The instructions use US crochet terms. I used DK yarn and a 4 mm hook.

The eyes & straps patterns are my own and here they are (using US Terms). I used DK yarn and a size 4mm hook.

Terms:

CH – Chain

SC – Single Crochet

DC – Double Crochet

HDC – Half Double Crochet

SC2TOG – Single Crochet 2 together

DC2TOG – Double Crochet 2 Together

SS – Slip Stitch

THE EYES

Round 1: Using black yarn, in a magic loop, and make 8 HDC. Join with SS. and cast off. (8 HDC)

Round 2: Join white yarn into any HDC made in Round 1 and make 2 DC into each HDC from the previous round all the way around. Join to the first DC with SS. (16 DC). Fasten off. (16 DC). Cast off.

Round 3: Using yarn in the colour you made your bonnet, join yarn into any DC with CH. 2SC into same stitch, SC into next stitch. *2SC into next DC, SC into next DC* all the way round and join with SS. (24 SC)

Rounds 4-5 : CH 2, DC in each SC from last round, join with SS.

Round 6: CH 1, * SC2TOG, SC * all the way round and join with SS (16 stitches)

At this point, stuff the eye with stuffing (it could be fiberfill, cotton or yarn bits). I don’t like to firmly pack mine as I like the eyes to be a bit squidgy – but it’s entirely up to you how you decide to do yours.

Round 7: CH 1, DC2TOG all the way round and join with SS (8 stitches)

Round 8: CH 1, DC2TOG all the way round and join with SS (4 stitches)

At this point, if you see that there is still a bit of a gap that needs closing, just thread the tail into a needle and sew the hole closed.

You will need to make 2 of these and then stitch them onto the bonnet.

THE STRAPS

For the straps, I simply made 101 CH, and then from 2nd CH stitch from the hook, made HDC in each CH to the end. Cast off and sew in the ends. I made 2 of these and simply threaded them into each corner of the border of the bonnet and tied a simple knot 🙂 You could, of course, use a different method.

Have a great time making these hats – and why not share a selfie modelling your creation!