Author Archives: manjrisplace

Showcasing my biggest project to date

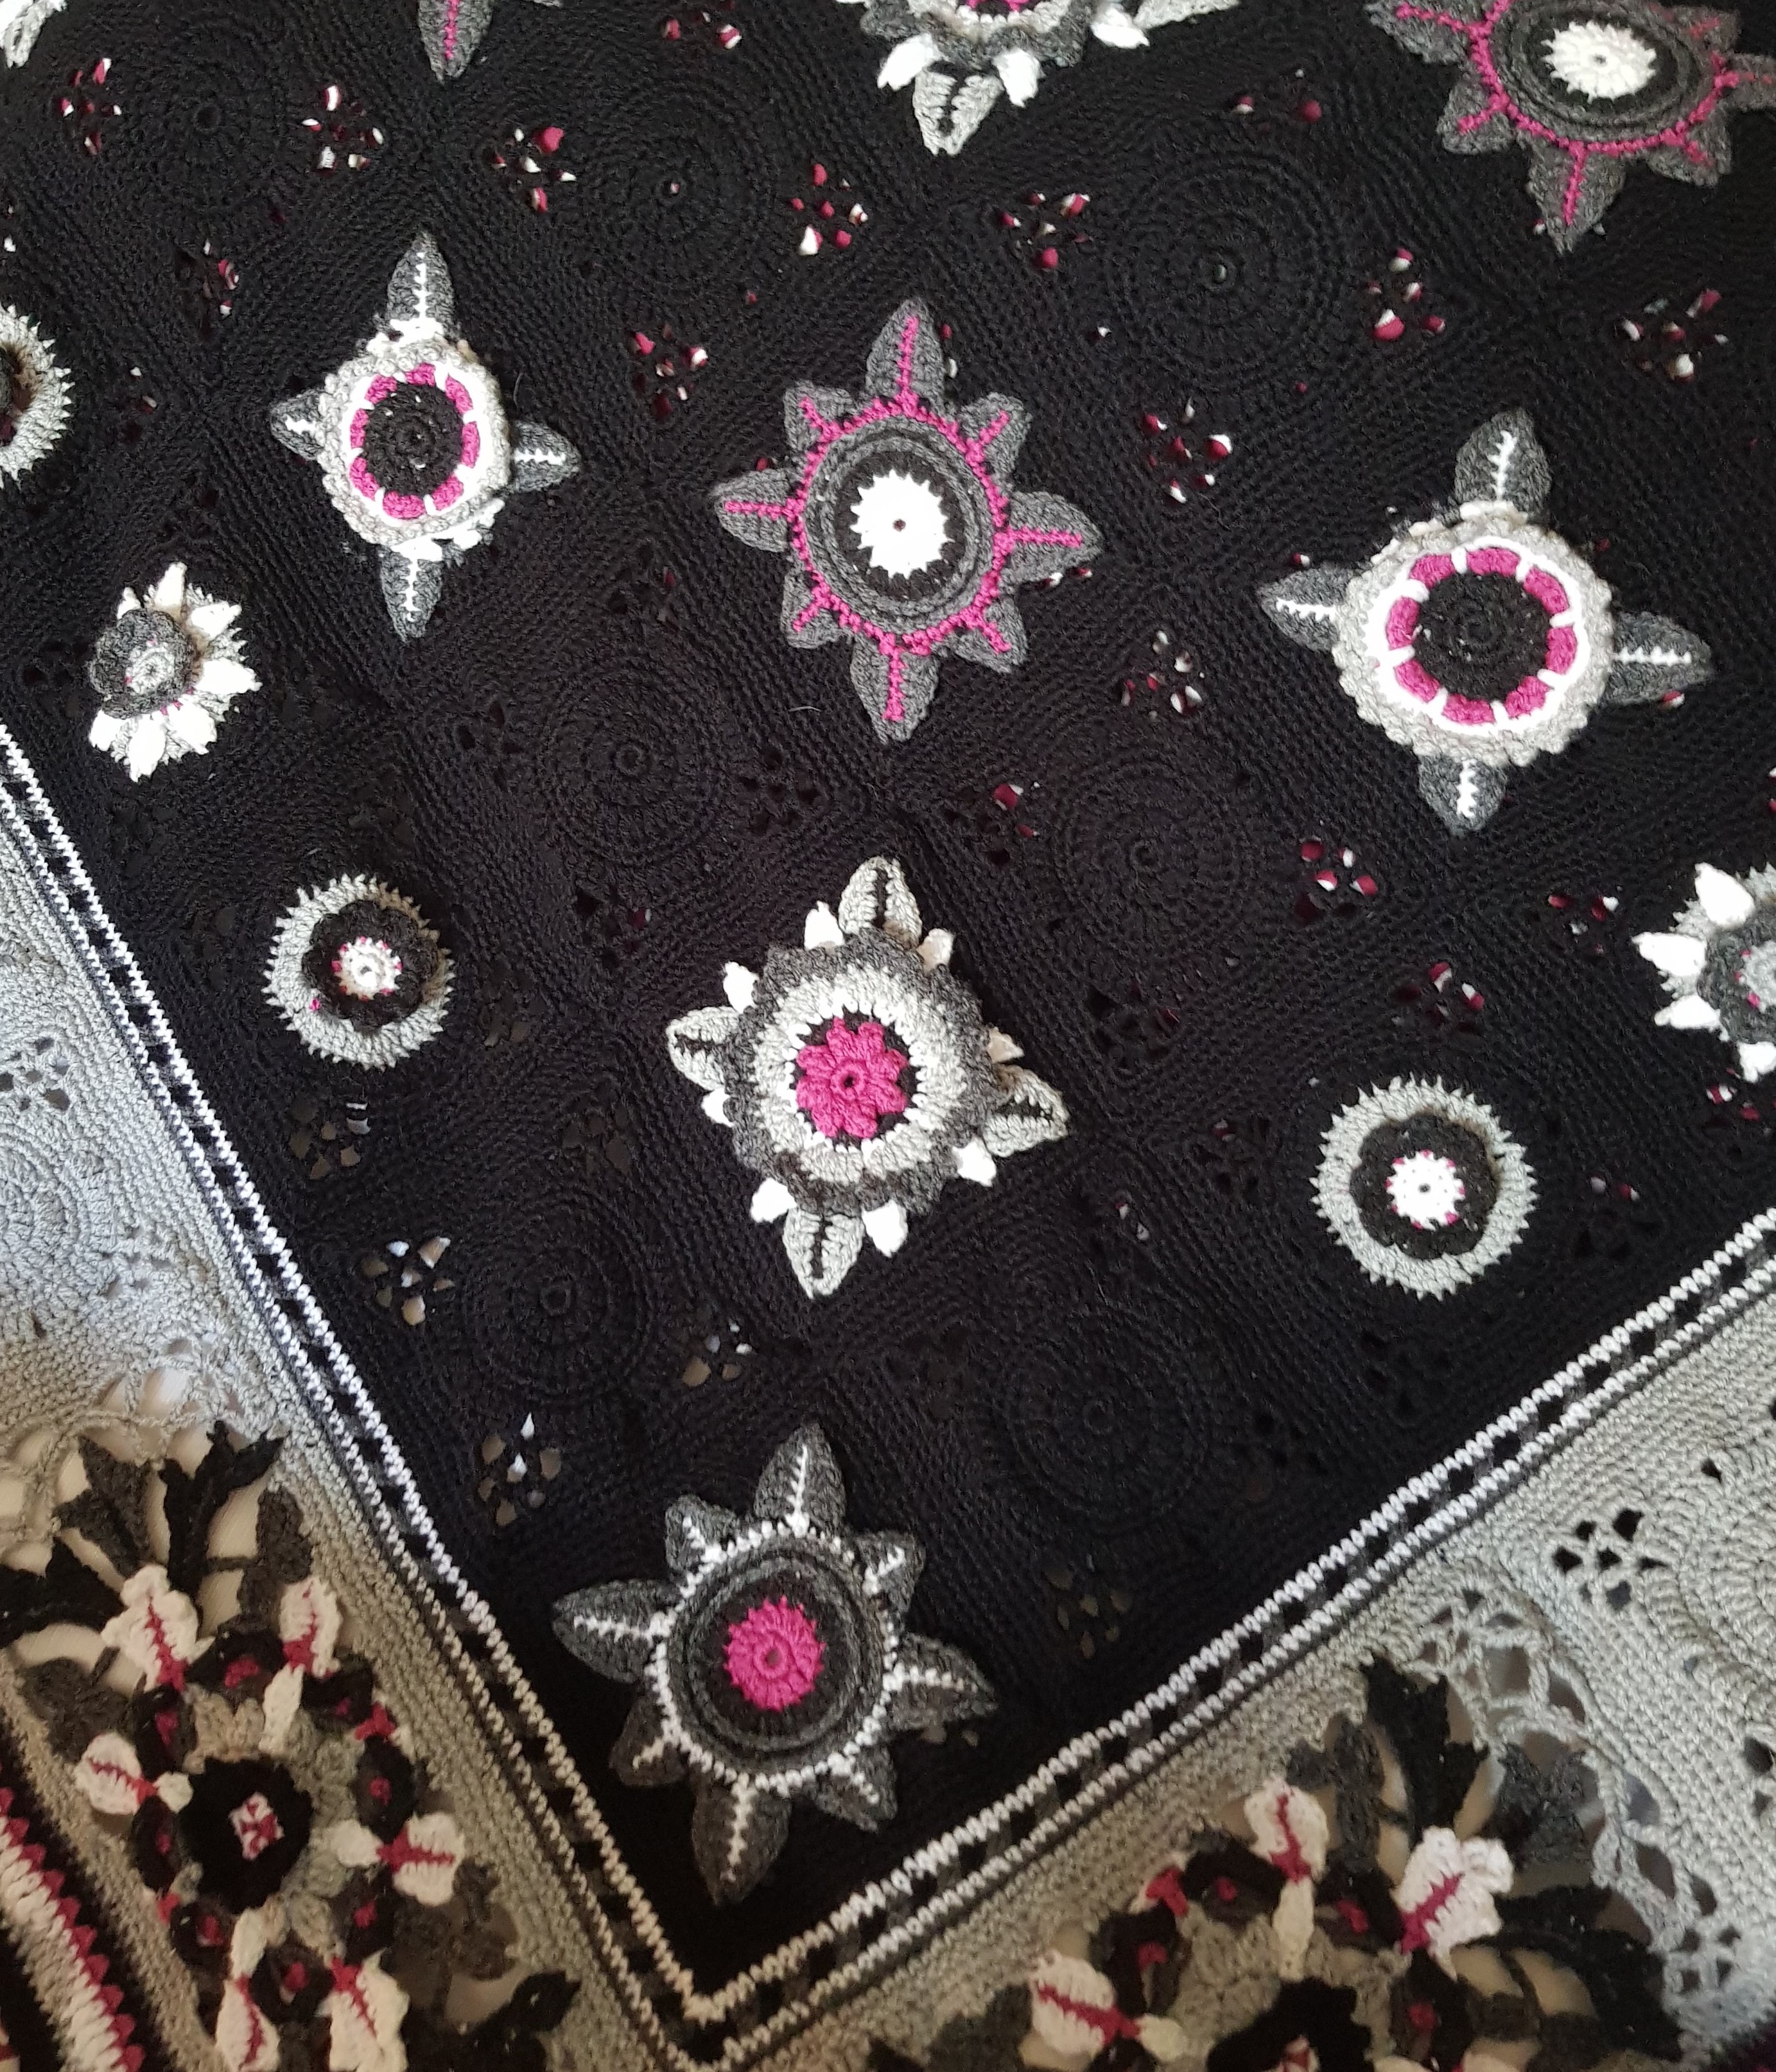
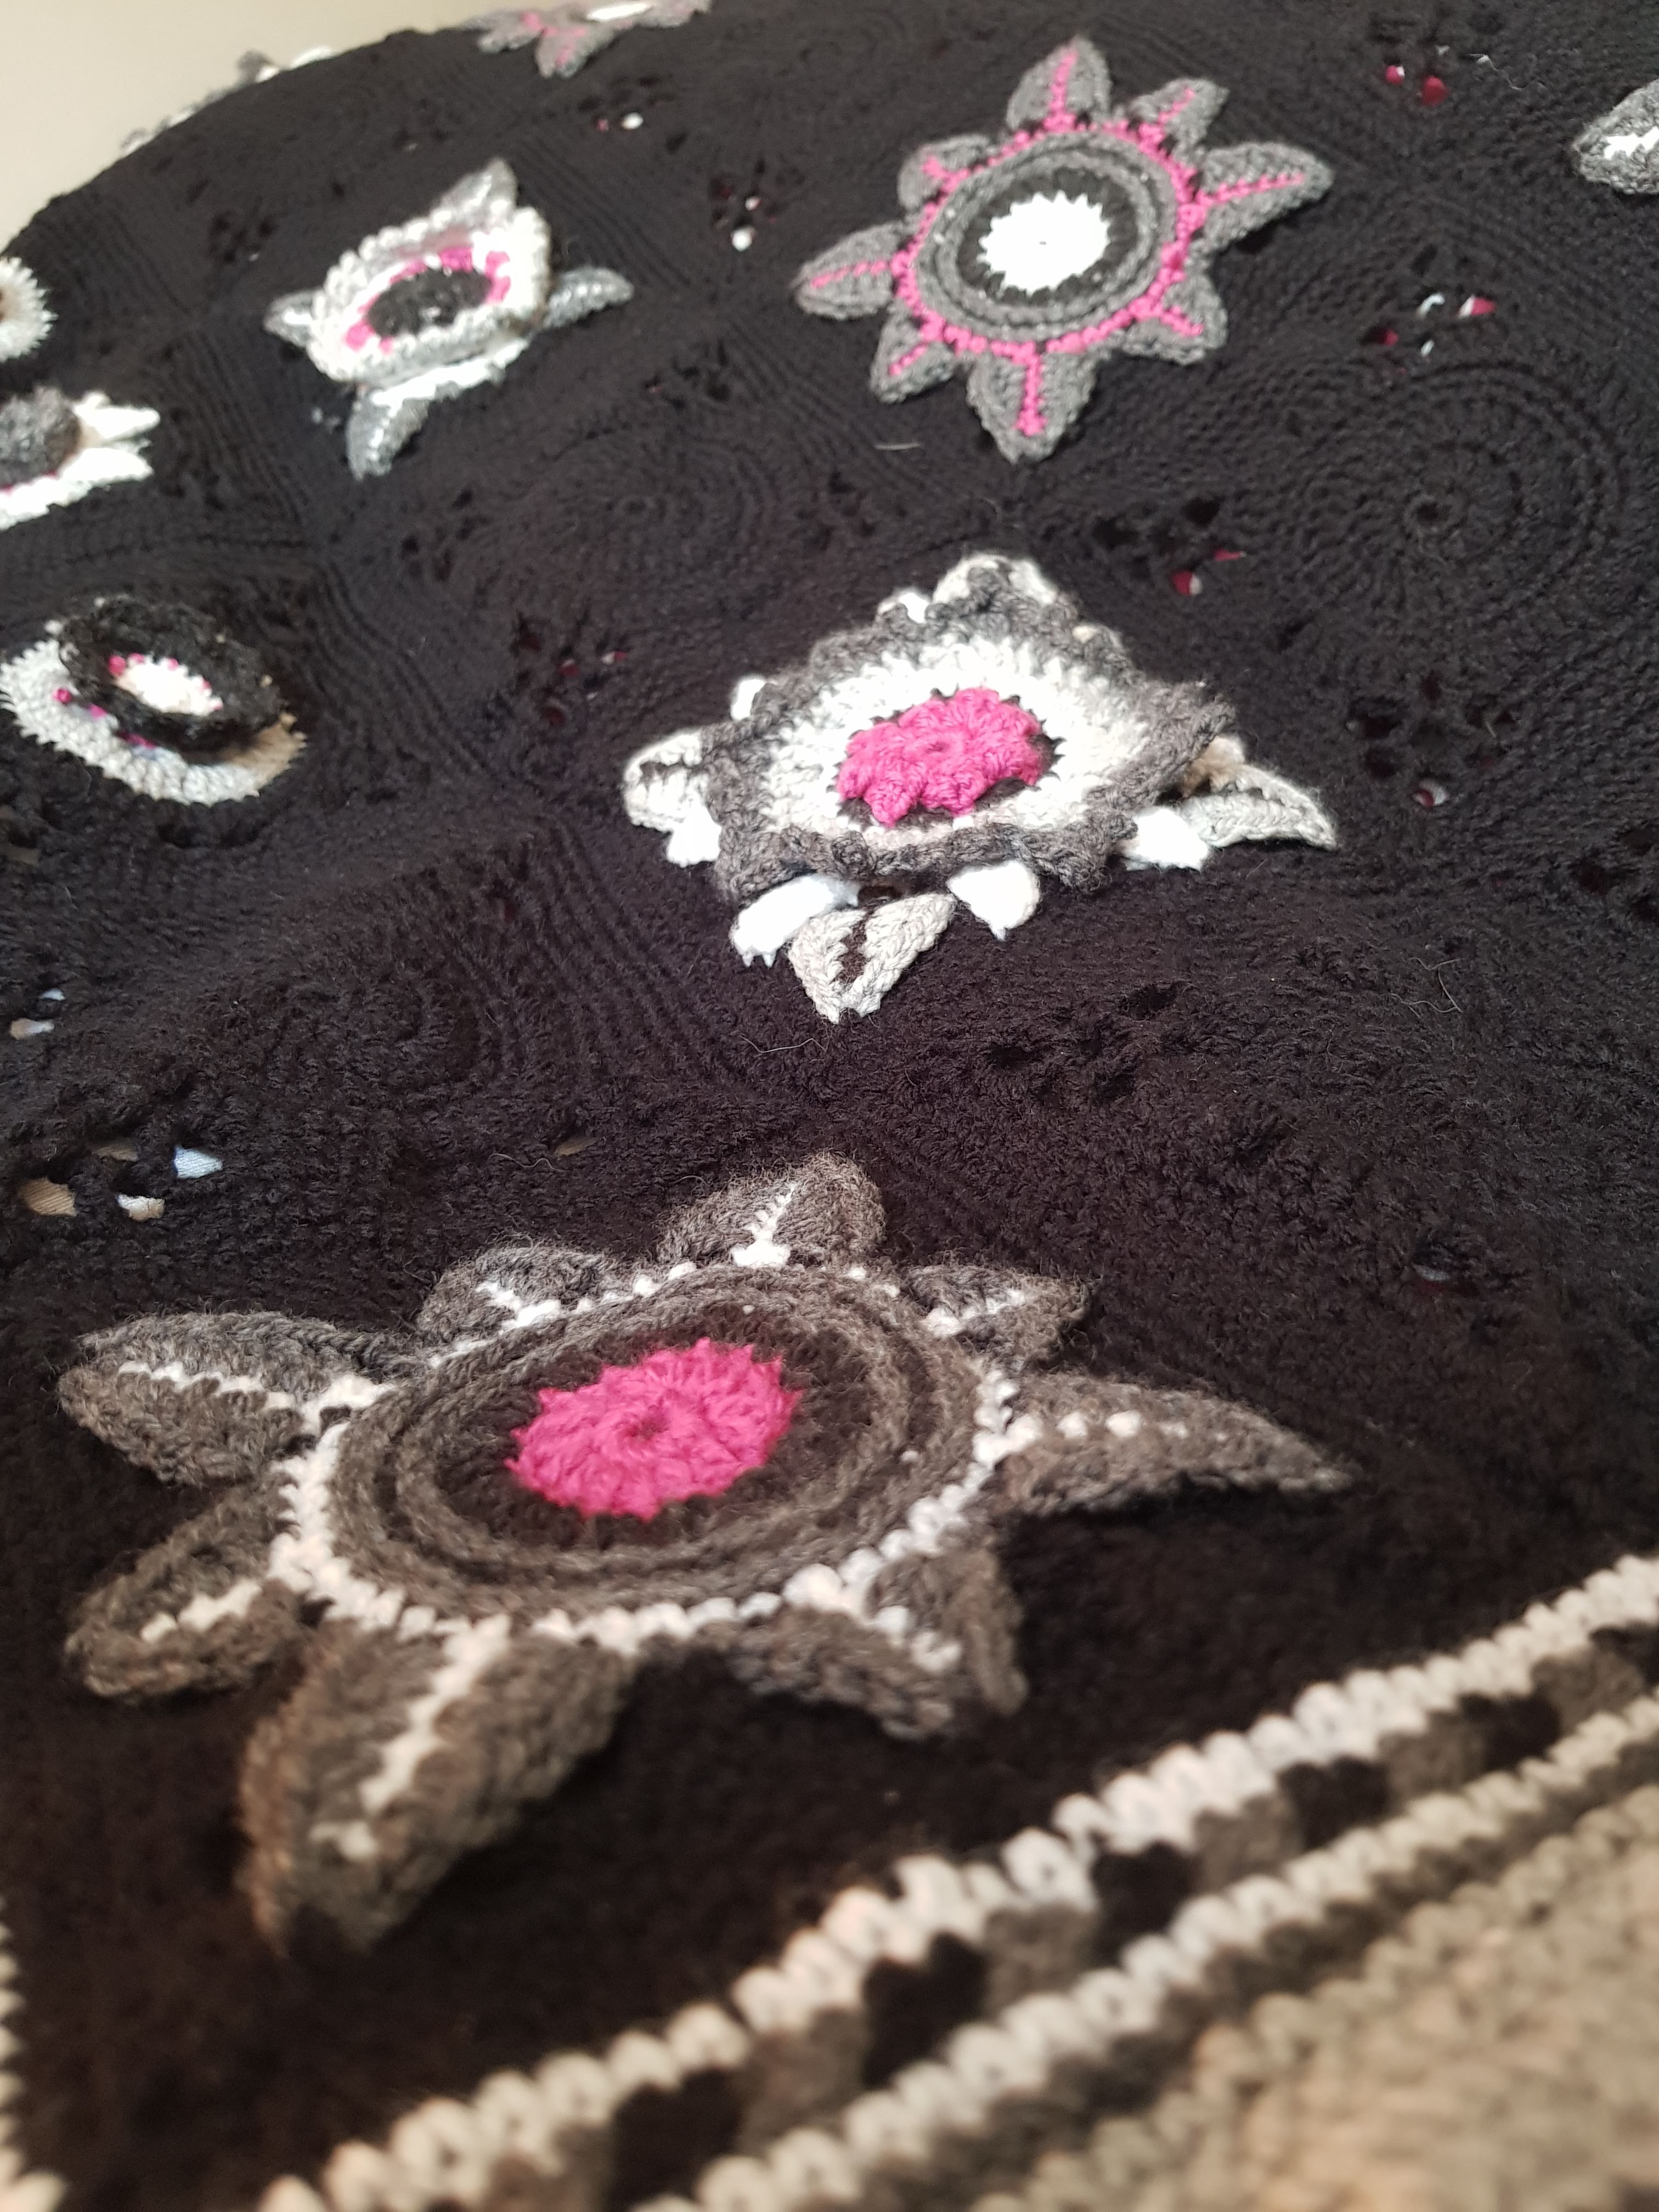
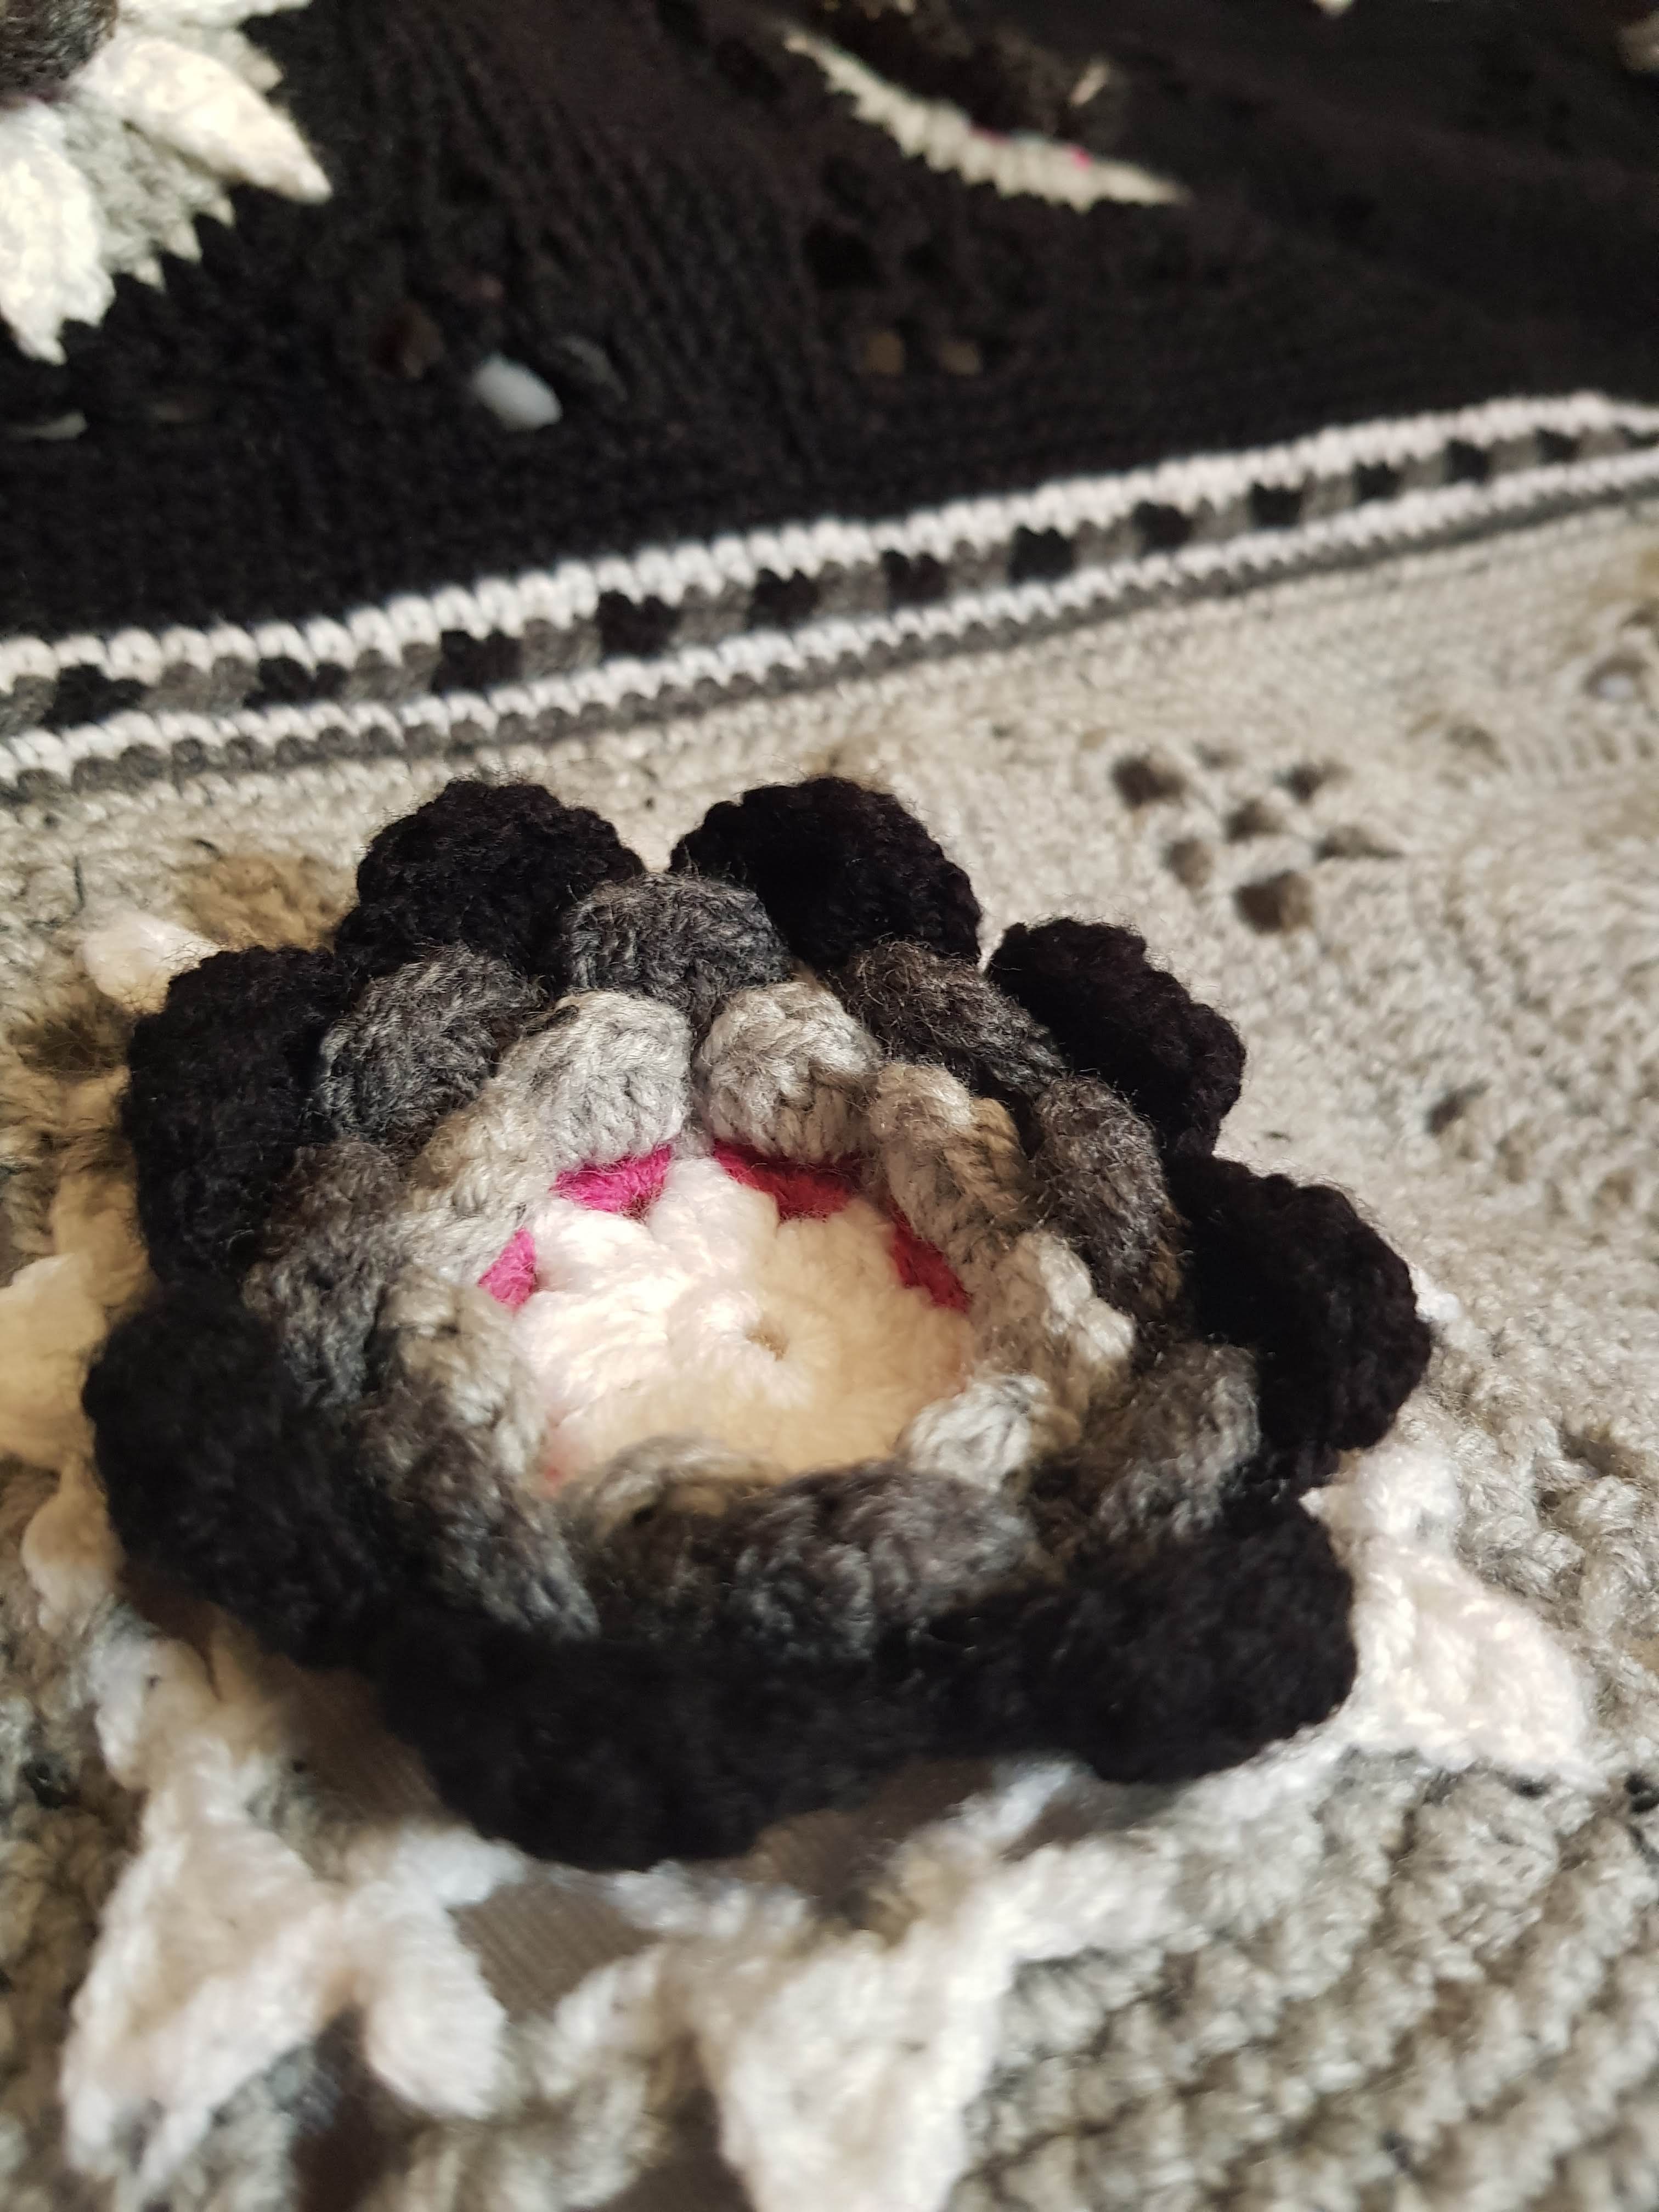
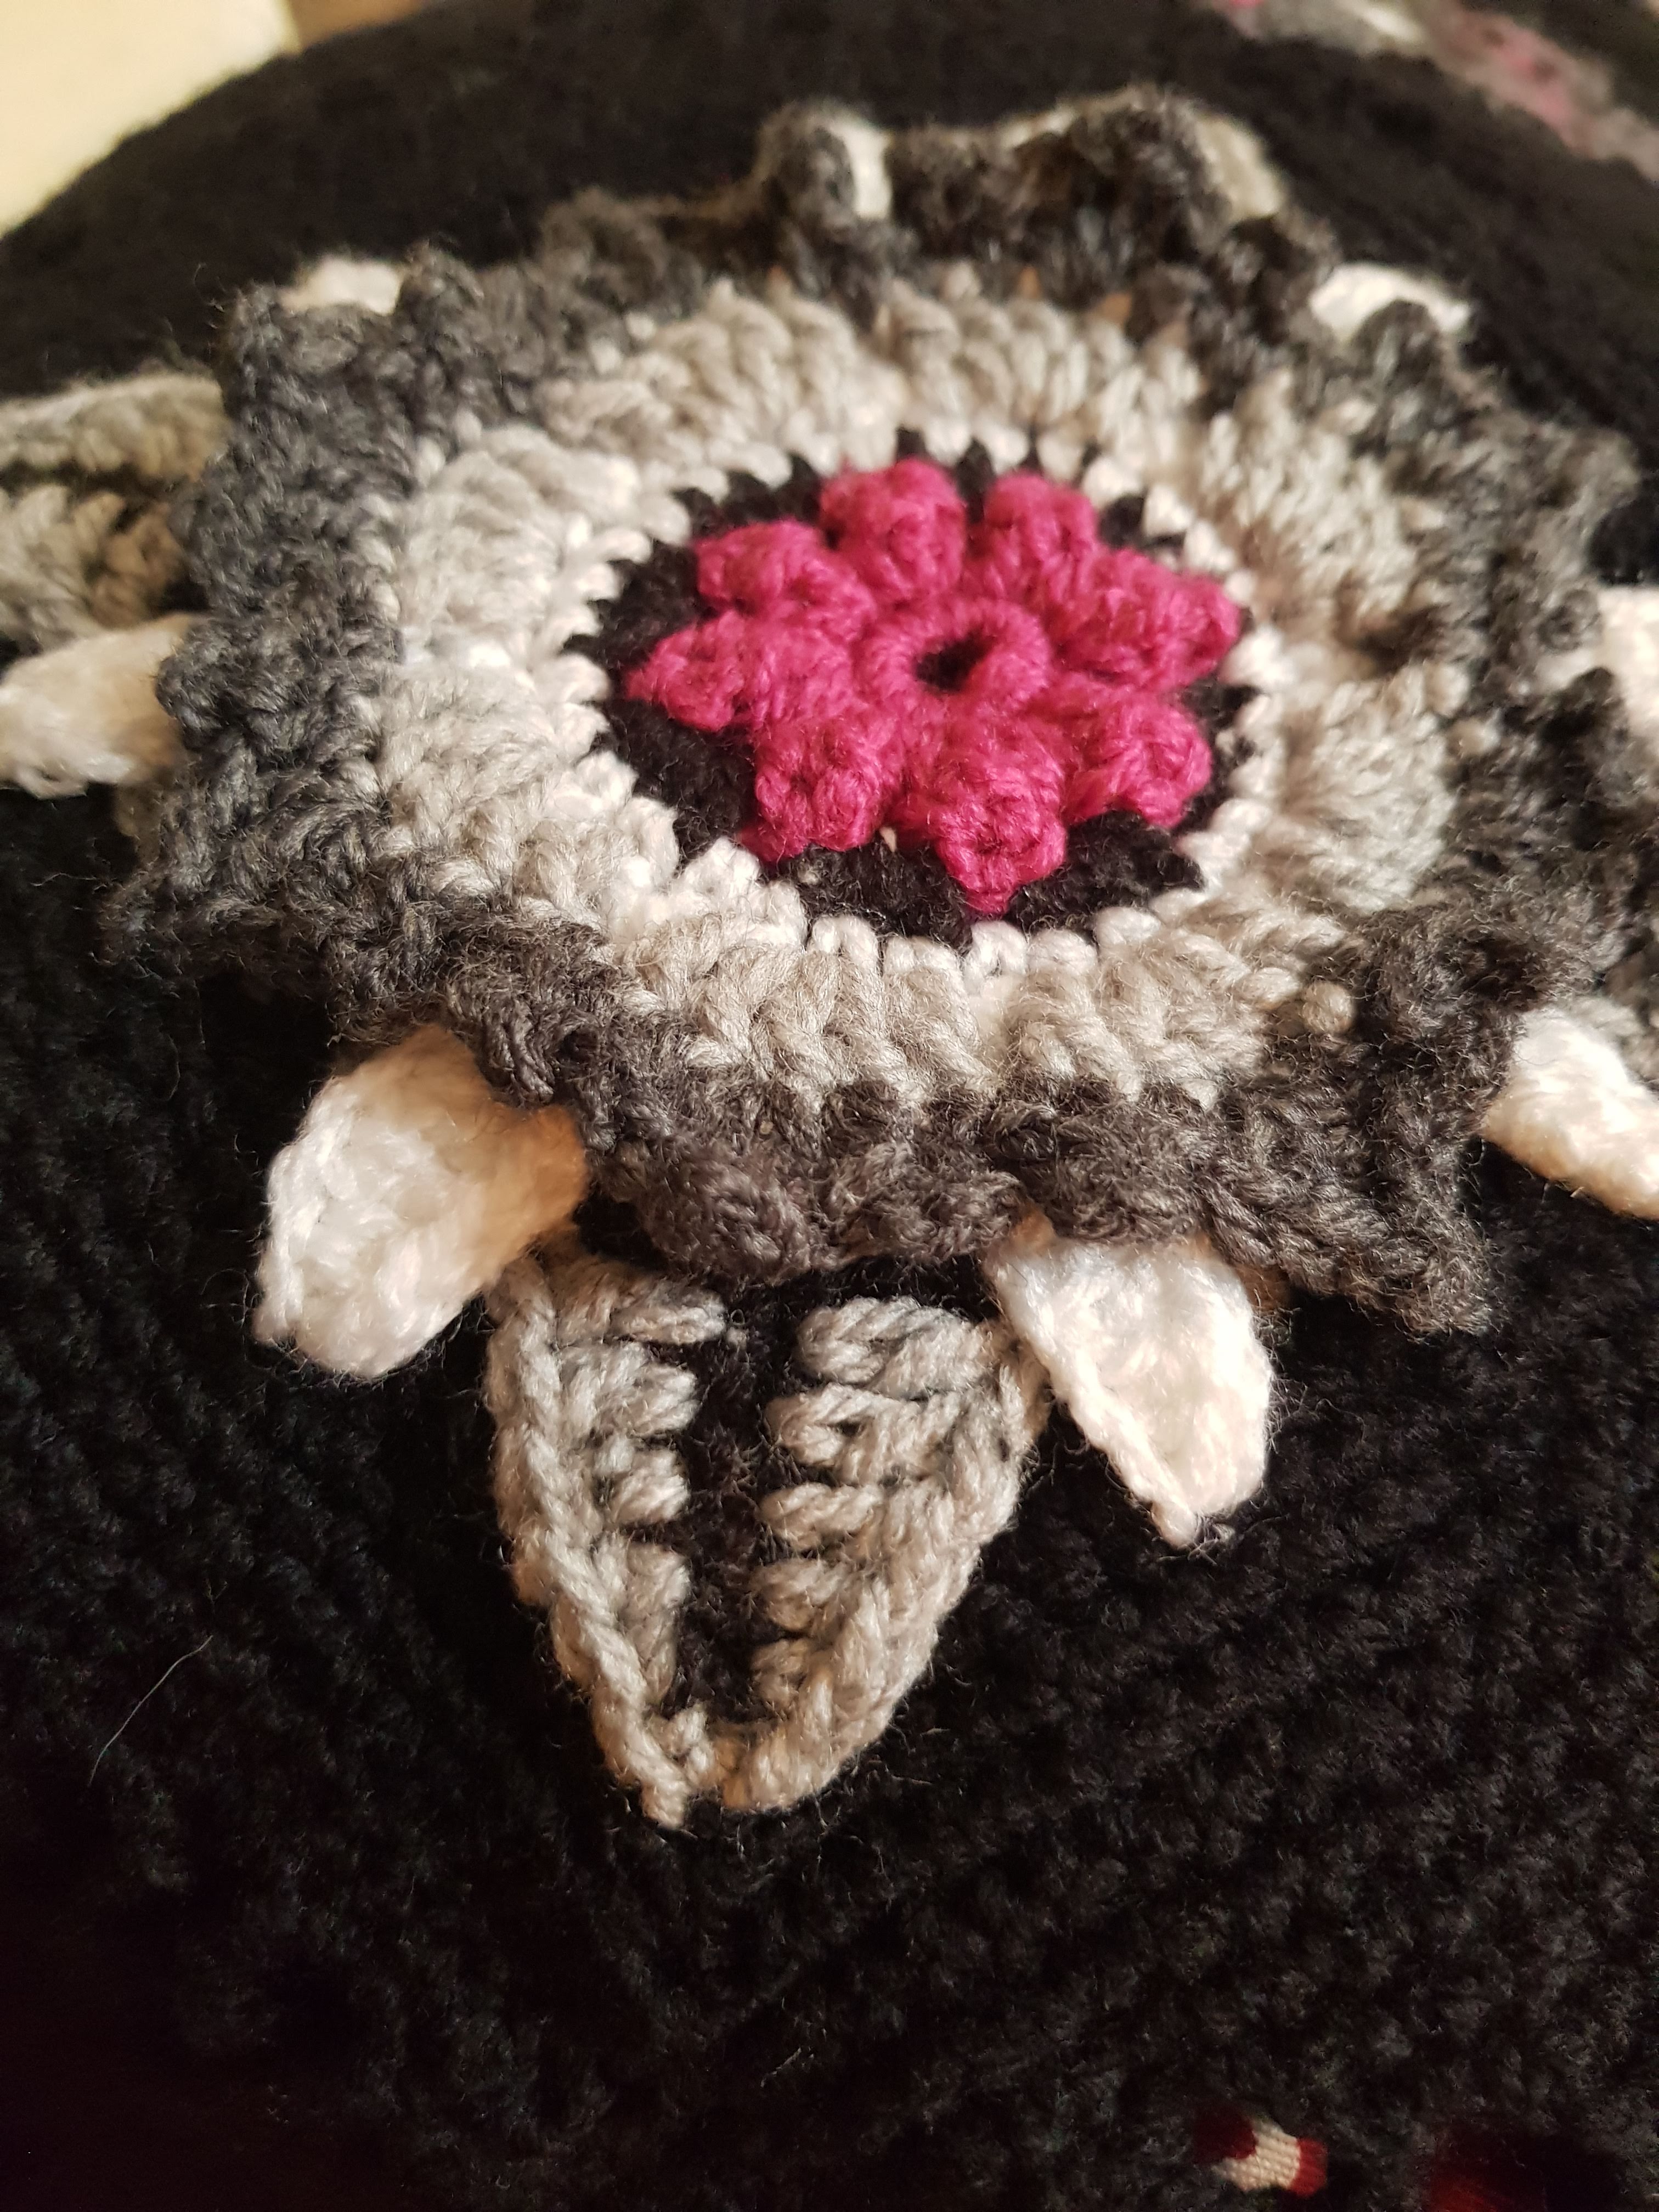
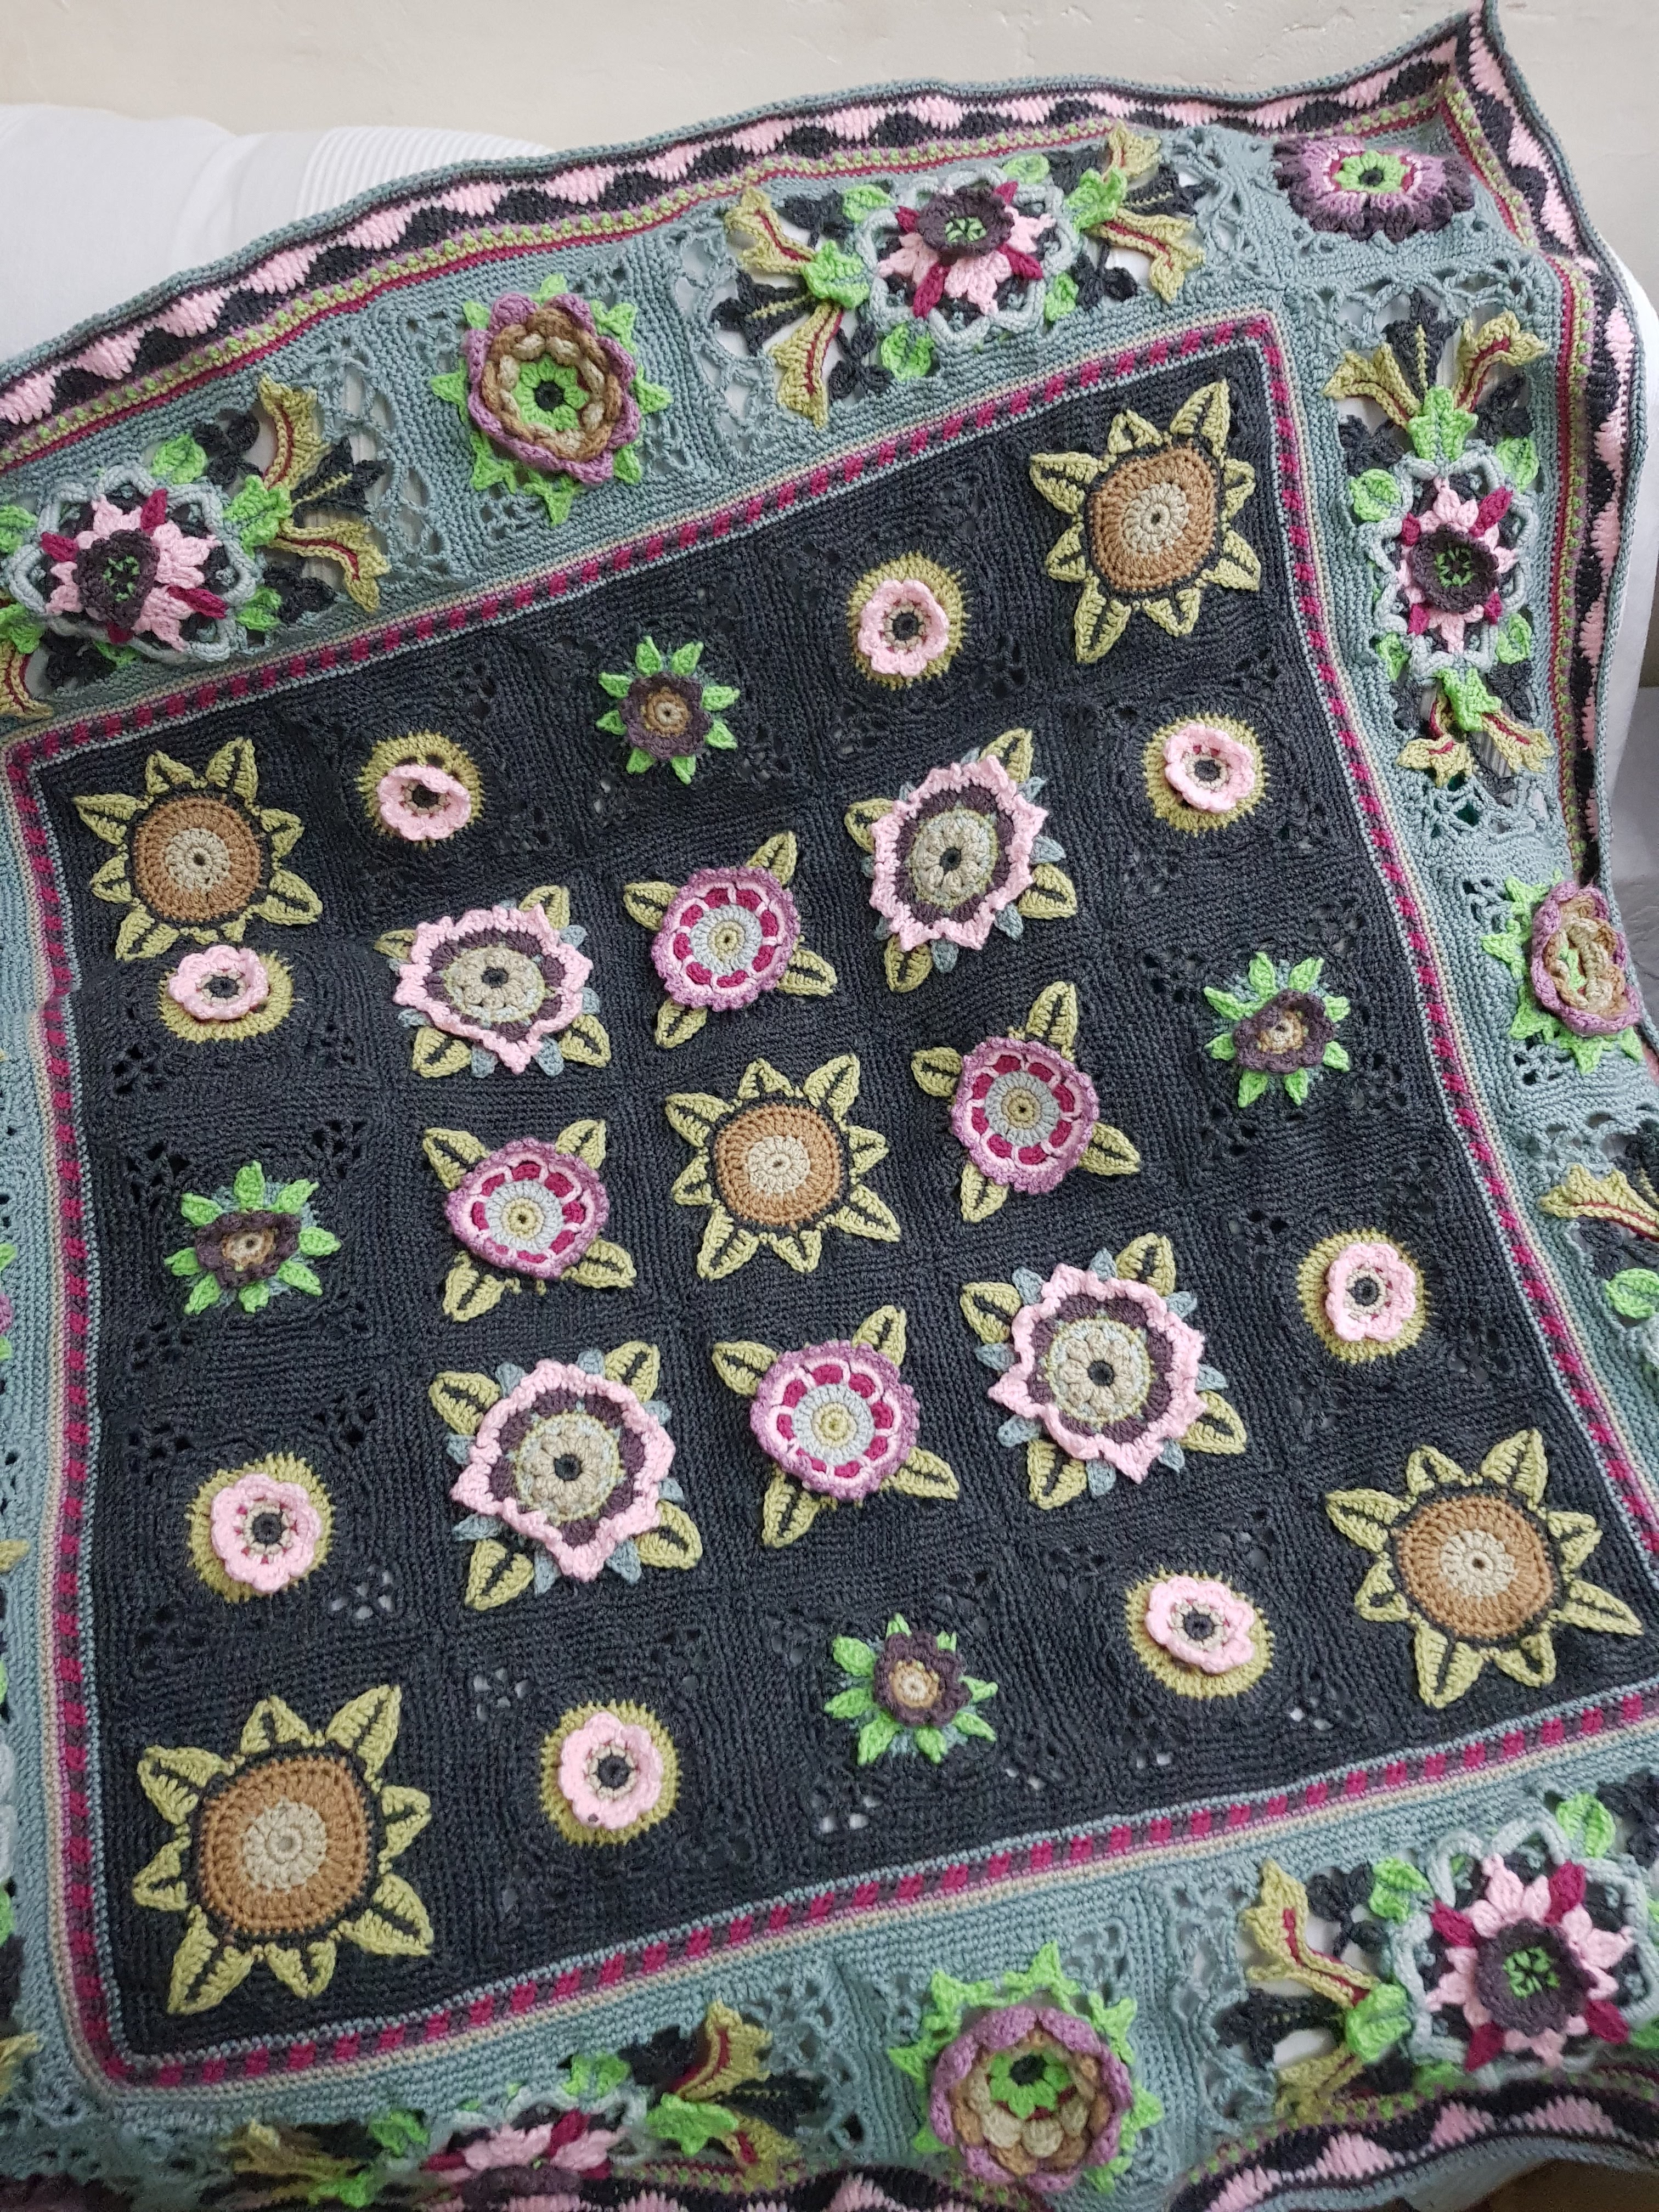
Hi all! I’m really pleased to share with you photos of my biggest project to date – a large blanket which I adapted from the Fruit Garden design by Jane Crowfoot.

I made this as a special gift, so, of course, I couldn’t post any photos before it went to its new home.

It is much more spaced out than the original pattern, and I think that the plain squares actually (dare I say) “improve” the overall effect by giving each different flower room to shine.

I hope this inspires you to put your own twist on patterns! N.B. If anyone needs the pattern for the plain square, please drop me a line or comment below and I will write it up for you. Happy crafting!

Froggie Bonnet

Hey all!

I’ve been awfully quiet lately because I have been very busy working on my biggest project to date – and it is now done! But, more on that in a future post – after I take some good photos – so stay tuned and check back soon!

This week, my daughter showed me a really cute frog hat she came across for sale online and asked me if I could make one for her. Of course! I’m always up for a challenge and after “frogging it” a few times (pun totally intended – ha ha!) here it is! I really had fun making this and will be making some more ๐Ÿ™‚ย 

Some notes on the design: firstly, it is 100% crochet, including the ribbing you see in the photo. It’s quite common to see ribbing in knitting projects, and for all you “crocheters”, who also knit, the concept is the same. I’ll try to describe it here. I used HDC – Half-double crochet (US terms).ย  Here is an example of how to do this –ย  you can adapt to your own projects.ย  To start this, you need a foundation row, so let’s say we have a row of 6 DC (Double crochet) already done. Here are the following rows:

Row 1: CH2, Repeat (FPHDC {Front Post HDC}, BPHDC {Back Post HDC}) x 3.ย  Turn.
Row 2: CH2, Repeat (BPHDC, FPHDC) x 3. Turn.
Rows 3 onwards : Repeat from Row 1 until you reach the desired length.

Simple! Might be an idea to experiment with using DC instead of HDC – let me know how you get on. Till then, peace out folks!ย 

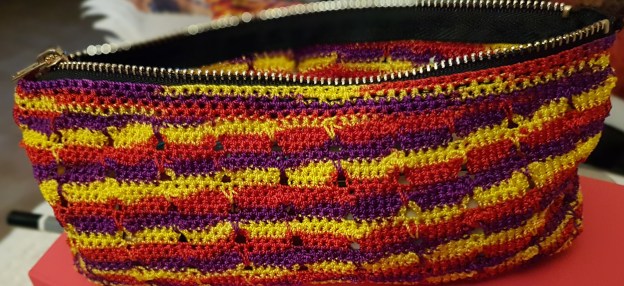
Crochet multi-colour Pencil Case / make-up bag/ toiletries pouch – Free Pattern

Hey all! Hope you are doing fine and churning out fabulous projects! If you need some inspiration, here is an easy one which I designed and made from nylon crochet thread (the same that I used to make the belt in my previous project ). Again, thanks to the stiff and abrasive nature, it lends itself really well to this pouch / case. The pattern is quite straightforward – it’s mainly single crochet (US Terms).ย  Here is the pattern :

Original pattern by Manjri’s Place

I used a 1.4mm crochet hook for this project.

CH – chain stitch
SC – single crochet

YO – yarn over

Start with 61 CH

Row 1: skip first chain and 1 SC into remaining 60 CH, CH 1 and turn

Row 2-9: 1 SC into each of the 60 SC from previous round, CH 1 and turn.

By the end of the last round, you will now have a rectangular piece, which will be the base of the pouch/case.

Row 10: In this round, you will be working all around the rectangular piece just made. 1 SC into the back loop only of each of the 59 SC from previous round. Make 3 SC in the last SC from previous round. 7 SC down the short side of the rectangle, 3 SC in the first stitch of the long side, 1 SC in each of the next 59 SC, 3 SC in last stitch of long side, 7 SC down the other short side. Slip stitch into the first chain made at end of round 9. CH 1 and turn.

Row 11: SC in the first SC from last round. Place a stitch marker between the CH and the SC just made as it will become hard to identify end of a row since we will be working all around. 4 SC, 3 CH, skip 1 stitch. (5 SC, 3 CH, skip 1 stitch) all the way round – N.B. you will end with 2 or 3 SC. Slip stitch into first CH. Remove stitch marker.

Row 12-13: CH1, SC in the first SC from last round. Place a stitch marker between the CH and the SC just made.ย  4 SC, 3 CH, skip ch space made in last round. (5 SC, 3 CH, skip 1 stitch) all the way round – N.B. you will end with 2 or 3 SC. Slip stitch into first CH.ย  Remove stitch marker.

Row 14: CH 1, SC in the first SC from last round. Place a stitch marker between the CH and the SC just made. 4 SC, SC over the 3 chain spaces from rows 11-13, into the Stitch skippedย  in round 11. (5 SC, SC over the 3 chain spaces from rows 11-13, into the Stitch skippedย  in round 11) all the way round – N.B. you will end with 2 or 3 SC. Slip stitch into first CH.ย  Remove stitch marker.

Rows 15-42: Repeat Rows 11-14ย  7 more times.

Row 43-47: CH 1, SC in the first SC from last round. Place a stitch marker between the CH and the SC just made. SC into each stitch from row 42. Slip stitch into first CH. Remove Stitch marker.ย  Cast off.

If you would prefer a deeper pouch,ย  repeat rows 11-14 until you get the desired size.

Once ready, sew in a zipper and voila! Your pouch is ready!ย  It’s fantastic for school – but you could also use it as a make-up bag, or for keeping toiletries.

This slideshow requires JavaScript.
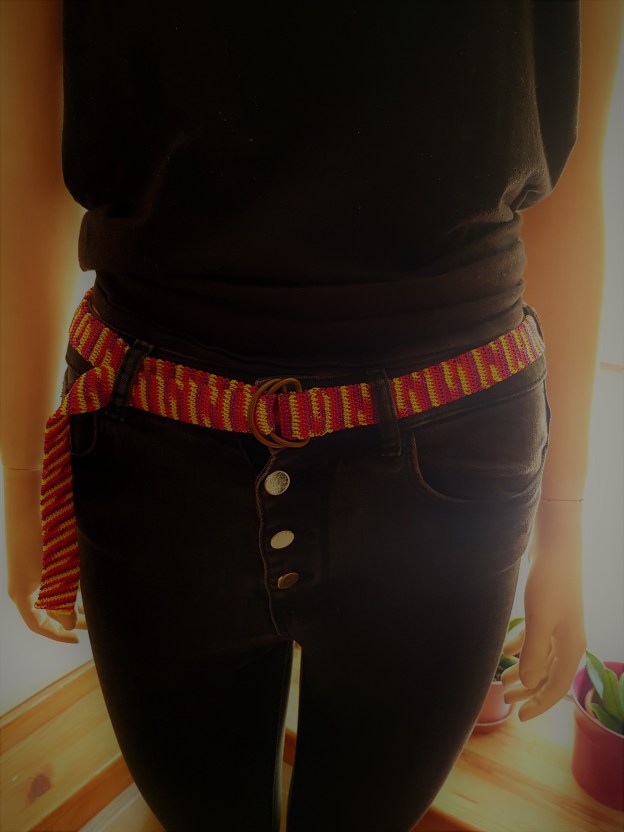
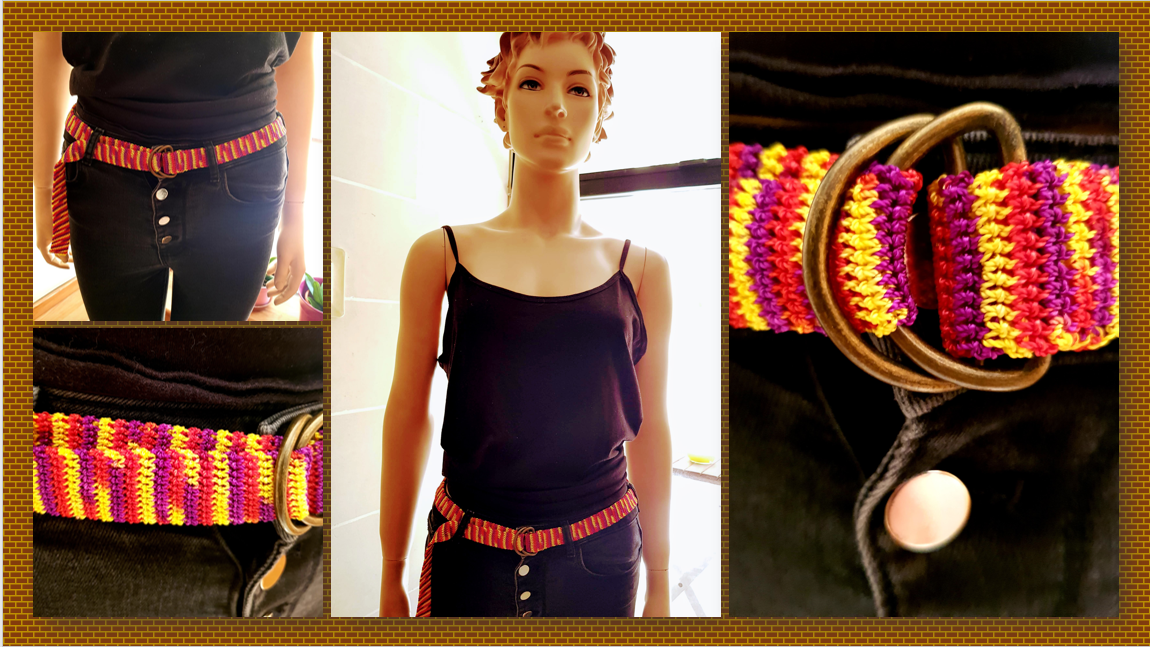
Crochet multi-colour Belt – Free Pattern

Hey fellow crocheters,

I recently bought some rather nice nylon crochet thread because I really liked the colours. Nylon is quite stiff and abrasive, so you have to be careful what you use it for โ€” but I thought it would be perfect for a belt.

This is a simple free crochet belt pattern, worked mainly in single crochet (US terms). I used a double-layer technique to give the belt some extra structure, and I’ve included step-by-step photos below to show how I worked it.

Original pattern by Manjri’s Place

I used a 1.4mm crochet hook for this project.

CH – chain stitch
SC – single crochet

YO – yarn over

Start with 11 CH

Row 1: skip first chain and 1 SC into remaining 10 CH, CH 1 and turn

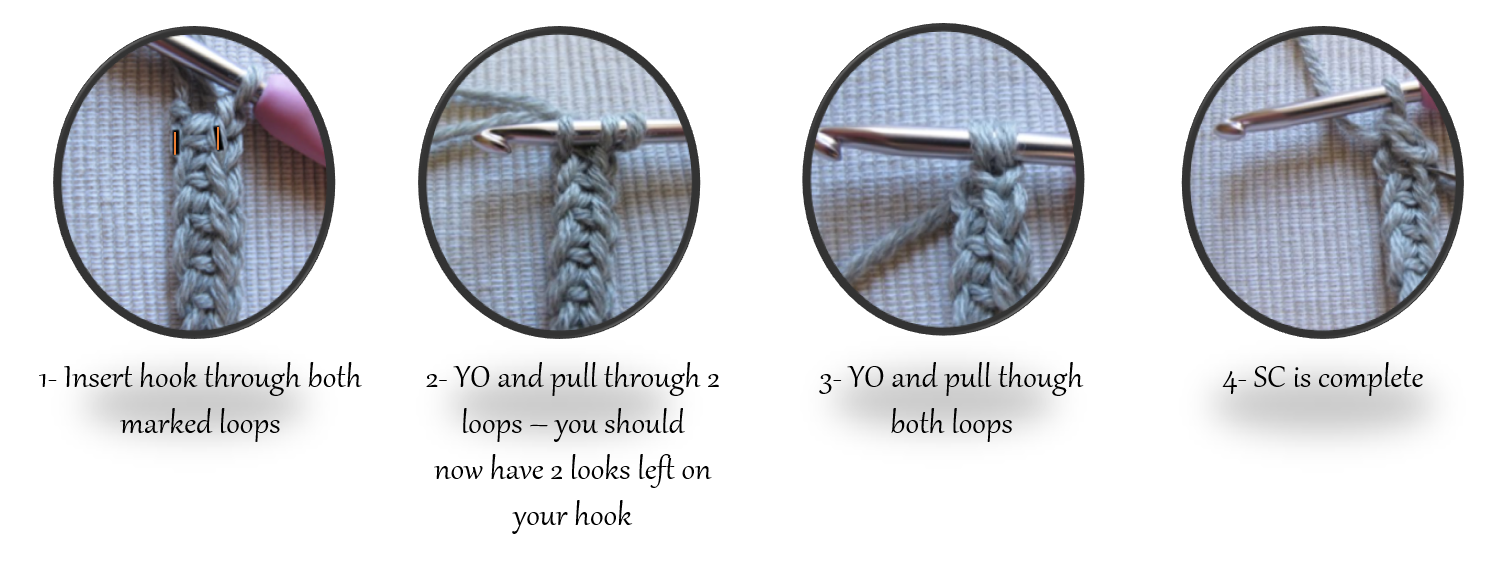
Row 2: To create a double layer SC, put hook through the back loop only of the SC made on row 1 and also the loop left over from initial chain stitch (see marked image below).ย  Repeat until end of row, CH 1 and turn.

pic1

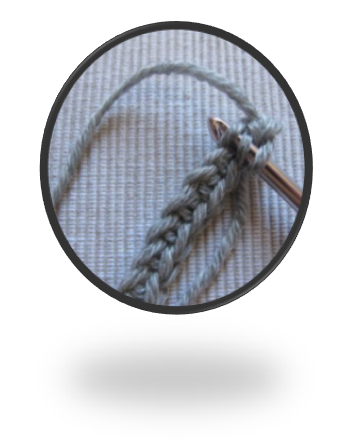
Row 3:ย  From now on, the double layer SC will be easier to make. ย Insert hook through the leftmost loop in the SC just made on last row, and in the remaining loop in the corresponding stitch in the previous row. Repeat until end of the row, CH 1 and turn.

pic2

Keep working this way until you reach the desired length.

For the buckle, I used 2 brass hoops, recycled from an old handbag.ย 

belt

Hope this has given you some ideas!

Happy crocheting!


Where the crochet journey led…
This pattern comes from the earlier days of Manjri’s Place. Years of experimenting with crochet, colour and different techniques eventually grew into Studio Manjri, my creative studio in Malta, where I now make handmade crochet creations, accessories and plenty of other little ideas that begin with a hook and some yarn.

Visit Studio Manjri โ†’

Versatile Seaside Wrap – Crochet Project

Hey all!

Update โ€” September 2026:
I originally shared this project in 2020, when the Seaside Wrap pattern was available free. The pattern is no longer available free, but Iโ€™ve kept this post as part of my crochet archive and to share my version of the wrap.

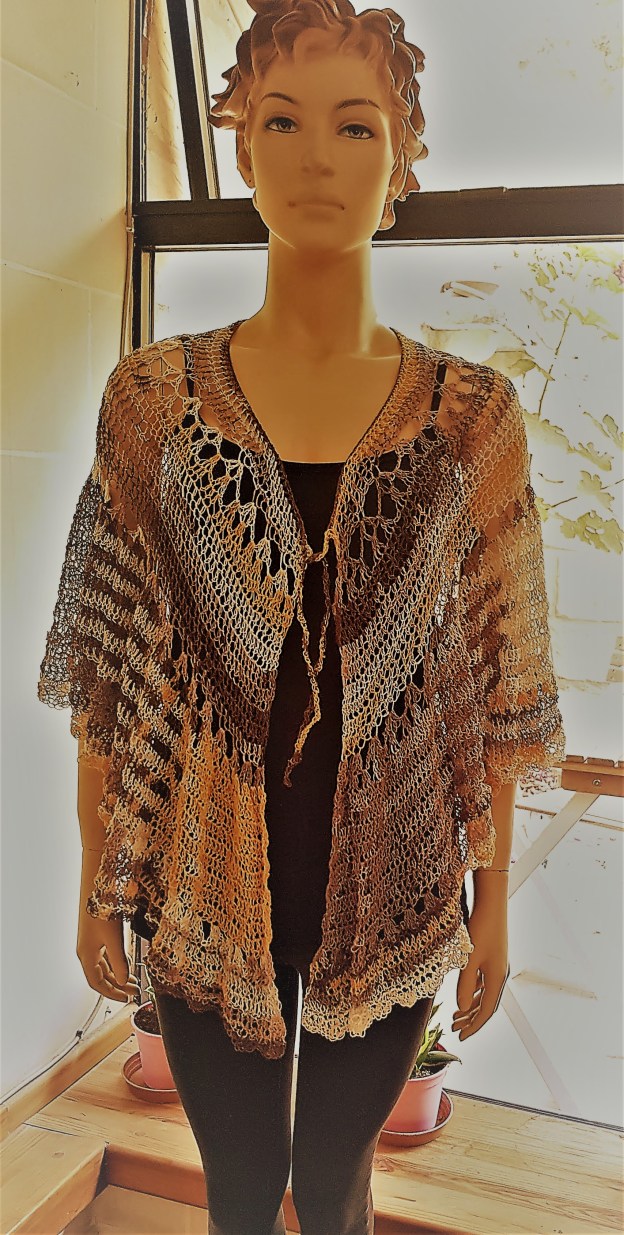
I came across this beautiful boho-inspired wrap and decided to make my own version. I used a different yarn and hook size, which explains the difference in size from the original โ€” but I loved how it turned out!

As you can see, it can be worn 2-ways:

1 – over the shoulders as a wrap,

2 – as a skirt-wrap – perfect for the beach.

The original design is the Seaside Wrap. The pattern is no longer available free, but you can still find the pattern page on Ravelry here: Seaside Wrap pattern

Hope this gives you a little inspiration for your own summer crochet projects. ๐Ÿ˜Š

The Virus Shawl

Hey everyone! Hope you are all enjoying summer and safe! I might have mentioned once or twice, or a hundred times that I love winter – I am totally a winter person. I love being able to snuggle with soft, warm woolly things – so it is no surprise that I make a lot of winter projects.

Firstly, a little disclaimer about the title of this post and the name of this pattern i.e. “The Virus Shawl” – this name and pattern has been around for years and has nothing to do with COVID-19.

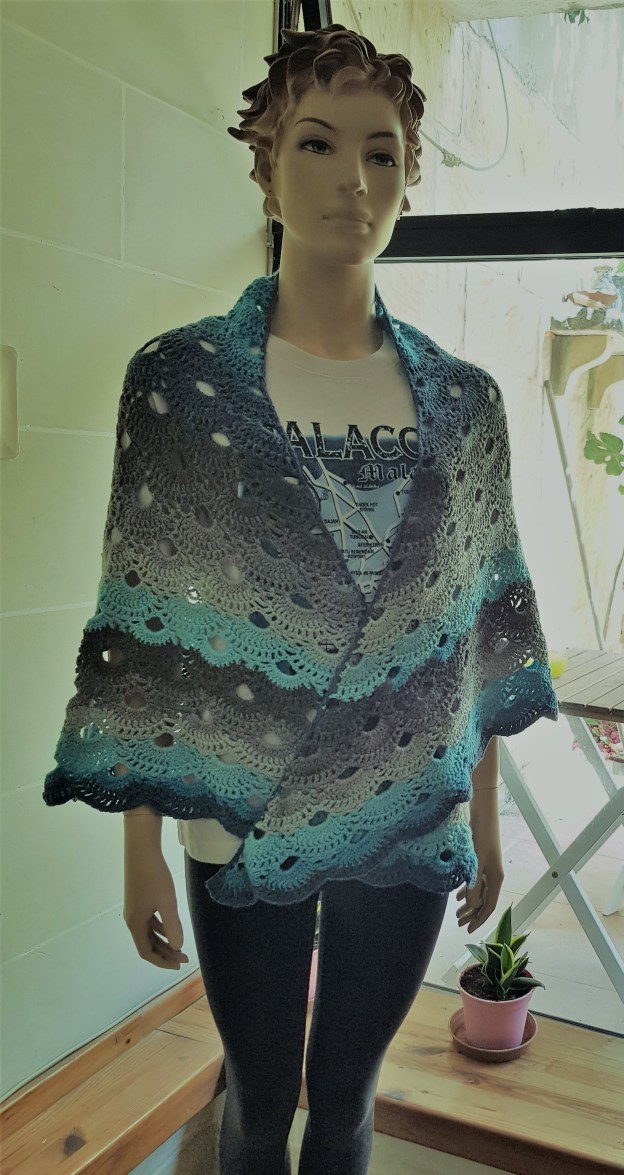
I have made a few shawls so far, but it’s always been a challenge to properly showcase these without a model. I have asked politely, then begged and even tried to bribe my lovely daughter into being my model – but with no luck. So, I now am a proud owner of a mannequin!

Here is one of the shawls that I made. There are several free versions of the Virus Shawl pattern available online. If you’d like to try making one yourself, Hobbii has a free version with a detailed visual guide and video tutorials:

Virus Shawl โ€“ free crochet pattern โ†’

If you do try making one, I would love to see your creation! Please feel free to share it in the comments.

N.B. I used a variegated 4-ply yarn and a 4 mm hook.

This slideshow requires JavaScript.

Label and Identity

Hey everyone! For some time now, I’ve been thinking about what type of sew-on labels I want to use for my creations. It’s easy to get something ready-printed and then just attach it, but I wanted something a bit more authentic and decided on handcrafting these myself. While this takes time to do, I can boast that 100% of the creation is handmade by me.ย 

First decision was theme: I knew it had to include flowers because the name Manjri (which is my name) means “a bunch or cluster of flowers” in Hindi. My first prototypes were not very successful. It was my husband who came up with a brilliant idea to use as my inspiration:ย 

Poirot’s Lapel Pin

I am a great fan of Agatha Christie’s stories. I enjoy reading her books, and also enjoy watching TV/film adaptations of the stories. I also run a Facebook group dedicated to Agatha Christie (Agatha Christie Club Malta and Gozo) – so if you are interested, please do join! My favourite adaptation to date has to be the ITV series “Agatha Christie’s Poirot” starring Sir David Suchet as Hercule Poirot. For me, he is the definitive Poirot! But anyway, in this adaptation, Poirot often wears the above lapel pin/brooch, changing the flowers each time.
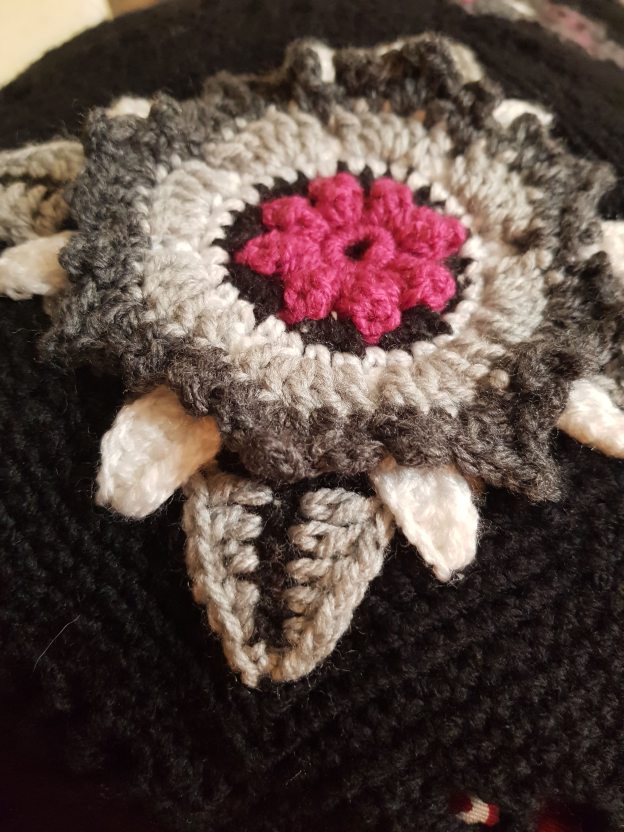
The below design is a nod to Poirot and also includes reference to my name (the flowers) . Below is a photo of my label – would love to hear your feedback!

A little update โ€“ September 2026

It’s lovely looking back at this early attempt at creating an identity for my handmade work. A few years later, that creative journey eventually grew into Studio Manjri, my little creative studio in Malta.

The branding may have evolved, but the idea behind it hasn’t changed very much โ€” creating things by hand, with plenty of personality in every piece. ๐ŸŒธ

Fruit Garden CAL – Complete

Hi all! I’m really pleased to share with you photos of the completed lap blankets. It was great fun and to be honest, I’ve been feeling a bit at a loose end now that these are over.

I will definitely use some parts of this pattern by Jane Crowfoot for other projects, such as cushion covers, but more on that when I actually do make them!

While I do have some smaller projects on the go, however, I am now on the lookout for the next big one….if anyone has any suggestions, please feel free to message me!

If you’d like to see where this project started, including details of the pattern and my progress along the way, have a look at my original Fruit Garden CAL post โ†’

It’s all about the Hook…

The crochet hook is such a simple implement and pretty much the only tool with which you can fully create simple or complex projects. But have you ever wondered about its history? Where did this originate from? Who invented it? I sure have, and I can say, that scouring the net for a definitive answer has left me wanting. Nonetheless, here I will share with you what information I have found about the history of the crochet hook, as well as about the variety of hooks we have around today.

I’m sure that if you are a crocheter, it’s more than likely that you own more than one crochet hook – in fact, many enthusiasts have entire collections. But how do they differ? Do you really “need” all those crochet hooks?

Let’s start by looking at the history of crochet.

Cloaked in Mystery

Source: https://crochetqueen-royalramblings.blogspot.com/2013/08/the-history-of-crochet.html

The word “crochet” originates in the French language and means “little hook”. But it doesn’t mean that crochet as a craft originated in France. In fact, while historical evidence including from archaeological discoveries and historical documents about fabrics crafted using techniques like embroidery, weaving & knitting from as far back as the 11th Century have been found, the same cannot be said of crochet – its history is not clear and no one is quite sure when or where crochet started. Researchers have different theories on where it originated, some suggesting origins in Arabia, or China or even South America. It would then have possibly spread to Europe through trade routes. Nonetheless, researchers do agree that it is only in the 1800s that they find convincing evidence of crochet in Europe.

Enough about the history – let’s move to the actual hooks themselves.

Size matters

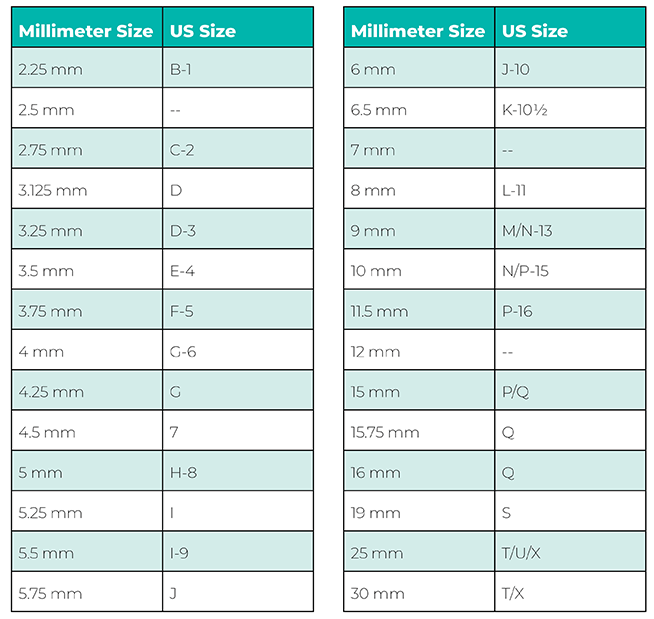
Crochet hooks come in a wide range of sizes. Size can be denoted by letters and numbers (typically used in US) or in millimetres (Refer to the conversion chart below, courtesy of www.crochet.com). The choice of which size to use is often determined by the yarn. In fact, most yarn will indicate on its label the recommended size to use. Sometimes, however, the choice will be dictated by the pattern you are following. In addition, it will depend a lot on your stitch tension – and you may need to use a different hook size. But, it really is up to you, and you should use whatever hook you feel most comfortable with! I do a lot of projects using DK yarn, so my favourite and most frequently used hook size is 4.0mm (G-6).

Which Material?

Long ago, before the time when you could just nip to your local craft shop to buy a crochet hook, I can imagine anyone who wanted to crochet having to fashion a hook out of whatever materials were available – so people probably would have used animal bones, fishbones, horn, wooden twigs/sticks, or some wire.

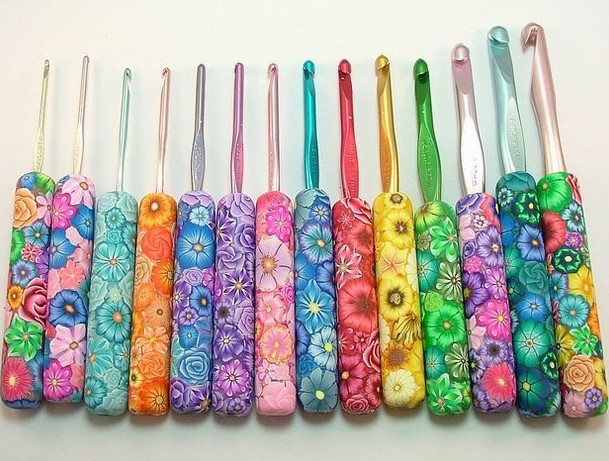
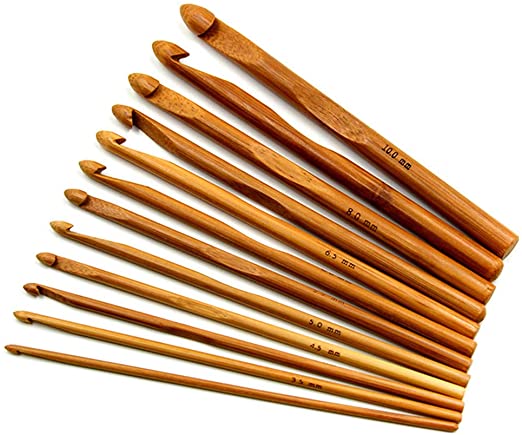
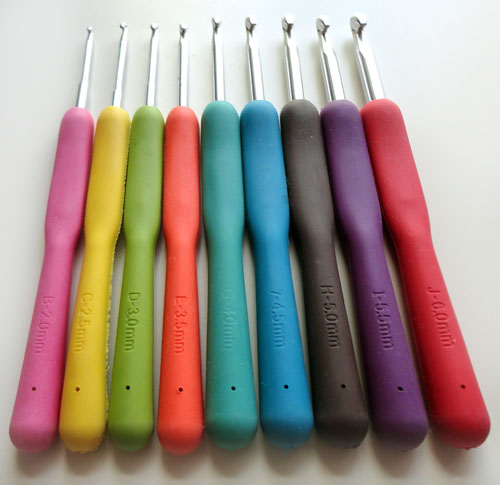
Today, you can easily get a hold of ready-made crochet hooks made of all sorts of materials – metallic ones made of aluminium or steel, wooden (bamboo) ones or plastic ones. There are designer hooks which have beautifully crafted handles made of glass, ceramic, even plastic. Some have a soft rubber grip for comfort (ergonomic hooks). There is no end to the variety you can find. Personally, I only use the aluminium and steel hooks and have been doing so for as long as I remember. I tried using an ergonomic one with a “comfortable” grip – but couldn’t get used to it and actually found it rather uncomfortable! But, that’s just me – friends who also crochet would swear by the ergonomic hooks! I do, however want to invest in a handcrafted hook one day, as I think they are absolutely stunning!

Types of Hooks

The type of hook you choose will depend on your preference, but here are a few things to keep in mind.

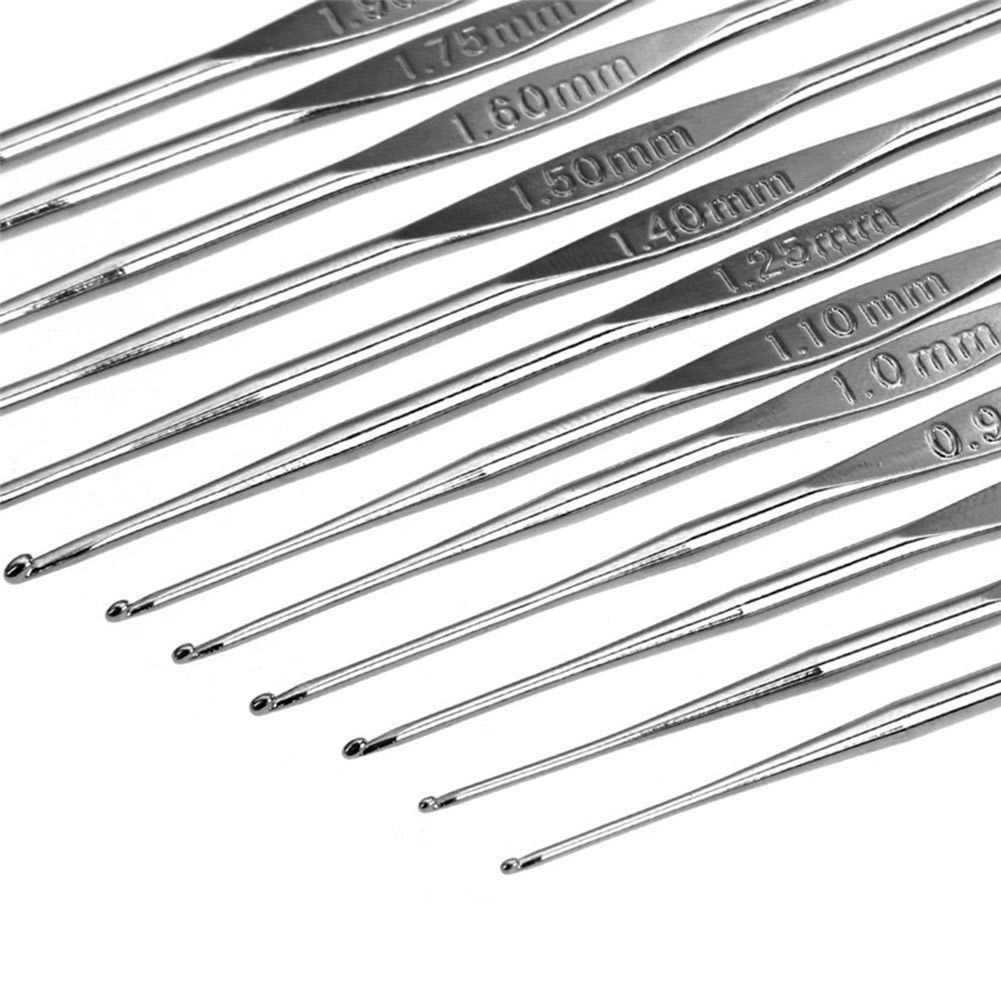
Steel Hooks – usually the smallest sized hooks are steel hooks and often used for crocheting with fine thread/yarn , such as that used for doilies

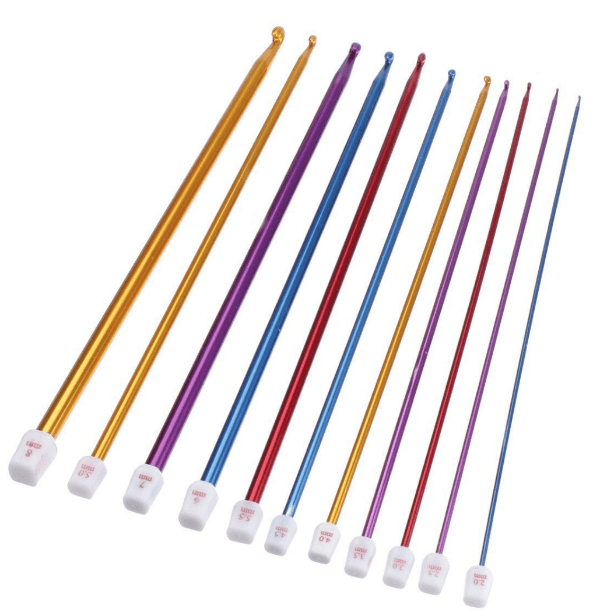
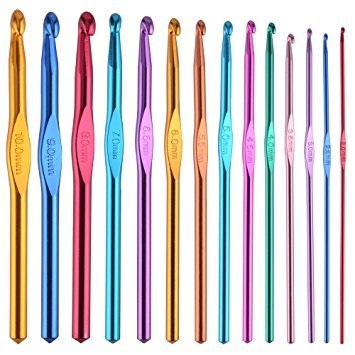
Aluminium Hooks – these come in a wide range of sizes. They are relatively lightweight and allow you to crochet quickly and smoothly.

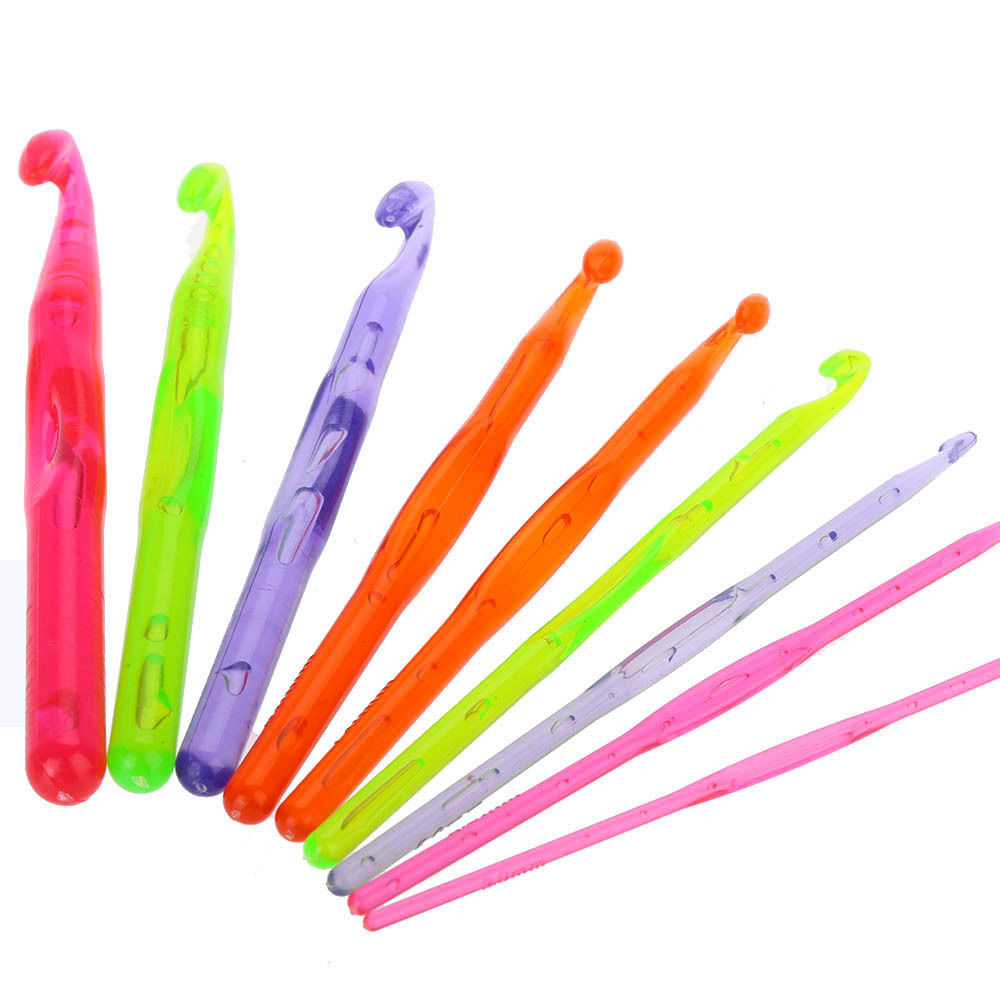
Plastic Hooks – available in a wide range of sizes including jumbo size. They are made out of hollowed out plastic allowing for them to be lightweight.

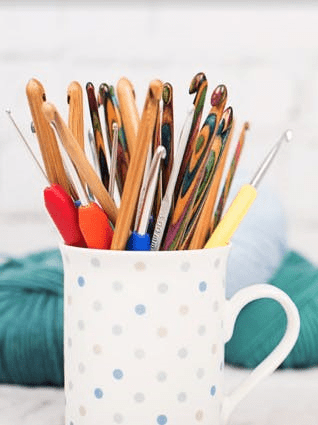
Bamboo Hooks – these are available in a mid-range of sizes. The wood is warm to the touch and comfortable.

Tunisian Hooks – these are used in Tunisian crochet. They are longer than the regular hooks, and some even have a hook at both ends.

Ergonomic Hooks – these have larger soft handles and are designed to reduce strain on your hand from gripping a small hook for a long period of time.

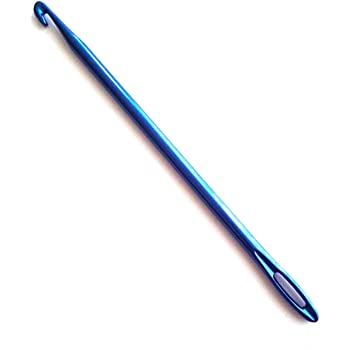
Knook – this is a long crochet hook with a hole running through one end.

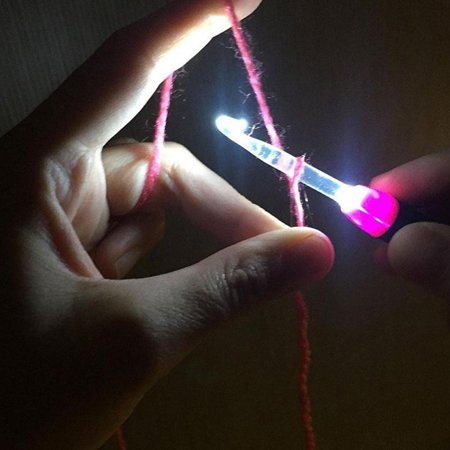
Illuminated hooks – these emit light from the hook, making crochet in the dark possible.

So, what is your favourite crochet hook?

Fruit Garden CAL – progress

It’s been a while since I last posted – and it’s not because I have no projects completed or on the go, but sheer laziness on my part in taking photos of my work! I am much happier with a hook, or needle in hand than setting the scene and taking the pics! So today, I decided that, come what may, I needed to pick up my handy mobile phone and snap a few shots.

Anyway, back to the Janie Crow CAL which I started a while back – I had ordered the yarn pack for the light colour scheme as the other one was out of stock, but my heart was set on the dark scheme too.

If you’d like to see the pattern details and where I started, have a look at my original Fruit Garden CAL post โ†’

Here is where I got to so far using the original colour scheme (n.b. the CAL is not yet over – we’re still around halfway)

As I could not find the yarn packs in stock for the dark scheme, I opted to find similar shades locally in a different brand of wool (Schachenmayr). Due to the impact of COVID-19 on shipping, not all colours were available, and not wanting to wait for more shipments to arrive, I went with a few alternatives. You can see the outcome below.

I have to say that I much prefer the quality and feel of the Schachenmayr acrylic yarn to the Stylecraft one. It feels a lot softer. The other difference I noted is the Schachenmayr yarn is a little thicker – so the end result is a bit larger – but I don’t mind that and I’m quite happy with the outcome.

I still have quite a stash of yarn, so maybe I will make yet another blanket in a totally different colour scheme of my own design ๐Ÿ™‚

If you are following the same CAL, I would love to see your work! Please feel free to share.

Update: Want to see how it all turned out? You can see my finished Fruit Garden blankets here: Fruit Garden CAL โ€“ Complete โ†’