I have completed many a crochet project -, some big, some small, some straight-forward, others quite complex , but I have not tried crochet jewellery before. So, first things first, I need more YARN – something a bit sparkly! Off to the yarn shop I trotted – and bought one of each colour available in the metallic Katia Gatsby range – it was too difficult to choose just one or two only – and you can never have too much yarn anyway!
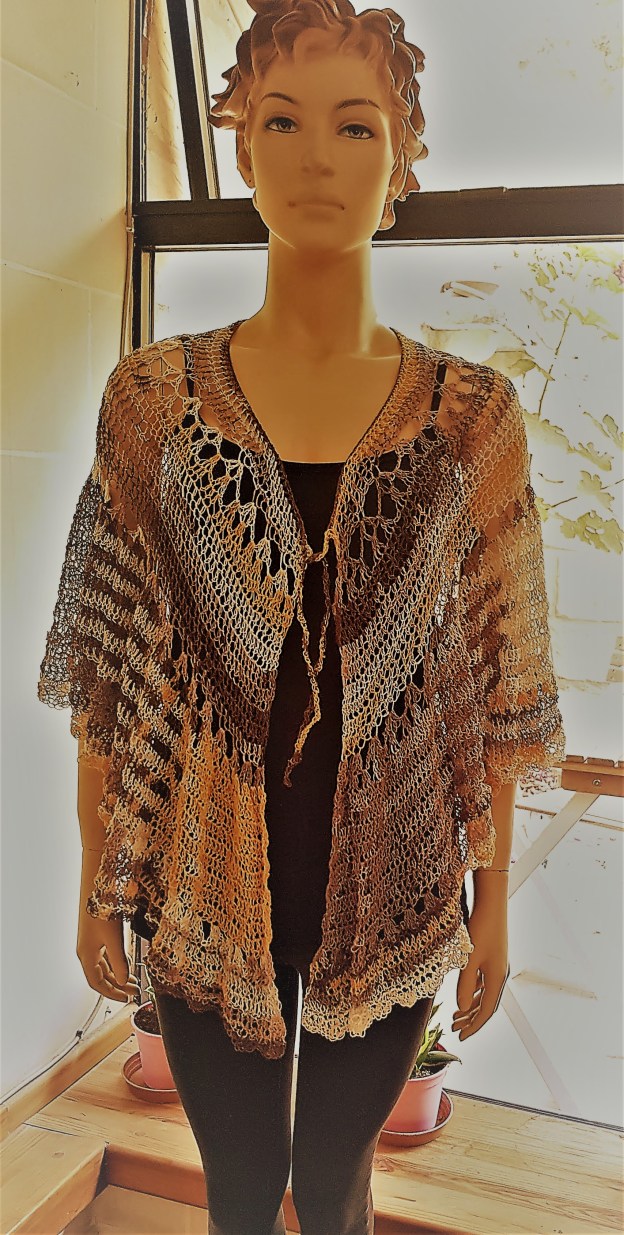
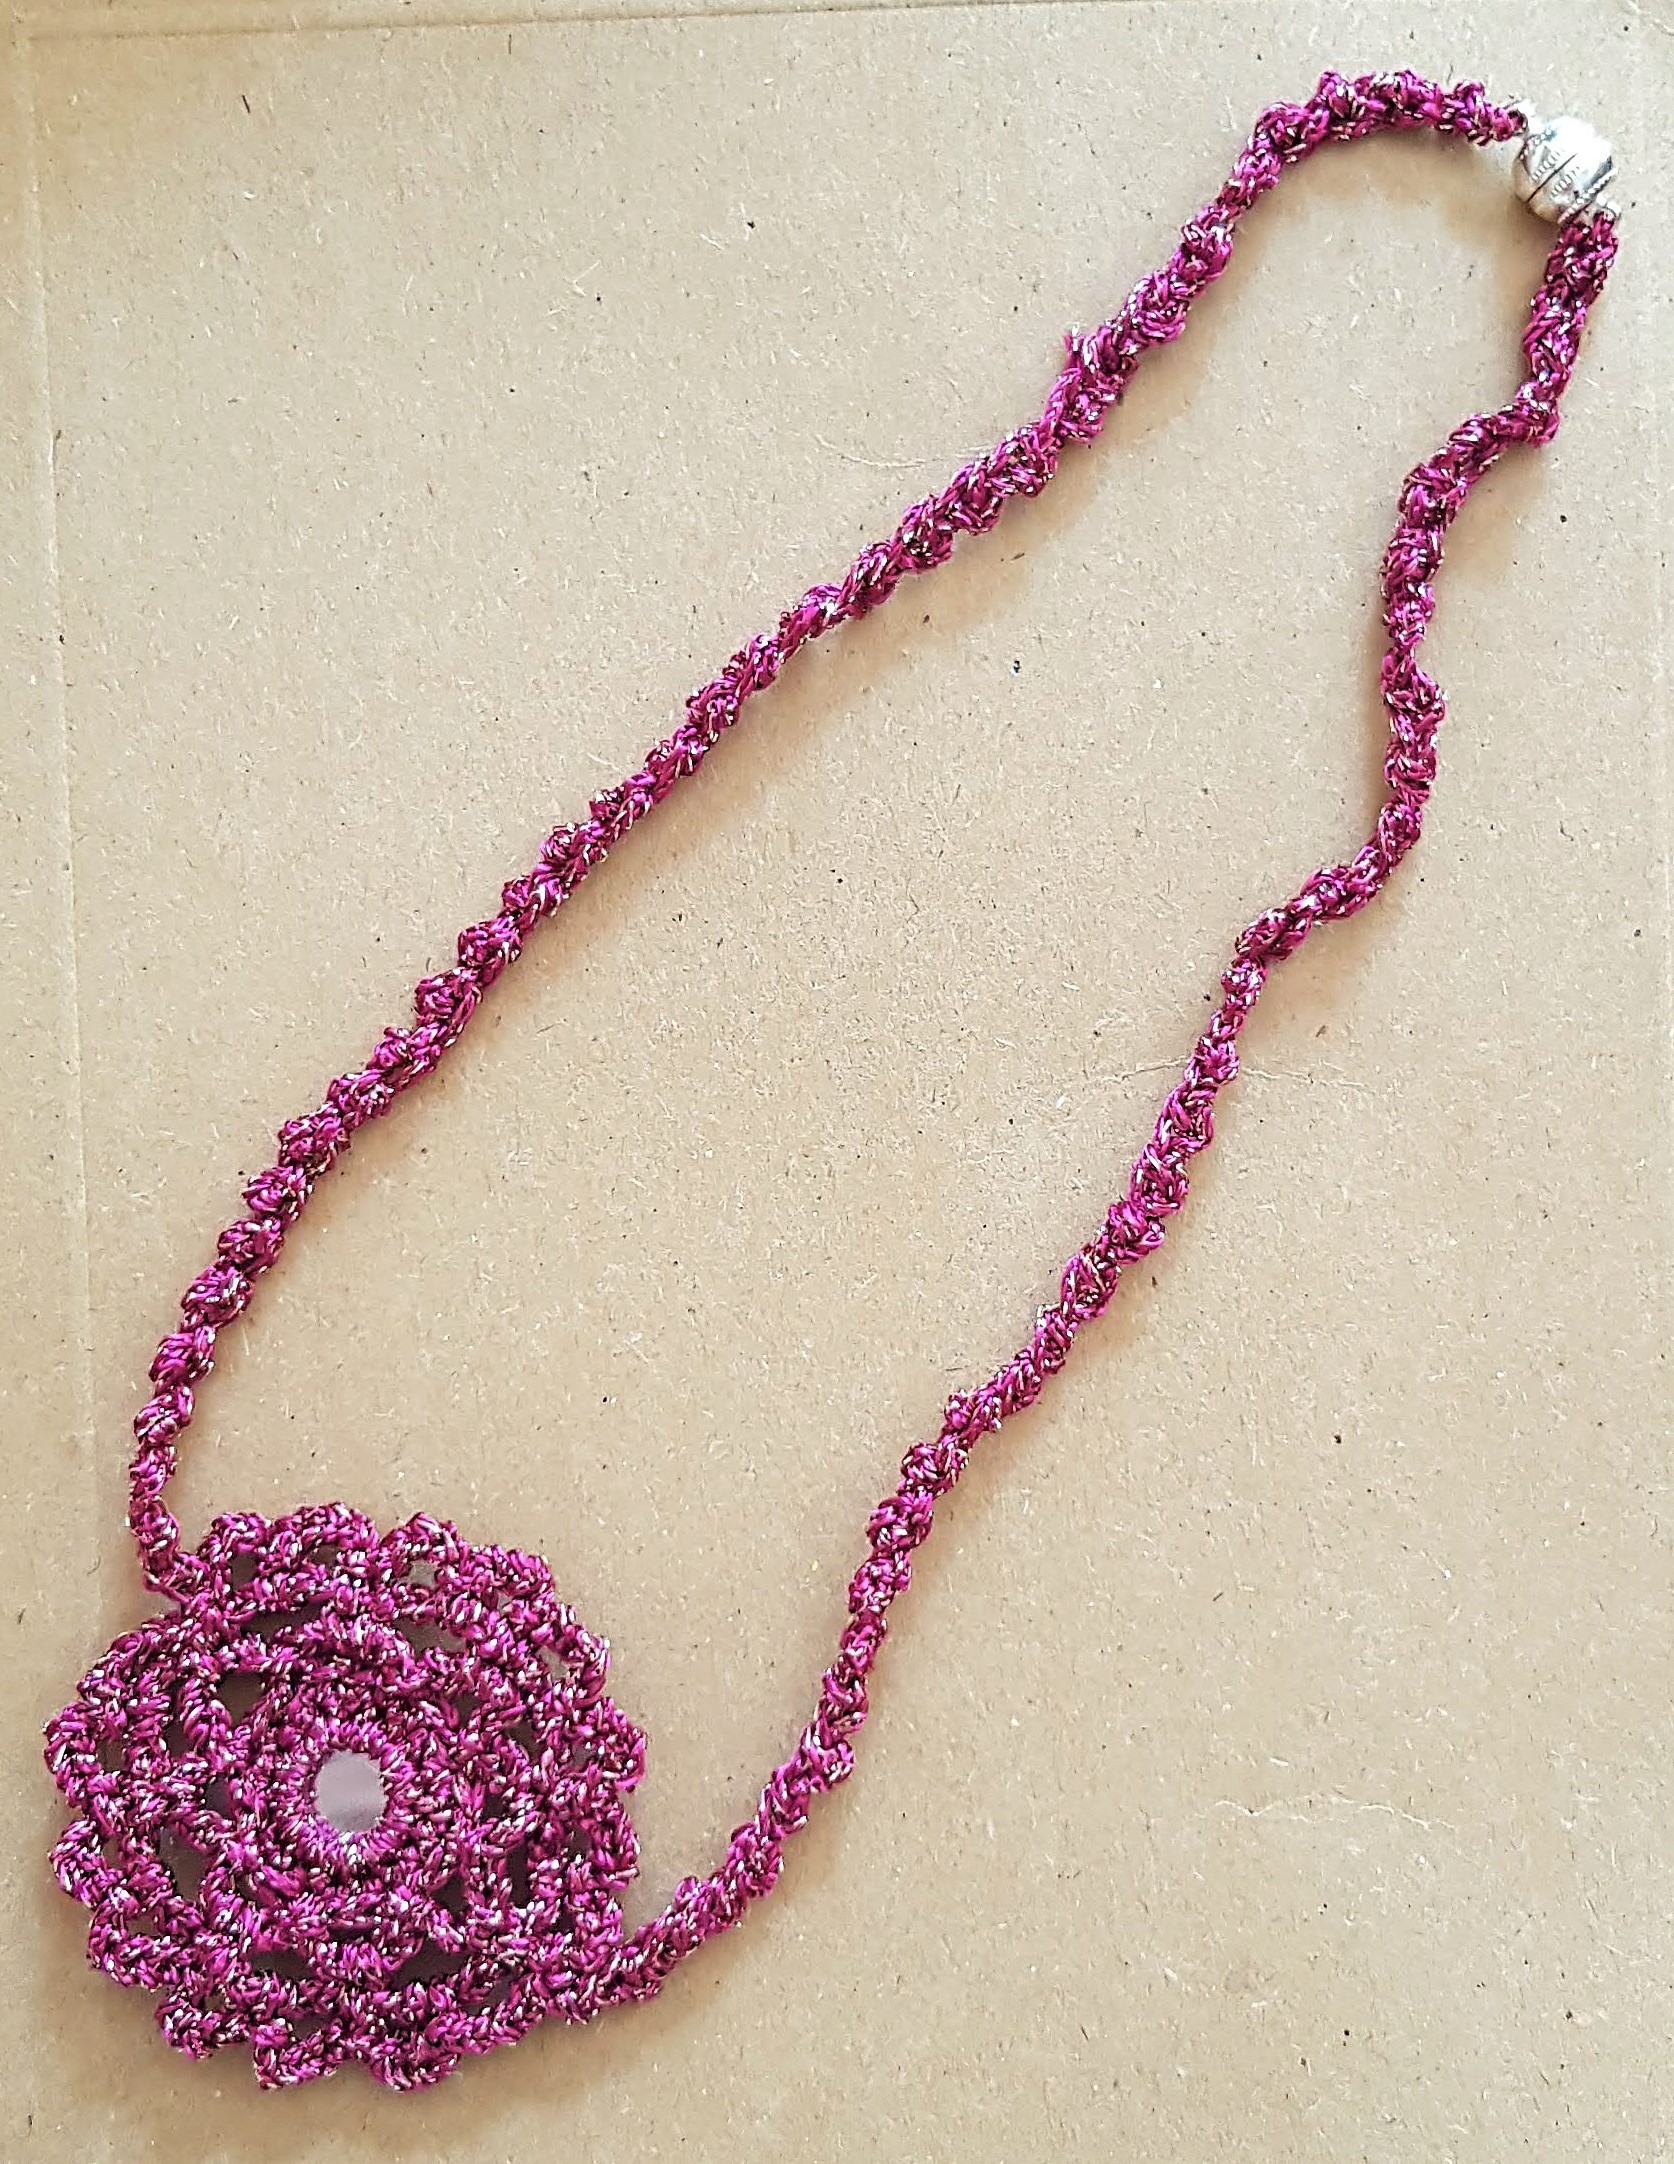
Here are a few necklaces I made so far. I have used glass beads and mirror tiles in the pendant. The clasp is a magnetic clasp – so very easy to wear – the magnet is surprisingly strong, but I wouldn’t advise relying on that if the pendant is heavy. In my case, as the necklaces are pretty lightweight, these work perfectly:


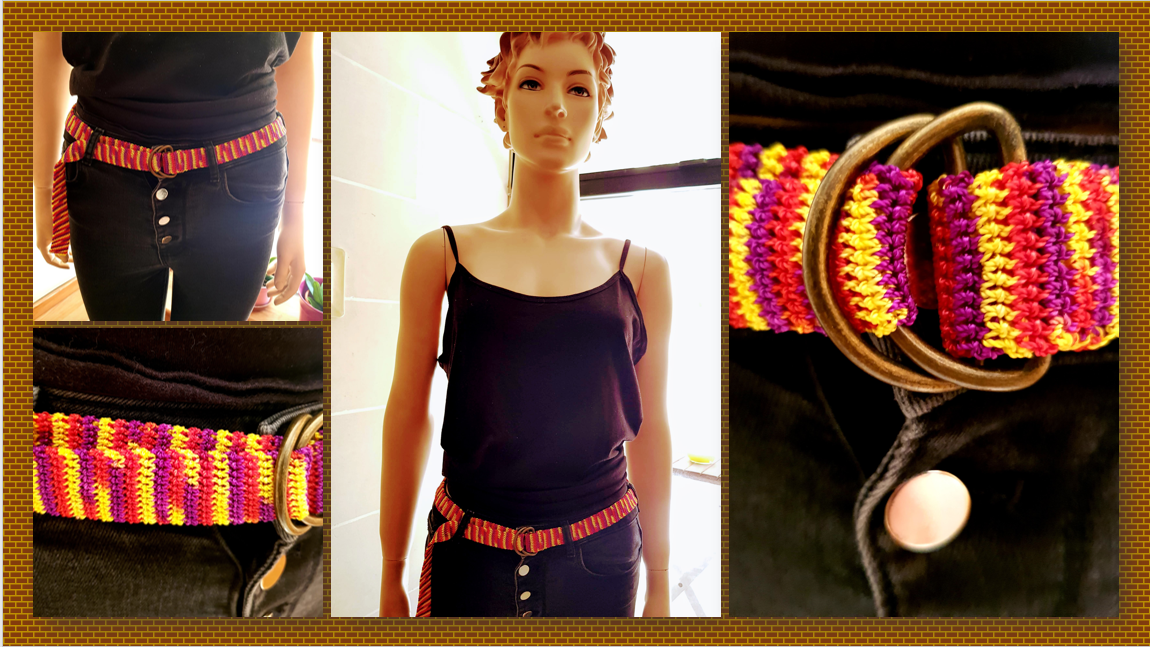
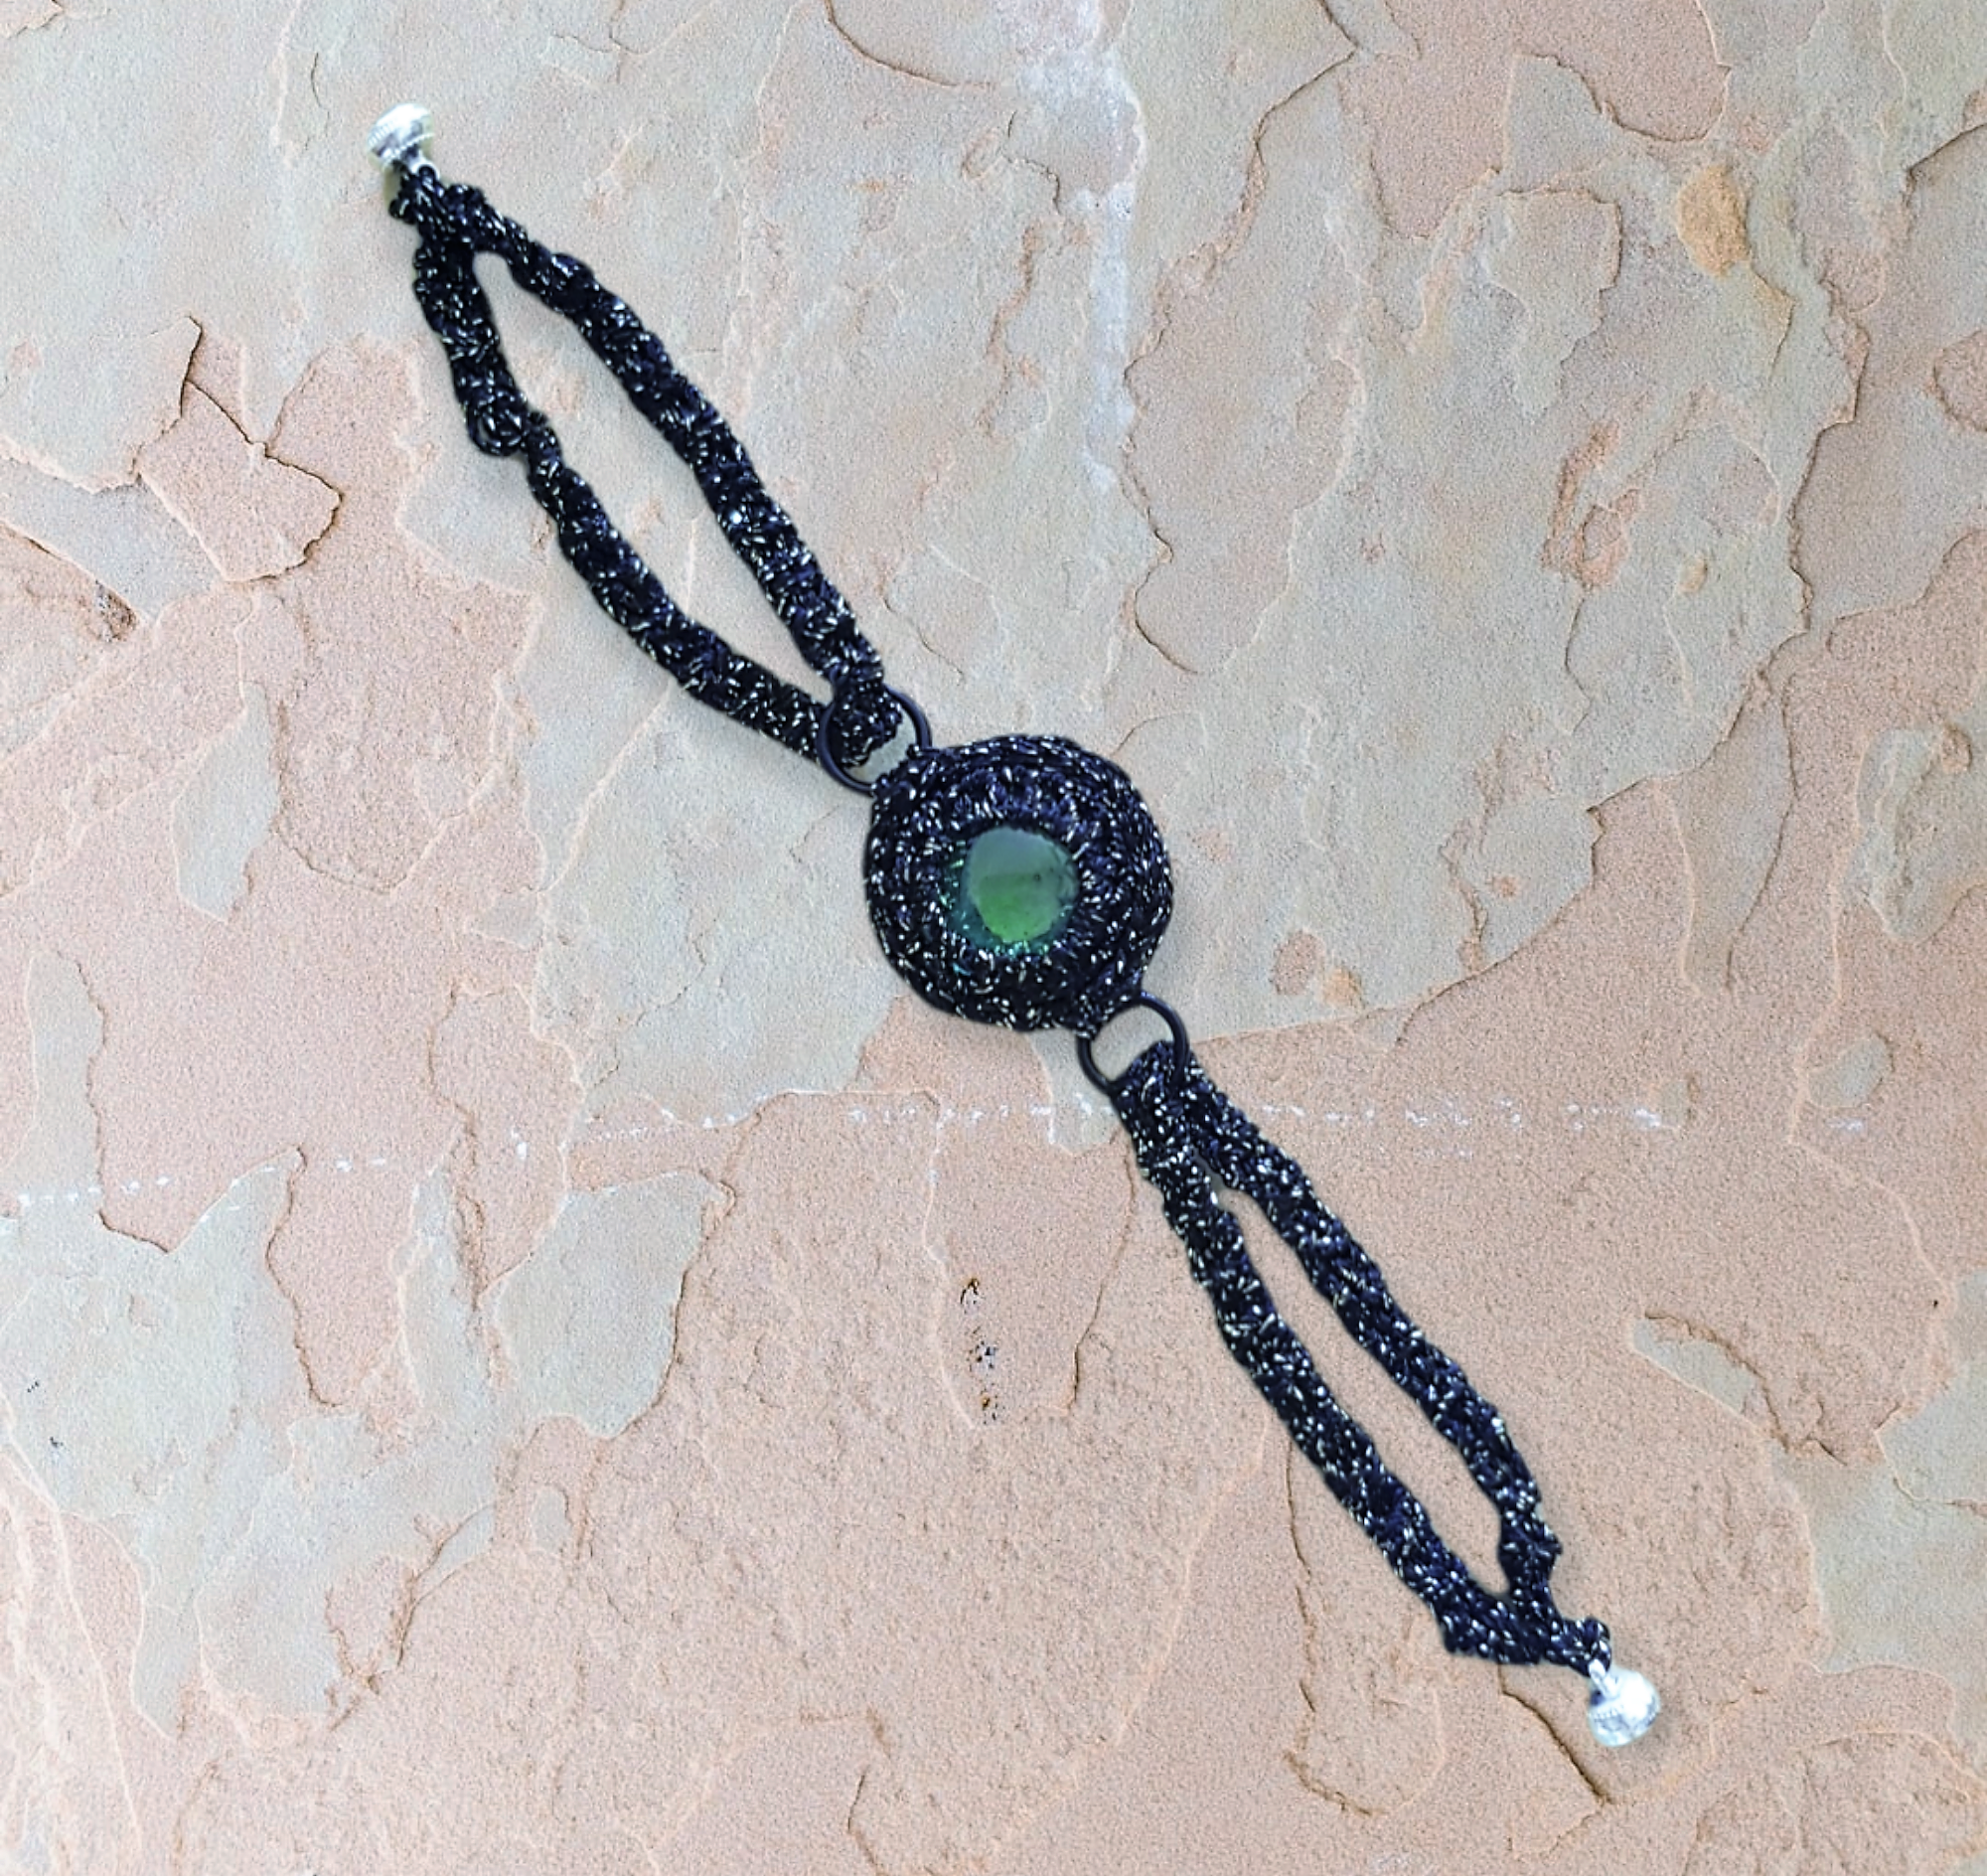
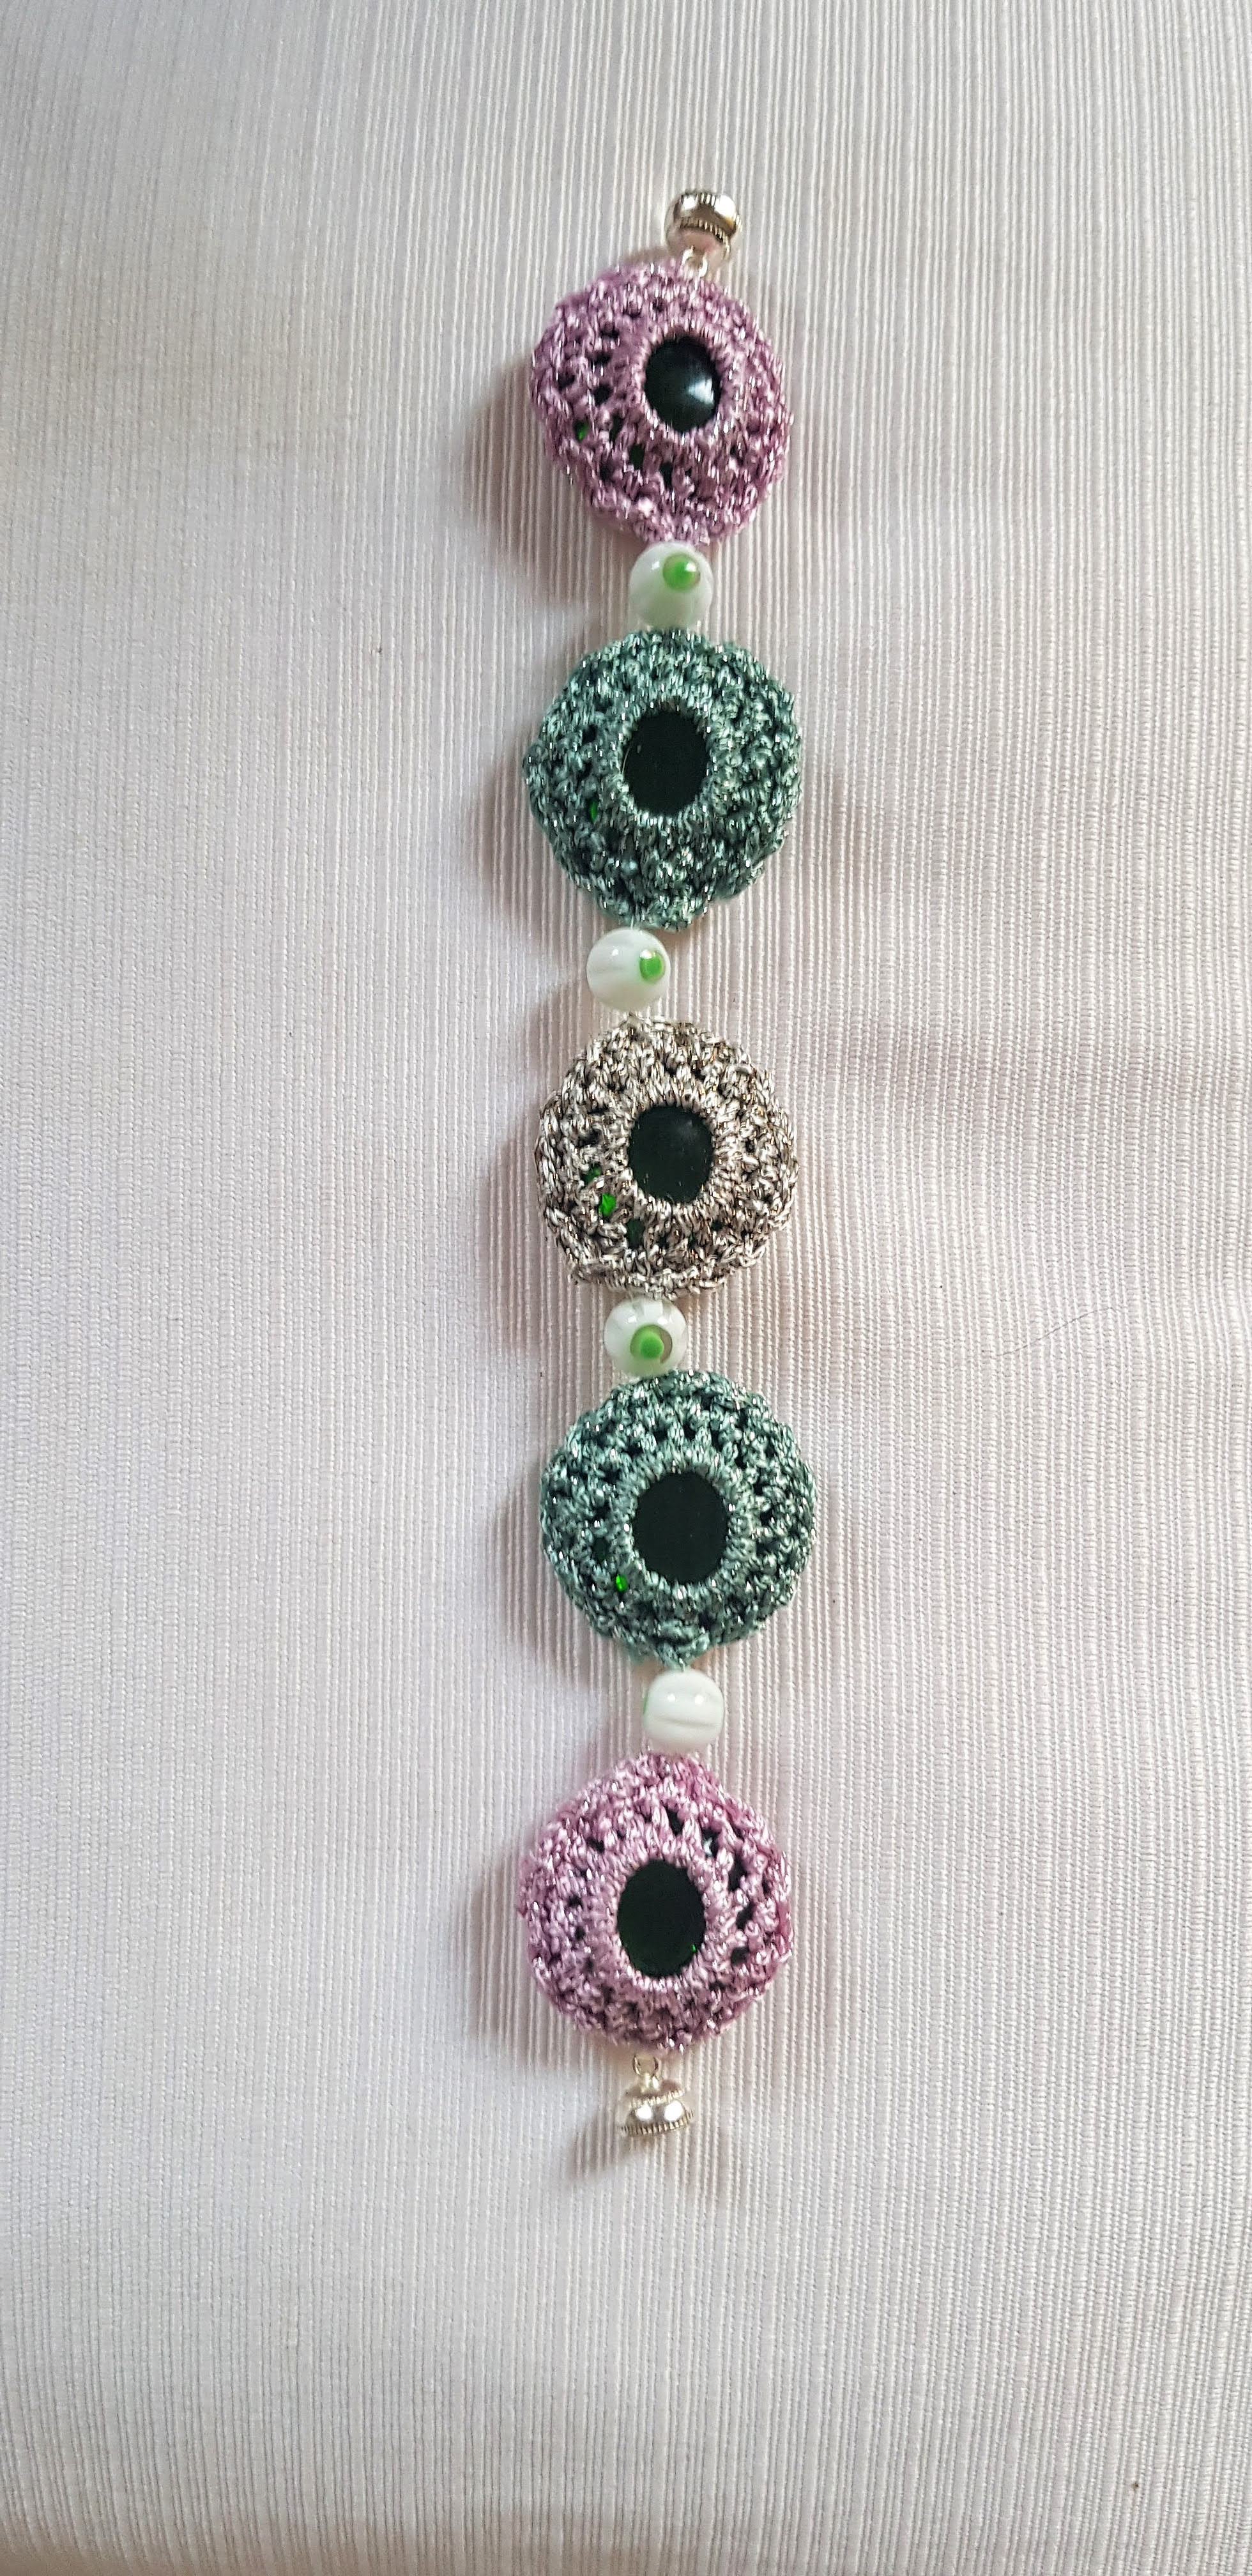
Below are a few bracelets I made. Again I used the magnetic clasp. Note that I also used very small metal rings to attach the straps in the first 2 bracelets (I found these at the haberdashers and they are actually used for bras!). In the third bracelet, I added small glass beads as spacers. I would recommend having beading needles available, especially as the bead holes can be quite small. :

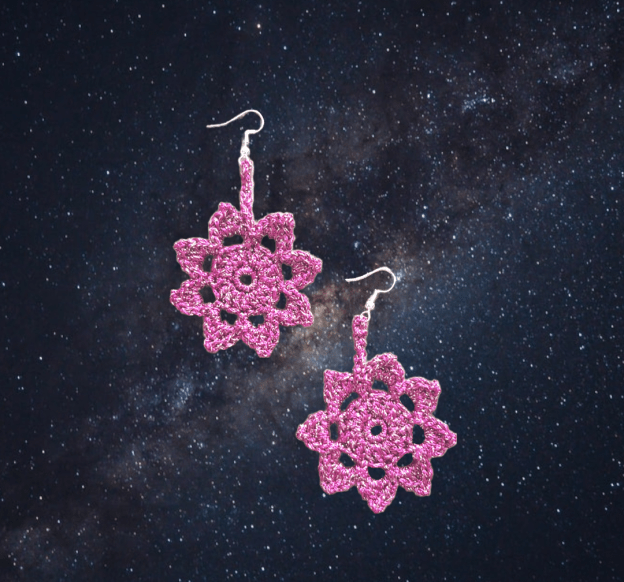
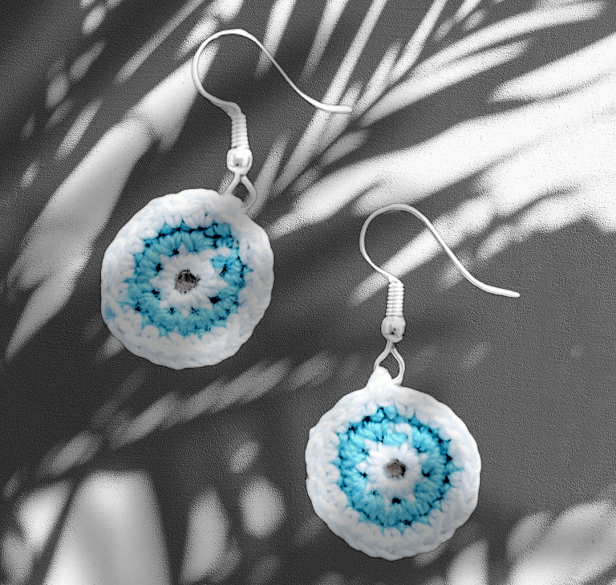
And finally, here are a few earrings I made. I used mostly cotton crochet yarn, and a 0.6 mm crochet hook for these. The very first pair I made can be seen in Picture 1 – I learnt a valuable lesson here – the earrings don’t “swing” and move as I would have liked them to. I added a few chains and created a long “neck” to the next pair (picture 3), but still didn’t get the desired movement. Next experiment was more successful and from that point onward, I added a bead between the hook and the earring – and this does the trick. All the earrings which have a bead straight after the hook have lovely movement. I have used sterling silver hooks for the earrings, and have used, mainly beads to add the “jewel” element. In Picture 6, you can see I have also included a button and a flower-shaped sequin to decorate further. Note, I crochet the beads in – i.e. I did not add these on later, but I must confess to gluing the sequin.
1 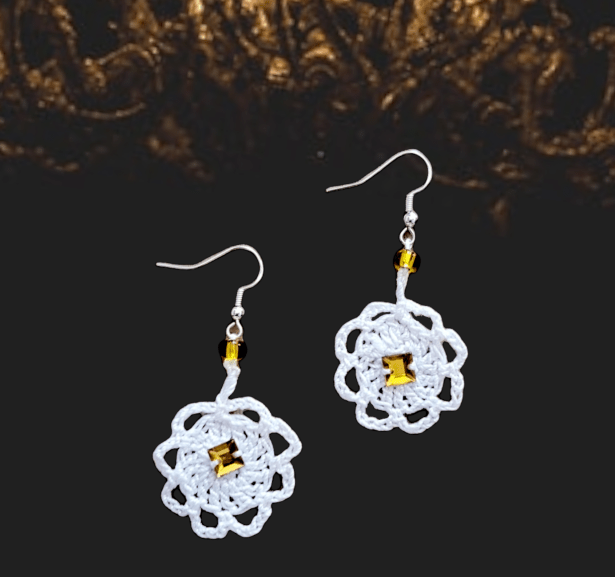
2 
3 
4 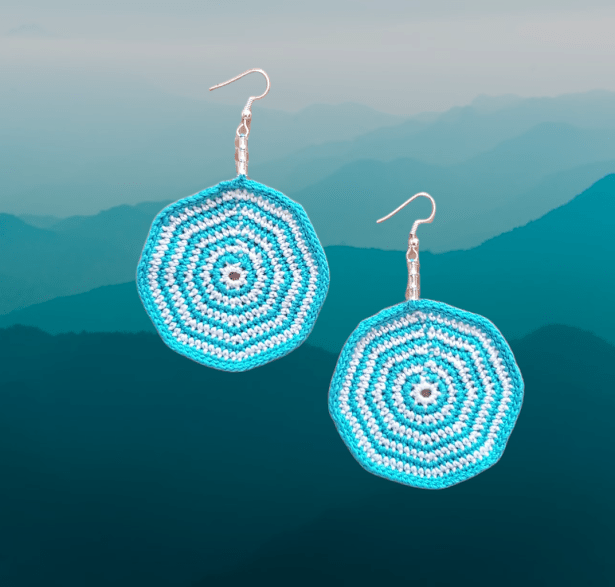
5 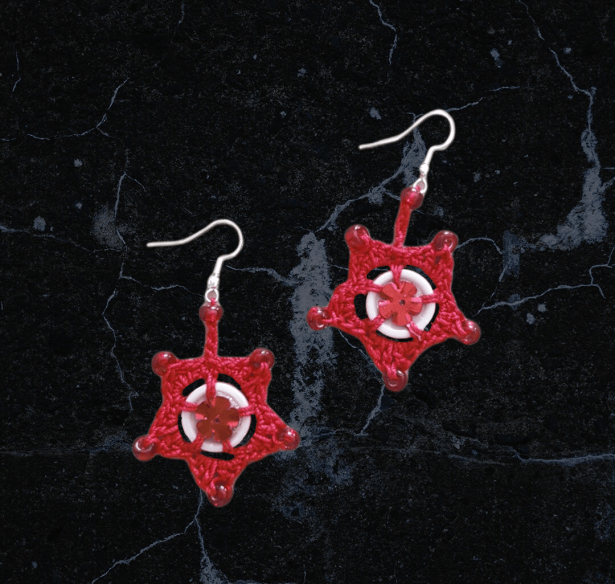
6
I hope you have enjoyed this post and hope I have inspired you to make some of your own jewellery! Would love to hear from you and see your creations!
Till later!